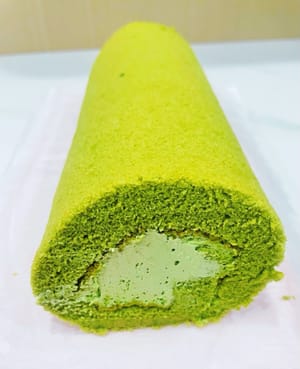
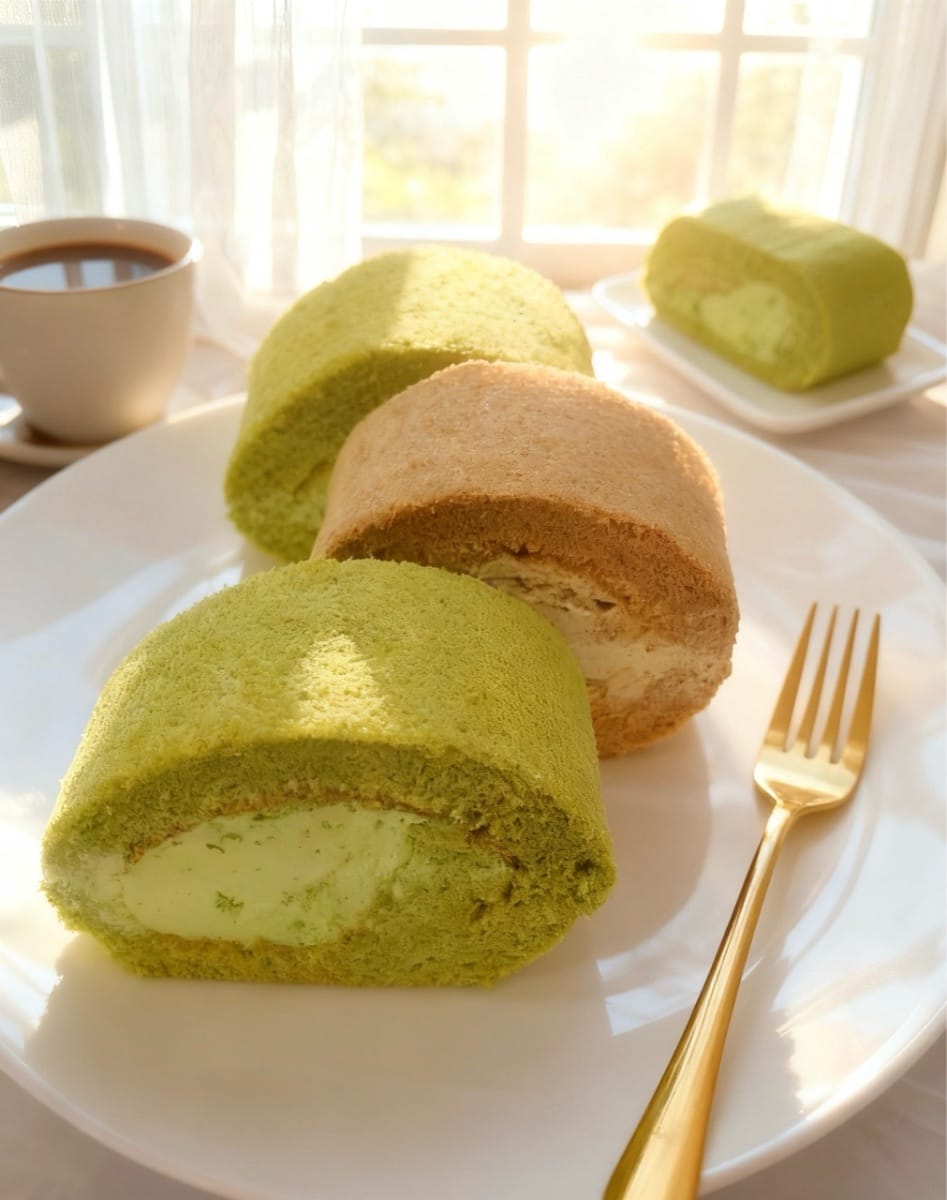
Matcha Cream Cake Roll


Matcha cream cake rolls have always been a favorite for many, perfect for breakfast, afternoon tea, meeting friends, or taking to gatherings with girlfriends. It has a delicate matcha aroma with a slightly bitter tea flavor, which balances the sweetness of the cream, making it not cloying at all. The cake itself is soft and fluffy like a cloud, melting in your mouth. The cream is delicate and refreshing. Homemade with high-quality ingredients, it's reassuring to use them. Every bite is a refreshing tea flavor, bringing pure bliss. Its appearance is also captivating, with a light matcha green outer shell. Slicing it reveals even cake layers and light green cream, making it incredibly appetizing. Foodies will definitely be asking for the recipe.
Ingredients
- 55g cake flour
- 50g milk
- 50g corn oil

- 5 eggs (Approximately 55 grams each)
- 10g matcha powder

- 60g sugar (40g whipped egg whites. 20g egg yolk batter.)

- 10g corn starch (Used for whipping egg whites)
- about 5 drops of lemon juice (Used for whipping egg whites)

- 220g light cream
- 20g sugar
- 6 grams of matcha powder
Steps
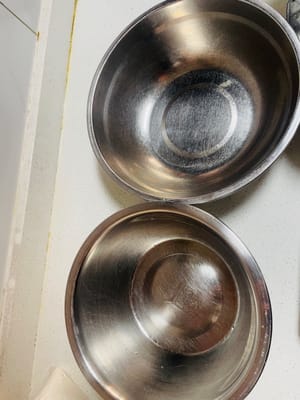
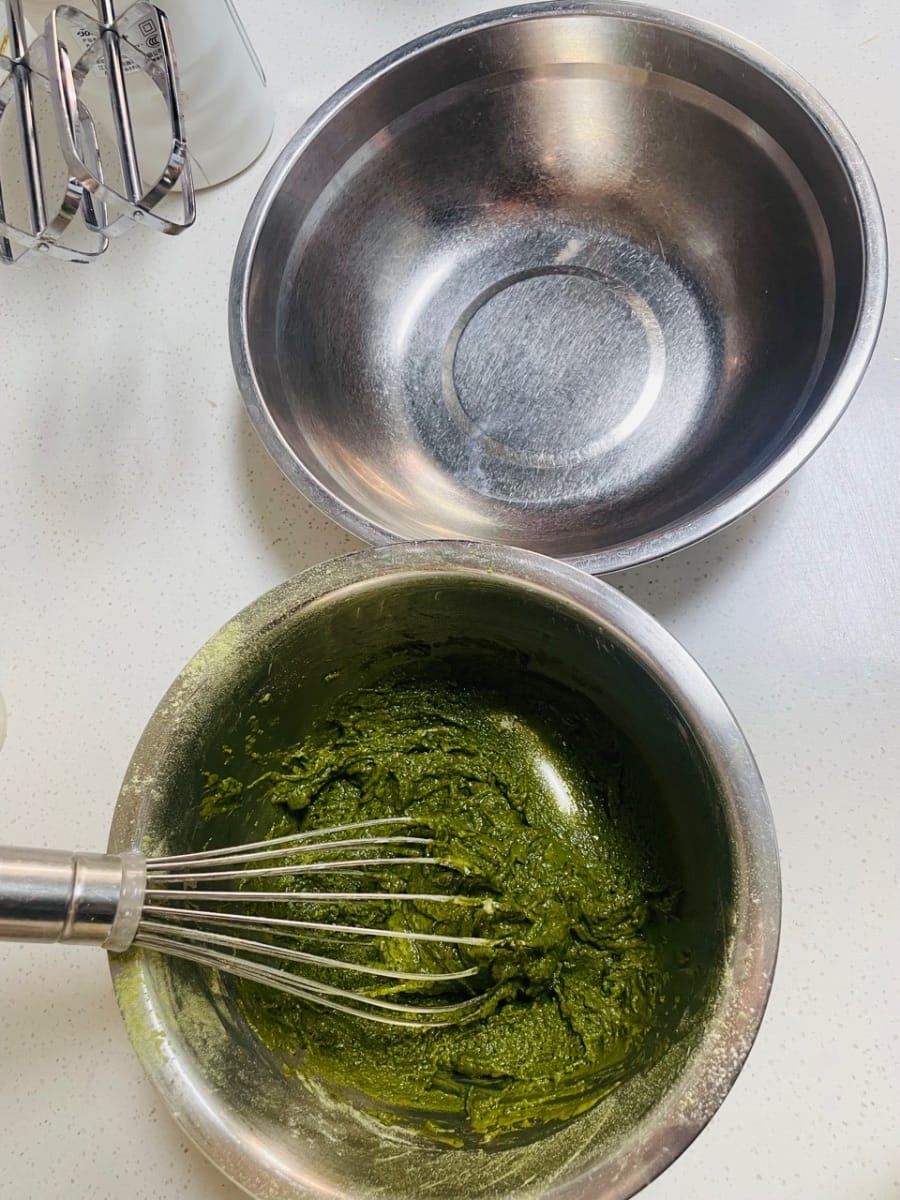
- Prepare two clean bowls, one for making the egg yolk batter and the other for beating the egg whites (the bowl for beating the egg whites must be free of oil and water, otherwise the egg whites will not whip up properly).
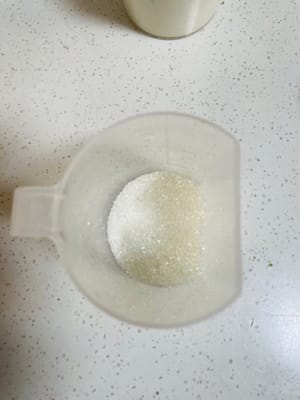
- Weigh out 40g of white sugar for whipping egg whites.
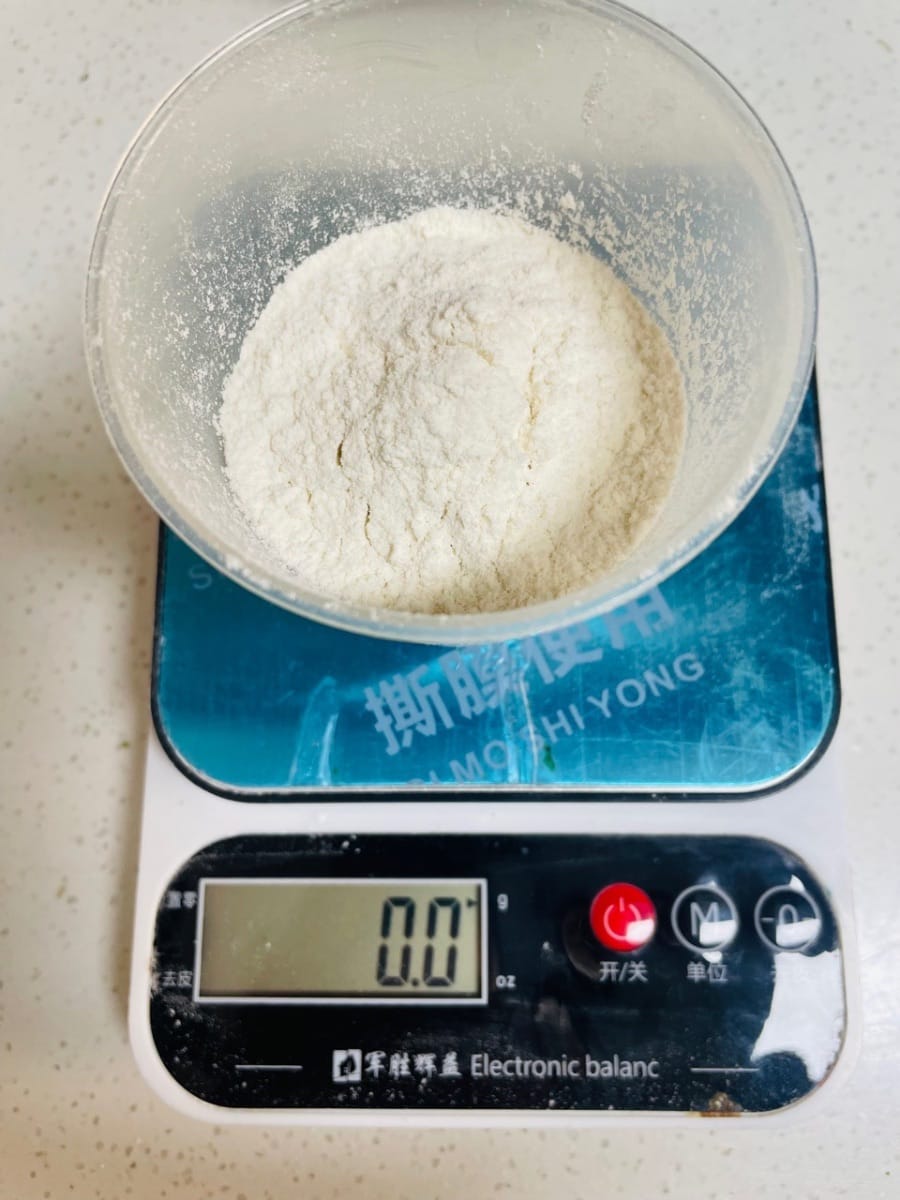
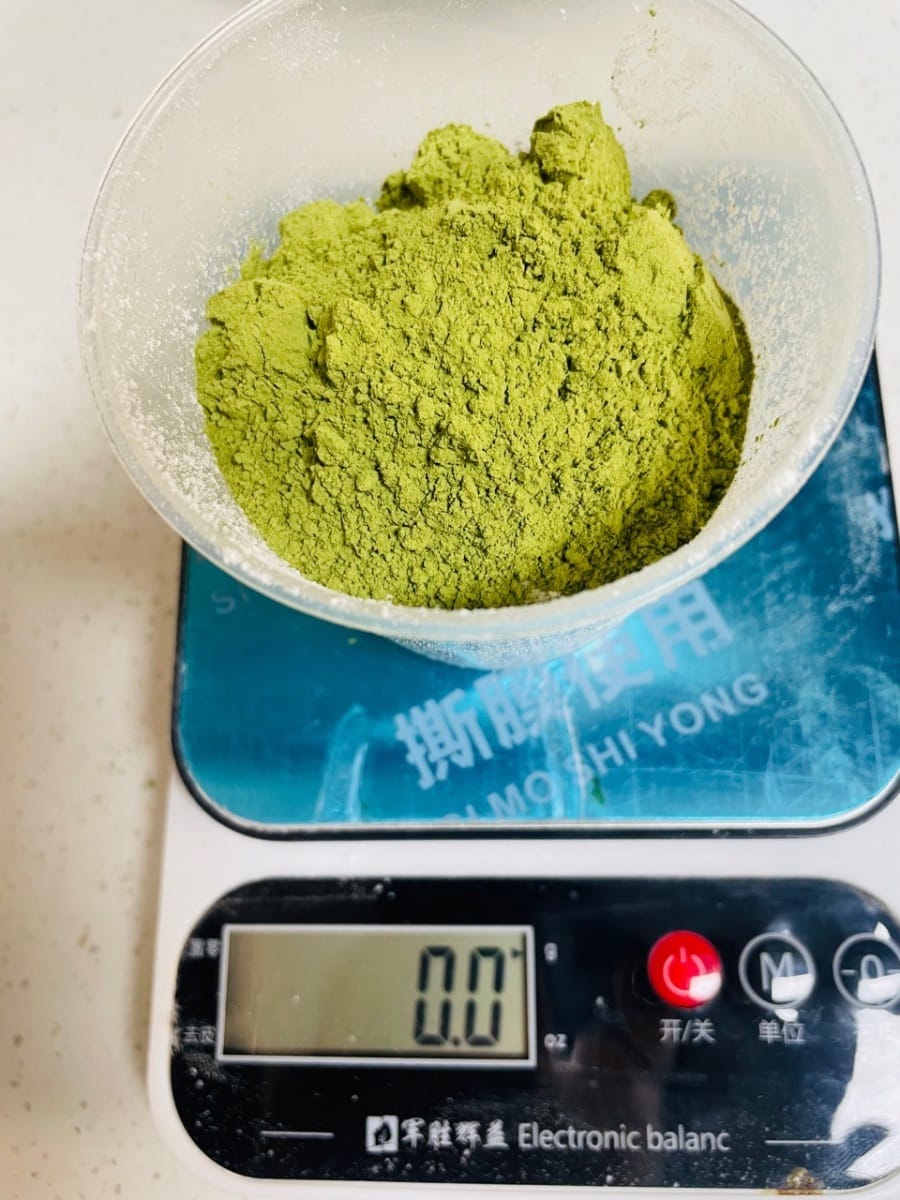
- Weigh out 55g of cake flour and mix it with 10g of matcha powder.


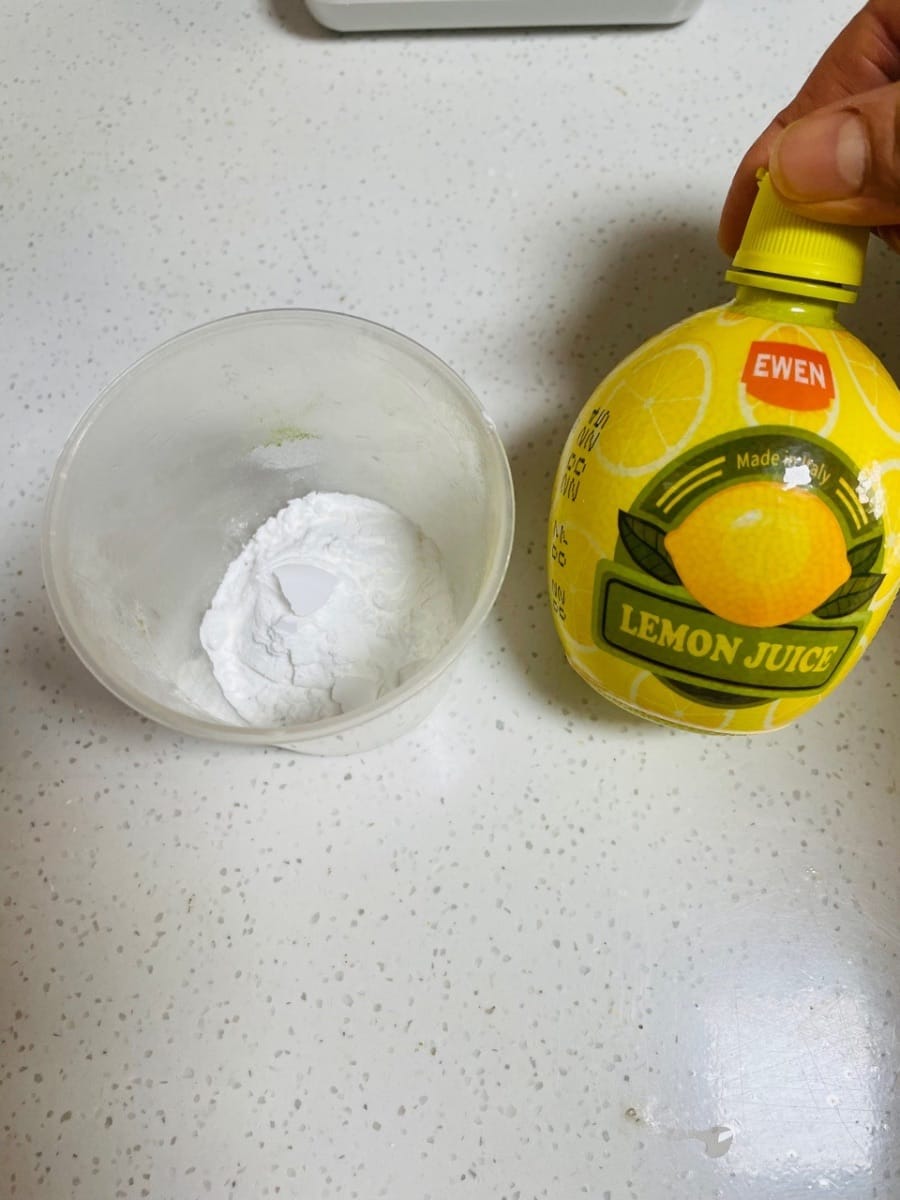
- Set aside 10g of cornstarch separately; it will be added to the egg whites later. Prepare the lemon juice.

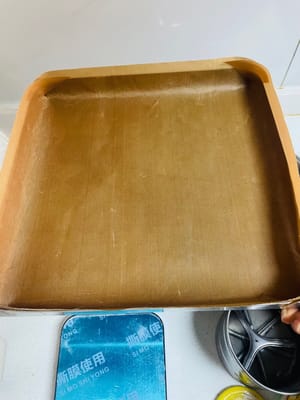
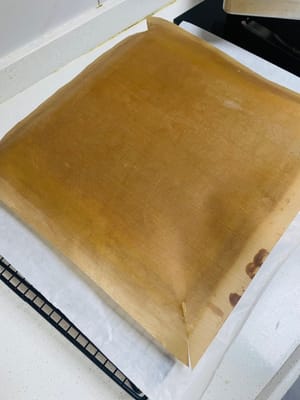
- Line a baking pan with parchment paper. Line the baking pan with parchment paper; this is key to achieving a smooth, towel-like surface. A 28x28 cm pan is perfect for making a Swiss roll, resulting in a cake slice of the right thickness.
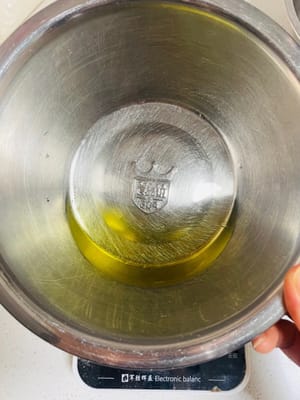
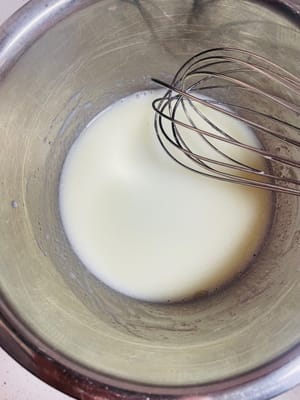
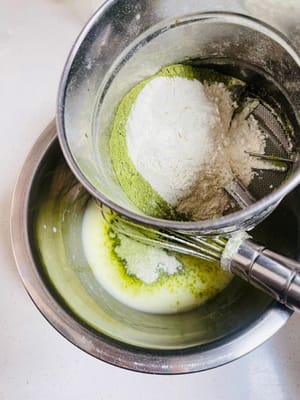
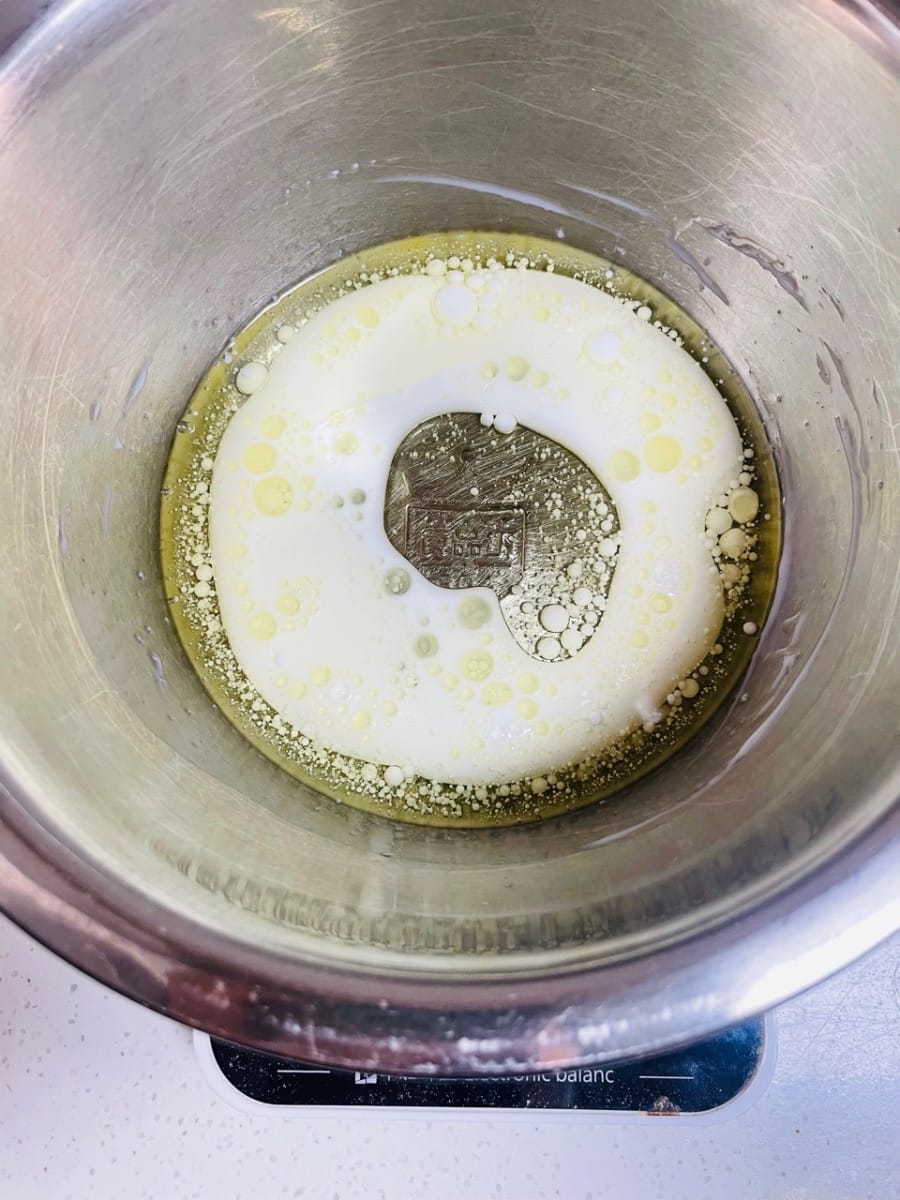
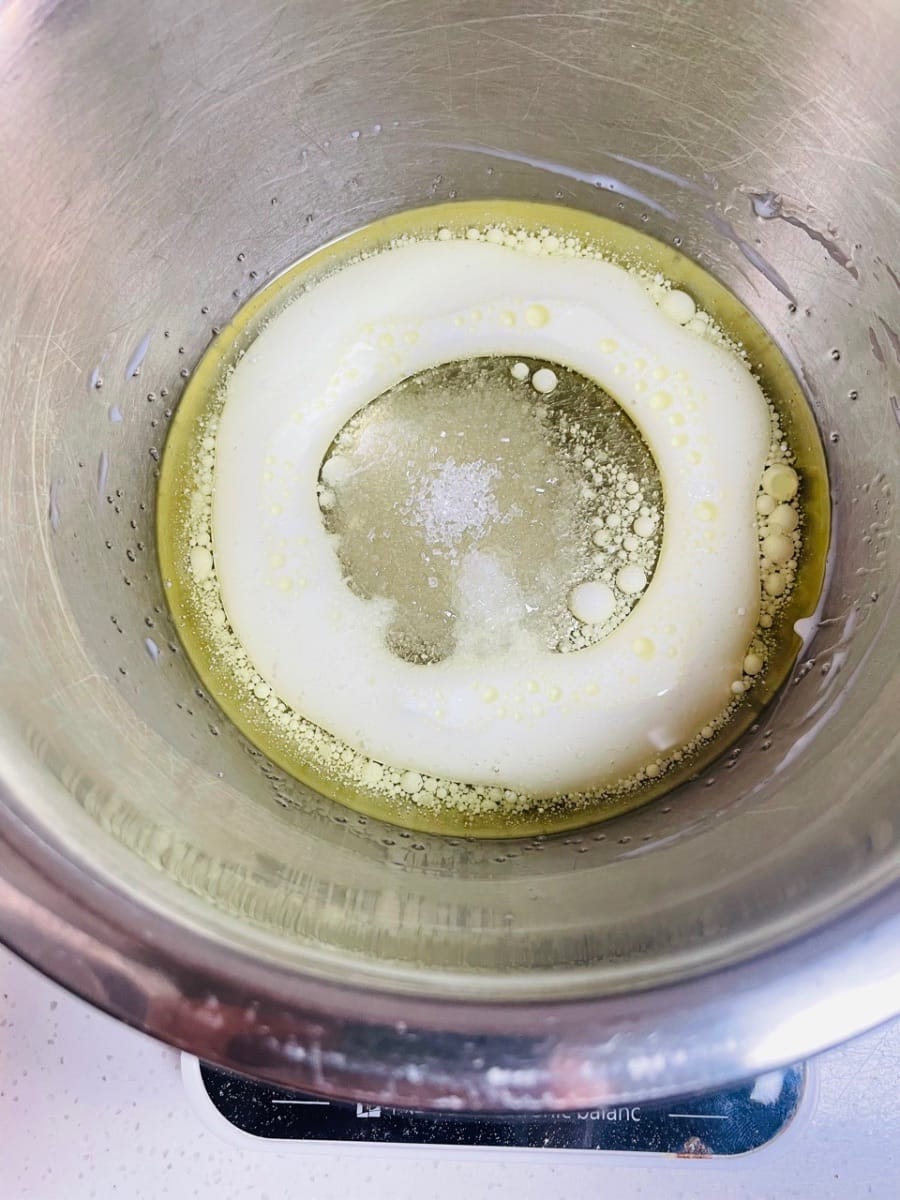
- Pour corn oil, milk, and 20g of sugar into the bowl containing the egg yolks, and stir until the sugar dissolves.


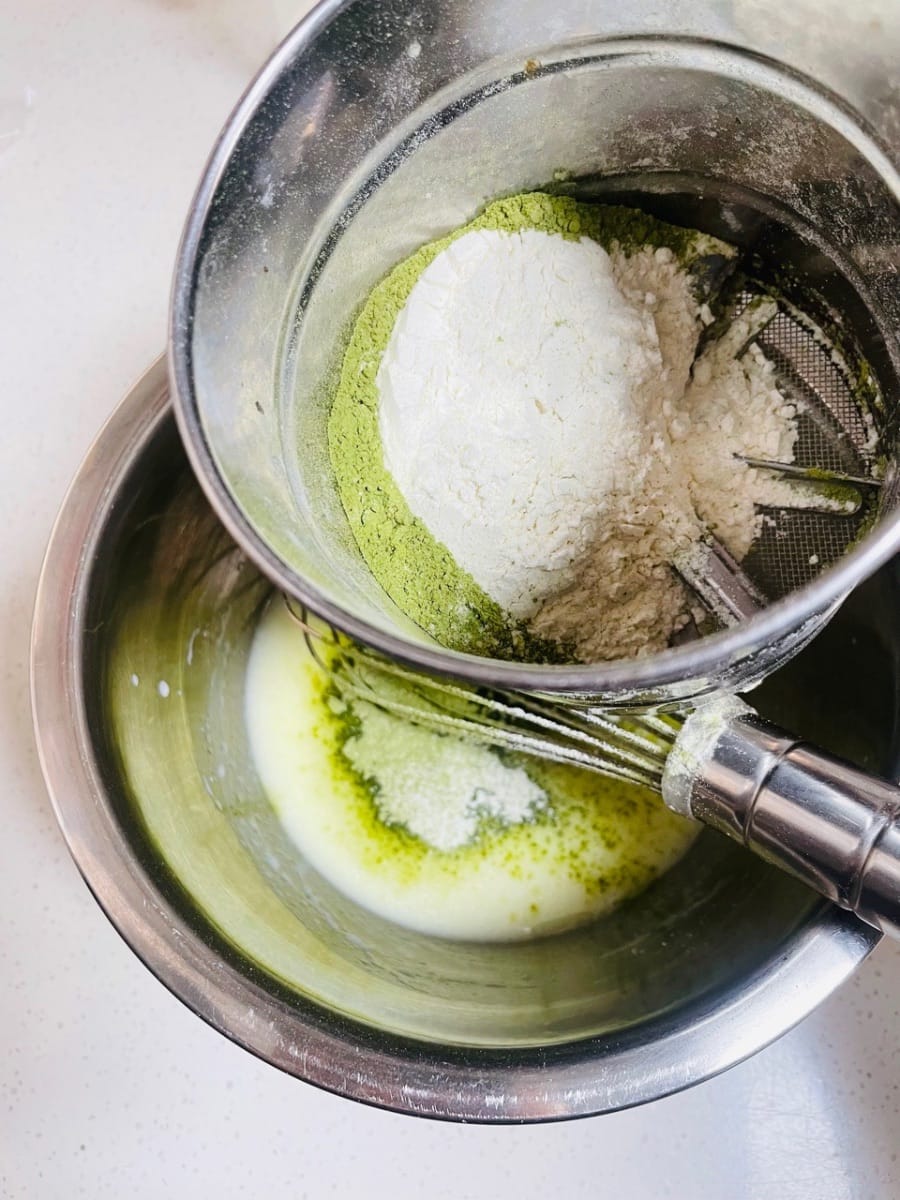
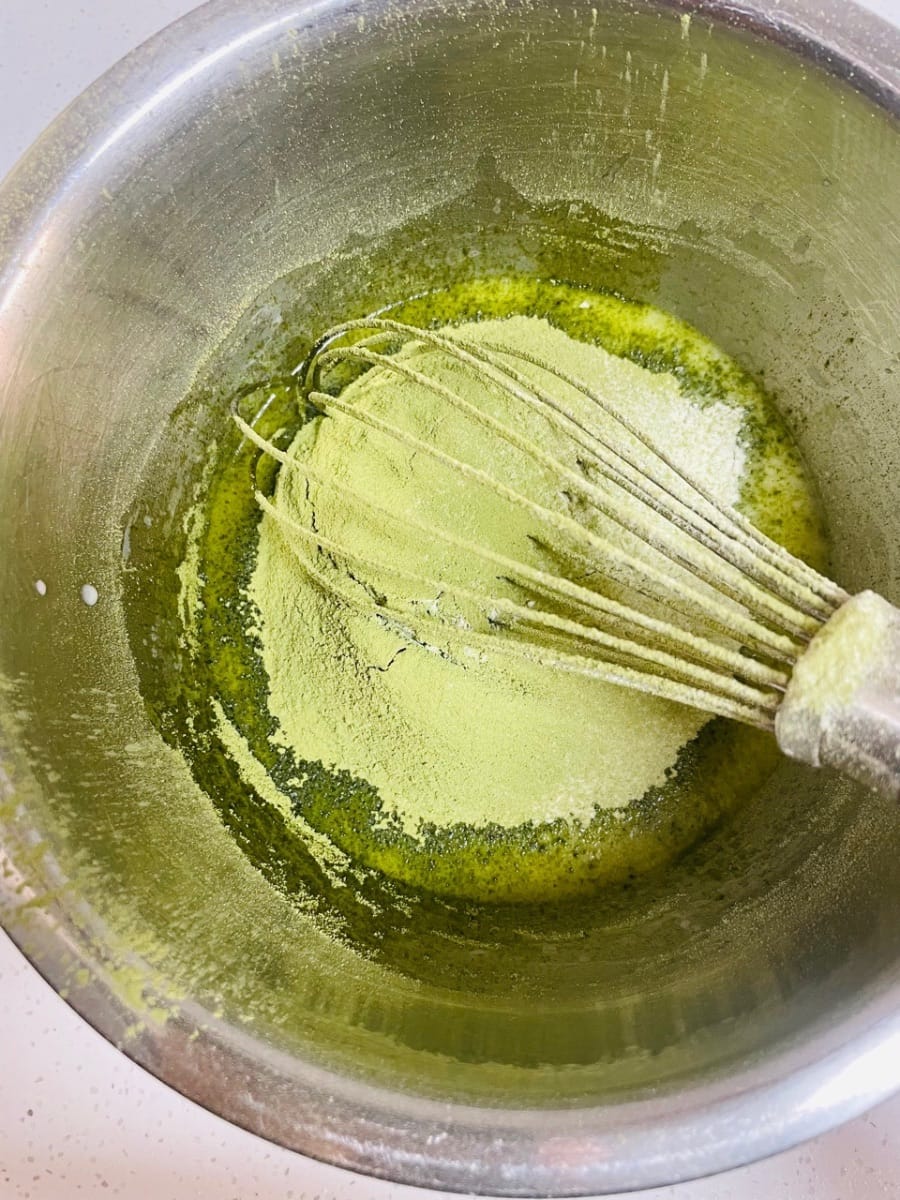
- Sift in the mixed cake flour and matcha powder, and stir with a spatula in a Z-shaped motion (don't stir in circles! Stirring in circles will cause the flour to develop gluten, making the cake hard).

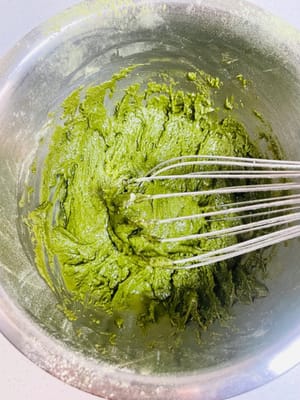
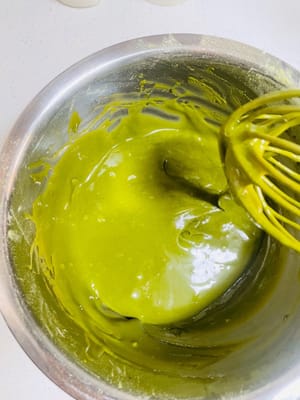
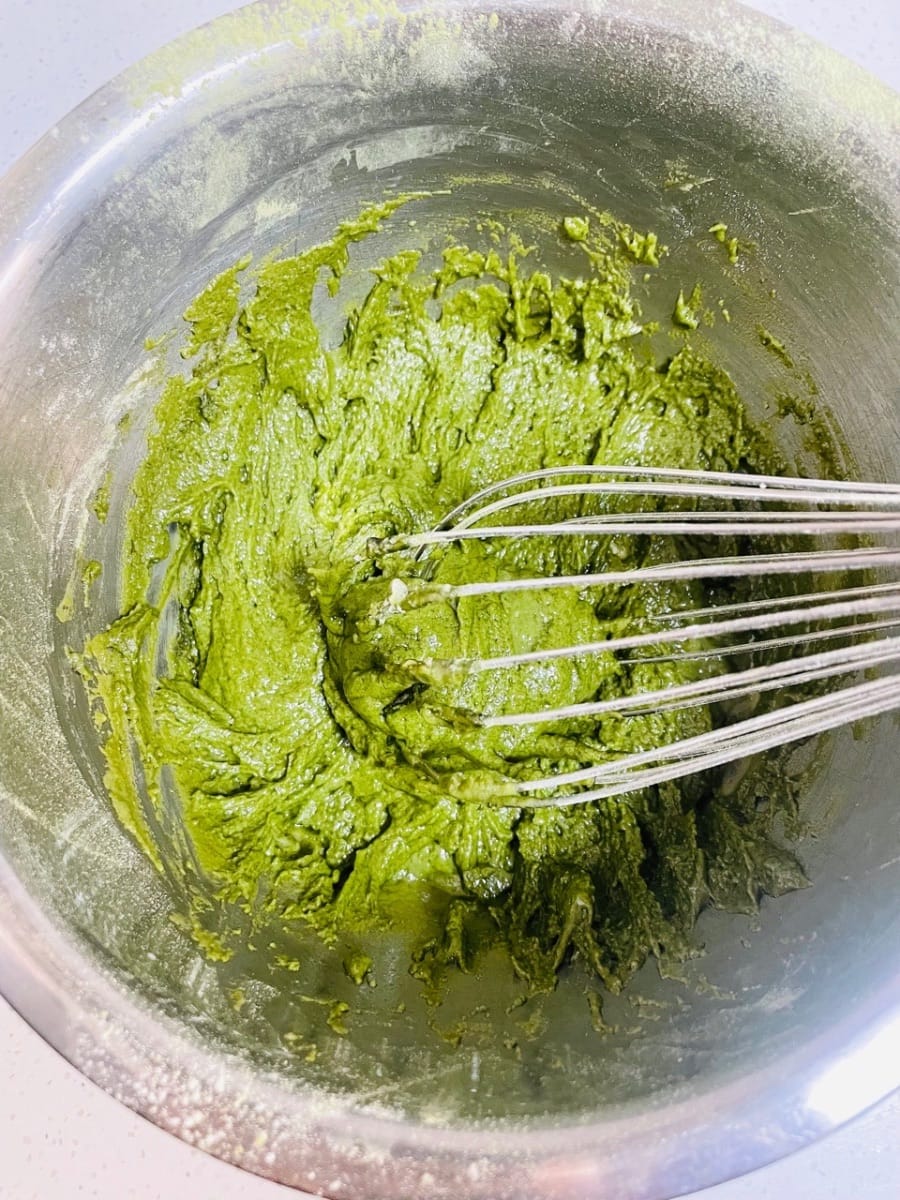
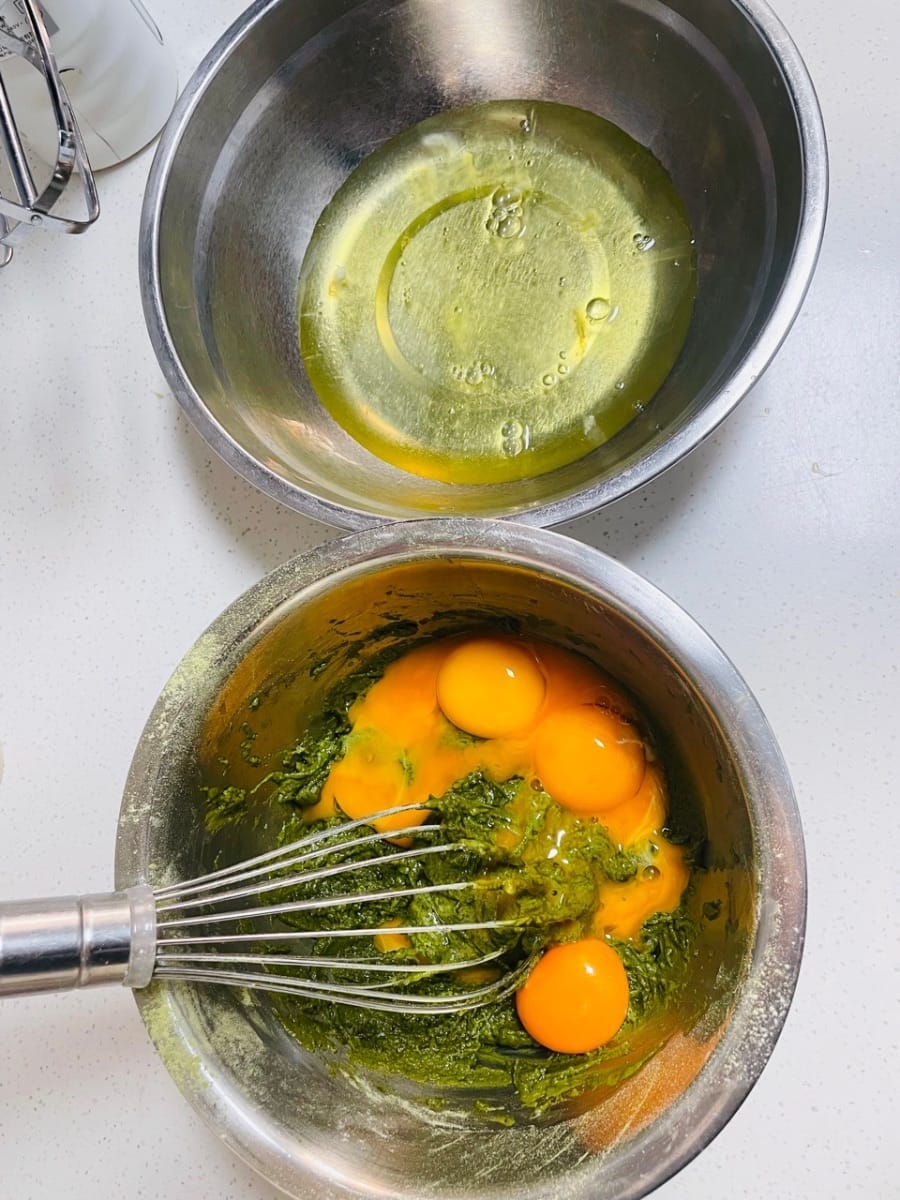
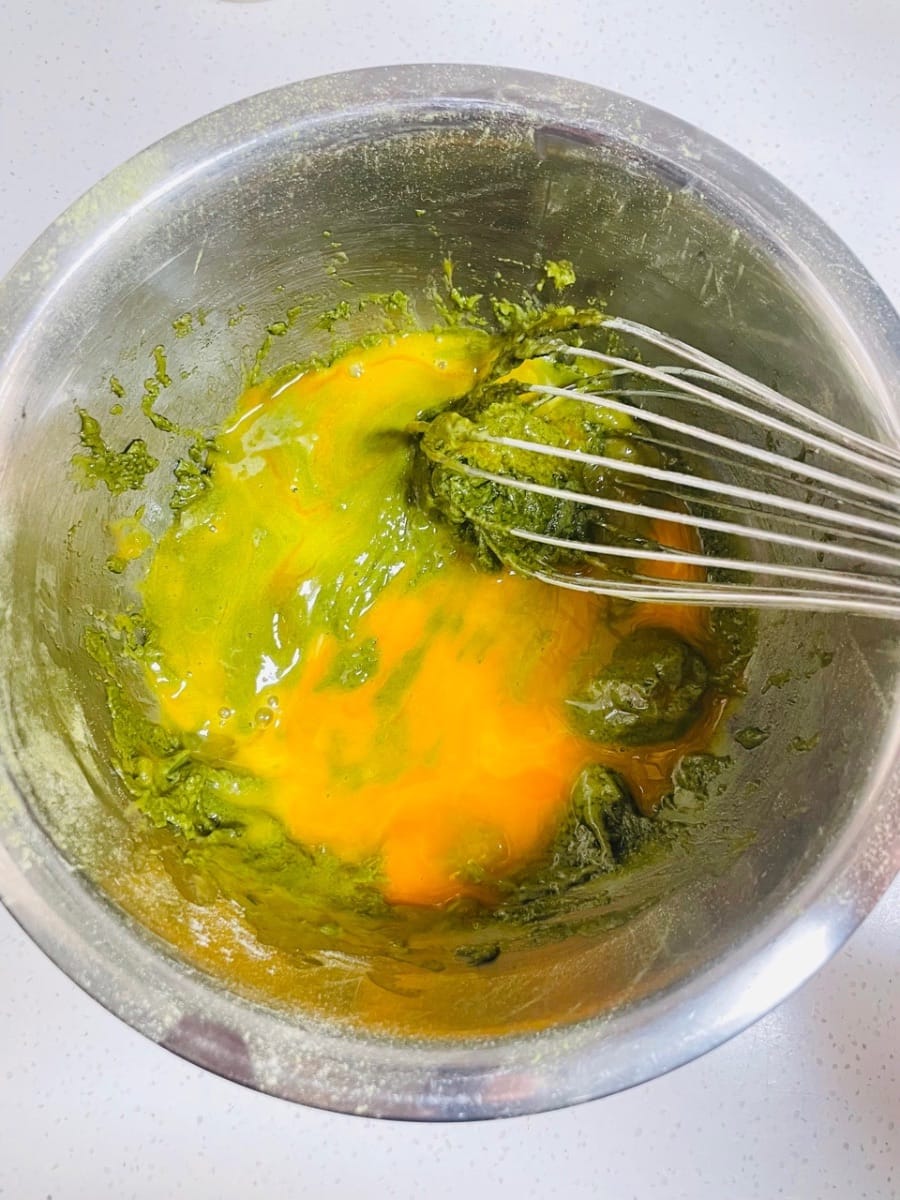
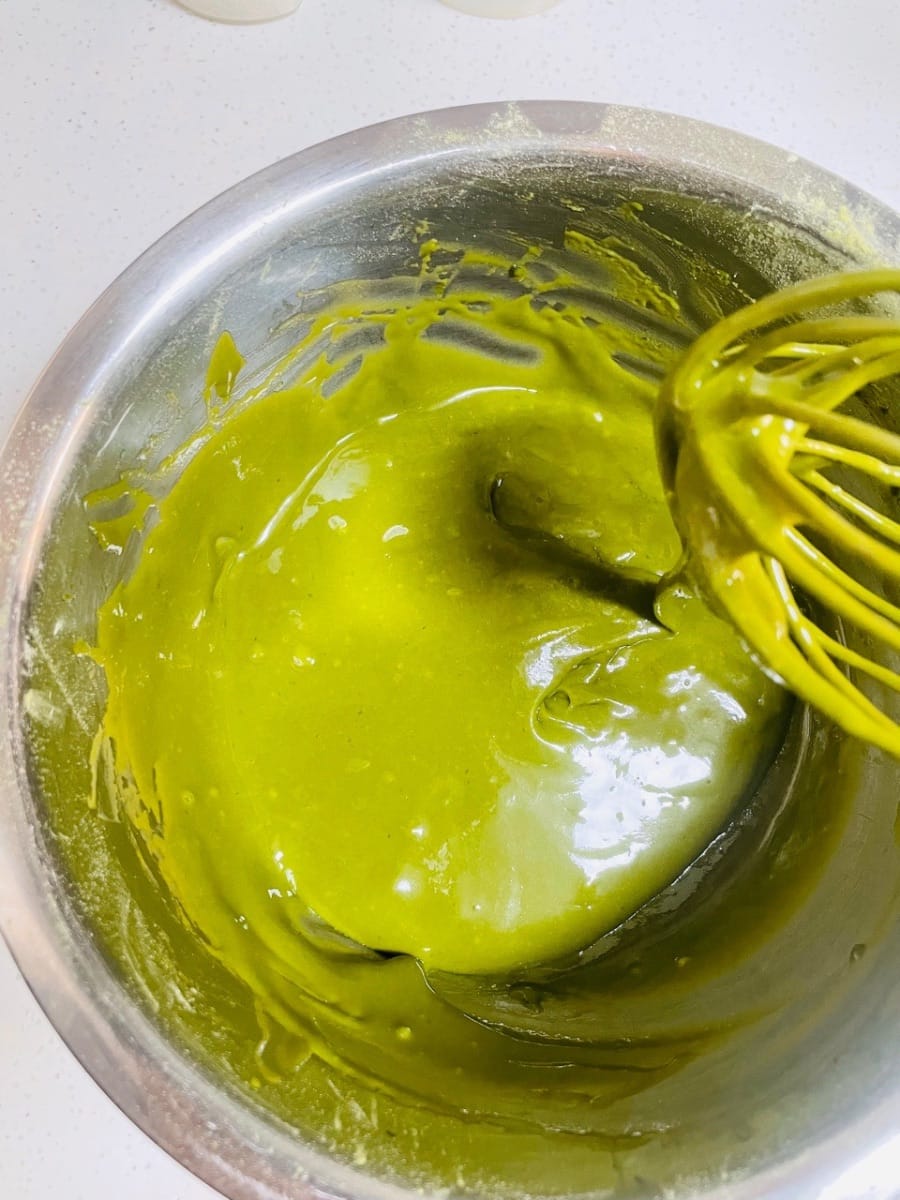
- First, completely separate the egg yolks and egg whites (place the egg whites in a separate, dry, and oil-free bowl). Add the egg yolks to the matcha powder mixture, then gently stir in a Z-shaped motion until the egg yolks are evenly combined (see video). The egg yolk batter should be smooth and free of dry powder. Set aside. (Preheat the oven to 150 degrees Celsius, top and bottom heat).


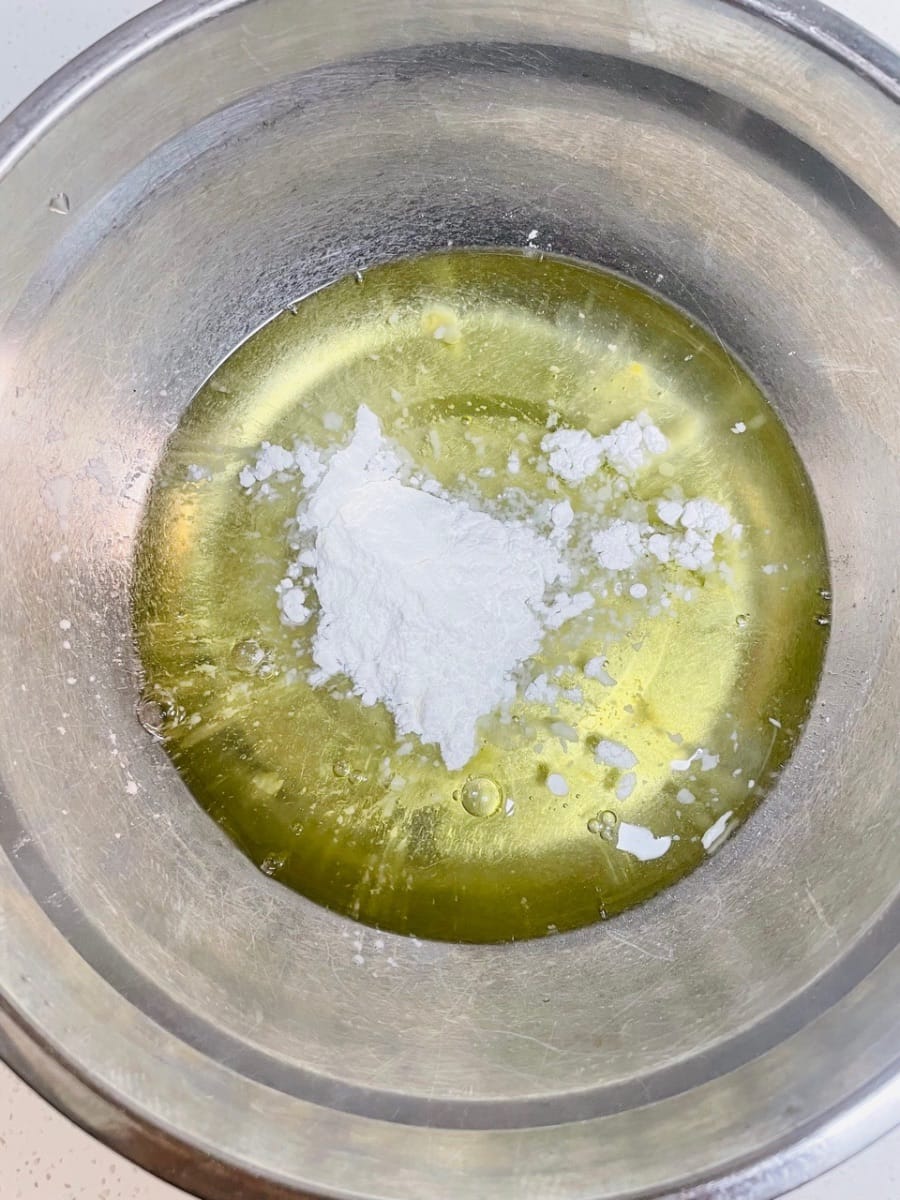
- Add a few drops of lemon juice to the egg white bowl (it can remove the fishy smell and make the egg whites more stable), then add 10g of cornstarch. Stir it manually a couple of times to prevent the powder from flying around when beating the egg whites.

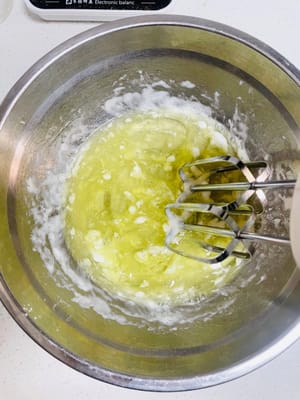
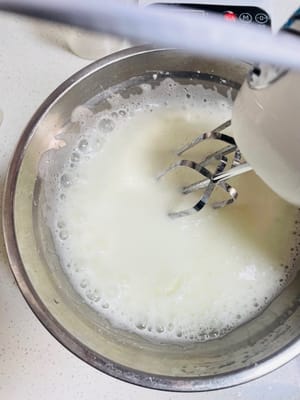
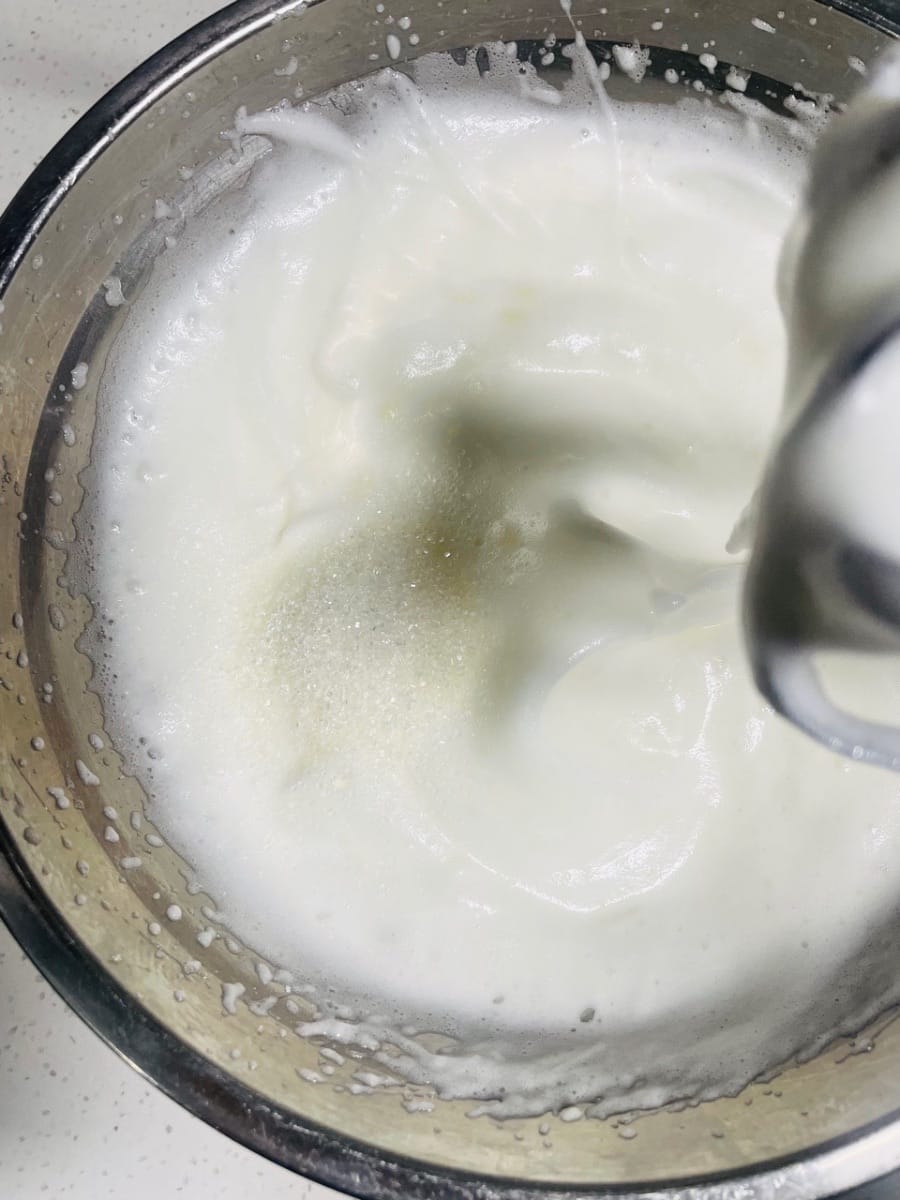
- Use an electric mixer to beat the egg whites, adding 40g of sugar in three batches (see picture for consistency):
1. Beat until large bubbles appear, add 1/3 of the sugar;
2. When the bubbles become finer, add another 1/3 of the sugar;
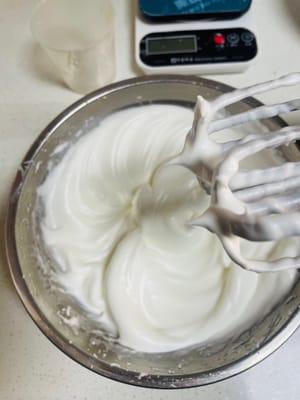
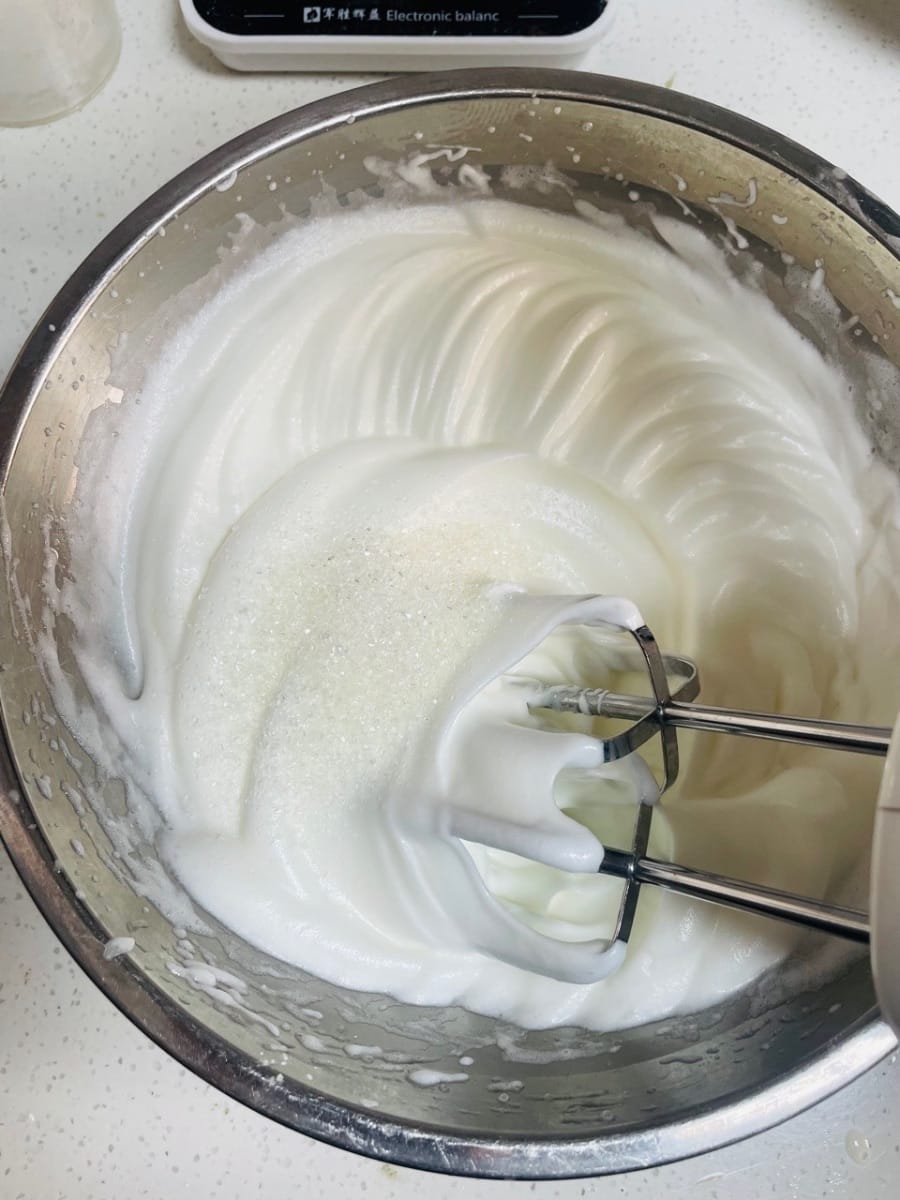
3. When the egg whites can form soft, drooping peaks, add the last 1/3 of the sugar;
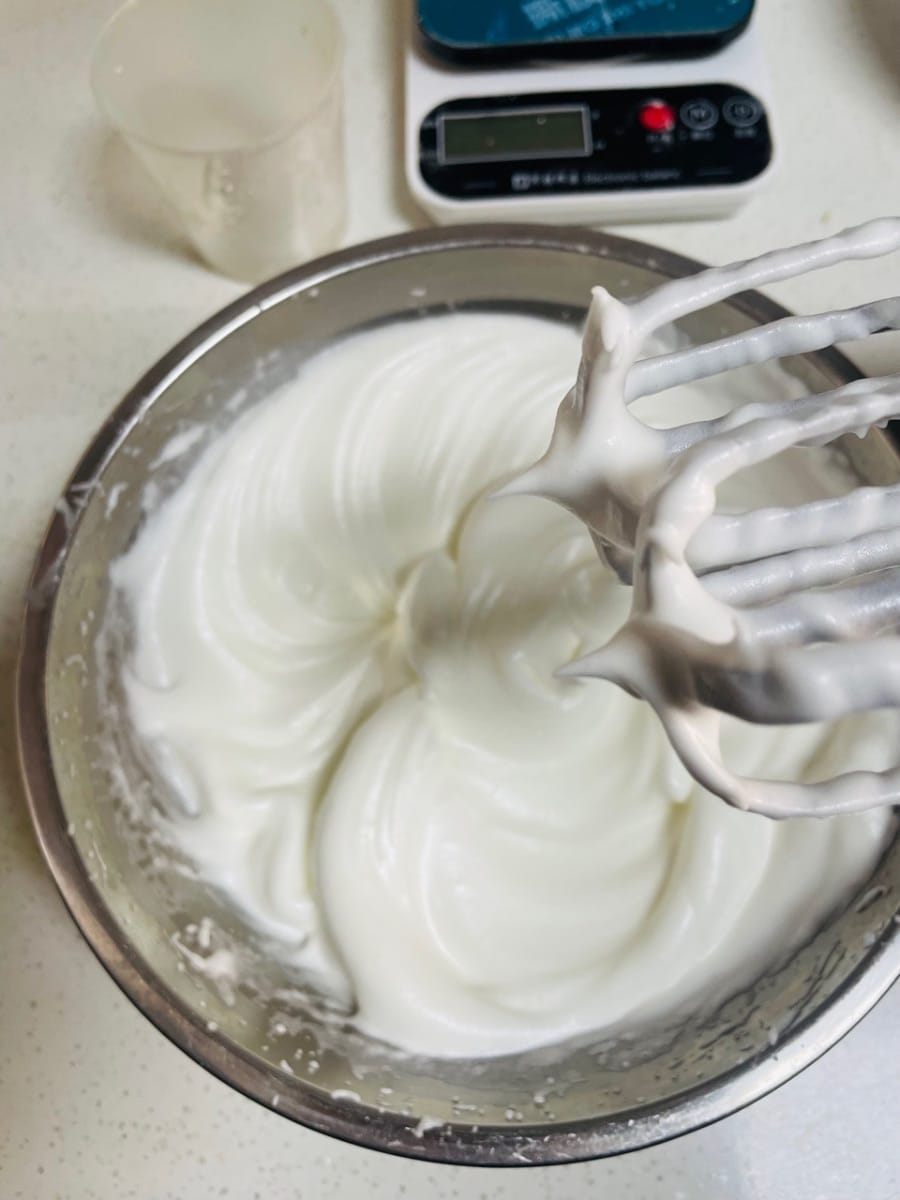
Continue beating until stiff peaks form (hard peaks), then stop! Overbeating will cause lumps to form, which will deflate when folding in the mixture.


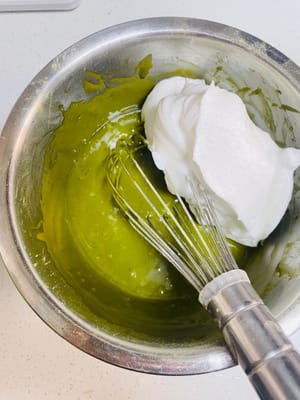
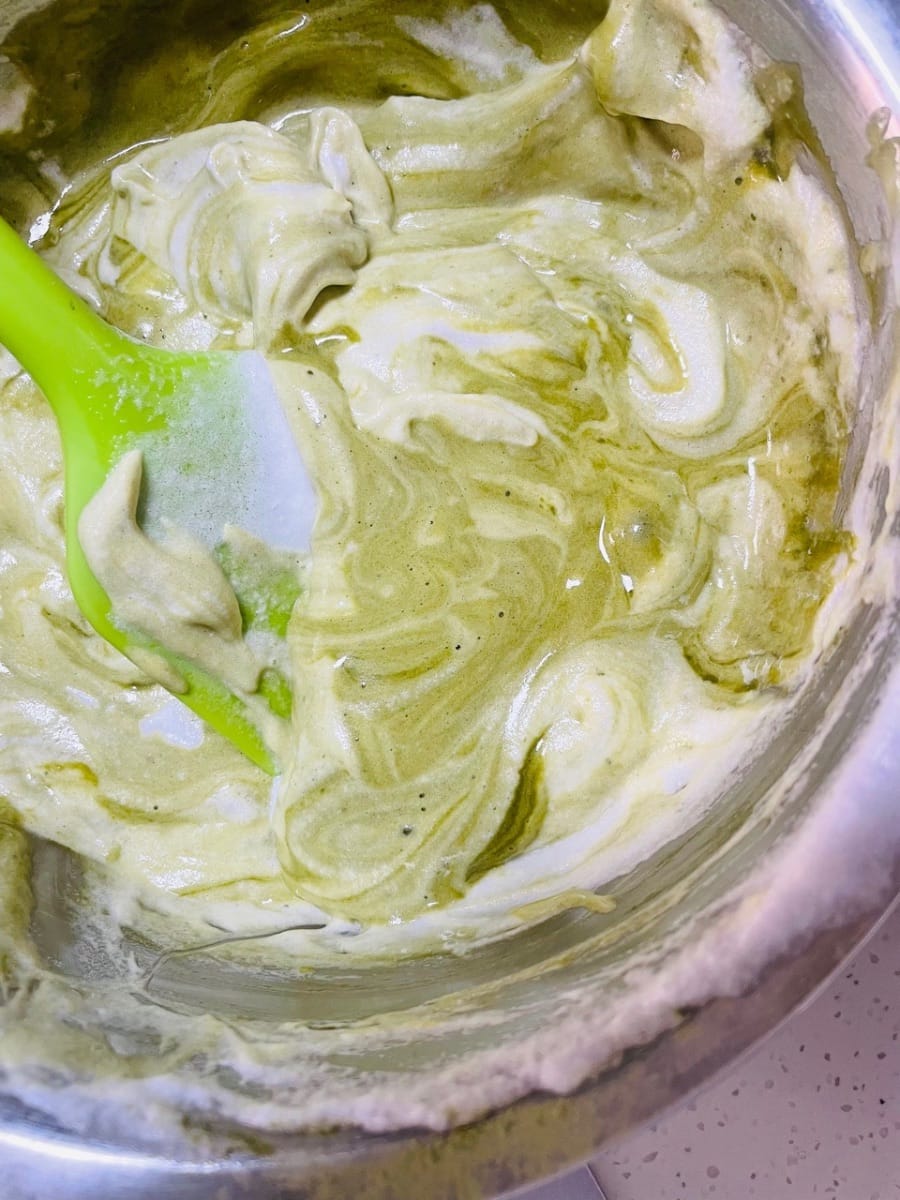
- Mixing the egg batter (see video) First, scoop 1/3 of the egg whites into the egg yolk batter and fold them in using a Z-shaped motion until well combined (mixing a small amount of egg whites first will make the consistency of the two batters similar, so that they are less likely to deflate when folding later, and the cake will be more fluffy).
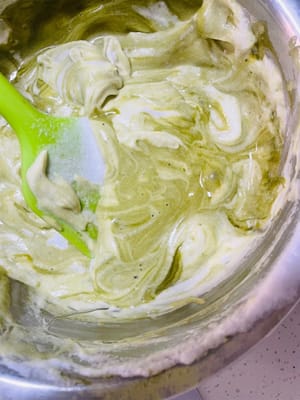
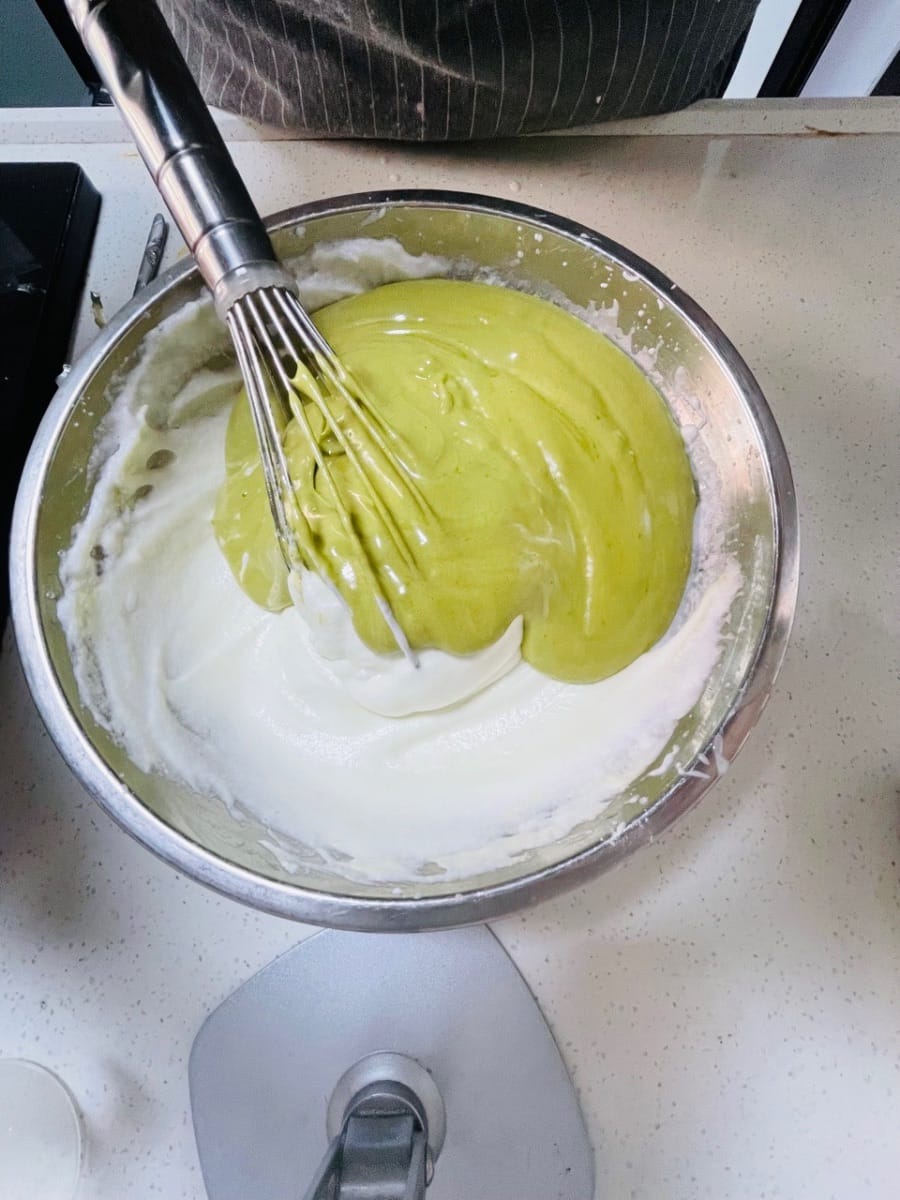
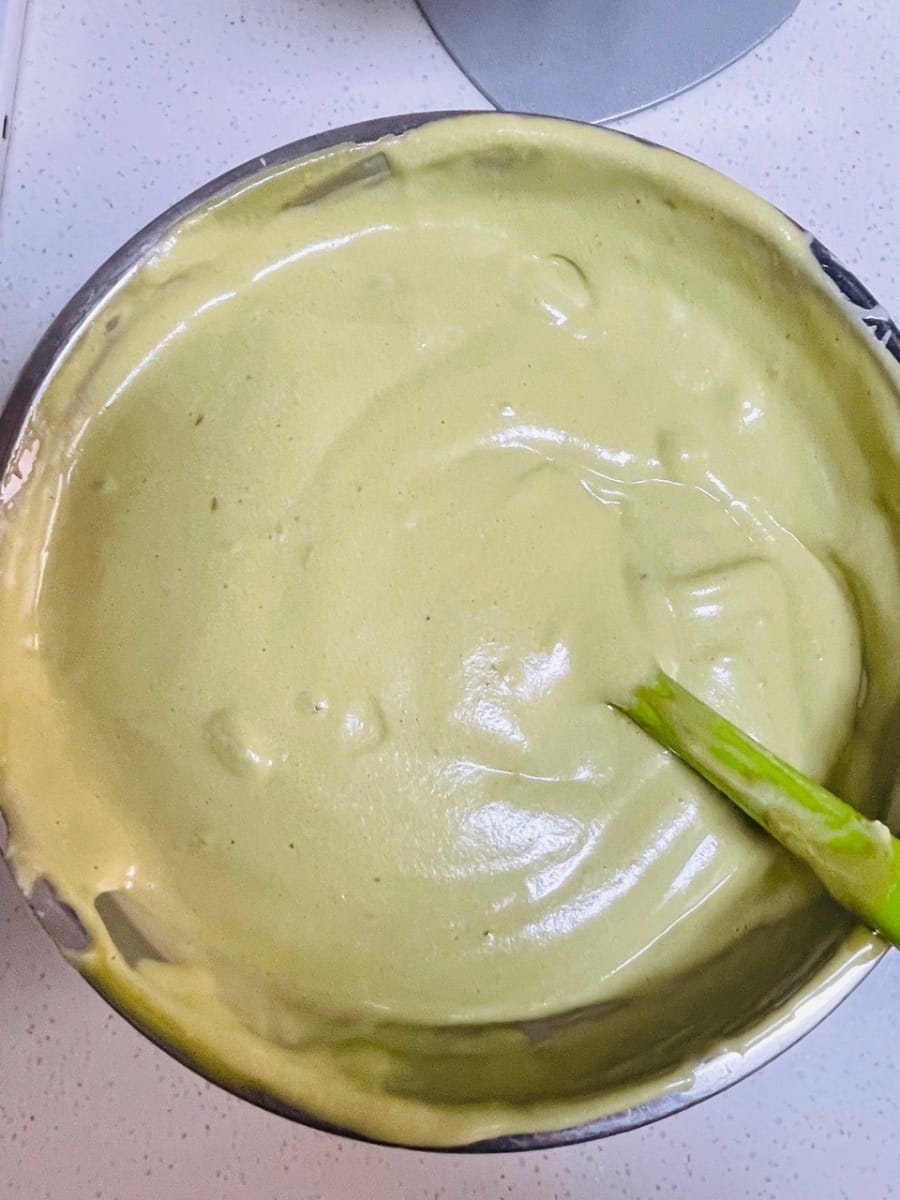
- Pour the mixed batter back into the remaining egg whites and continue to fold until well combined. The batter should be smooth and free of lumps.


- Pour the batter into the baking pan from a height of 30cm, and gently tap the pan a couple of times (to release large air bubbles and prevent large holes in the cake);
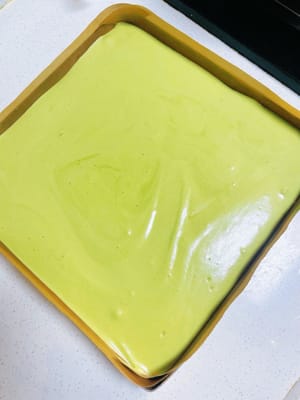
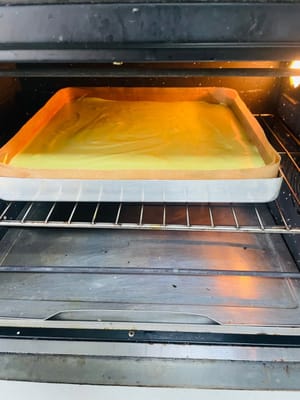
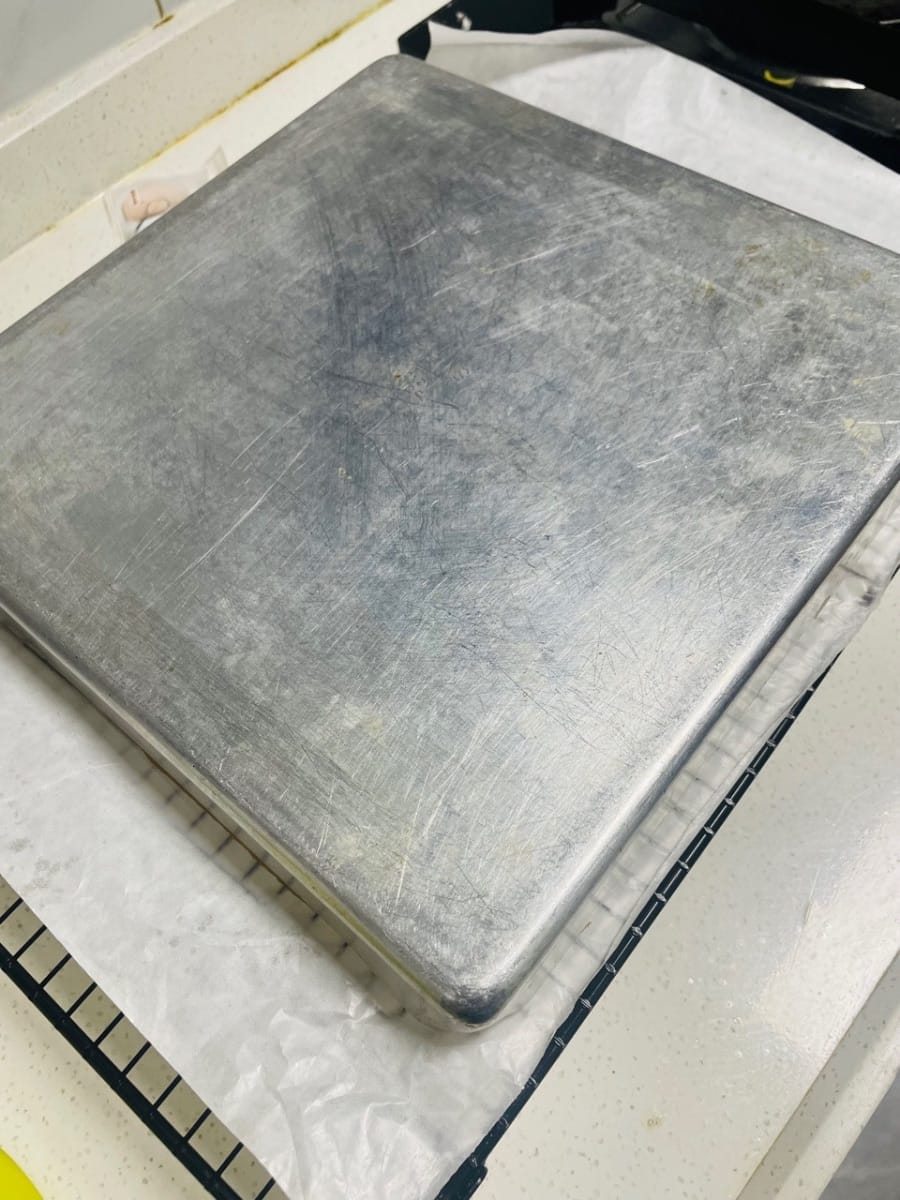
- Bake the cake base in a preheated oven on the middle rack for 20 minutes (cover with aluminum foil after about 13 minutes to prevent the surface from burning and becoming bitter). Every oven is different, so you need to adjust it accordingly.
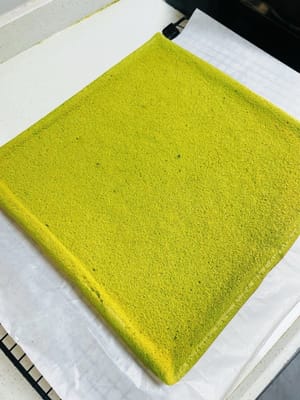
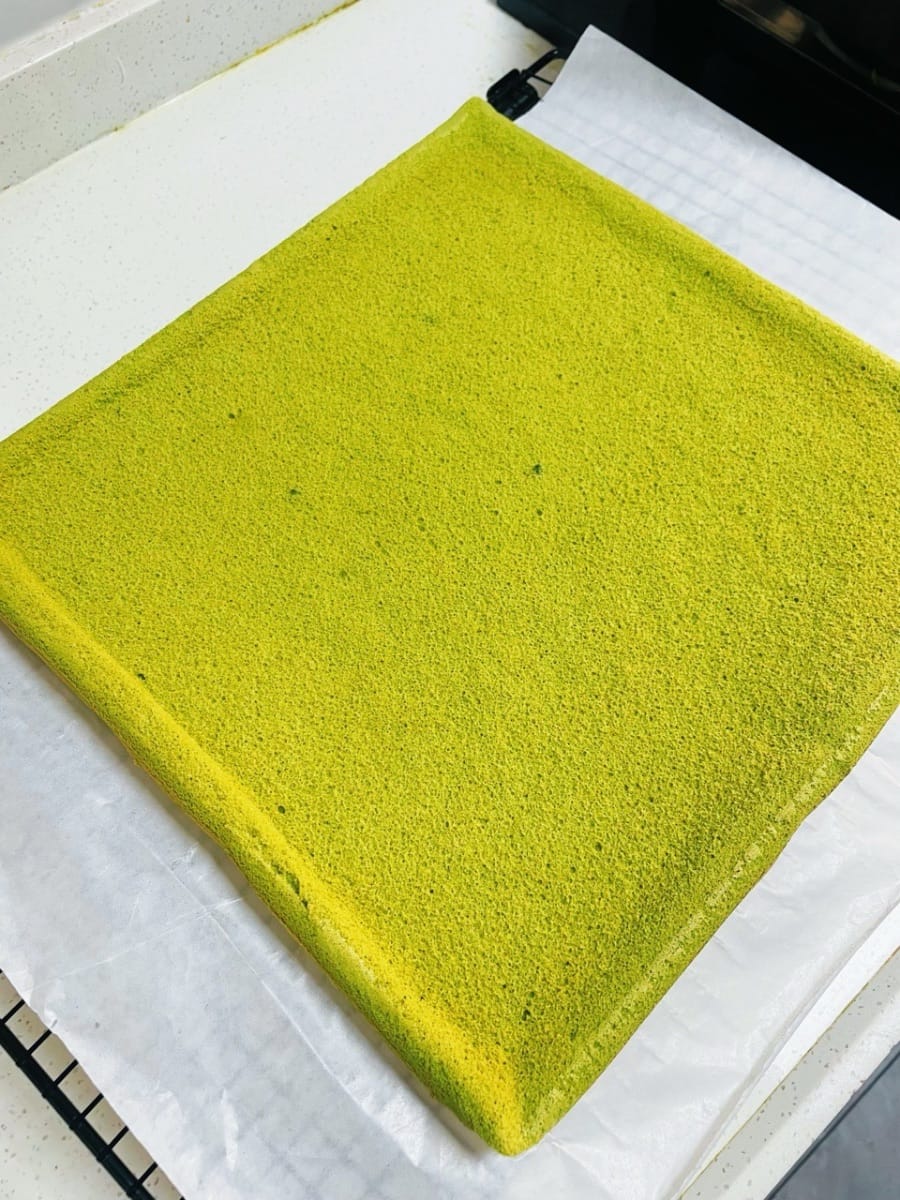
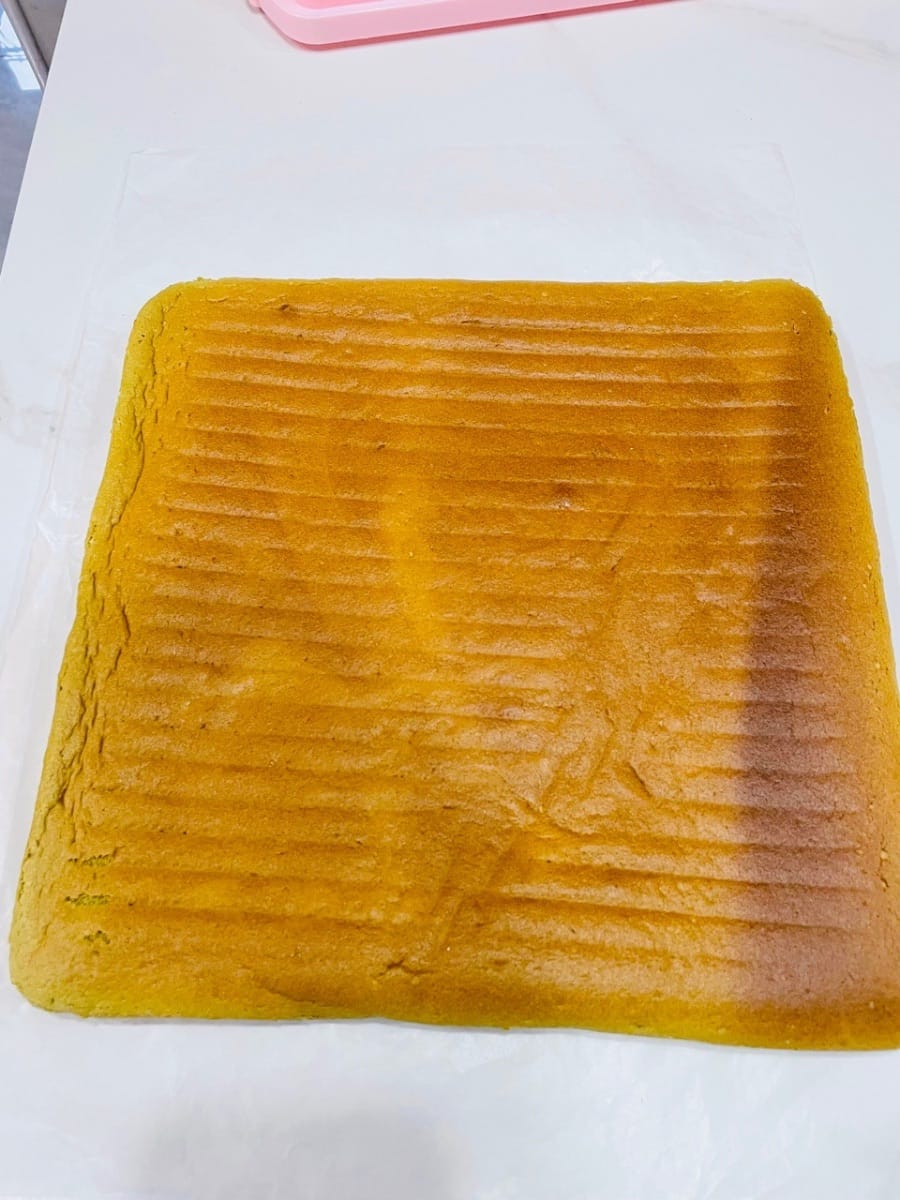
- Let the cake base cool.
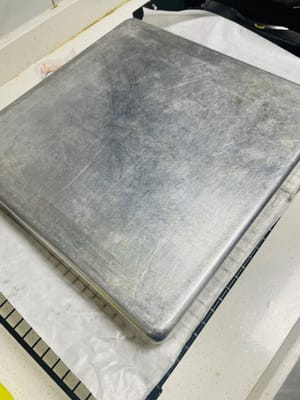
Place parchment paper on a wire rack. Once baked, remove from the rack, tap a couple of times to release excess heat, then immediately invert onto the wire rack. Carefully remove the baking tray (be careful, it will be hot). Then peel off the parchment paper and cover with another layer of clean parchment paper/baking mat (to prevent moisture evaporation, otherwise it will crack when rolling). Let it cool until it's no longer hot to the touch; don't let it cool for too long, as a very cold cake will be brittle and crack when rolled.
Easily roll up the cake like a towel! 😀
- Making Cream Filling
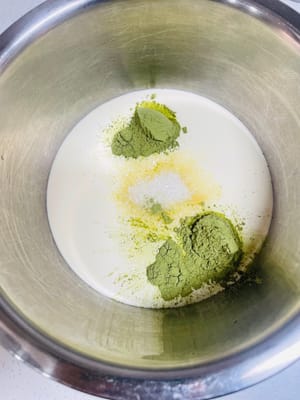
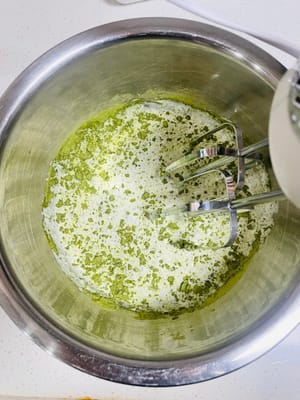
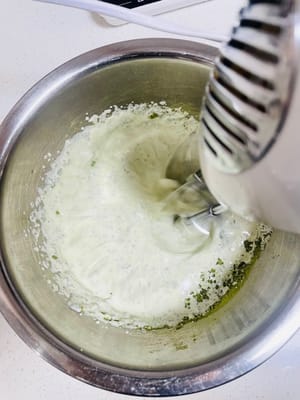
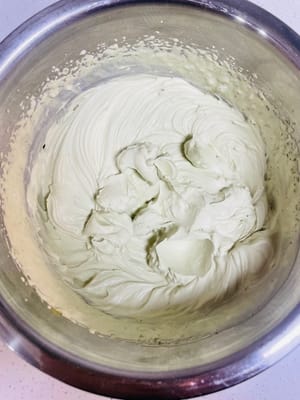
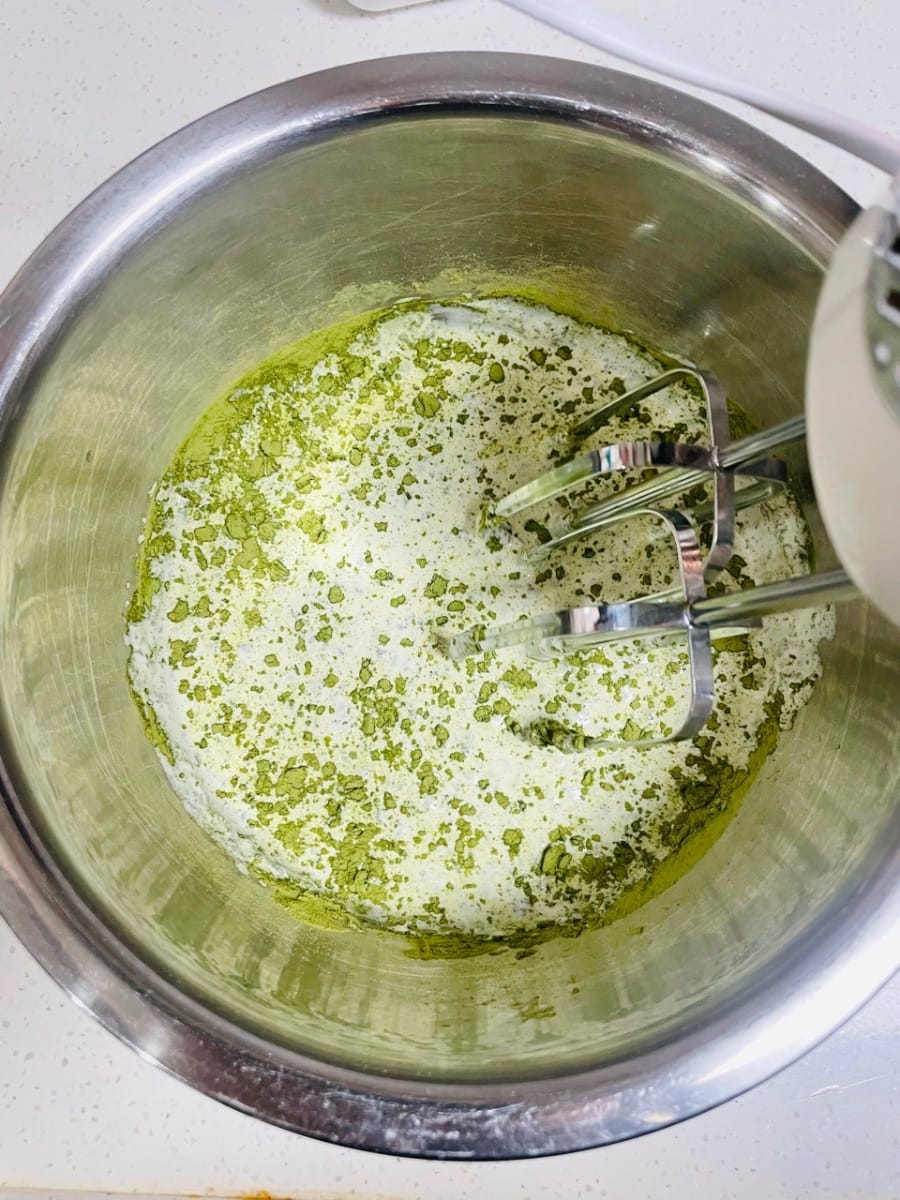
Remember to turn on the air conditioner when whipping cream in summer, as the cream will easily melt and won't whip properly if the room temperature is too high (room temperature should not exceed 20 degrees Celsius). Add 6g of matcha powder and 20g of sugar to the heavy cream, stir manually a couple of times to mix well, then turn on the electric mixer to whip; Whip until the cream is 70% whipped, then switch to low speed (to avoid over-whipping), and stop whipping when it can stand up straight (90% whipped). Do not over-whip (otherwise it will turn into butter and be unusable);
- Cake Rolling + Shaping
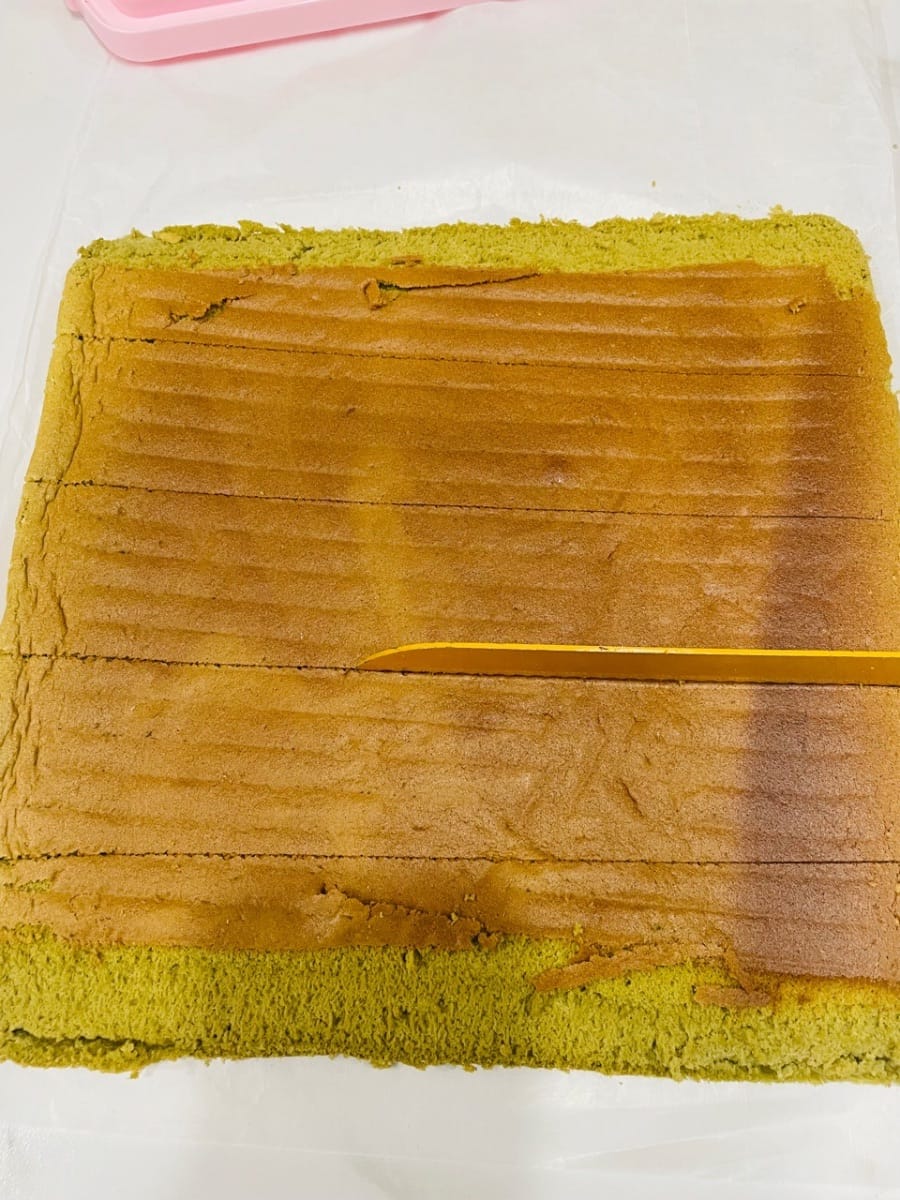
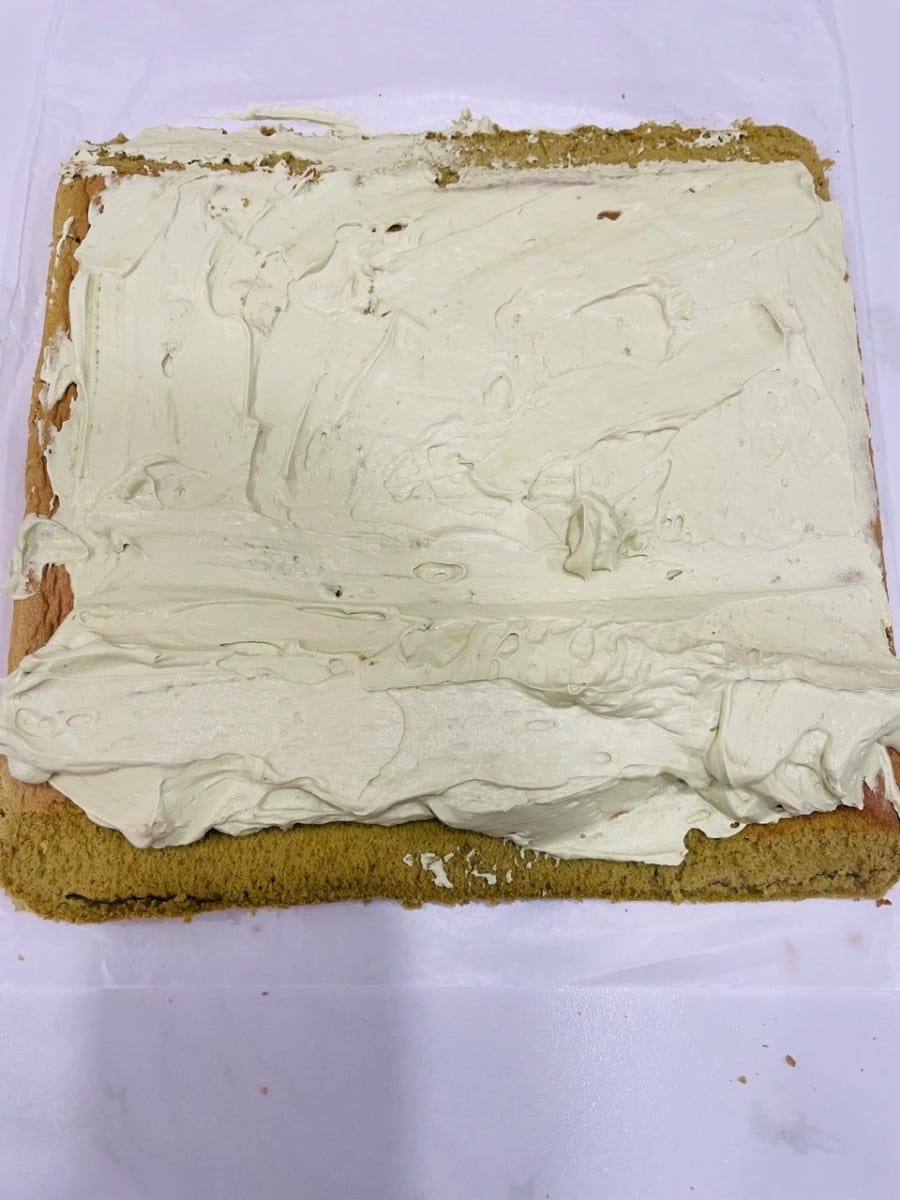
1. Lay parchment paper on your work surface, with the frosting side facing up. Trim the sides of the cake diagonally (this helps align the cake when rolling and improves its appearance). Make a few shallow cuts in the middle (don't cut all the way through! This makes it easier to bend and prevents cracking).
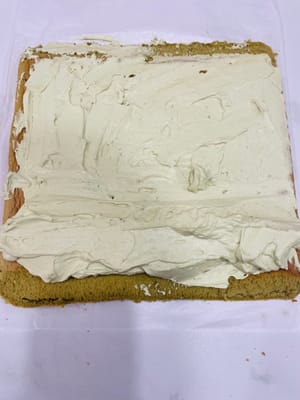
2. Spread frosting, making sure the side facing you has a thicker layer (this makes the center fuller and prevents hollow spots when rolling).
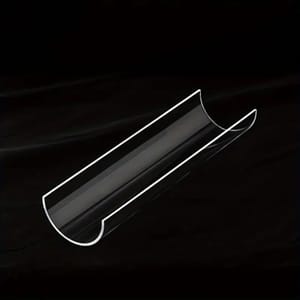
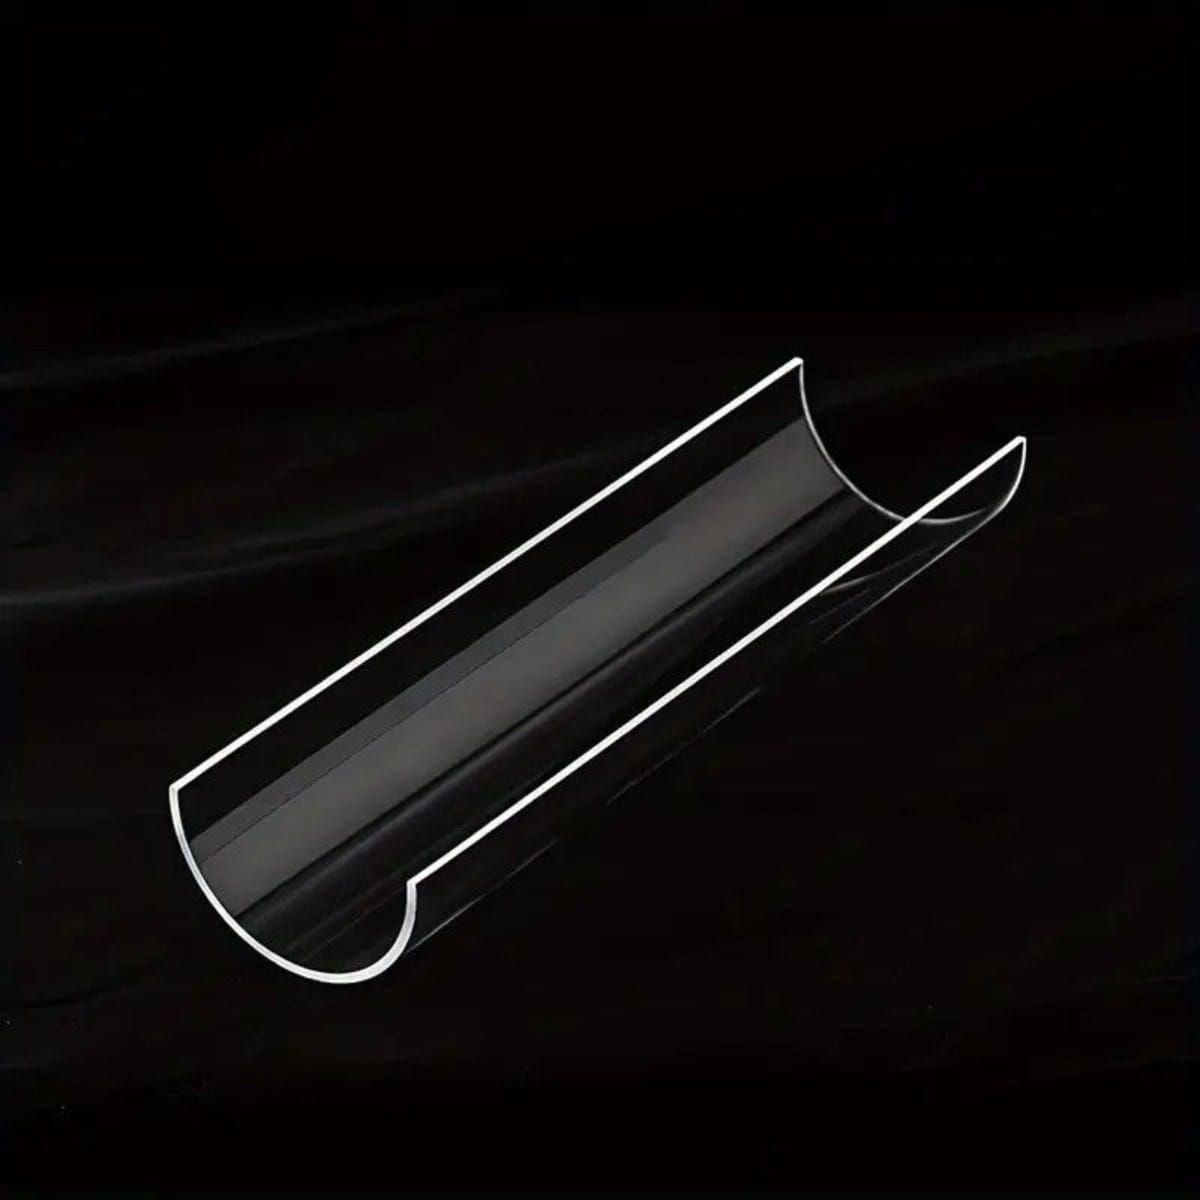
3. (See video) Quickly roll up the cake, using a rolling pin to help press it down. If you don't have a cake roller, use one. The parchment paper should be slightly wider so you can easily clip the ends to secure it. Refrigerate for at least 3 hours (this sets the cake so it won't fall apart when you cut it, resulting in a neat cut).


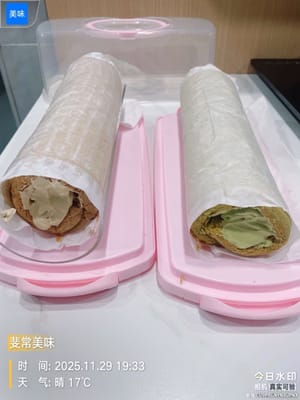
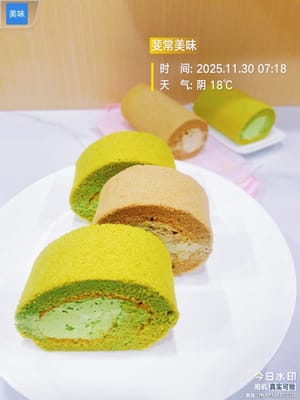
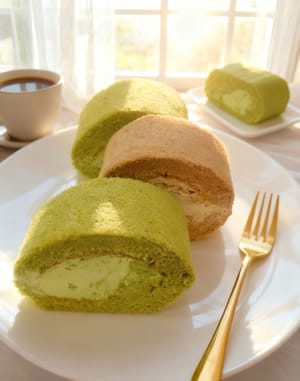
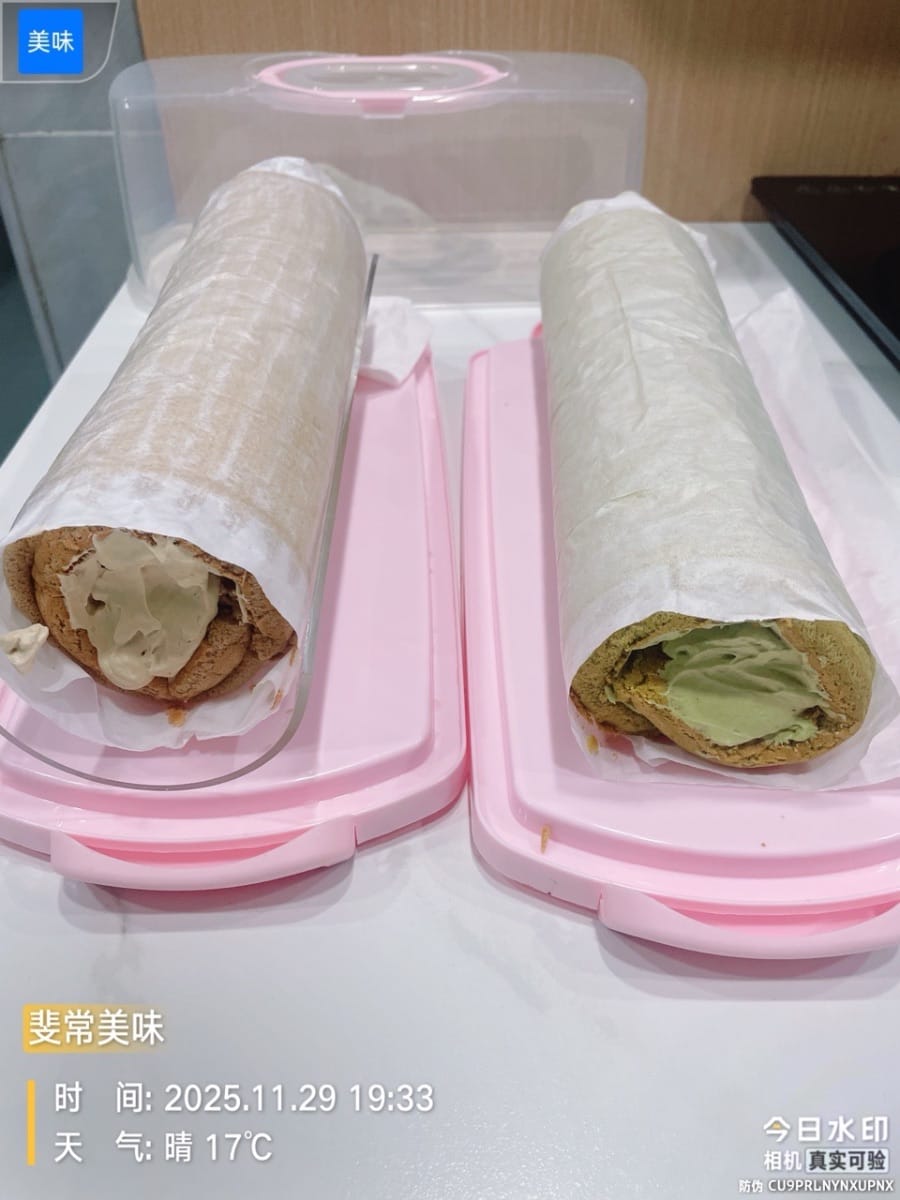
- Today I made two flavors: matcha and coffee cream. I couldn't take photos while rolling the matcha one, and I didn't need to take photos of the coffee one, so I filmed a video of the rolling technique using the coffee one. The rolling method is the same.
- To cut cake neatly and without sticking to your knife, always preheat your knife! Dip the knife in hot water for a few seconds, dry it, and then cut. Repeat this process for each slice. This will result in smooth cuts, preventing cream from sticking to the knife and ensuring a beautiful cake appearance!
- Everyone should have their own hobbies (photography, flower arranging, tea ceremony, dancing, etc.), and baking is a choice that brings warmth. It not only allows you to reap joy in the process of creation, but also becomes a heartwarming social bond, bringing people closer together with delicious homemade dishes; if you hone your skills, you can even turn your passion into income, achieving a two-way pursuit of interest and value, and gaining a unique sense of accomplishment while adhering to your passion.


Languages
Matcha-Sahne-Biskuitrolle - Deutsch (German) versionMatcha Cream Cake Roll - English version
Rollo de pastel de crema de matcha - Español (Spanish) version
Gâteau roulé à la crème matcha - Français (French) version
Bolu Gulung Krim Matcha - Bahasa Indonesia (Indonesian) version
Rotolo di torta alla crema di matcha - Italiana (Italian) version
抹茶クリームロールケーキ - 日本語 (Japanese) version
마차 크림 케이크 롤 - 한국인 (Korean) version
เค้กโรลครีมมัทฉะ - แบบไทย (Thai) version
抹茶牛油蛋糕卷 - 香港繁體中文 (Traditional Chinese - Hong Kong) version