Matcha Yuzu Cream Cheese Scone(抹茶柚子乳酪司康)
Redefining Recipes for the Digital Age
Ingredients
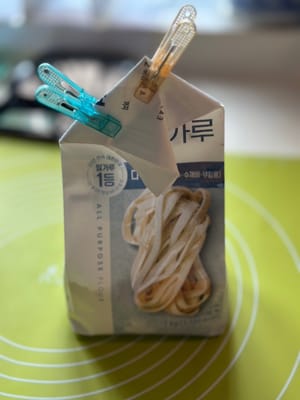
- 200 g plain flour
- 25 g sugar
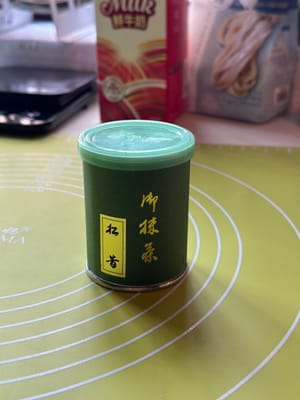
- 10 g matcha
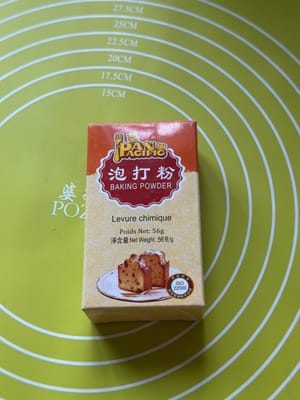
- 6 g baking powder
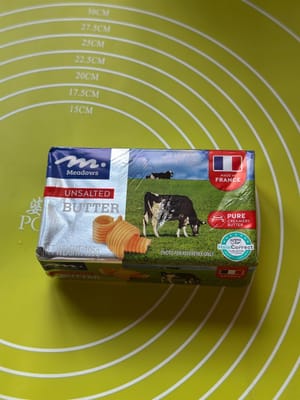
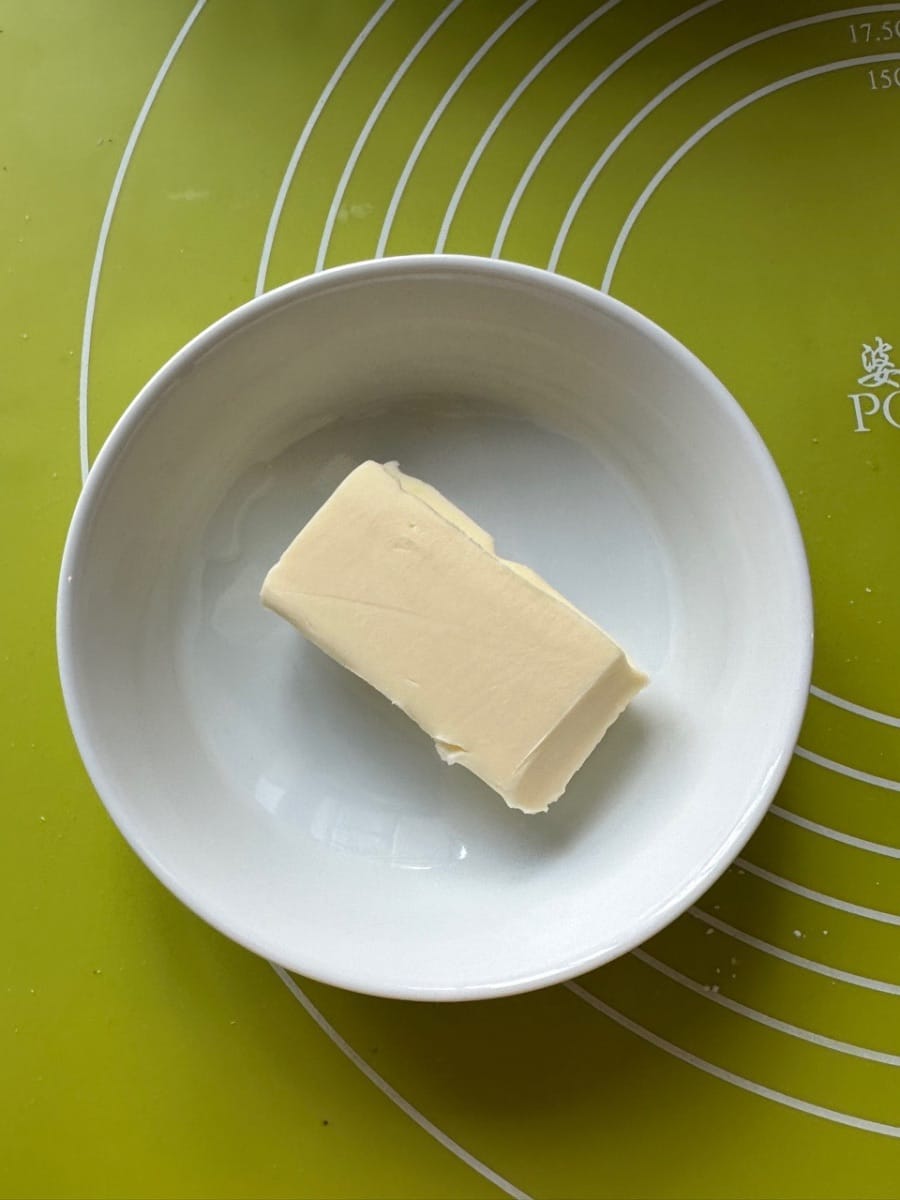
- 40 g cold unsalted butter
- 90 g cold milk (depends on your flour absorption)

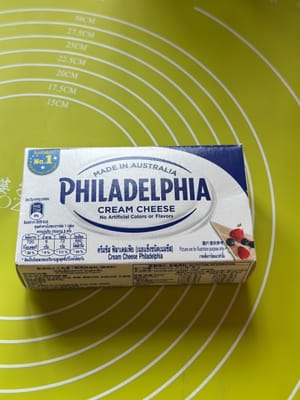
- 180 g cream cheese
- 18 g sugar

- 8 g matcha

- 5 g milk

- Yuzu jam
Steps
- Scone dough
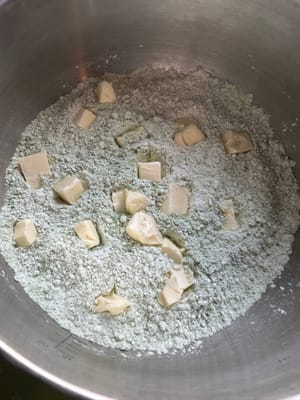
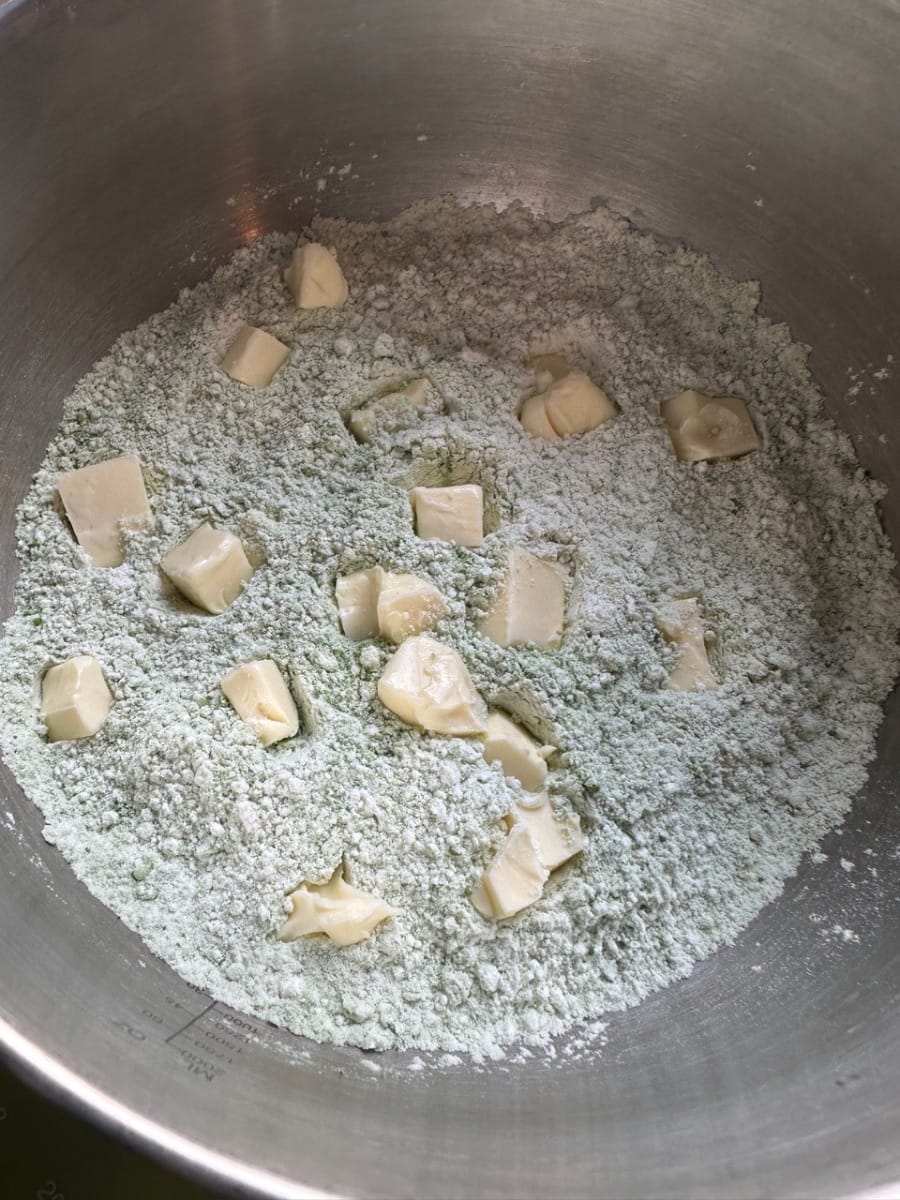
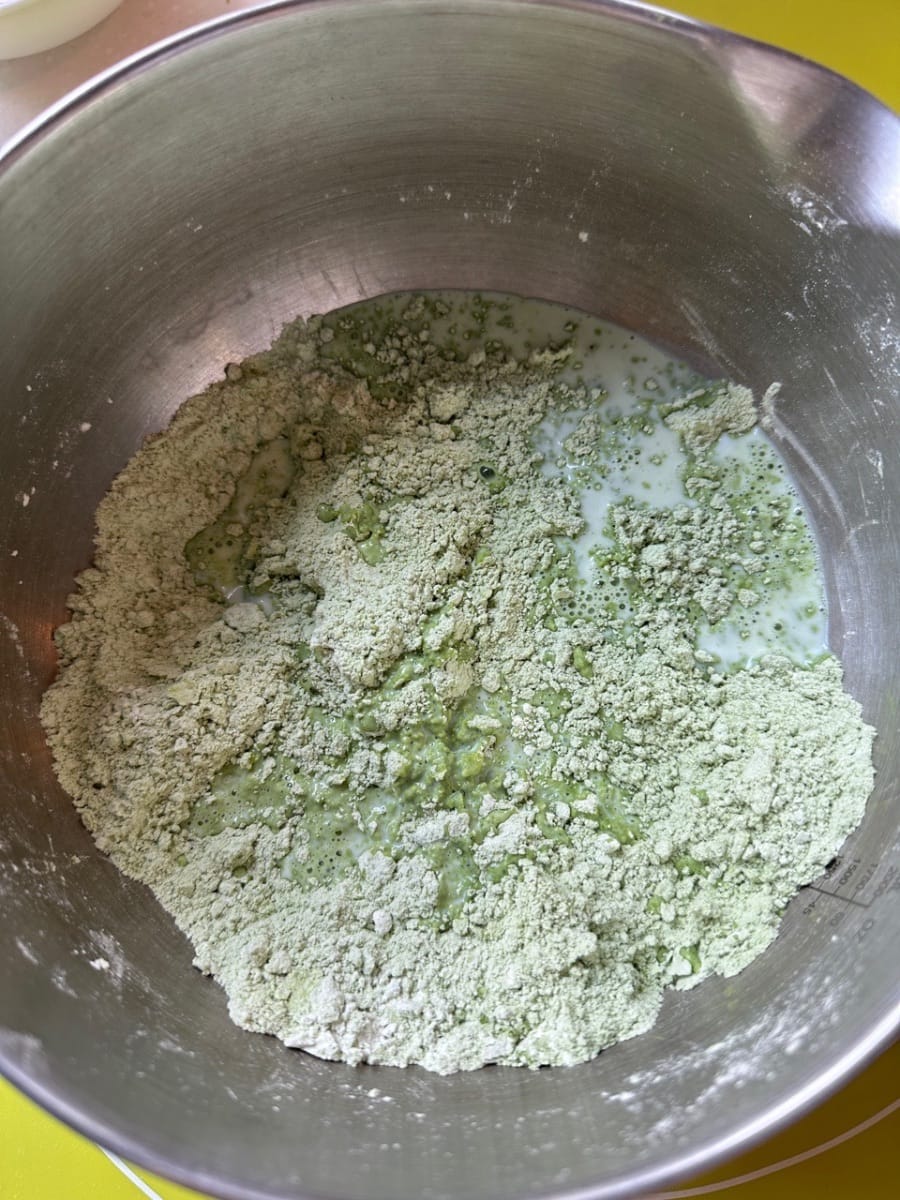
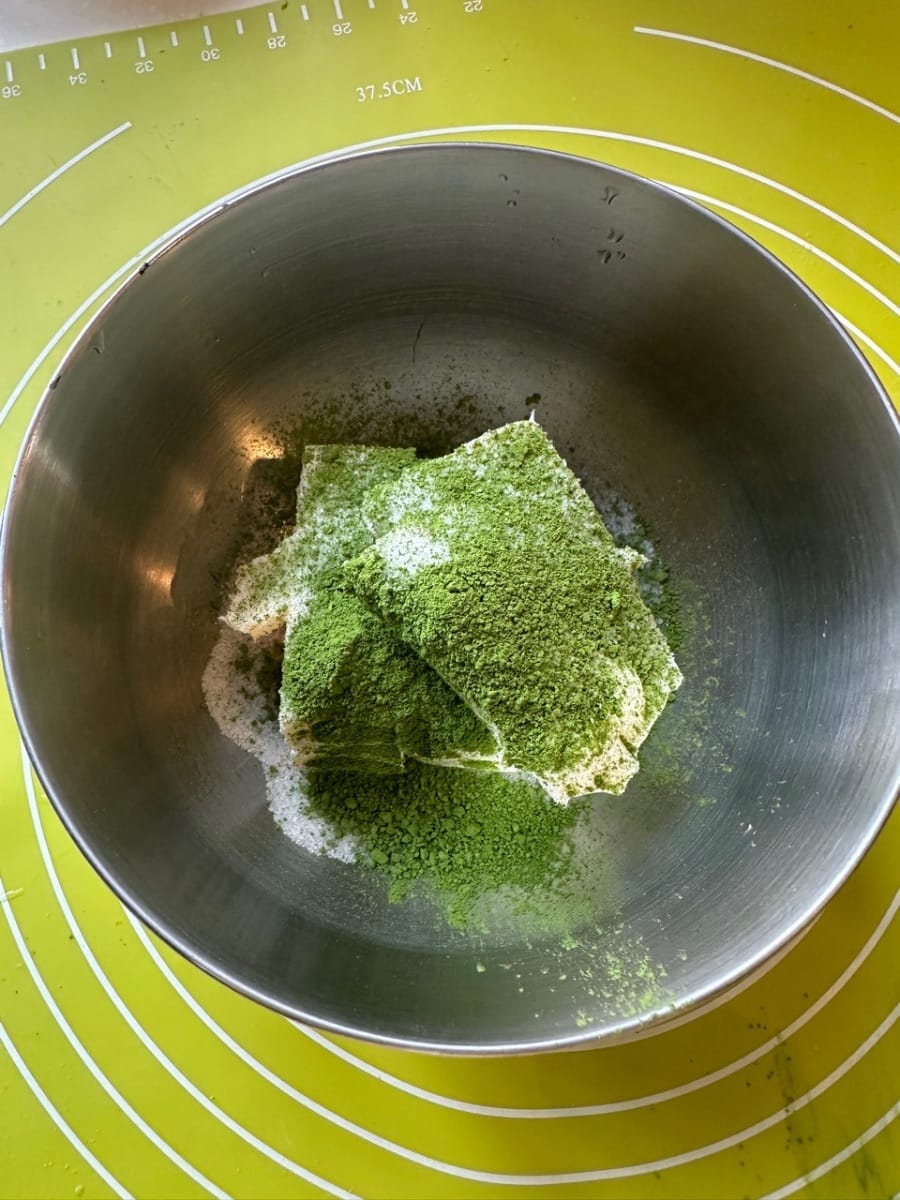
- Start by mixing all dry ingredient for the scone dough

- Then add in diced butter into the dry ingredients


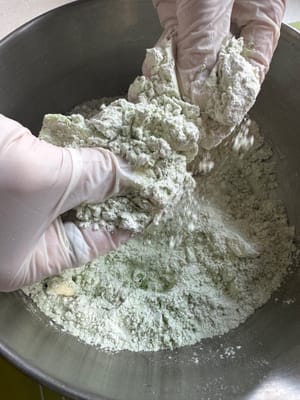
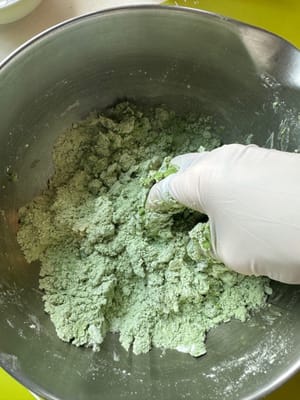
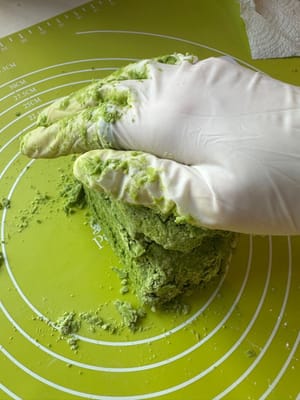
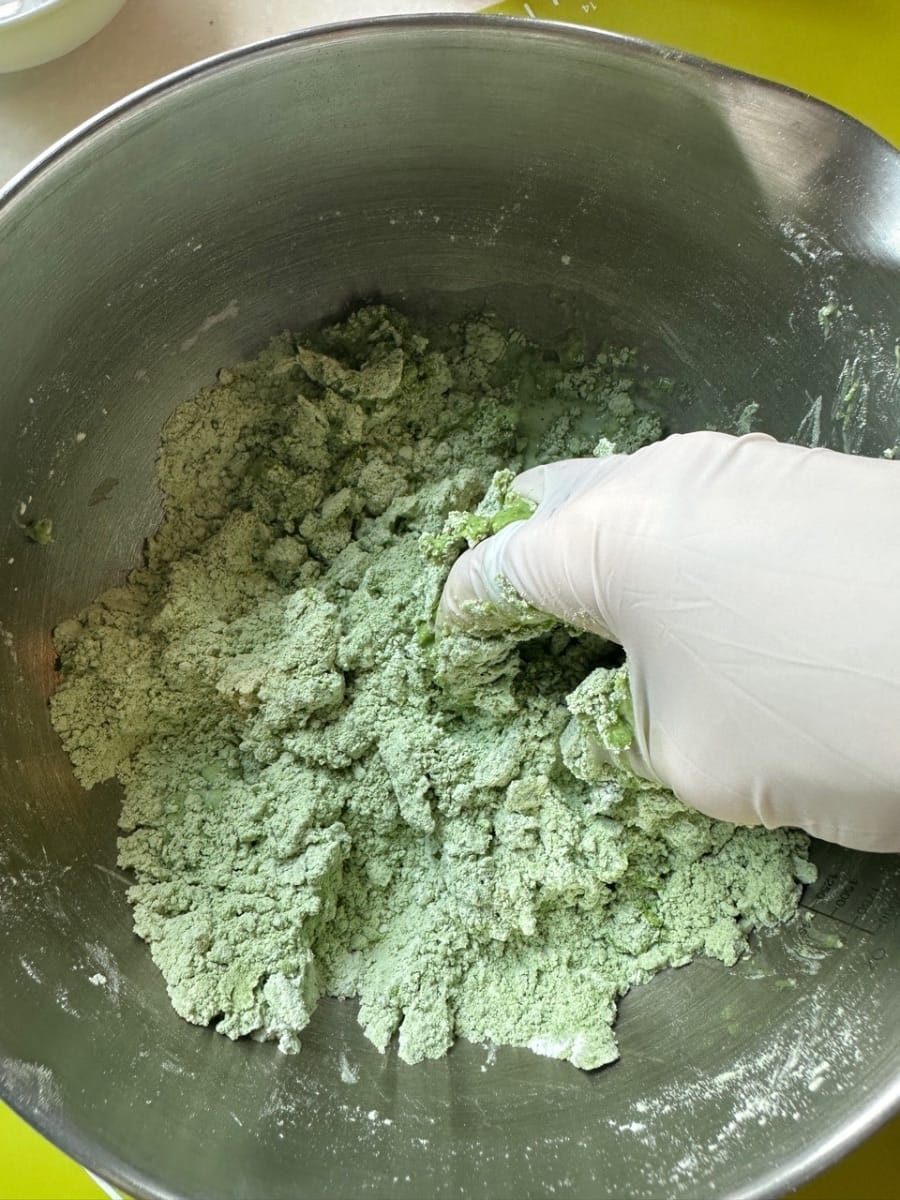
- Rub the butter into the flour until small clumps are formed. You should be able to form shapes when you squeeze the flours together but deforms right after you release. ALSO perform this steps as fast as you can as your hands temperature may melt the butter which will affect the scone outcome

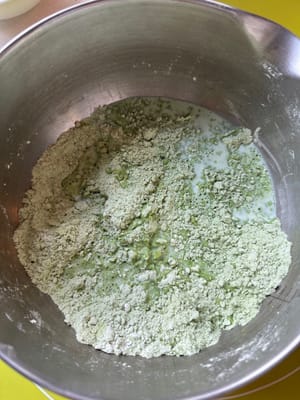
- After that, add in milk bit by bit to observe how well your flour is absorbing it. Knead gently to form a dough. Avoid over kneading as this helps formation of gluten which is what we DON’T want
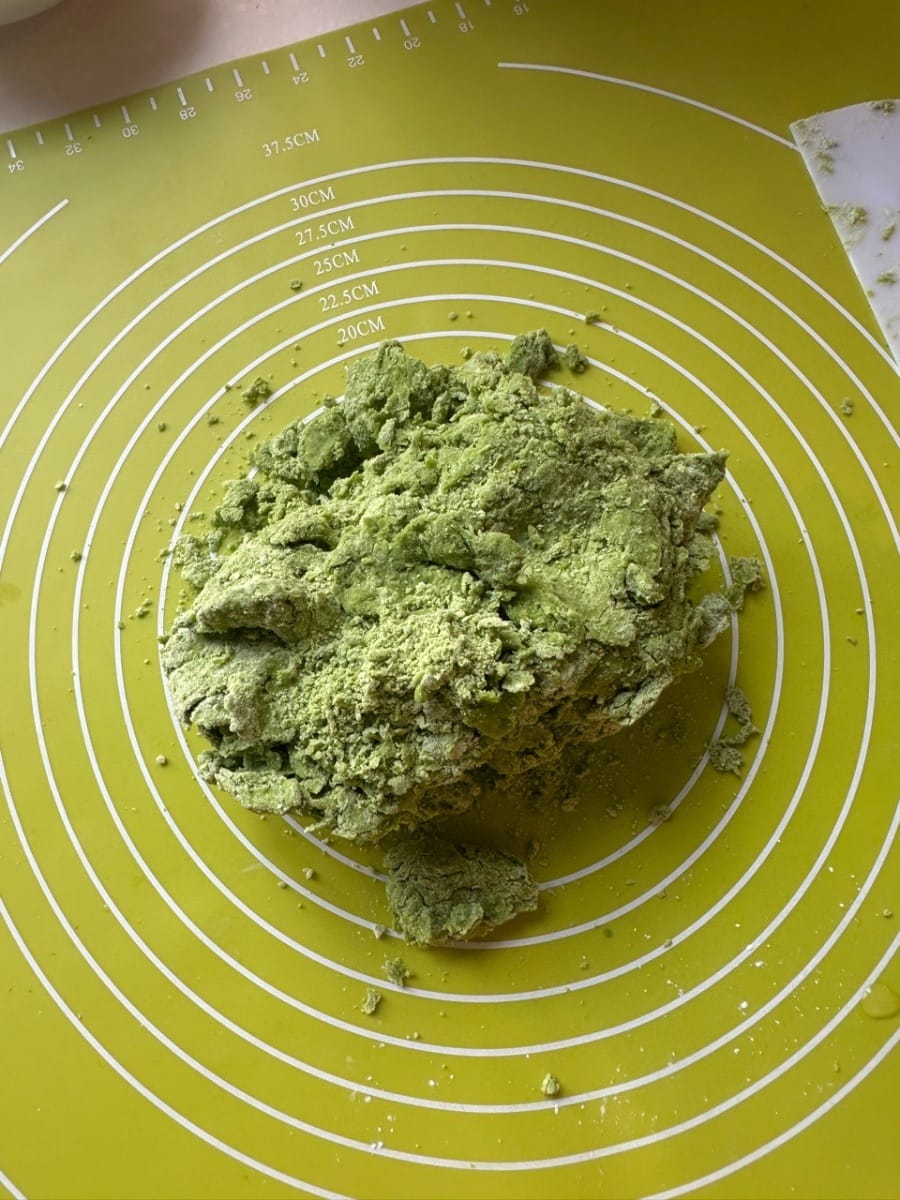
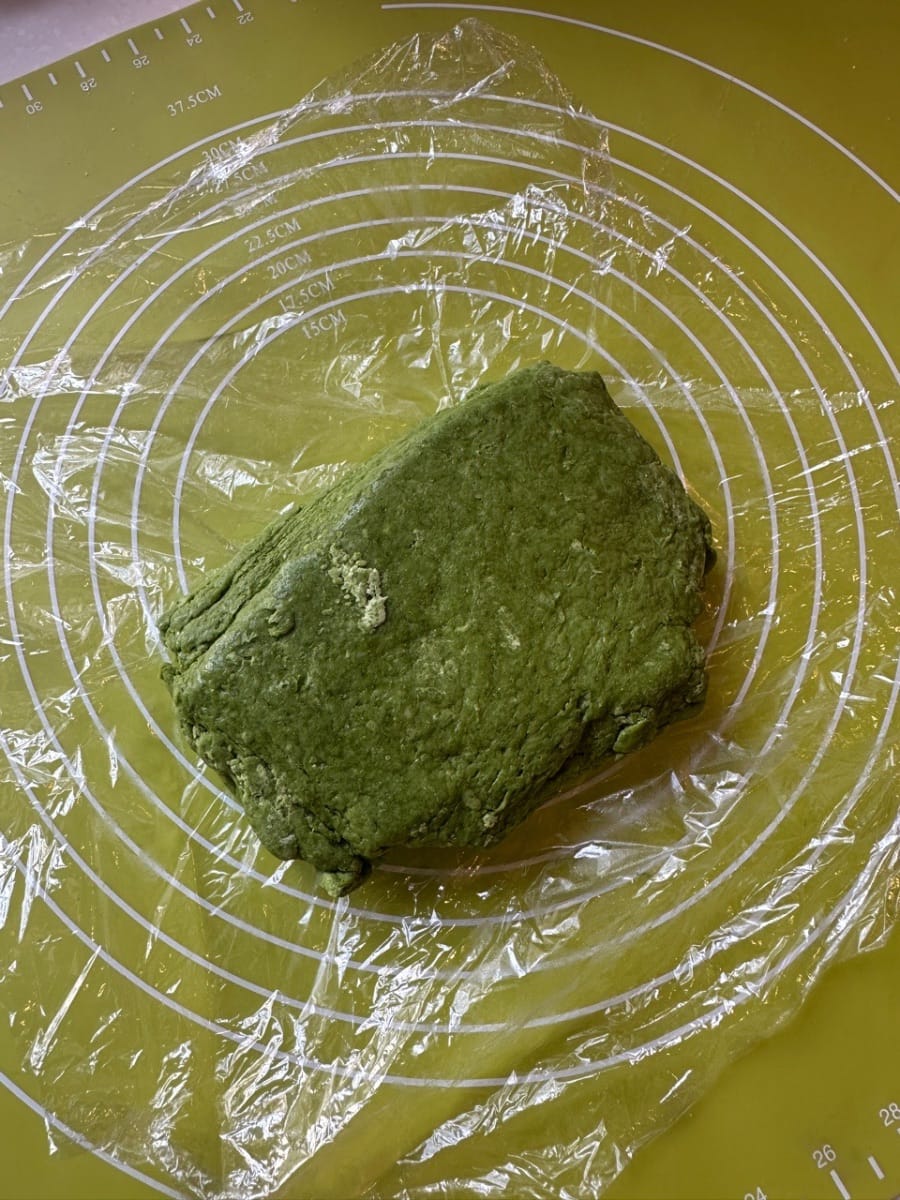
- Once a dough is formed, transfer it onto a kneading mat
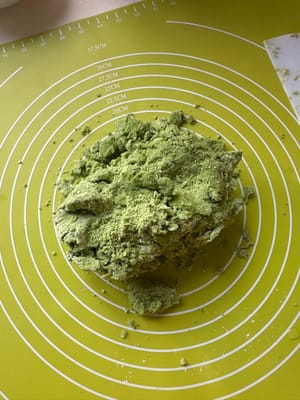
- Press any loose flours tightly onto the dough
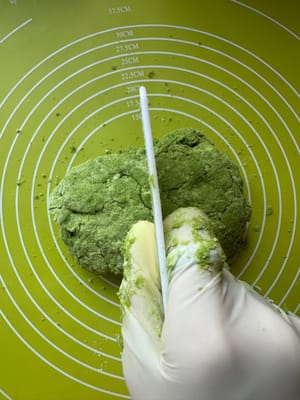
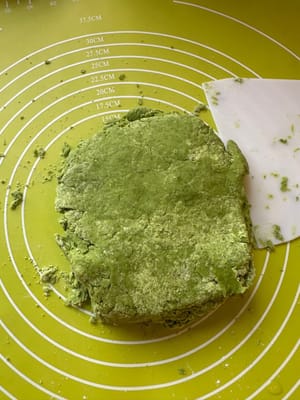
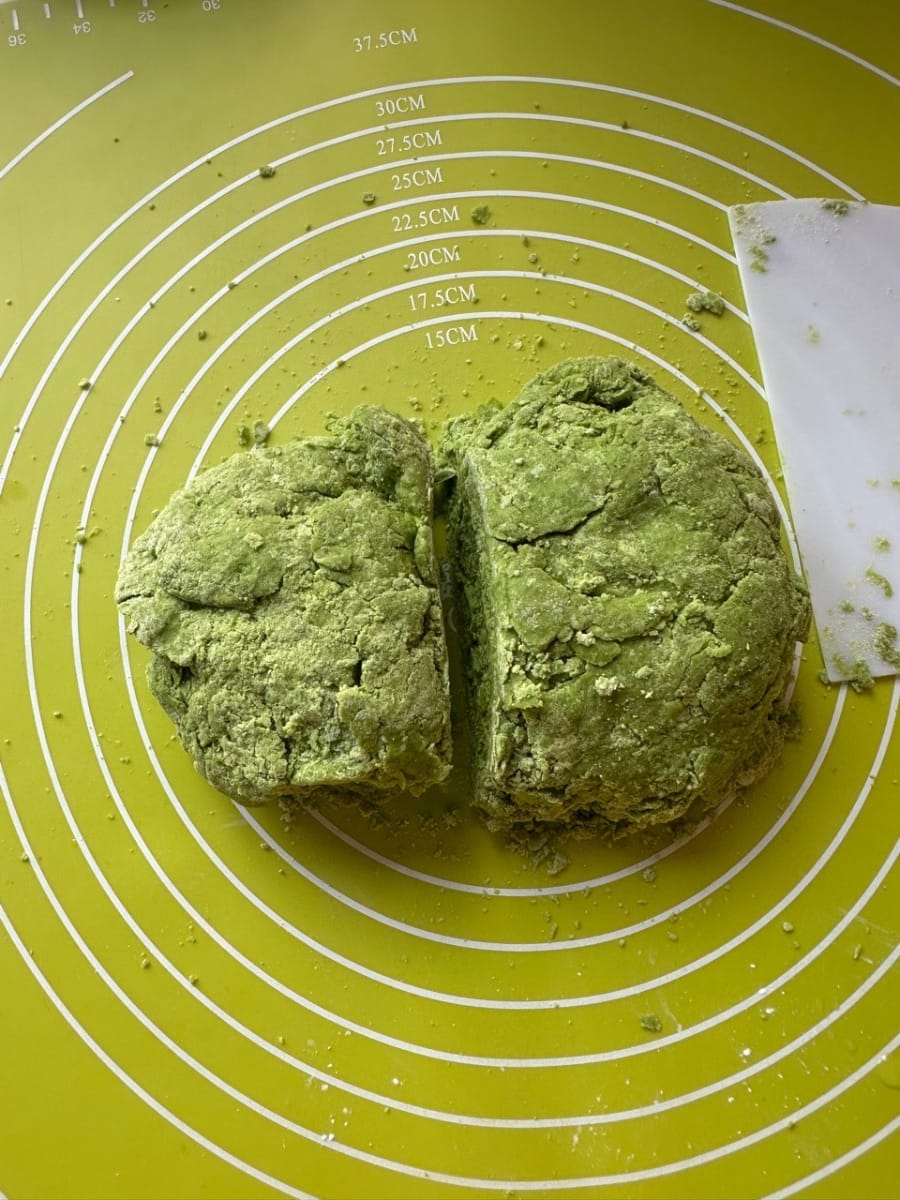
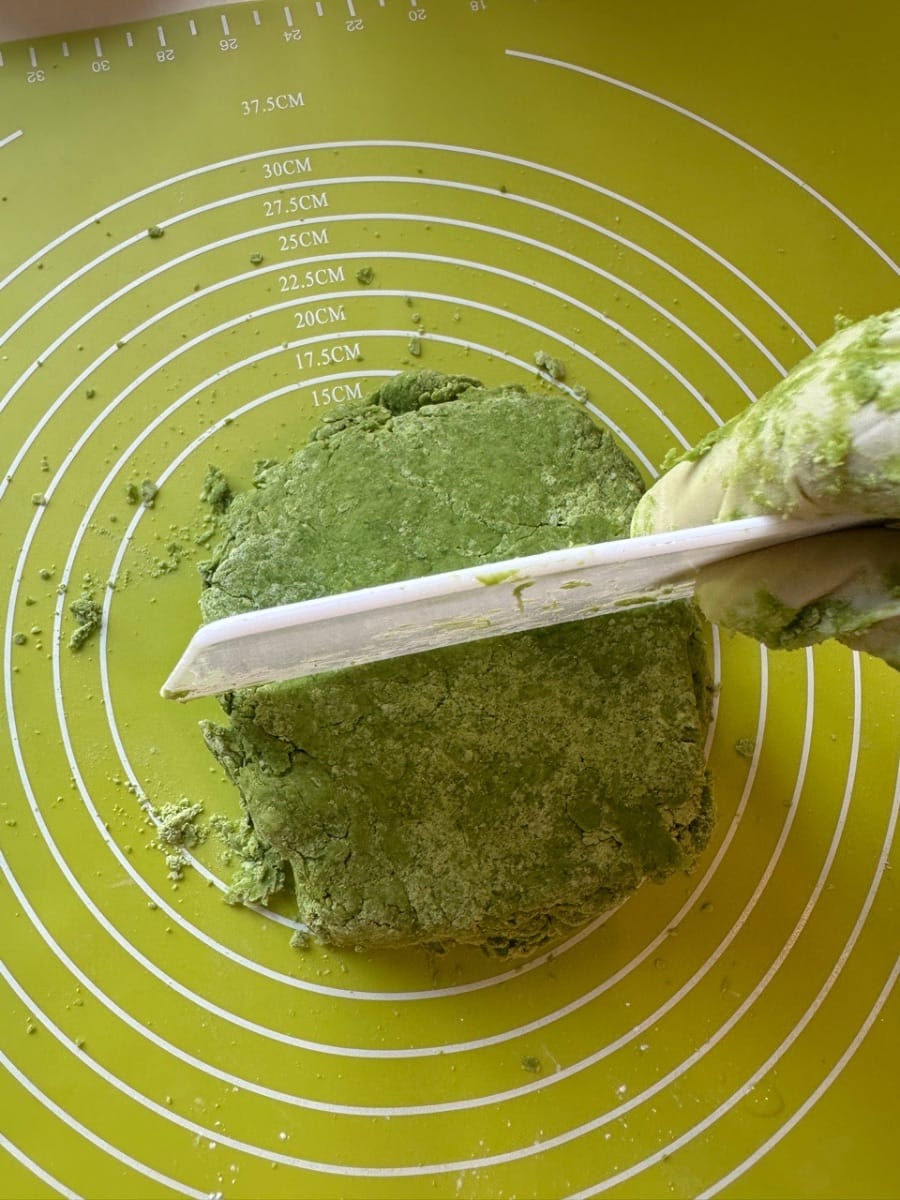
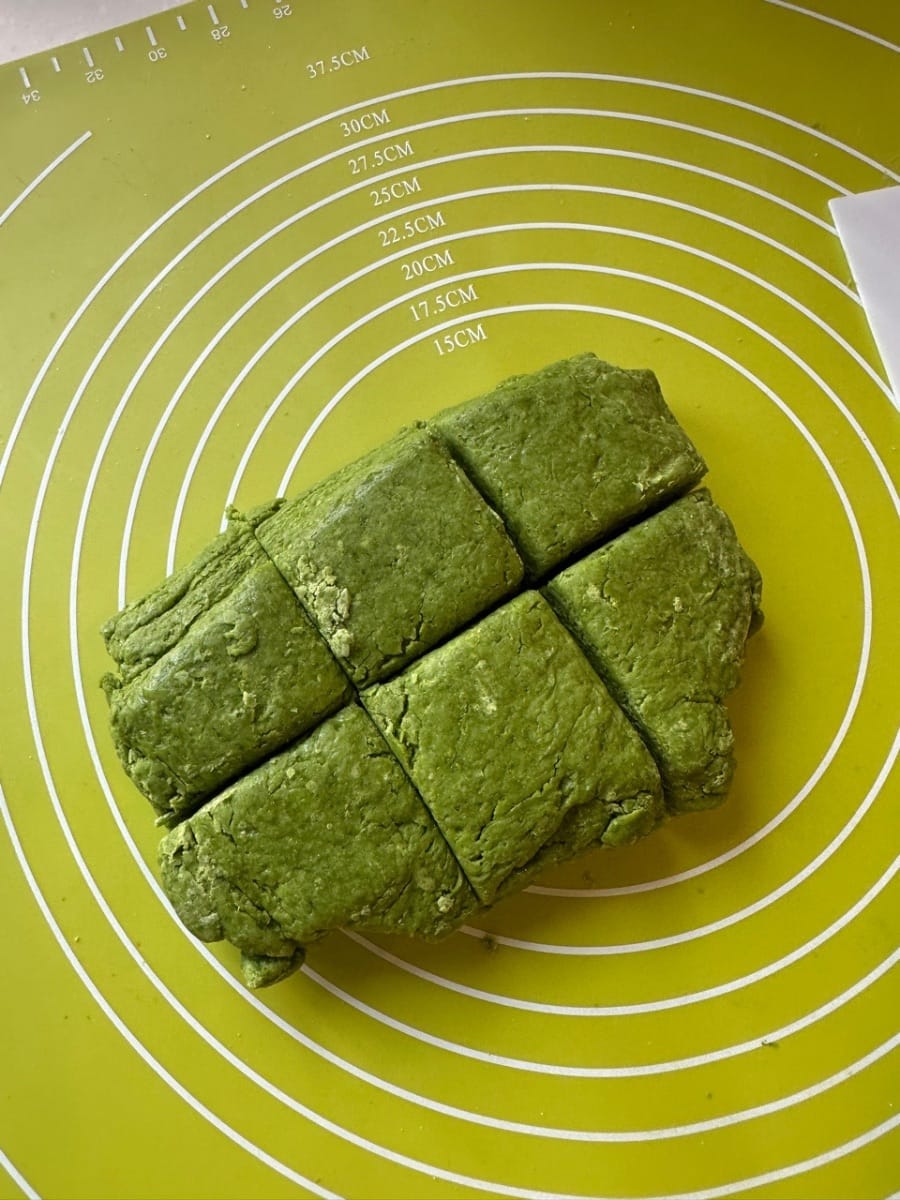
- Cut the dough in half and layer on half onto the other as shown


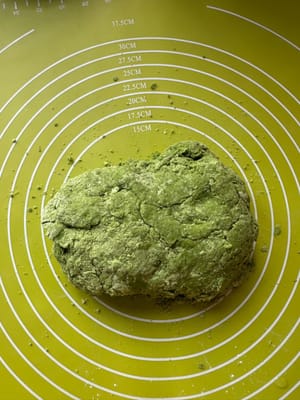
- After that, press onto the dough so it is slightly flattened
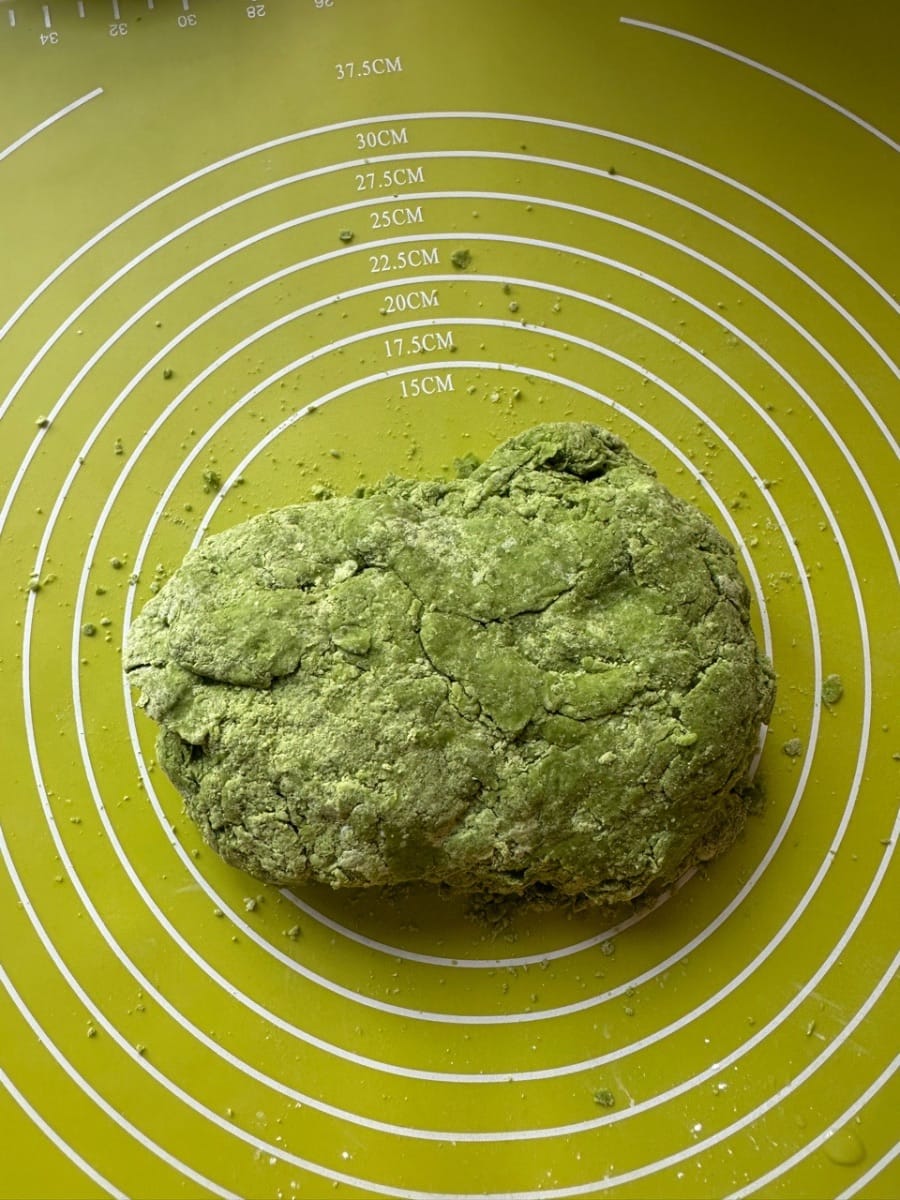
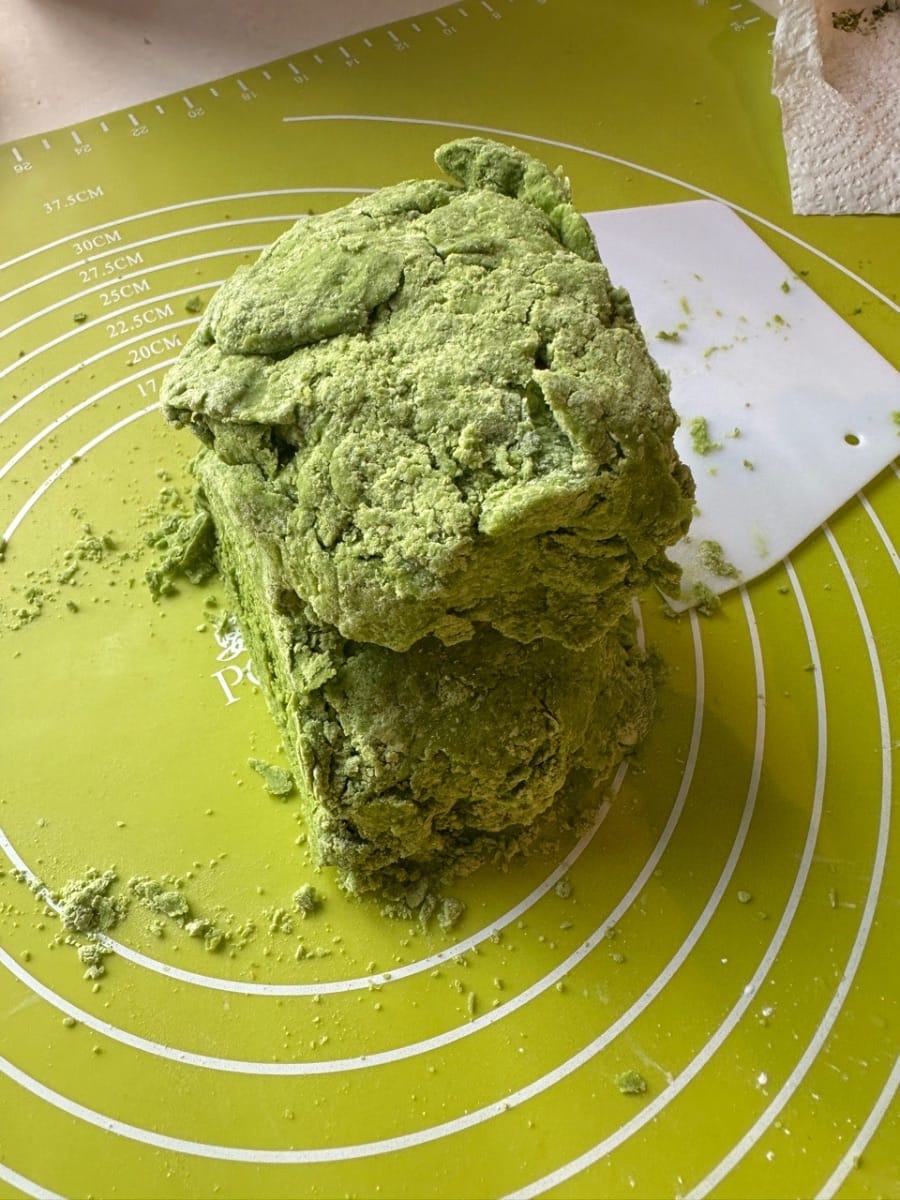
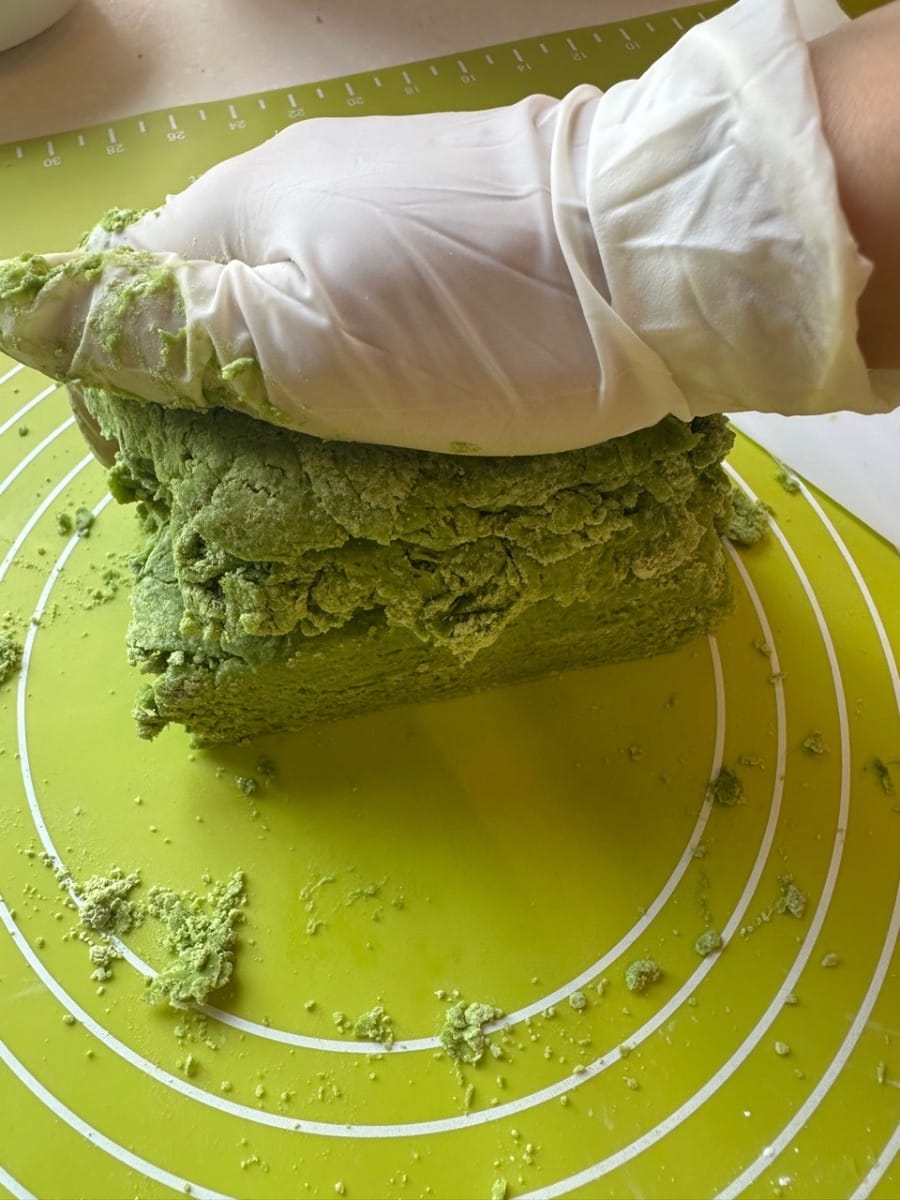
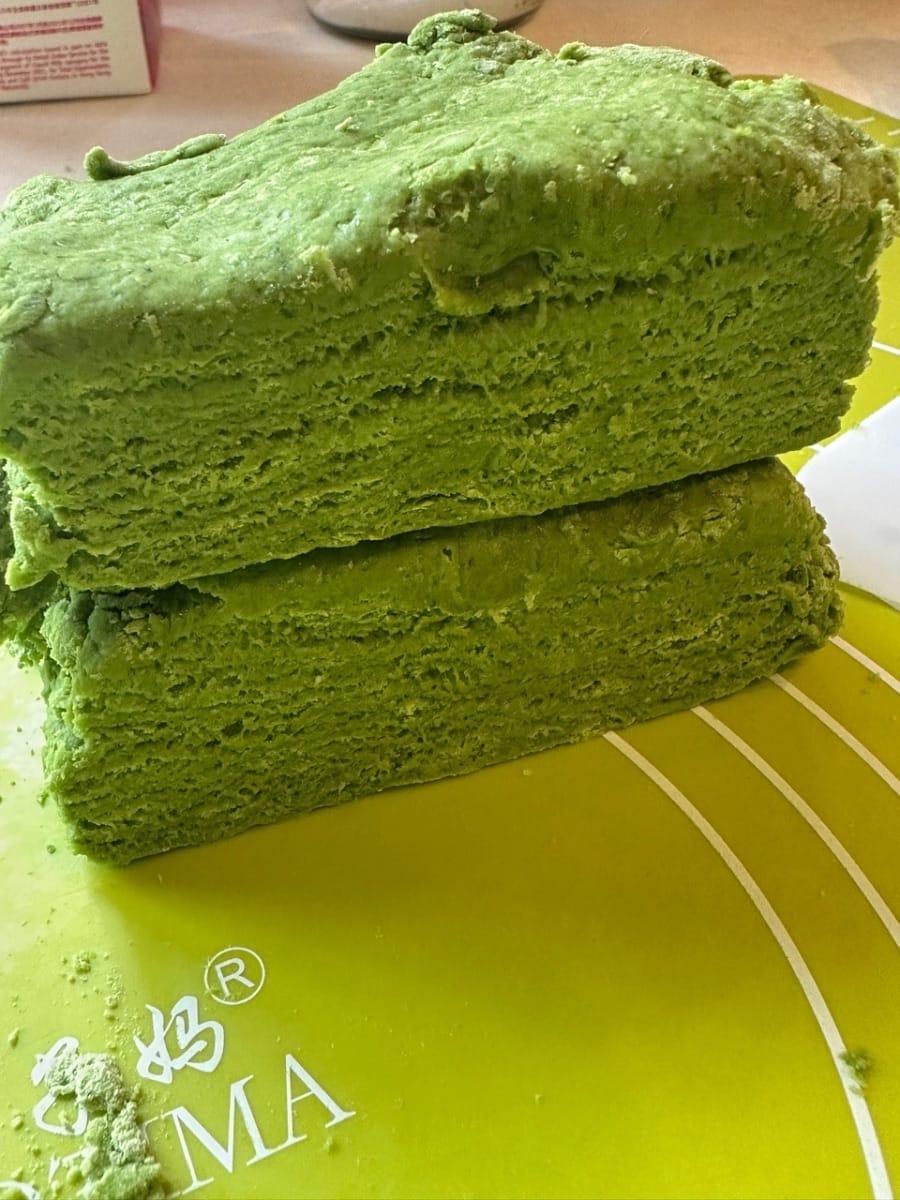
- Again, cut the dough in half, place the two halves on each other then flatten. Repeat these steps for at least 2 more times so that the scone forms a prettier layering


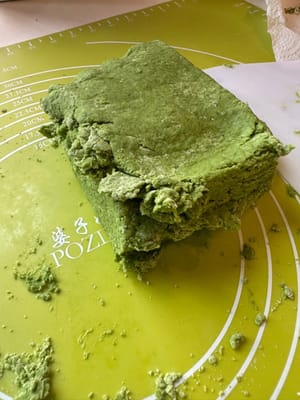
- After 4 times of folding, the layering should look like this

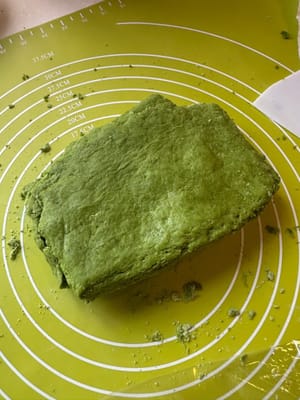
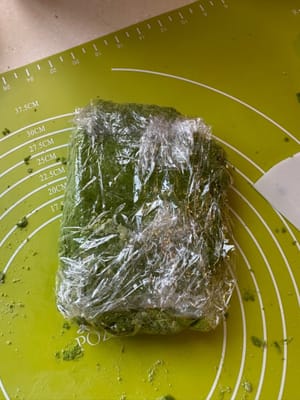
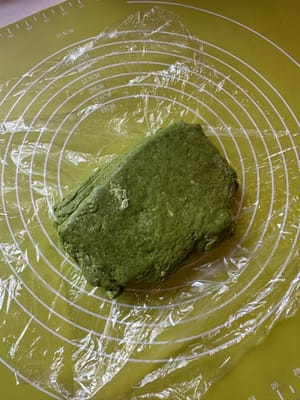
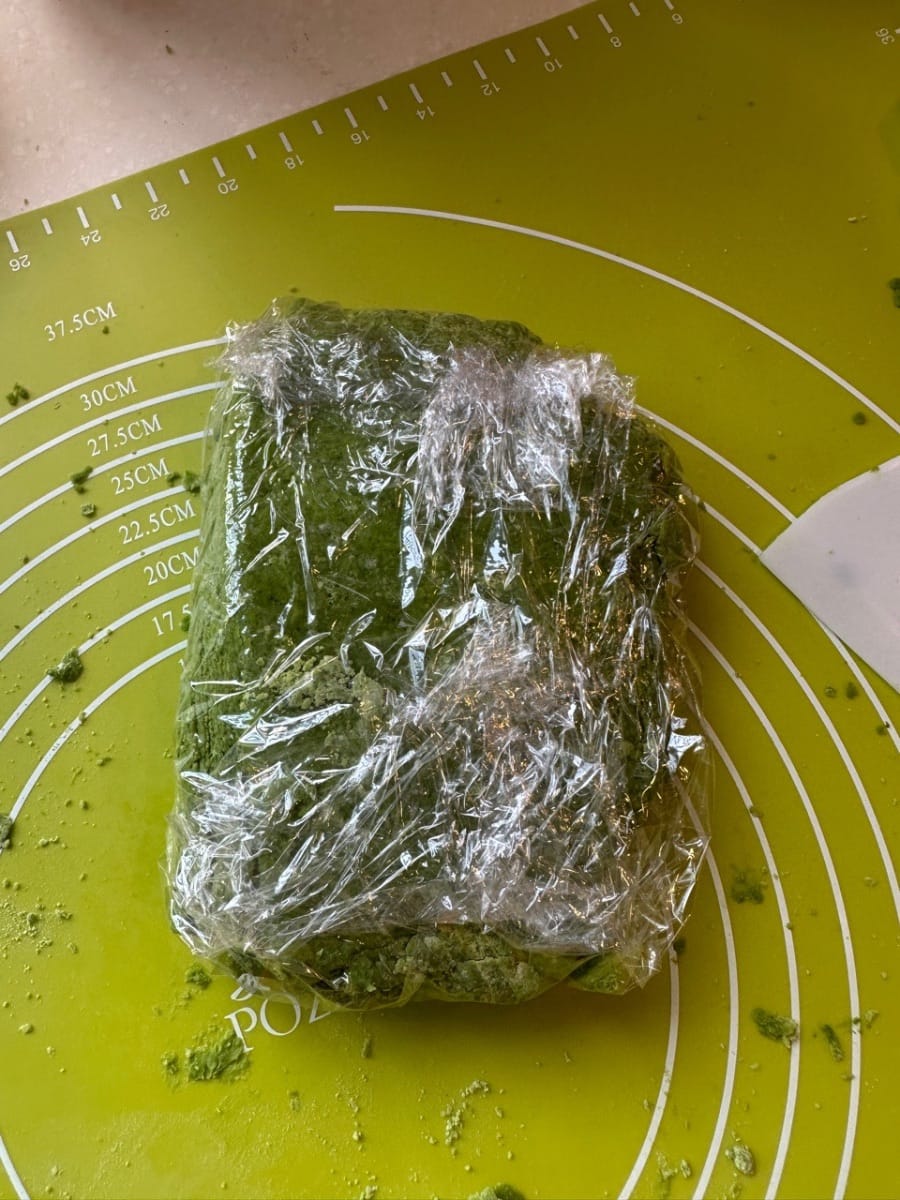
- Slightly flatten it the last time, wrap it with cling film and leave in the fridge for 30 minutes
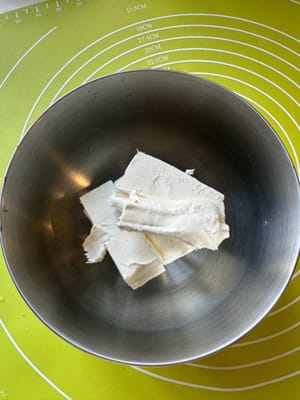
- Cream cheese fillings
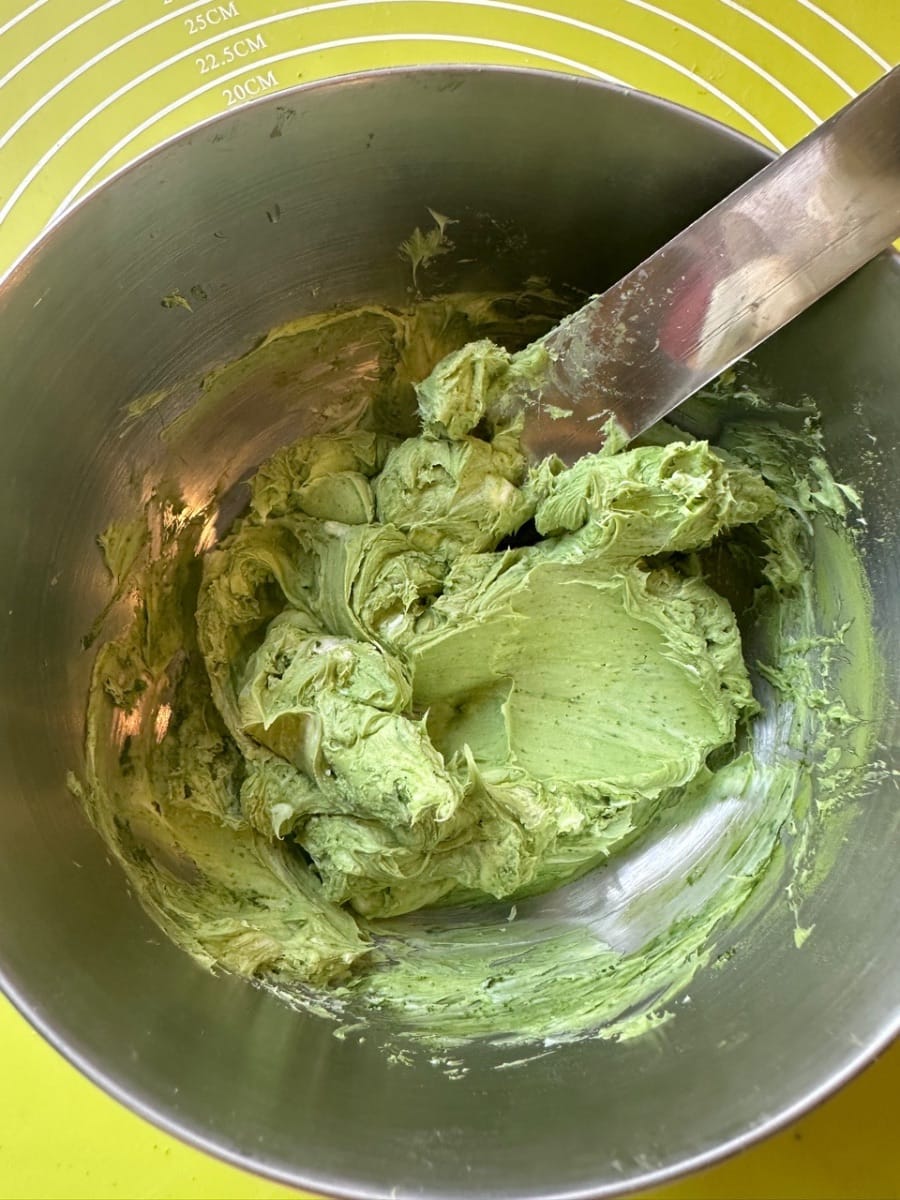
- Meanwhile, prepare the cream cheese fillings by mixing all needed ingredients together

- Mix until you see a smooth consistency

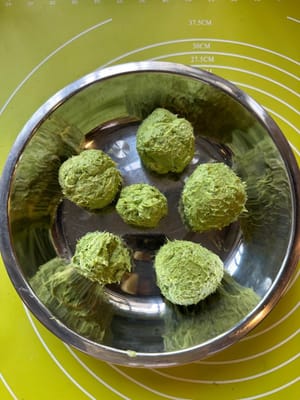
- Roll out into 6 small balls and send them into the freezer to solidify until the scone dough is ready
- Construction
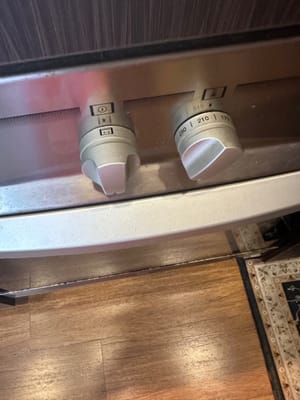
- Preheat the oven to 210°C
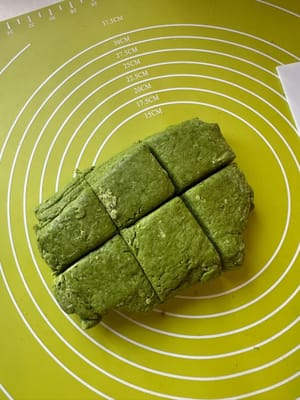
- Once the scone dough is taken out from the fridge, roughly separate into 6 small squares
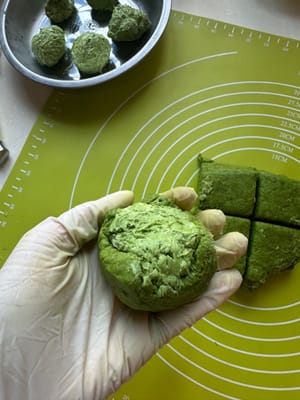
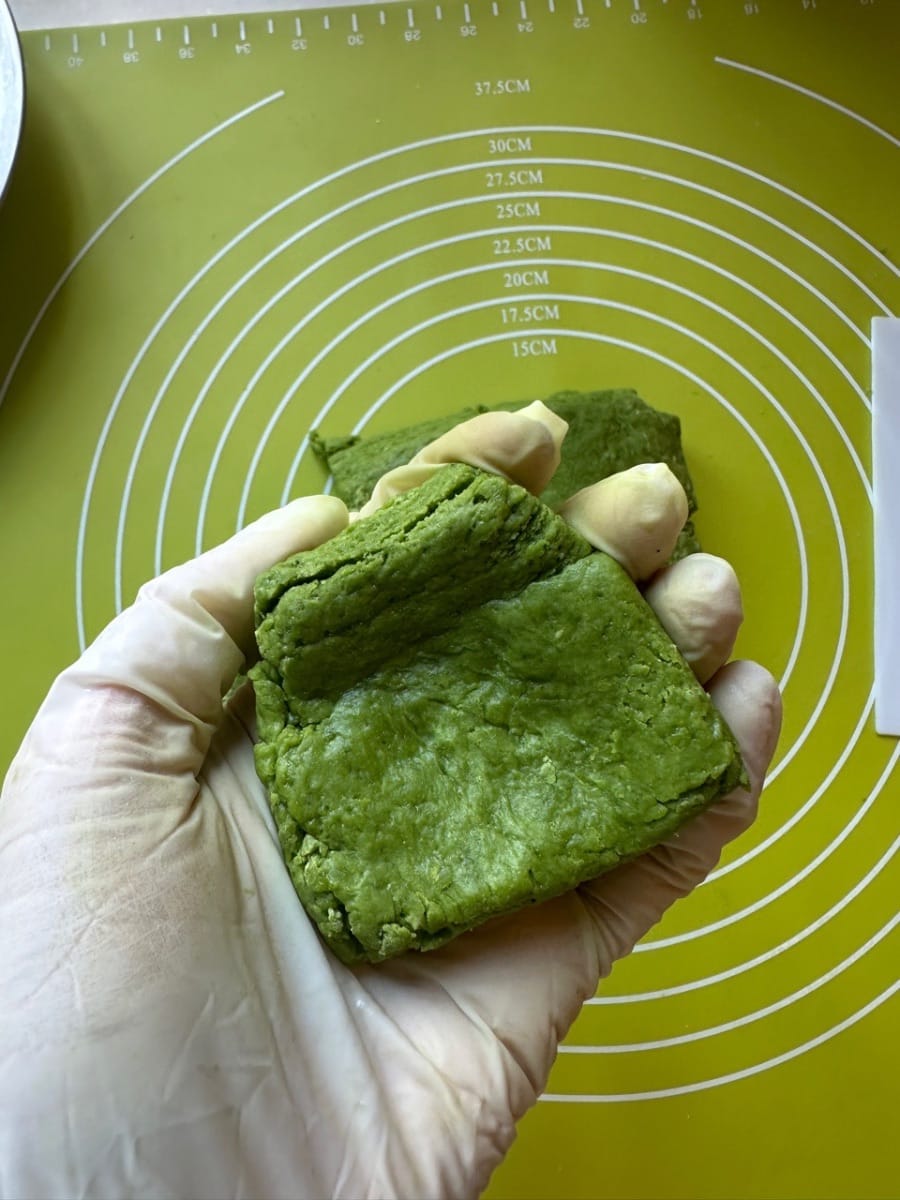
- Flatten the small squares and form a bowl shape for the cream cheese ball

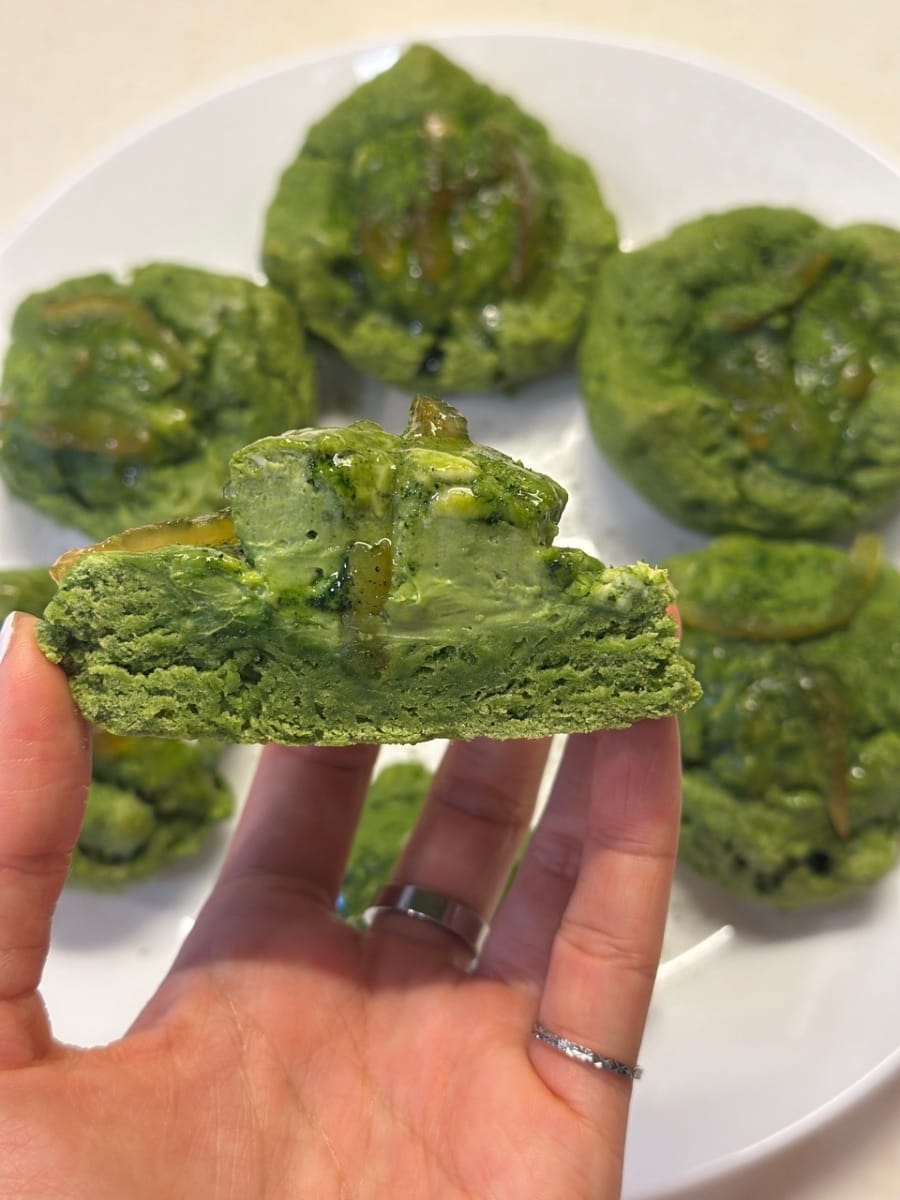
- Place the cream cheese ball into the scone bowl and tighten the scone around the ball as shown
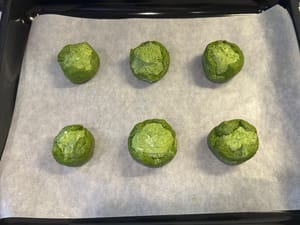
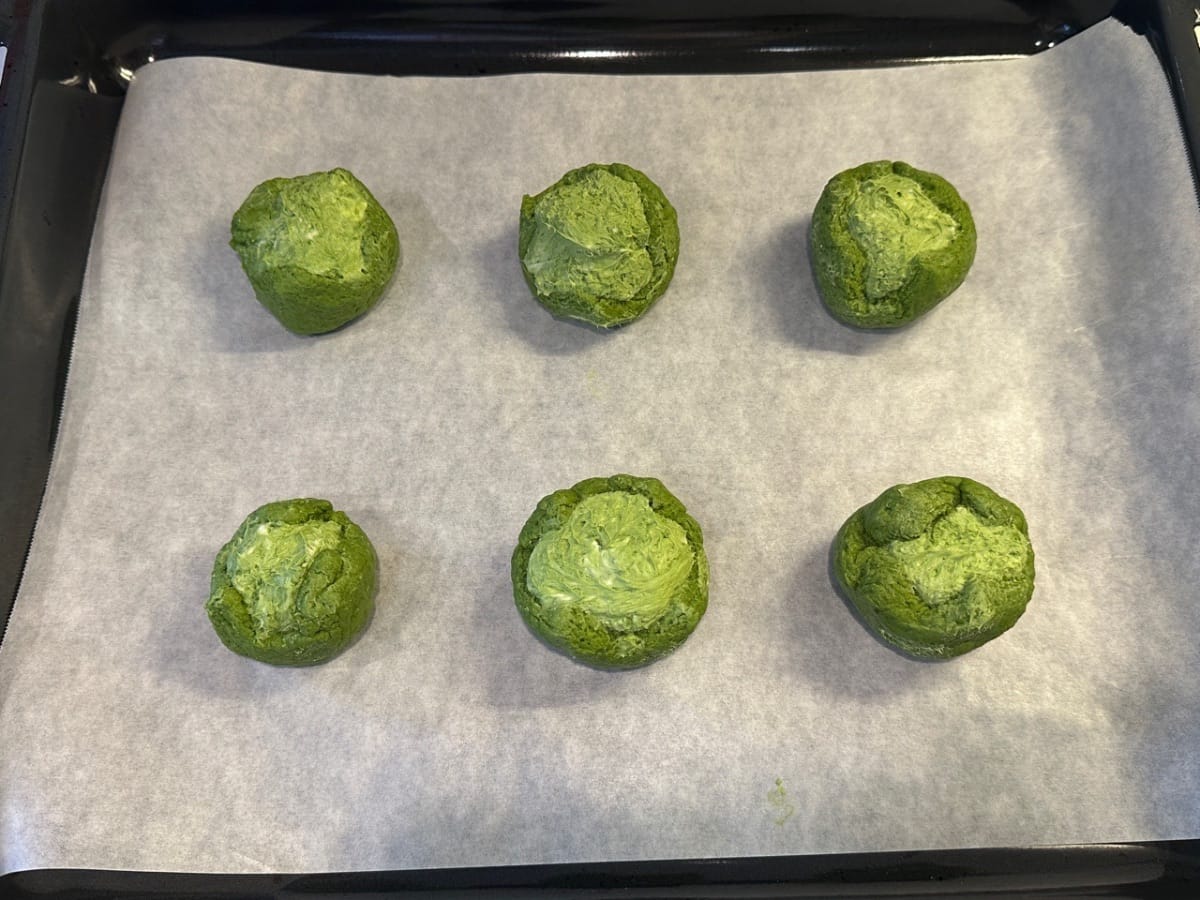
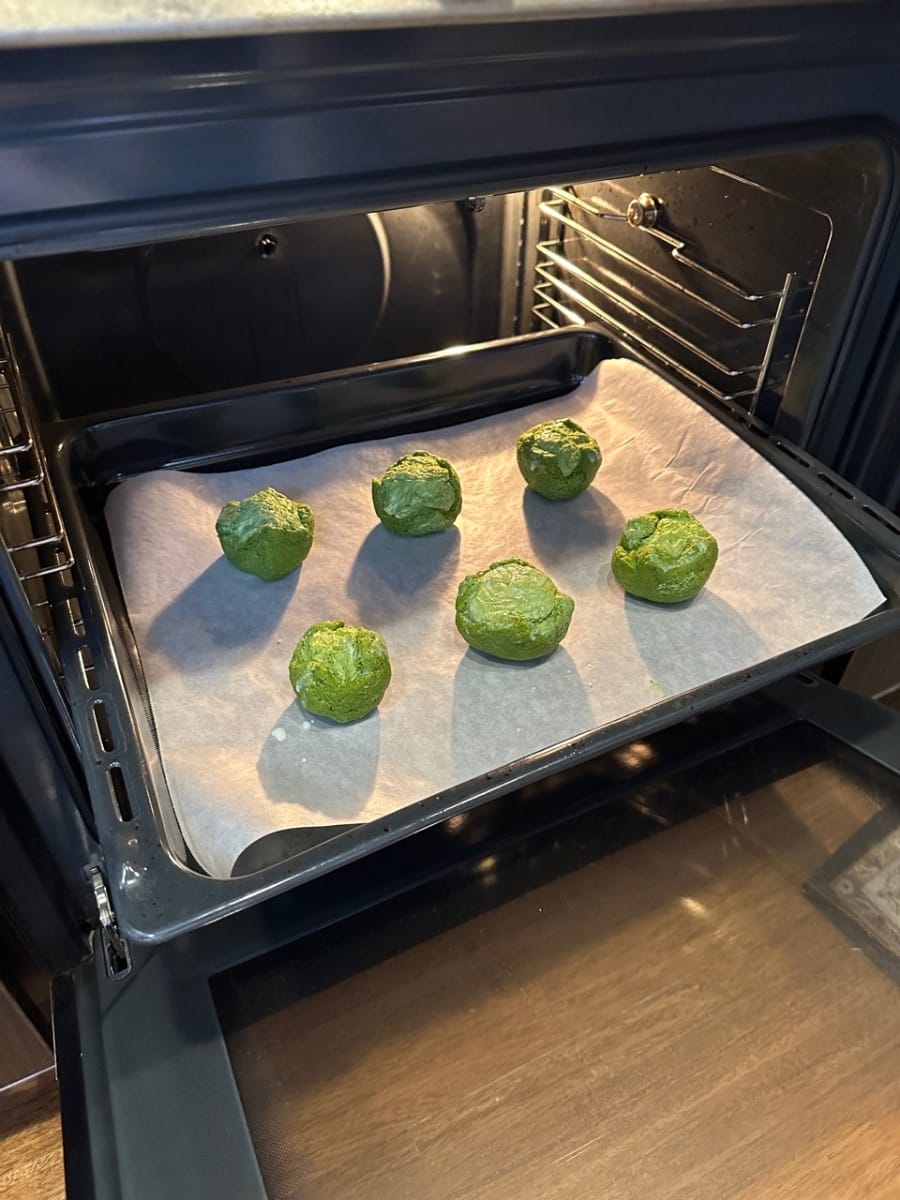
- Once done, place them nicely onto a baking tray with parchment paper
- Baking
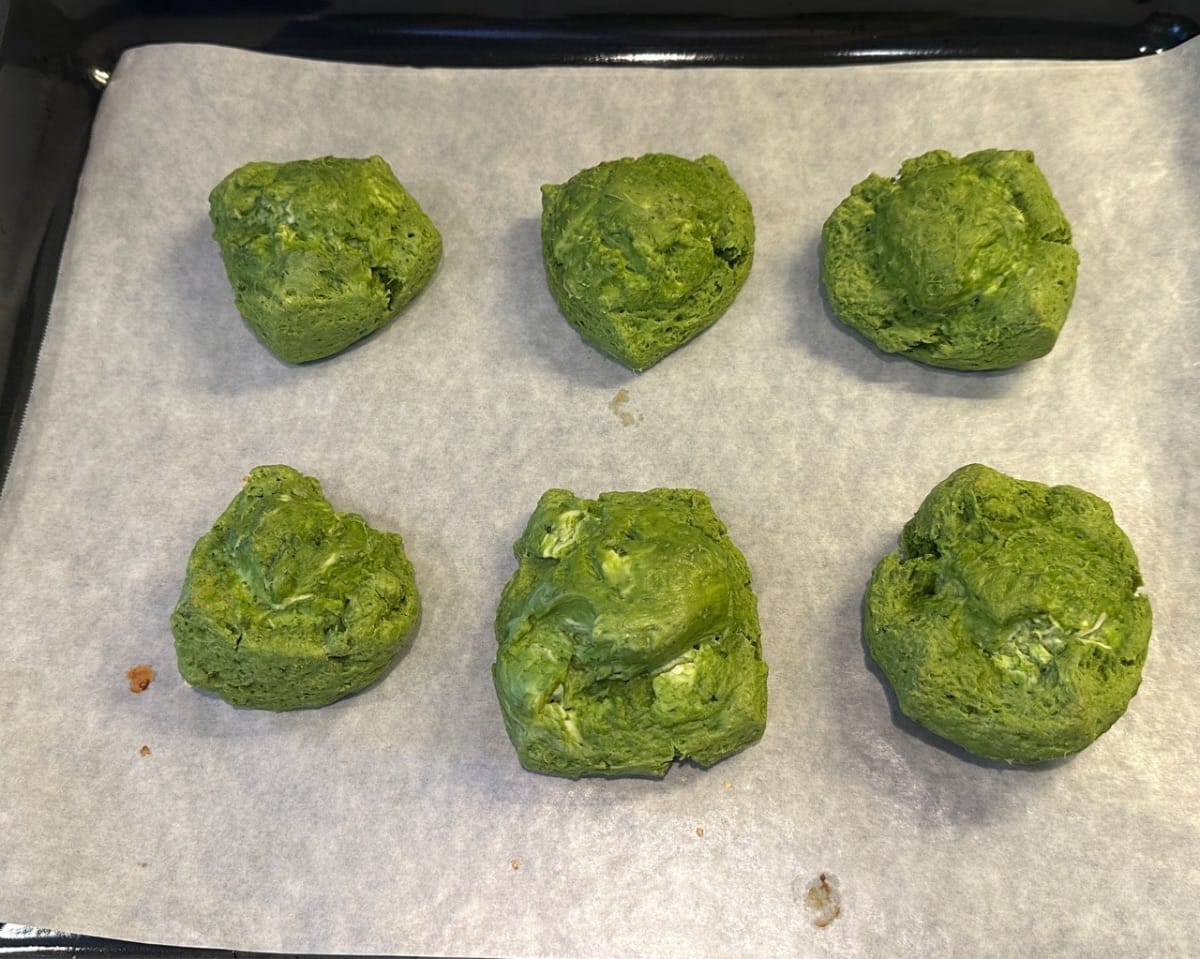
- Send into the oven and bake in 180°C for 18 minutes

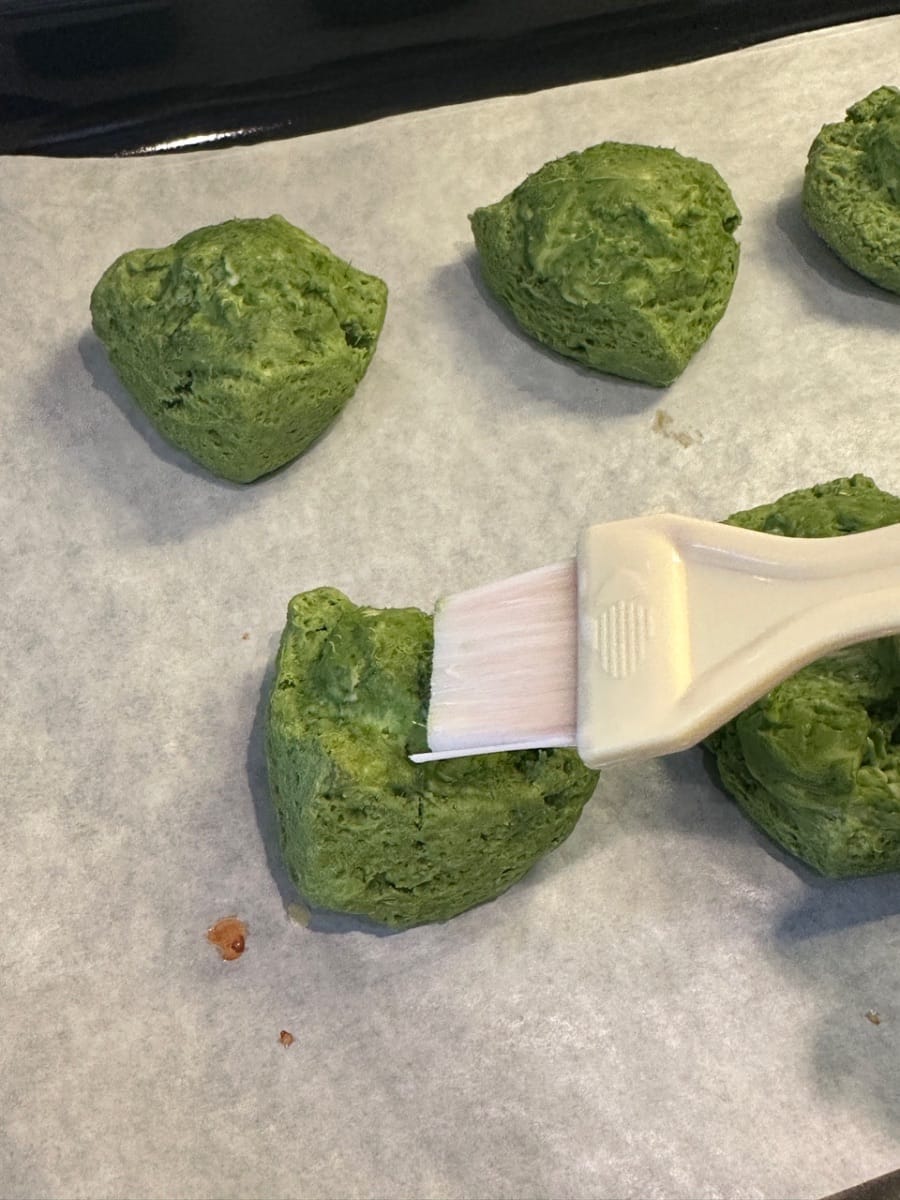
- Once done, brush some milk onto the scone while hot. This gives the scone a shinier look


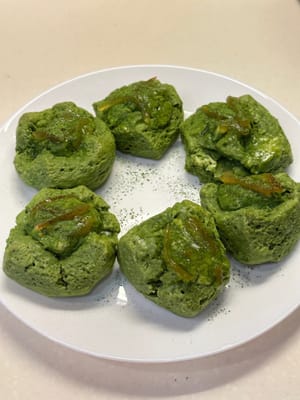
- Garnish
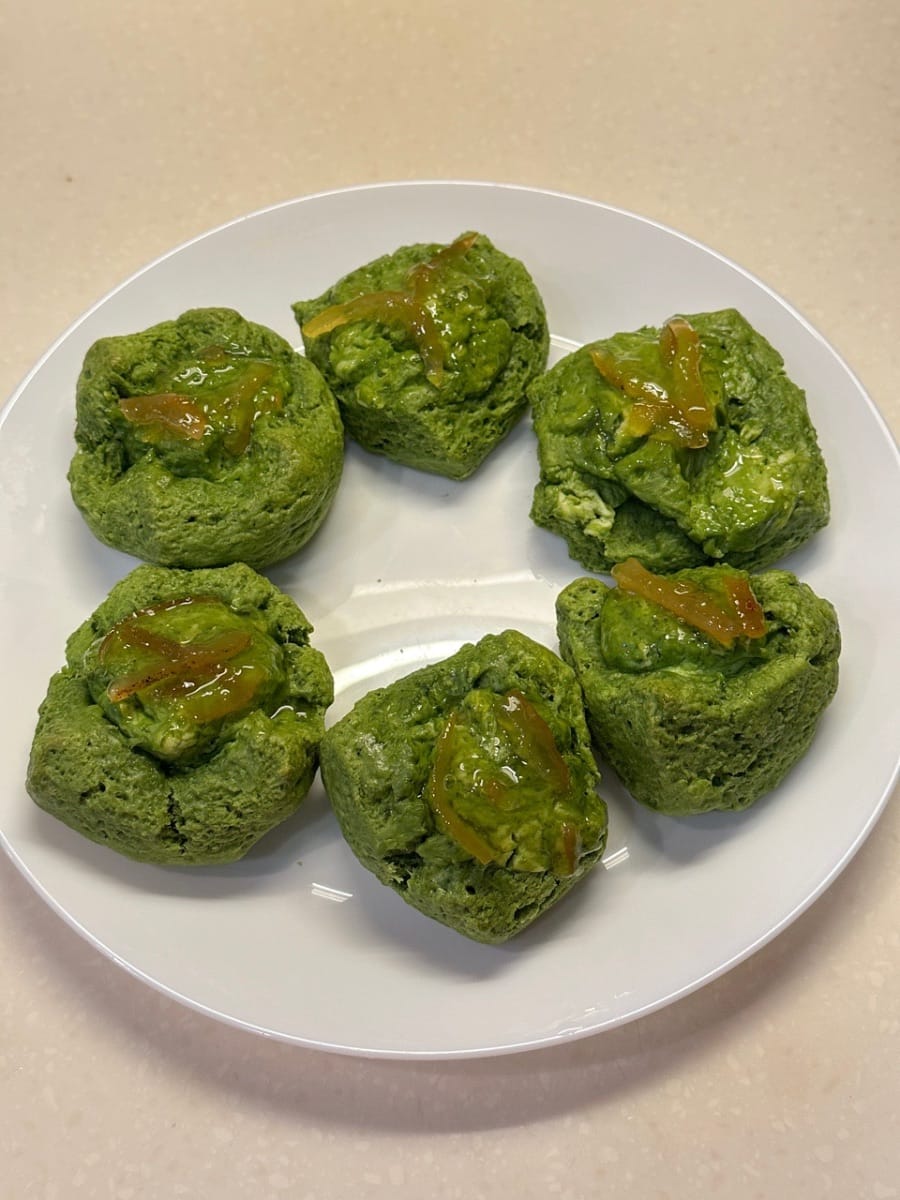
- Once the scones are completely cooled down, you can garnish with yuzu jam to add extra layer of flavours to the scone
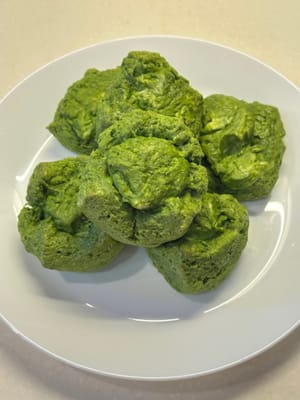

- Once done, enjoy! I also like to save it in the fridge and eat it cold as the cream cheese gives a nice creamy ice cream texture!


Languages
Matcha-Yuzu-Frischkäse-Scone - Deutsch (German) versionScone de queso crema, matcha y yuzu - Español (Spanish) version
Scone au matcha, yuzu et fromage frais - Français (French) version
Scone Keju Krim Matcha Yuzu - Bahasa Indonesia (Indonesian) version
Scone al formaggio cremoso Matcha Yuzu - Italiana (Italian) version
抹茶柚子クリームチーズスコーン - 日本語 (Japanese) version
말차 유자 크림치즈 스콘 - 한국인 (Korean) version
สโคนครีมชีสชาเขียวมัทฉะยูซุ - แบบไทย (Thai) version
Matcha Yuzu Cream Cheese Scone(抹茶柚子乳酪司康) - 简体中文 (Simplified Chinese) version
Matcha Yuzu Cream Cheese Scone(抹茶柚子乳酪司康) - 香港繁體中文 (Traditional Chinese - Hong Kong) version