Passion fruit pineapple juice chiffon cake
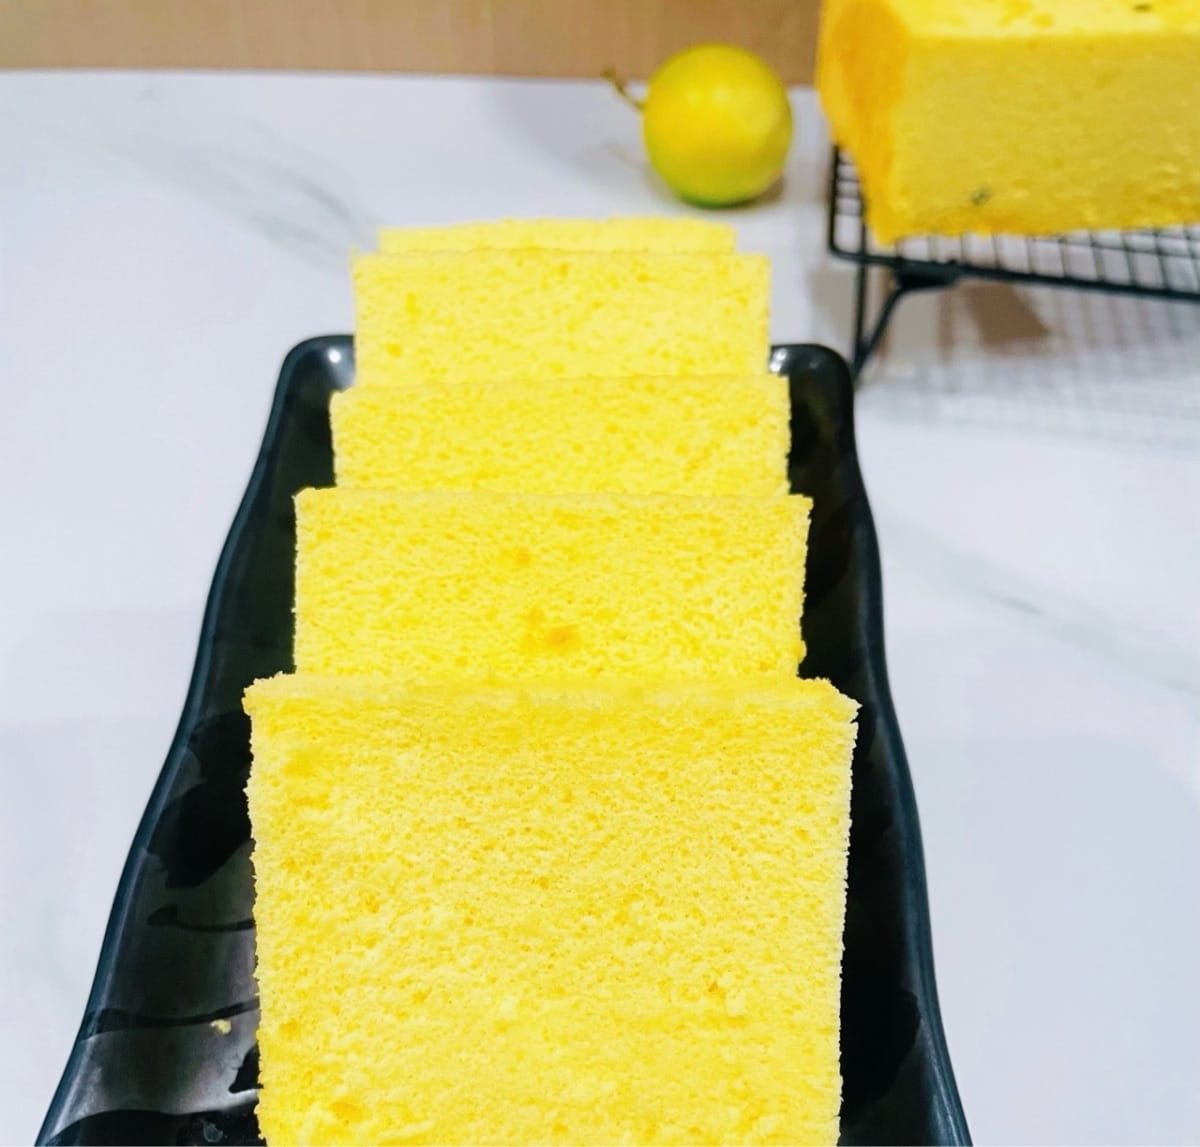
The wonderful collision of passion fruit and cake hides unexpected surprises. What's even better is the incorporation of pineapple juice, whose freshness neutralizes the richness of passion fruit, making the sweet and sour taste gentle and rich in layers. The cake base fully absorbs the aroma of the two juices, and the moistness is just right. This taste is more textured than a simple passion fruit drink, and more agile than ordinary cakes. You must try it, and you will be amazed by this unique flavor.
Ingredients
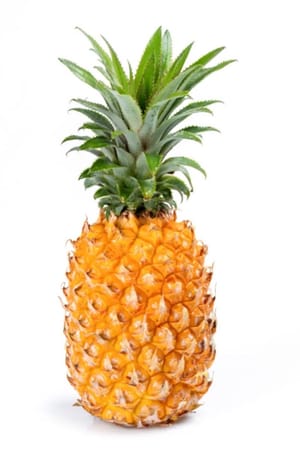
- 150g pineapple (45 grams of pineapple juice is needed)
- 2 passion fruits

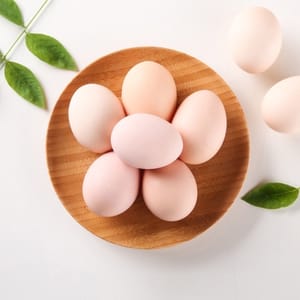
- 5 eggs
- sugar (40g egg white, 20g egg yolk paste)
- low-gluten flour (65g)
- Corn Oil (50g)
- 10g corn starch
- 5 drops of lemon juice

Steps
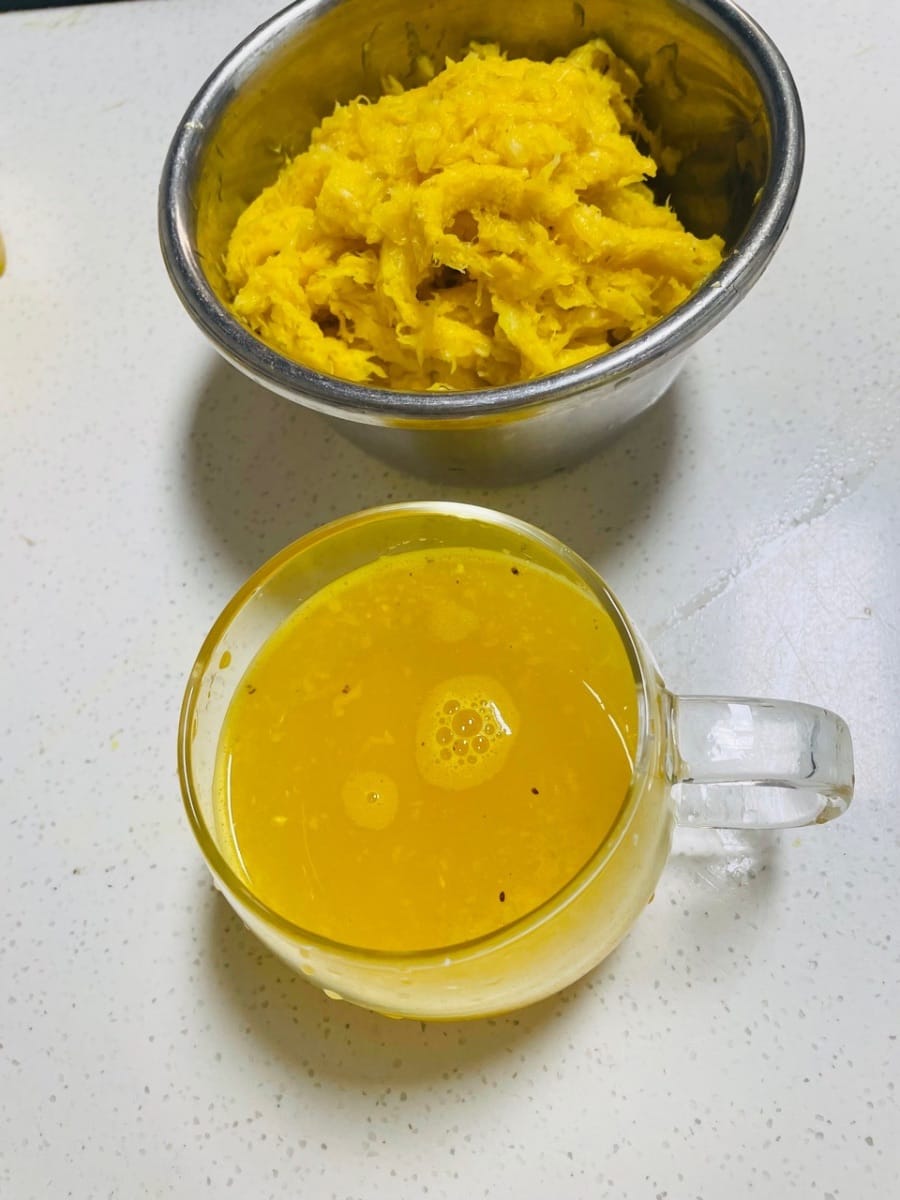
- How to make pineapple juice: Pick a ripe pineapple, peel it, cut it into small pieces and squeeze out the juice for later use.

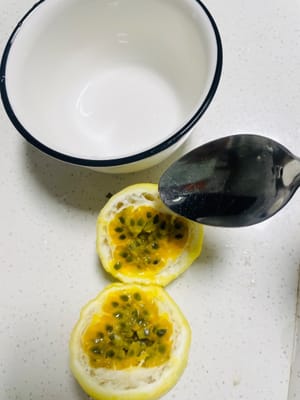
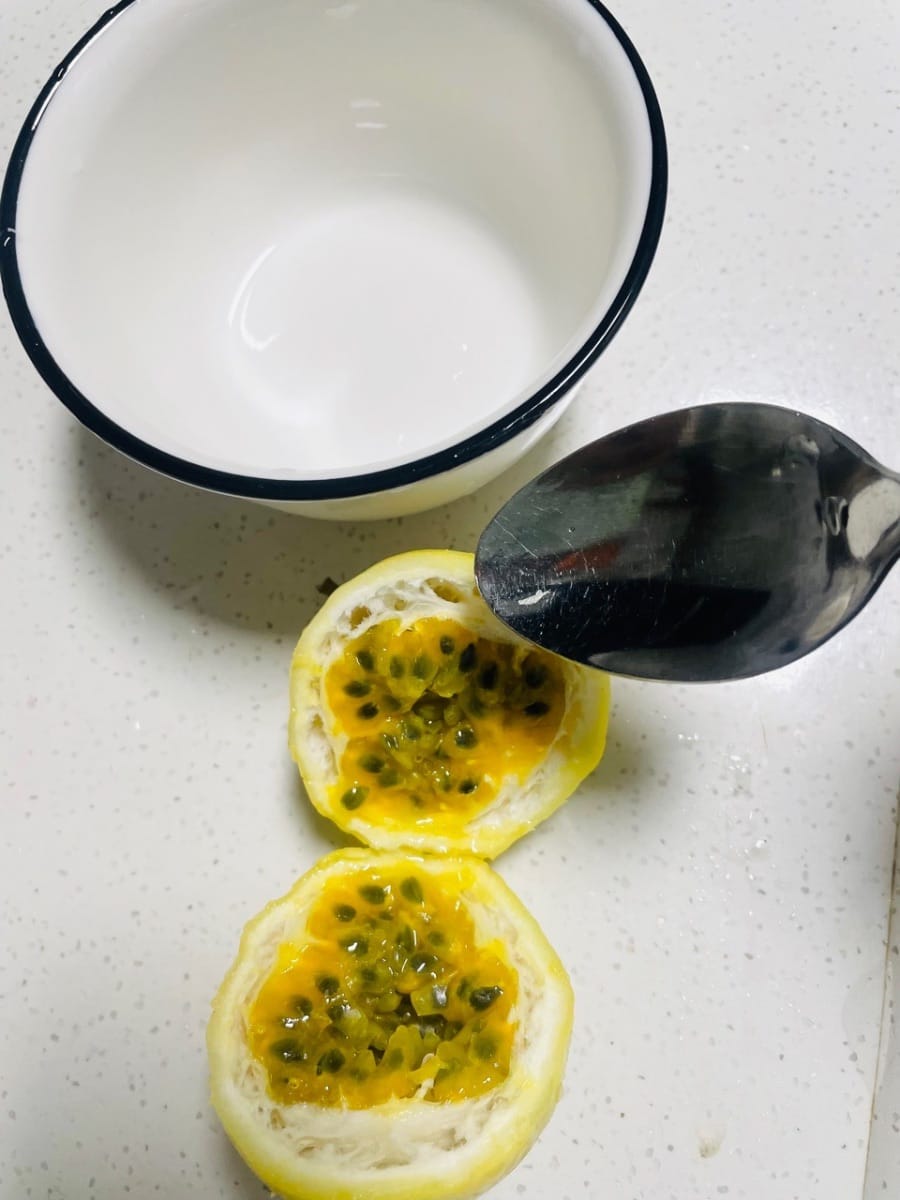
- Wash the passion fruit, cut it in half, scoop out the pulp with a clean spoon, put it into the strainer, press it with the help of the spoon to filter out the juice, remove the seeds (the seeds will affect the taste, be sure to filter them clean), mix the filtered passion fruit juice with the pineapple juice.

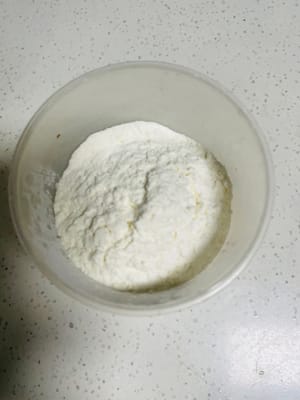
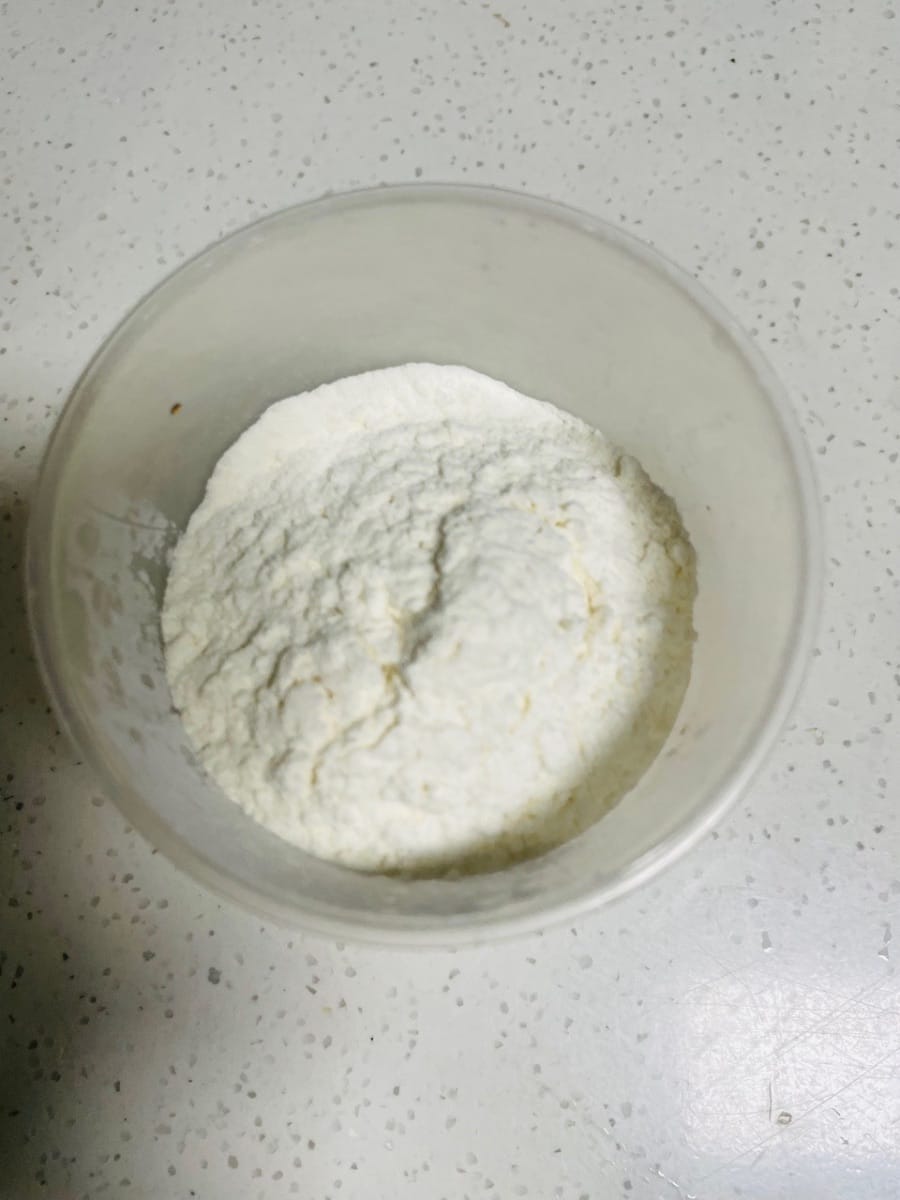
- Weigh 65 grams of low-gluten flour and set aside.
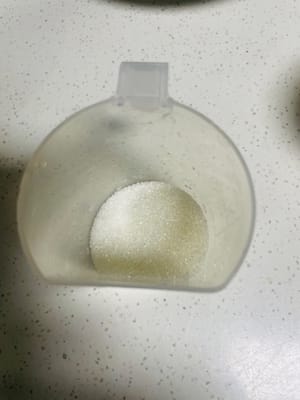
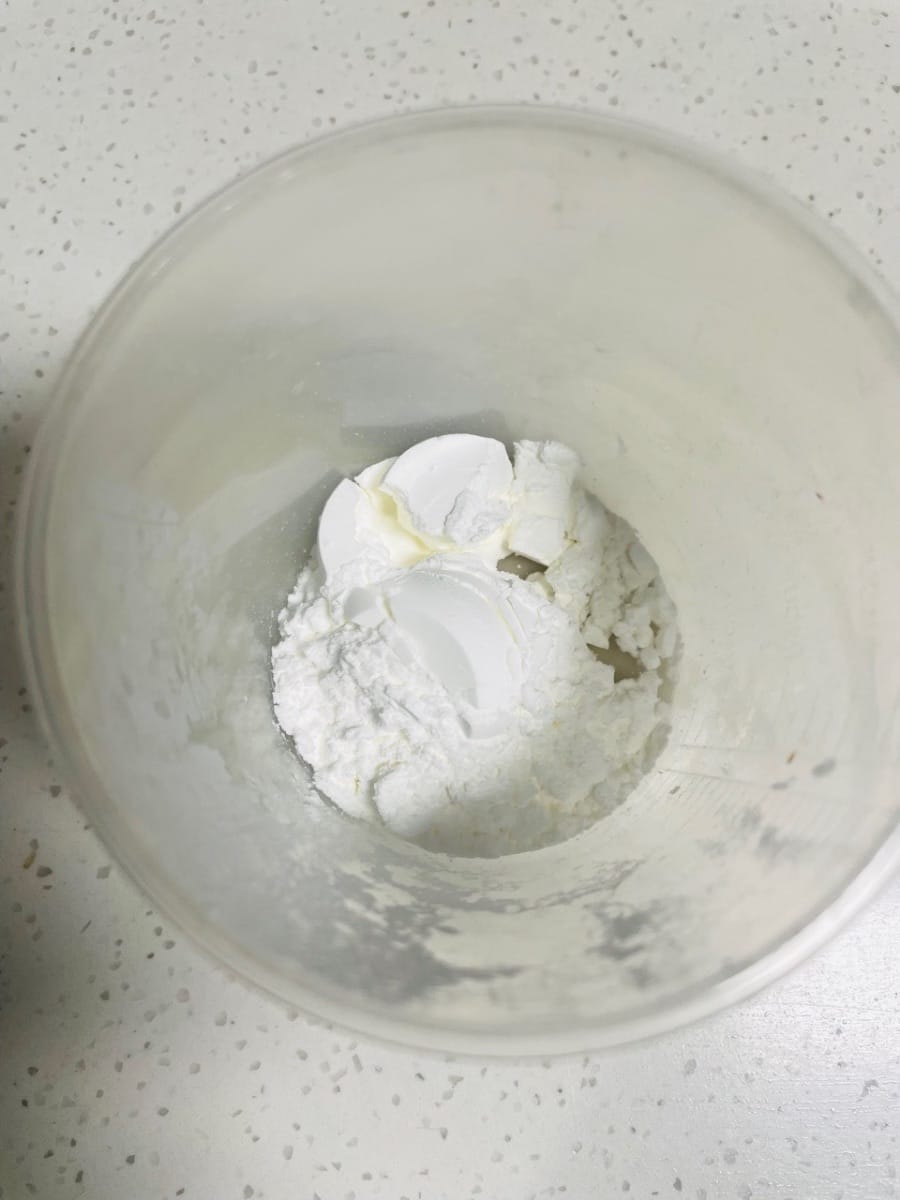
- Weigh 40 grams of egg whites and sugar and set aside.
- Weigh 10 grams of egg whites and set aside with corn starch.

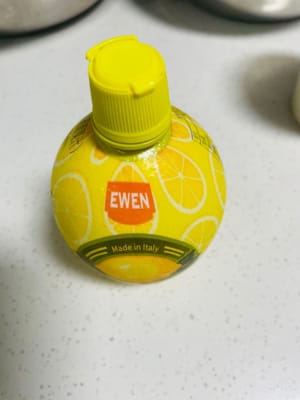
- Prepare fresh lemon juice in advance. You can cut the lemon and squeeze the juice, or use ready-made bottled lemon juice to ensure it is clean and free of impurities for whipping egg whites.
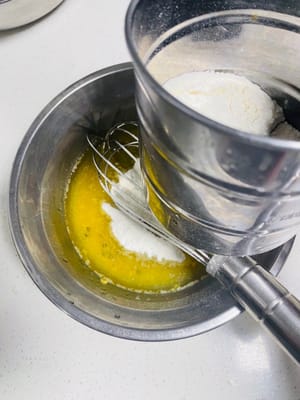
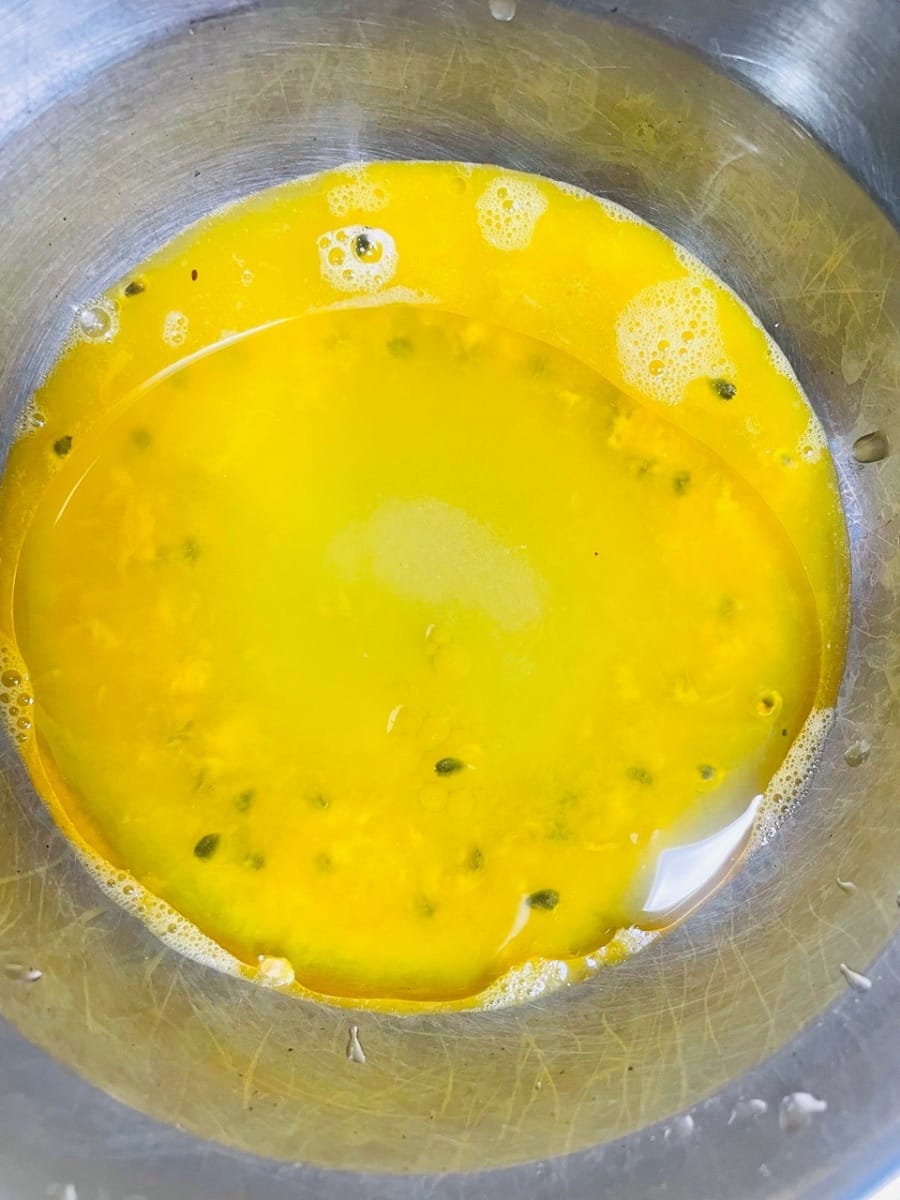
- Take a clean container, pour in 55 grams of mixed pineapple juice and passion fruit juice, add 50 grams of corn oil and 20 grams of white sugar (the amount can be adjusted according to personal taste), stir with a whisk or spatula to fully blend the oil, sugar and juice to form a uniform mixture.

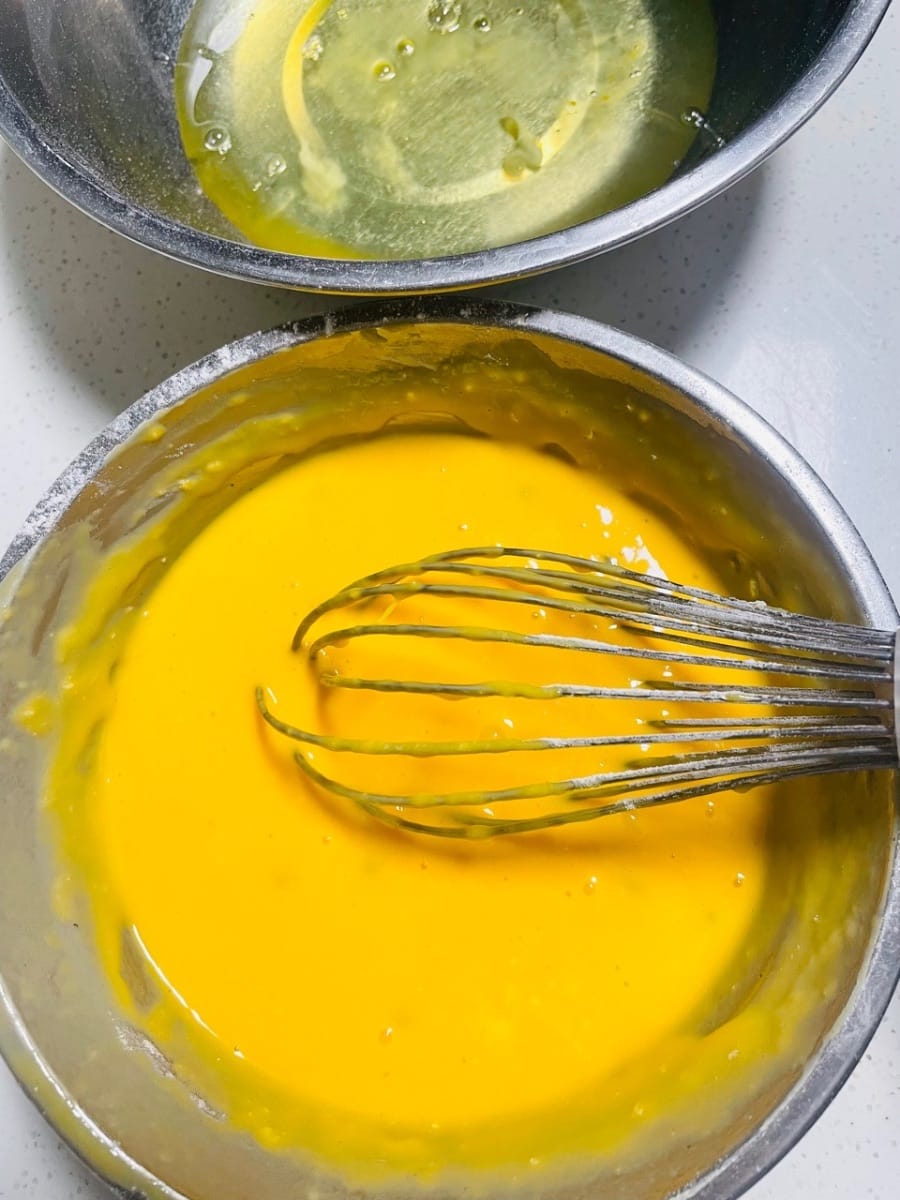
- Sieve the weighed low-gluten flour into the above mixture, fold and stir using the N-shaped method (i.e. fold from bottom to top, from right to left, etc., like writing the letter N), and move quickly to avoid the batter from forming gluten. Fold and stir until the flour is completely integrated and the batter is smooth and free of particles (see the video)
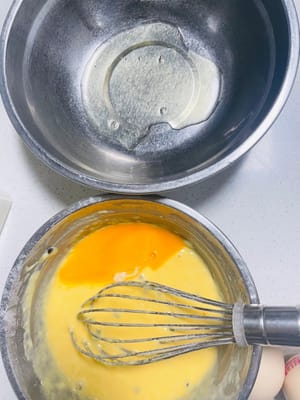
- Prepare egg white container: Take another large bowl and make sure it is free of oil and water (oil and water will destroy the egg white whipping structure). Separate the egg yolk and egg white, add the egg yolk to the egg yolk paste just made, and put the egg white in this large bowl without water and oil.
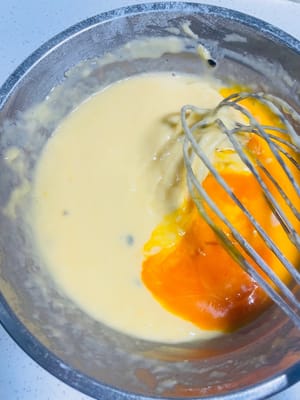
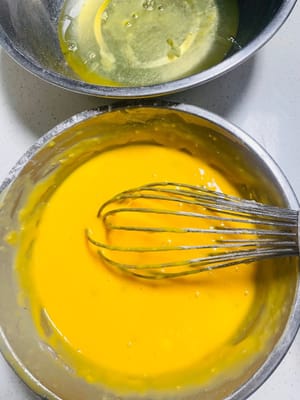
Preliminary mixing of egg yolk paste: Stir the egg yolk and egg yolk paste again with the N-shaped method. Note that you cannot stir in circles during the whole process. Stirring in circles will easily make the batter gluten, resulting in a sticky and non-fluffy cake.
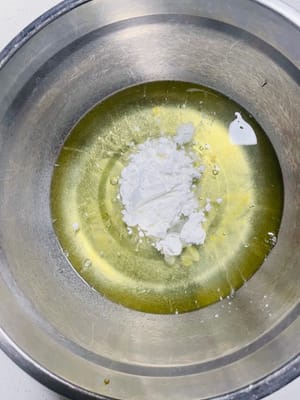
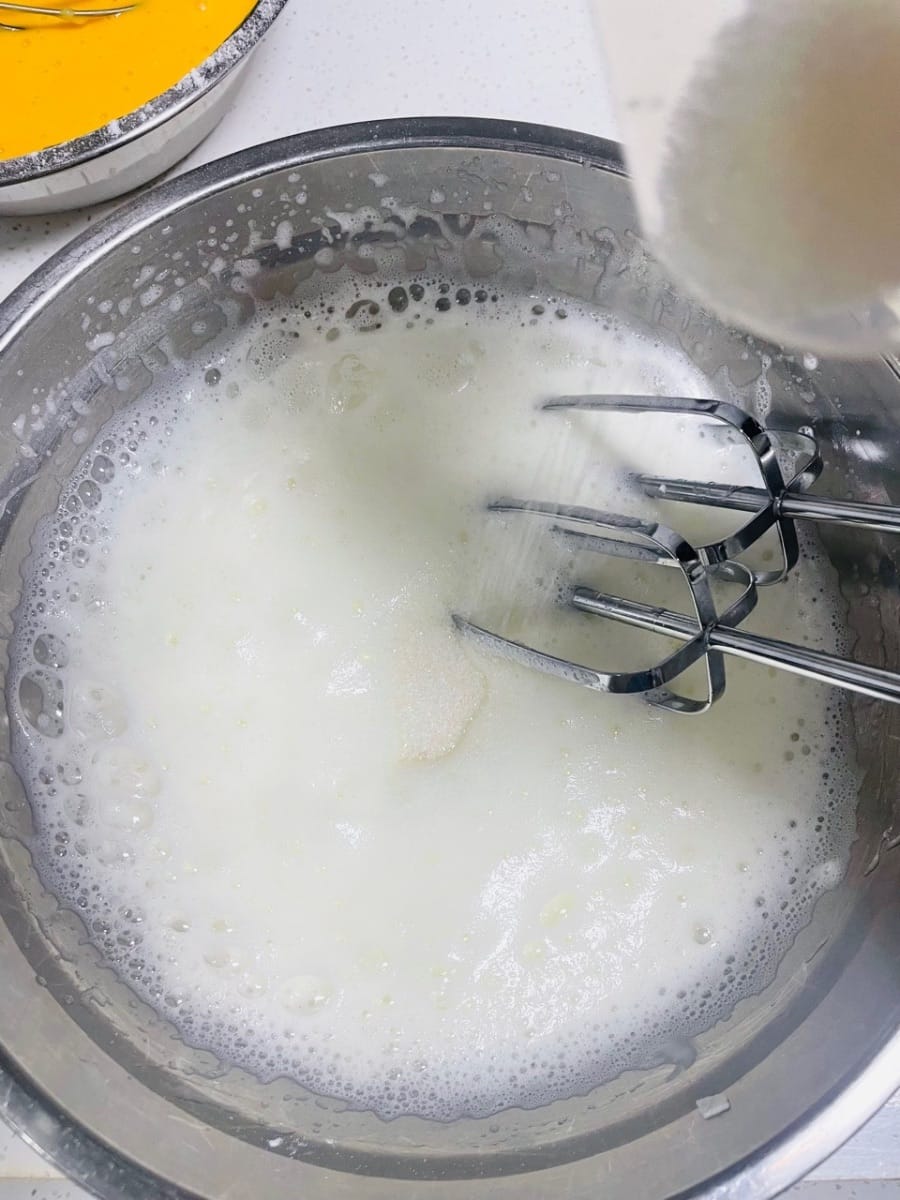
- Add 5 drops of lemon juice and the measured corn starch to the egg white bowl, stir evenly with a whisk at low speed to allow the starch and egg white to initially blend, so that when you turn on the whisk later, you can prevent the starch from splashing.
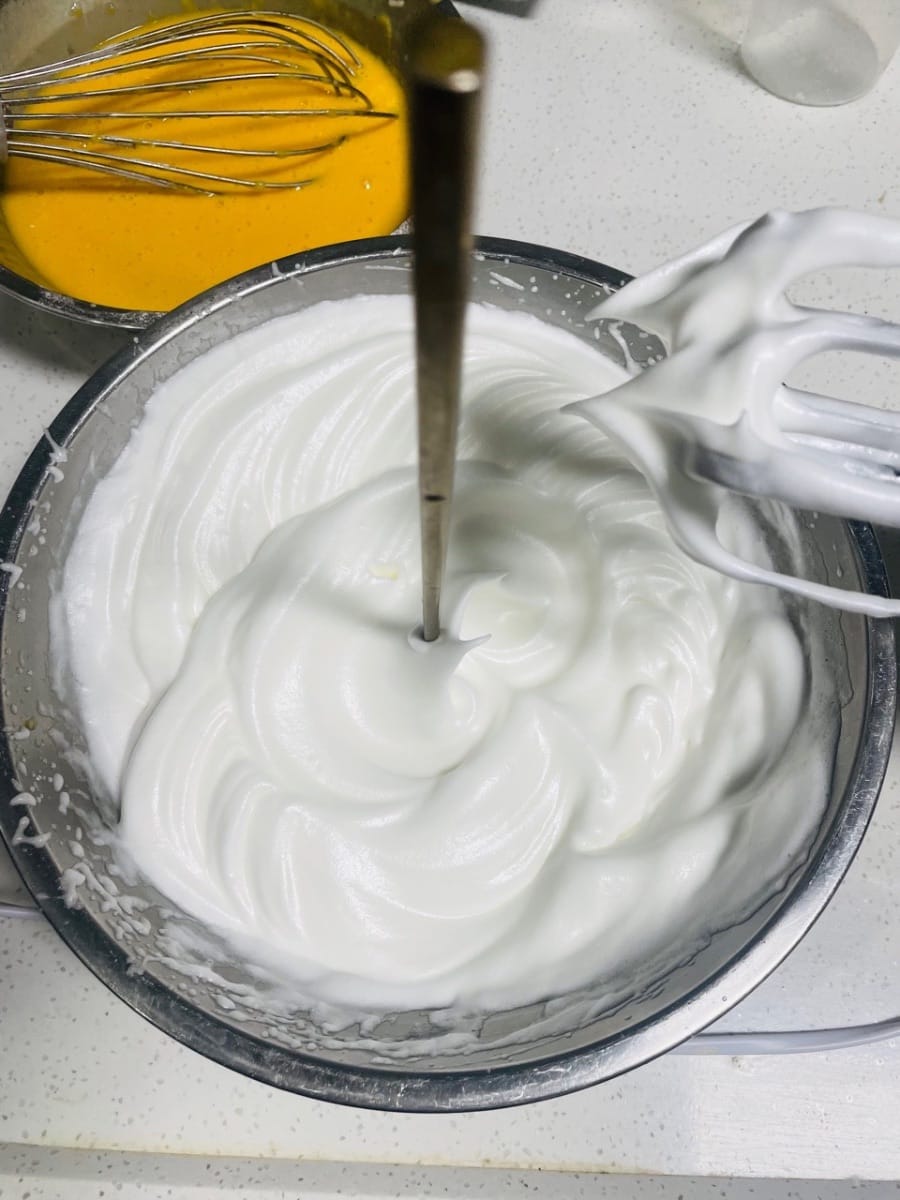
- Beat the egg whites in stages:
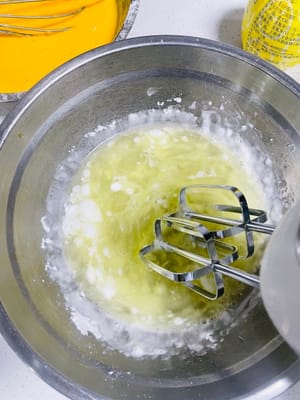
1 Start the egg beater and beat the egg whites at a low speed. When large fish-eye bubbles (large bubbles) appear, add the first batch of white sugar (about 1/3 of the amount) and continue beating.
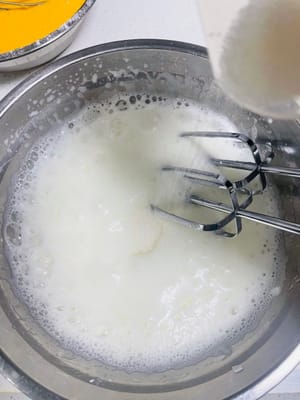
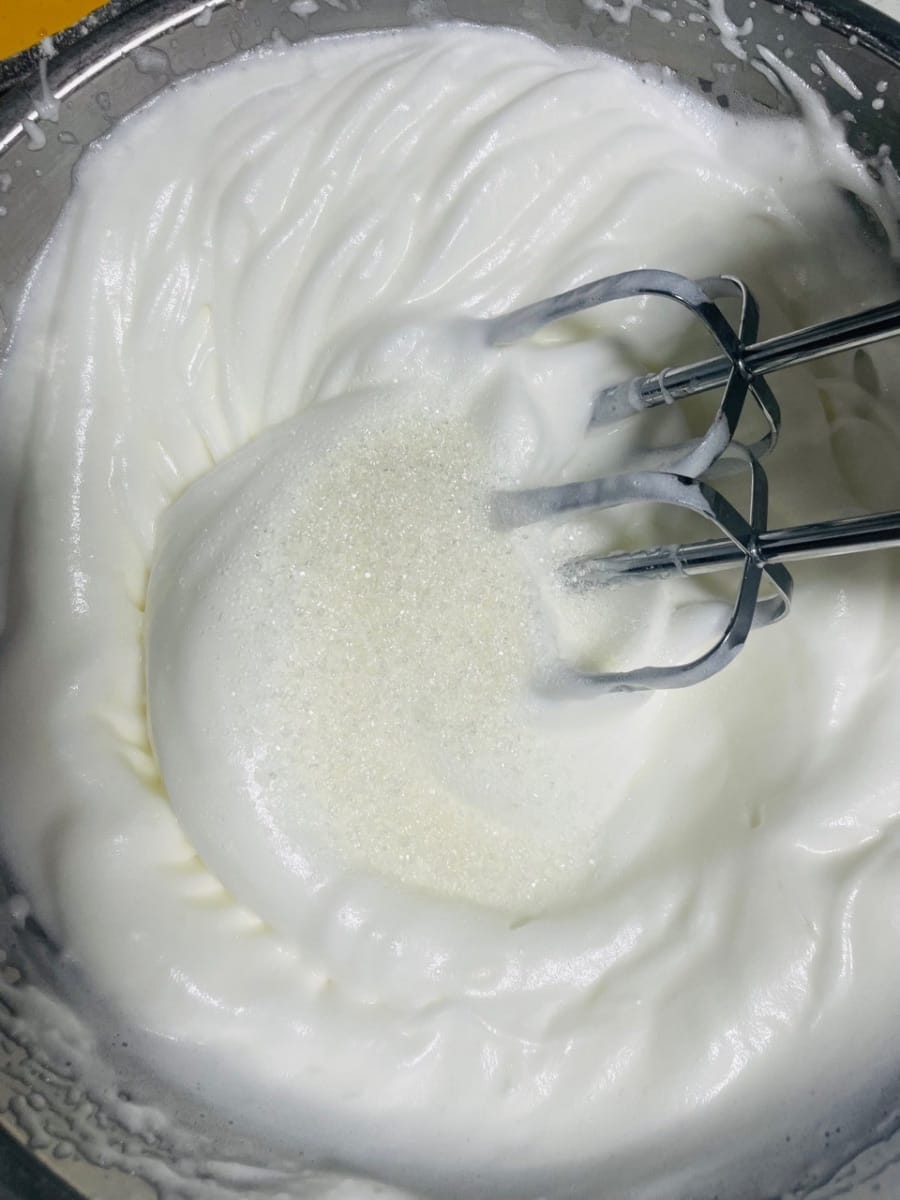
2. As the beating progresses, the egg white bubbles will become smaller and denser. When small bubbles appear, add the second batch of white sugar (about 1/3 of the amount) and continue beating.
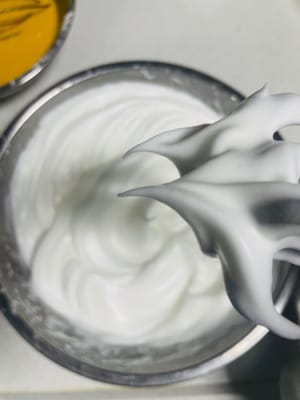
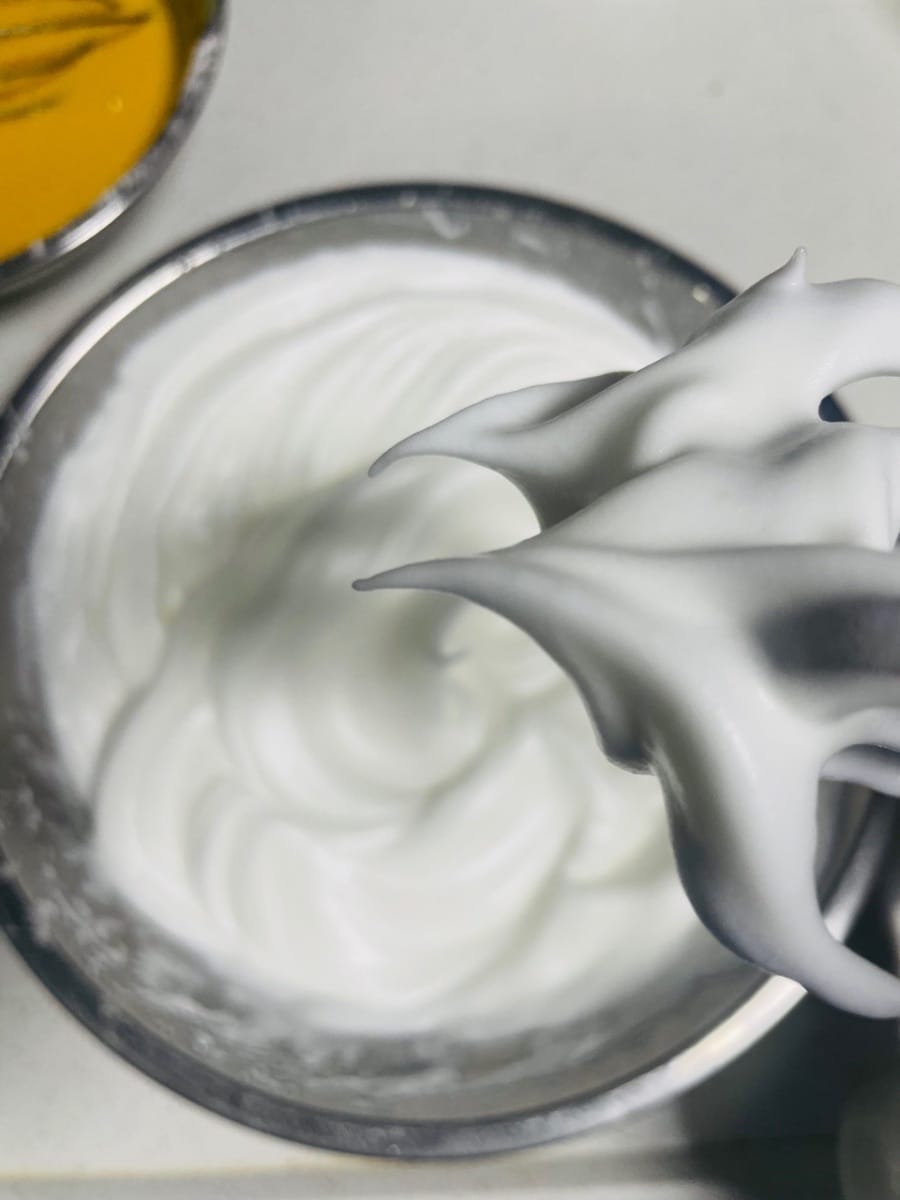
3. When the egg whites become thick and shiny, close to wet foaming (lift the egg beater, the egg whites have a small curved hook), add the third batch of white sugar, then adjust to a low gear (such as the low speed gear of the egg beater) and continue beating to sort out the bubbles and make the egg whites more stable.
~ In summary, to judge the degree of egg white beating: when the egg whites are beaten to an inverted triangle shape on the hook of the egg beater, insert a chopstick, and the chopstick can stand firmly without falling, it means that the egg whites have been beaten to the right place (close to dry foaming, suitable for the fluffy taste of chiffon cake).


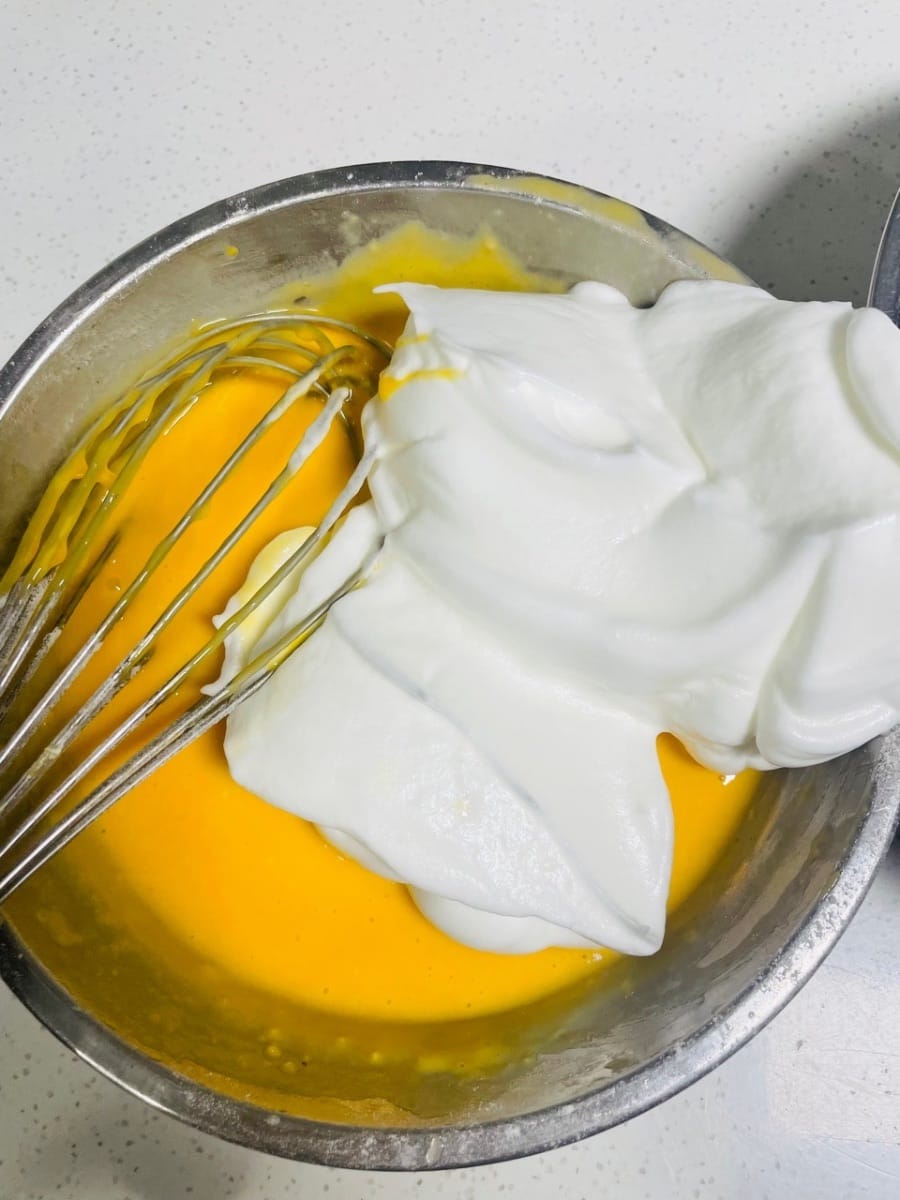
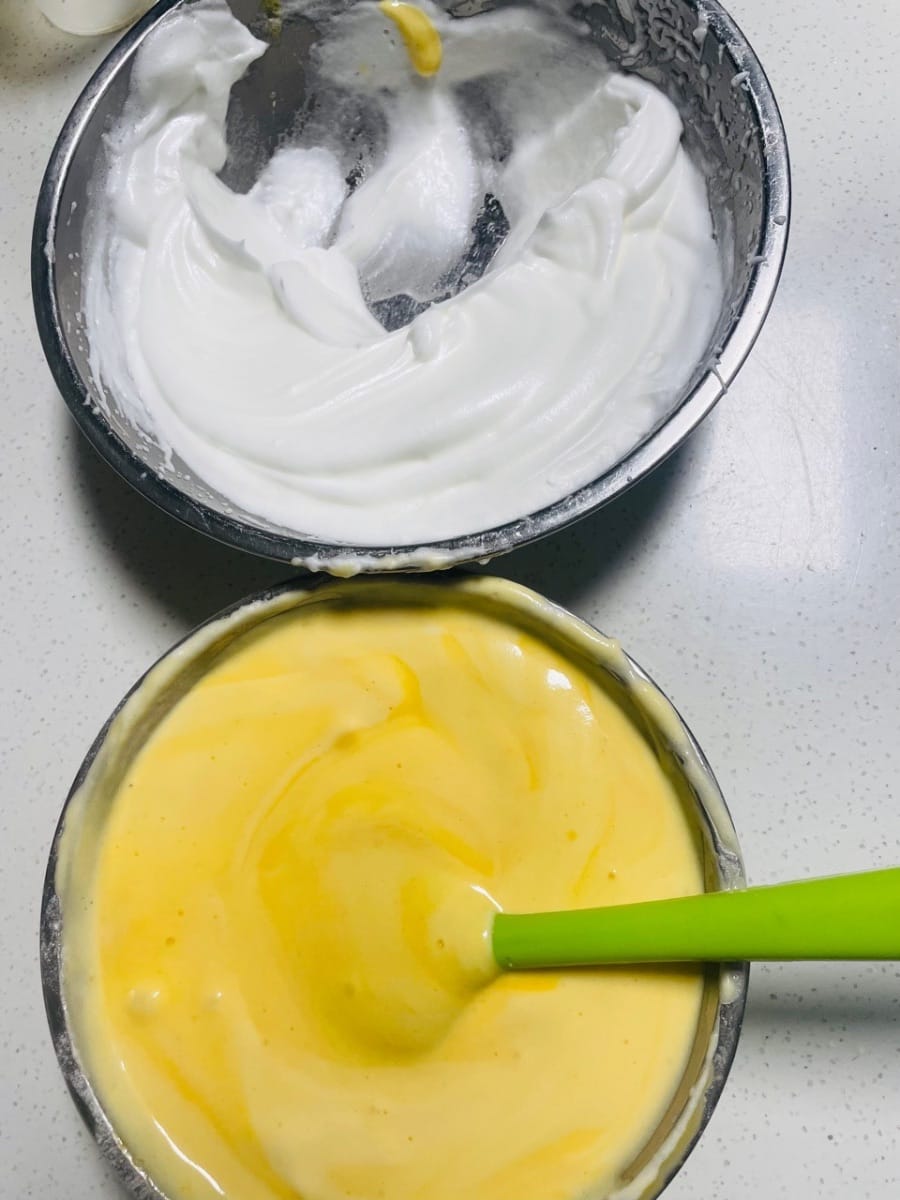
- Mix egg whites and egg yolk paste (I): Take 1/3 of the whipped egg whites and add them to the egg yolk paste. Stir quickly and evenly using the N-shaped technique. The movements should be light and fast to avoid defoaming the egg whites. This step is for initial mixing to allow the egg yolk paste and egg whites to initially blend.


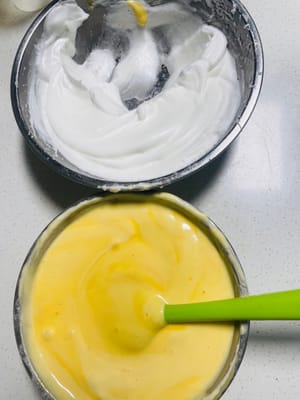
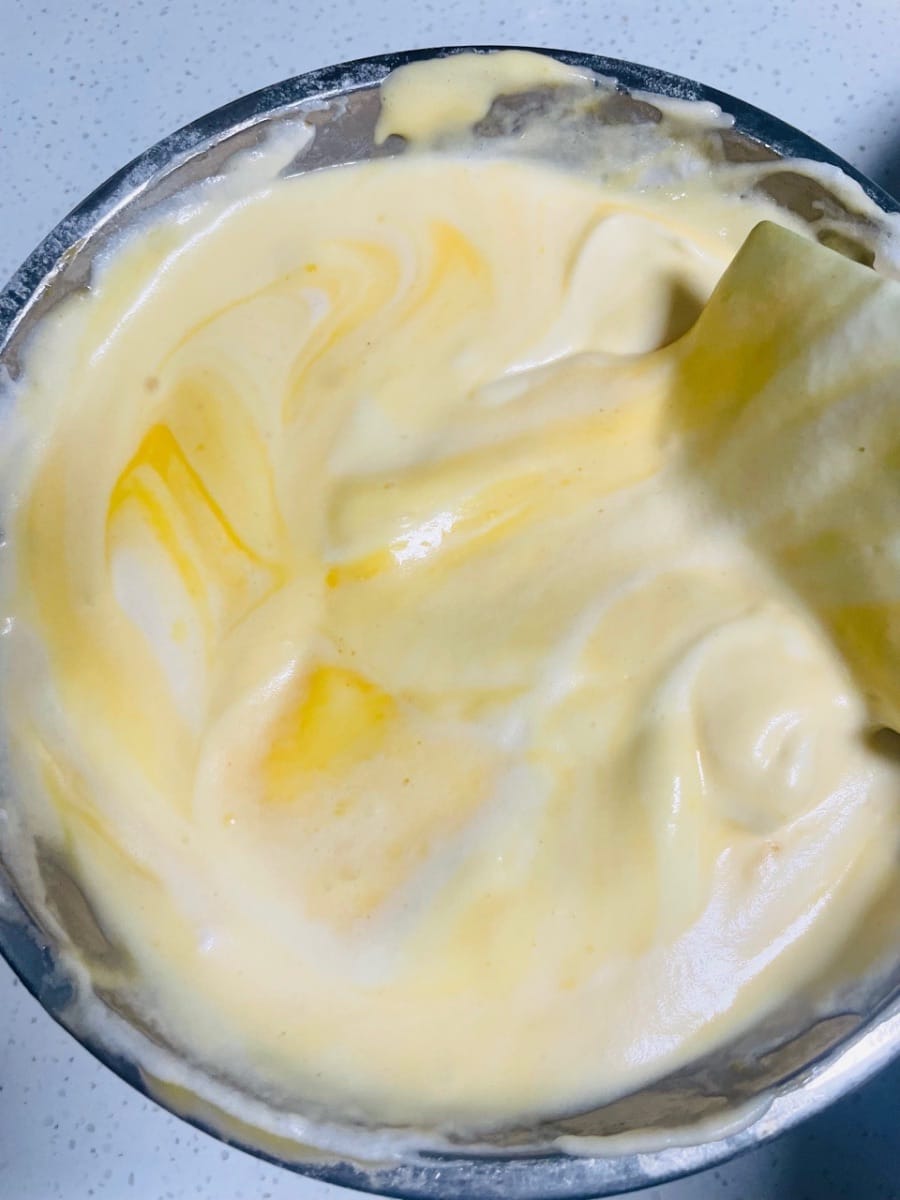
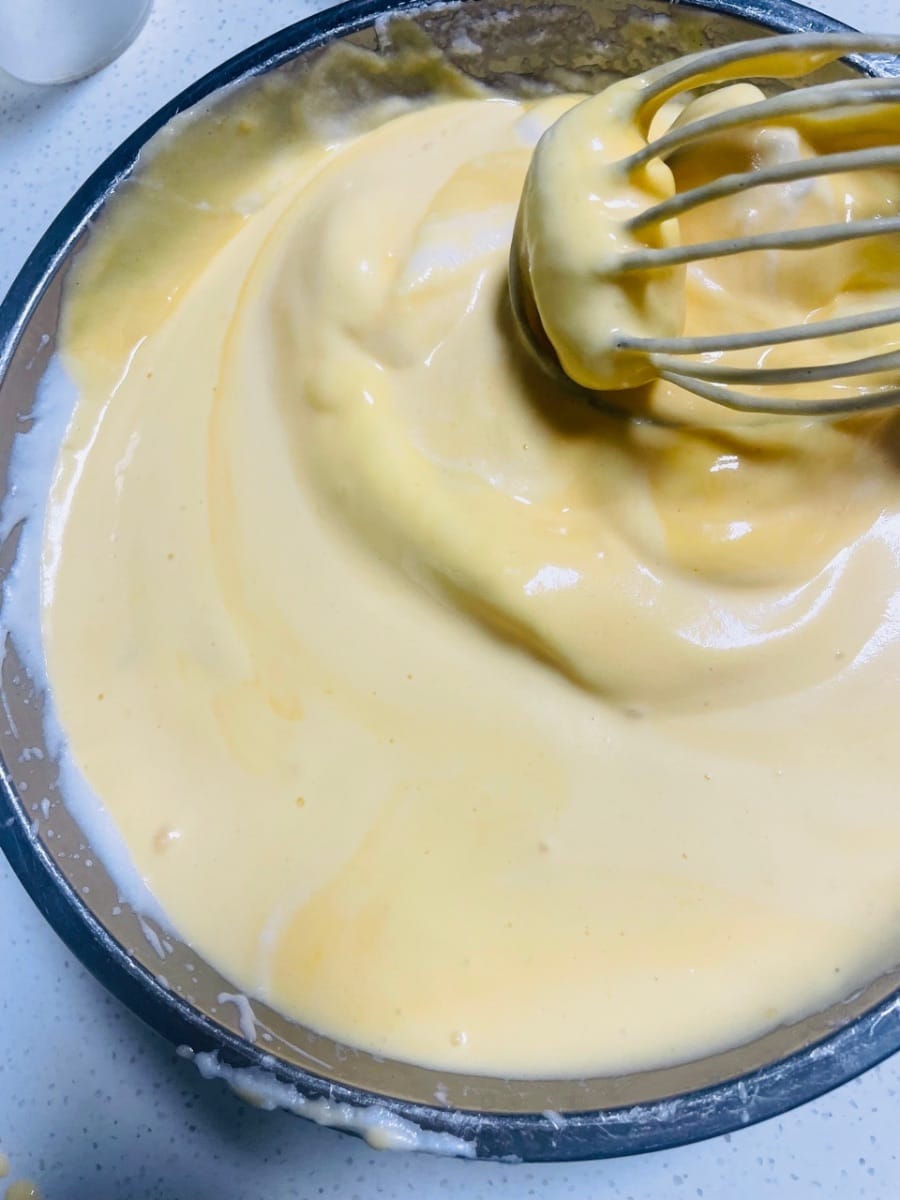
- Pour the mixed batter into the remaining meringue and continue to stir quickly in an N-shaped motion to make the batter smooth and thick. The batter should have a certain gloss and fluidity but not be too thin.

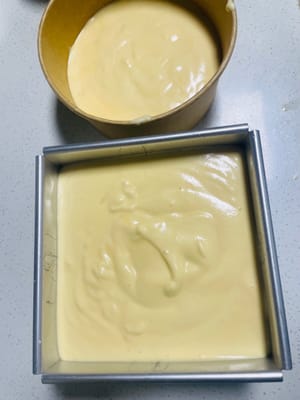
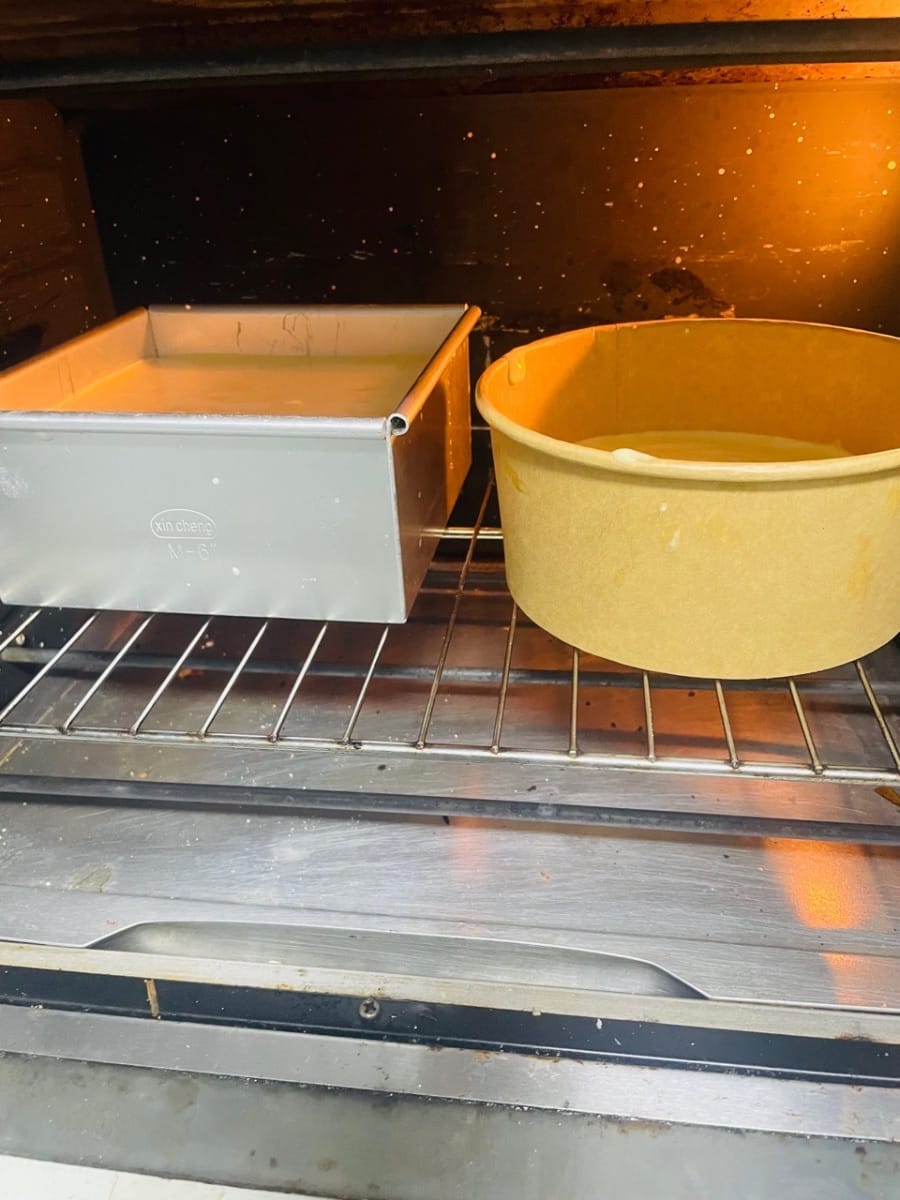
- Choose your favorite chiffon cake mold (such as 6-inch or 8-inch round removable bottom mold), pour the mixed batter into the mold, gently pick up the mold, and shake it on the table a few times to expel the large bubbles in the batter and make the cake texture more uniform.

- Place the mold in the bottom layer of the oven, set the oven temperature to 130℃ (different ovens have different tempers, so you can fine-tune it according to the actual situation, such as 125-135℃), and bake for 50-60 minutes. During the baking process, avoid opening the oven door frequently to prevent heat loss and cause the cake to collapse.

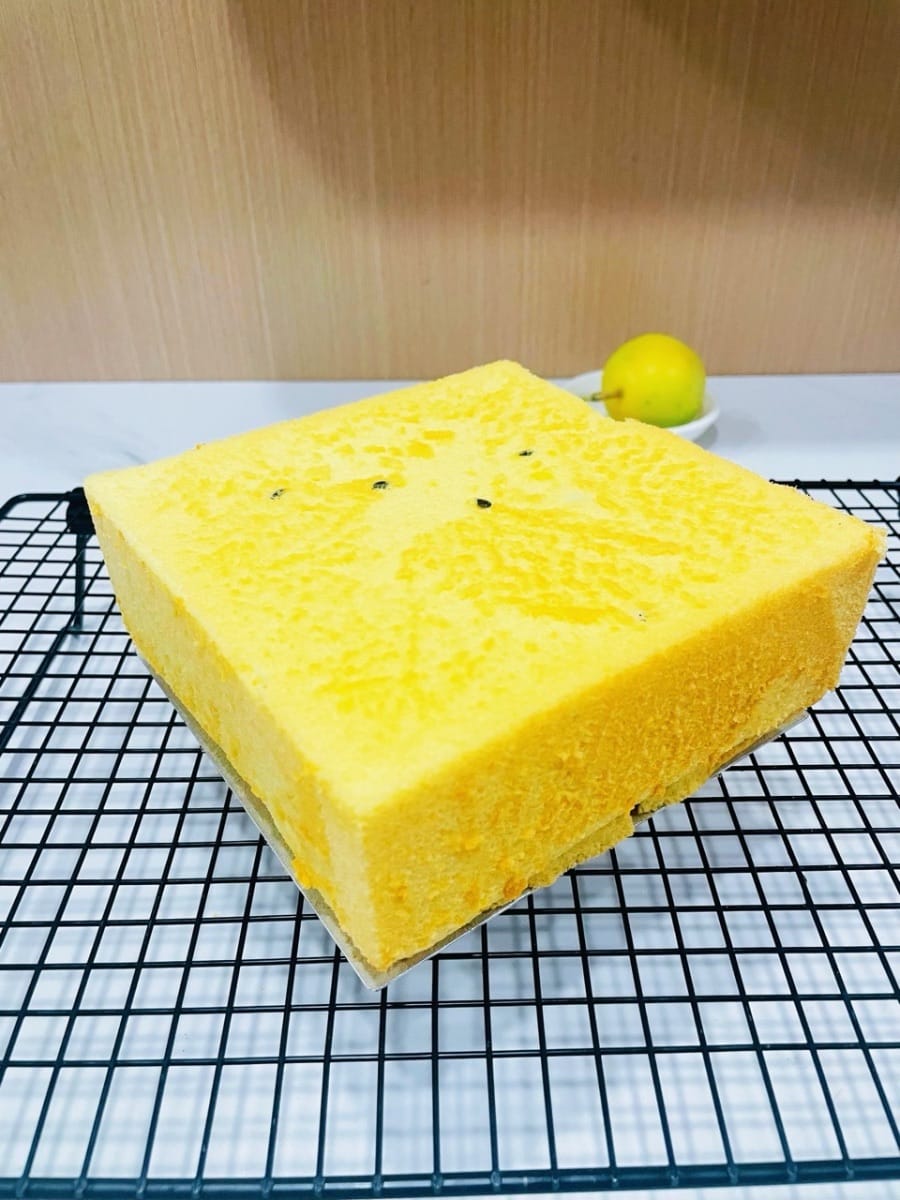
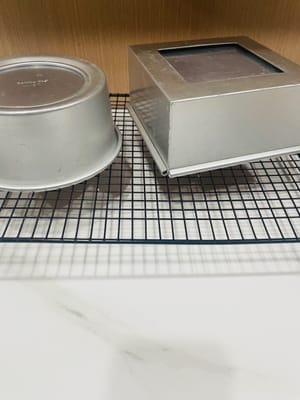
- After baking, put on heat-insulating gloves to take out the mold, and immediately turn the mold upside down on the drying rack to let the cake cool naturally (turning the mold upside down can prevent the cake from collapsing due to gravity and help to shape it). After it is completely cooled, use a demoulding knife to gently cut a circle along the edge of the mold, and you can easily demould and enjoy the delicious passion fruit pineapple juice chiffon cake.
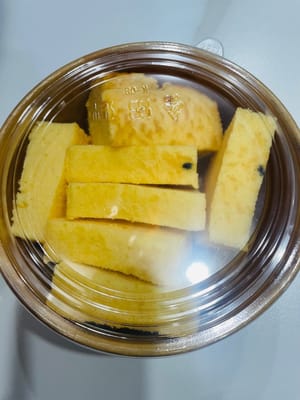
- The fragrance of cooking alone is not as good as the fragrance of cooking together. Pack it up and share it with your neighbors.


Languages
Chiffon-Kuchen mit Passionsfrucht und Ananassaft - Deutsch (German) versionPassion fruit pineapple juice chiffon cake - English version
Pastel chiffon de jugo de piña y maracuyá - Español (Spanish) version
Gâteau chiffon au jus d'ananas et aux fruits de la passion - Français (French) version
Kue sifon jus nanas markisa - Bahasa Indonesia (Indonesian) version
torta chiffon al succo di ananas e frutto della passione - Italiana (Italian) version
パッションフルーツパイナップルジュースのシフォンケーキ - 日本語 (Japanese) version
패션프루트 파인애플 주스 시폰 케이크 - 한국인 (Korean) version
เค้กชิฟฟอนน้ำสับปะรดเสาวรส - แบบไทย (Thai) version
百香果菠蘿汁戚風蛋糕 - 香港繁體中文 (Traditional Chinese - Hong Kong) version