Matcha Mochi Cheese Soft European Style
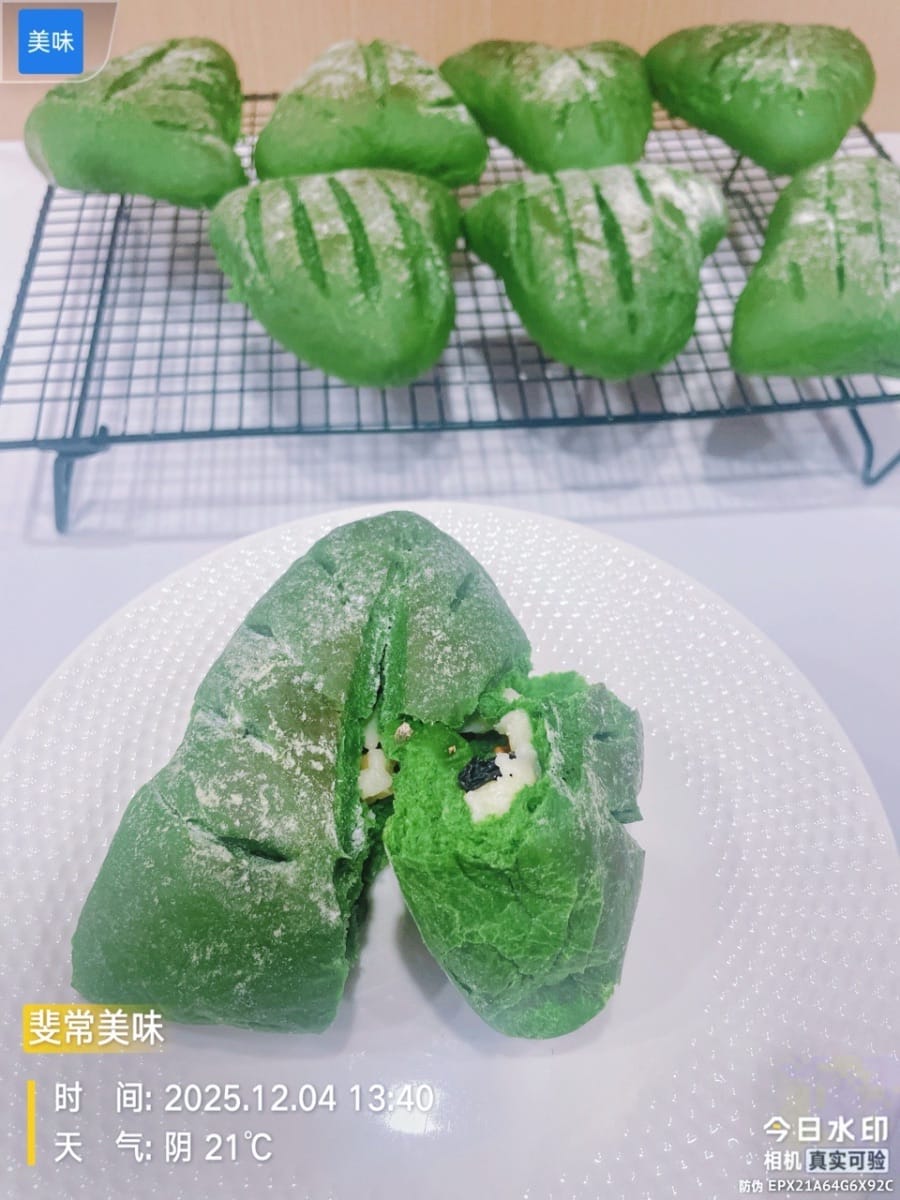
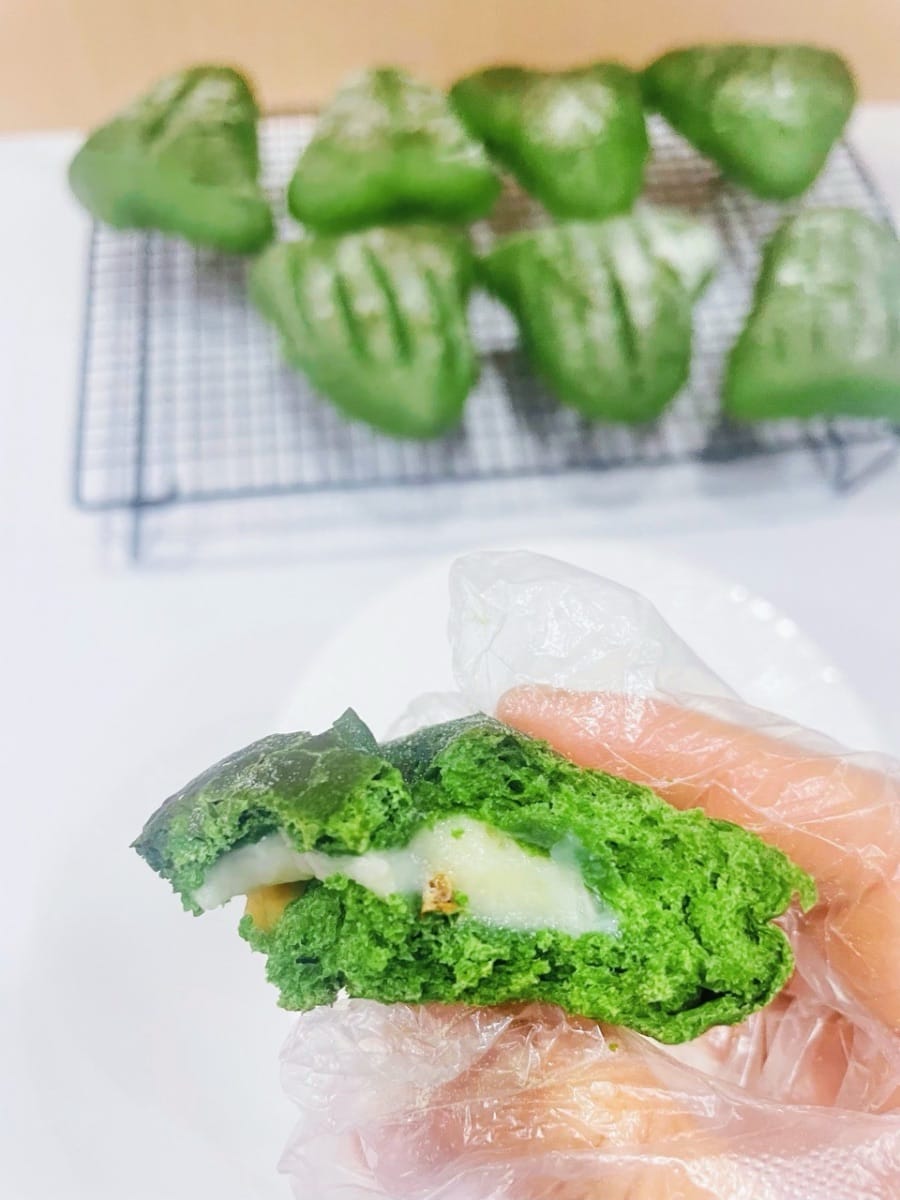
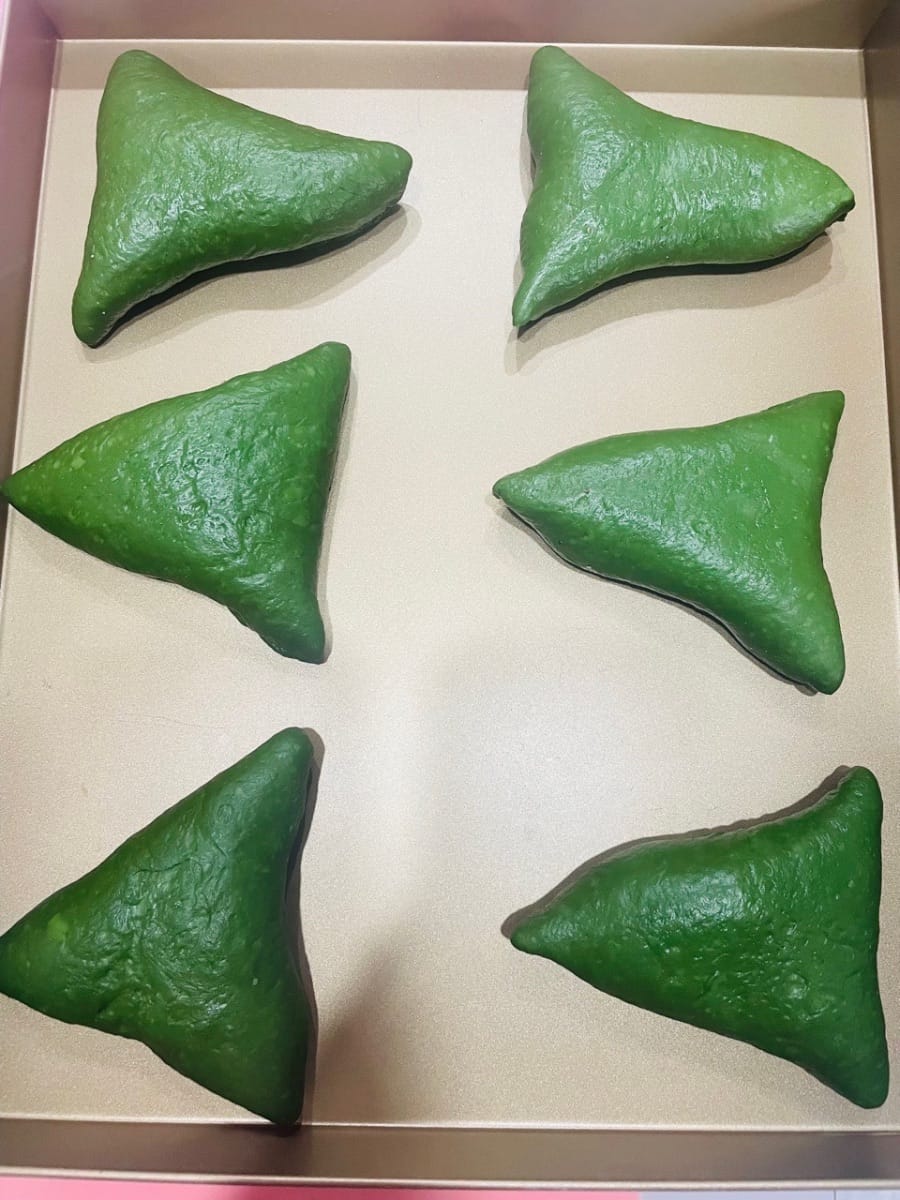
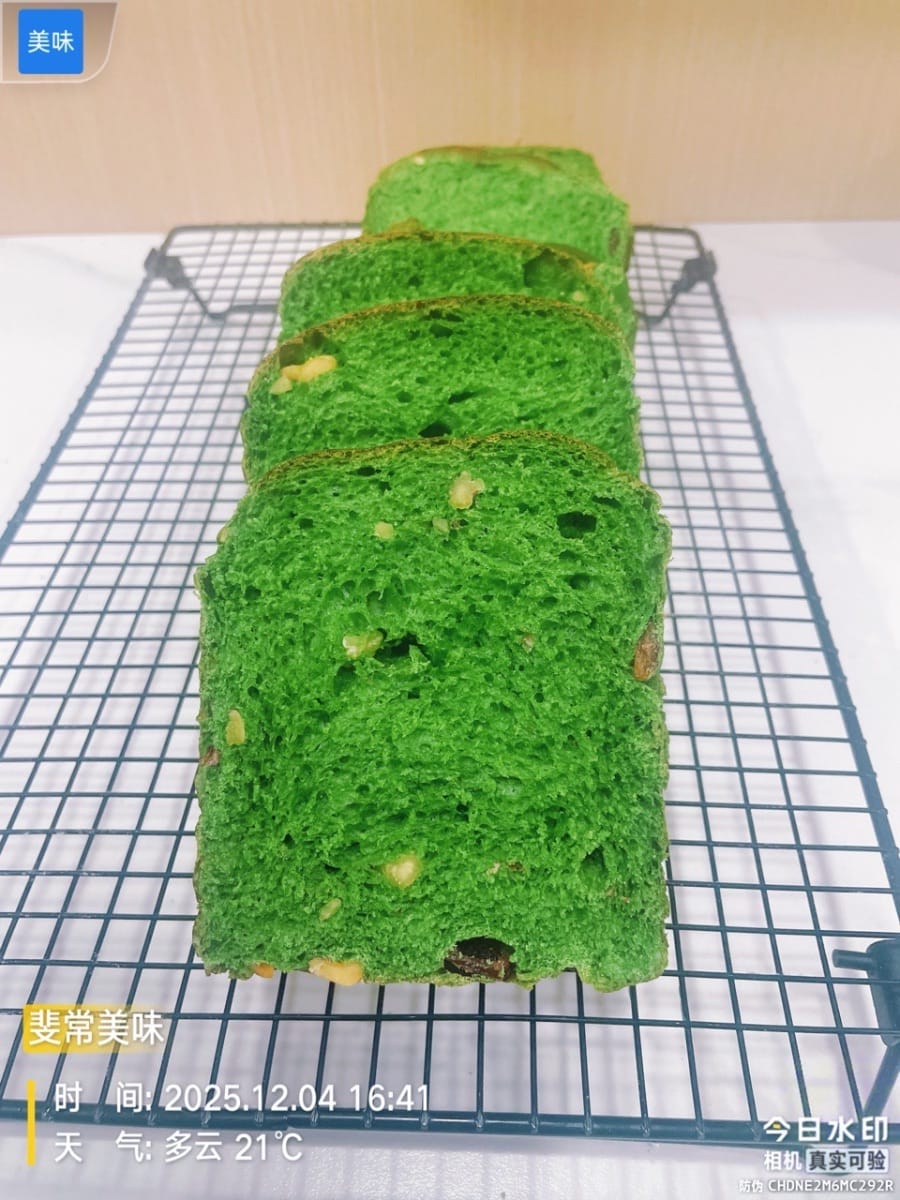
This vibrant "springtime green" instantly elevates the atmosphere the moment it hits the table! The matcha soft European-style bread has a chewy yet soft crust, and inside is a mochi filling filled with nuts—chewy and smooth with cream cheese. Even when cooled, it's still stretchy and delicate. The aroma of tea and milk intertwines, tantalizing your taste buds. It's so soft, it feels like holding the sweetness of spring in your hands! This refreshing green looks so vibrant; even my friend who doesn't like sweets showed off two. Only my stock market friend saw it and jokingly said, "I know this color all too well!" But I couldn't resist the aroma of the creamy filling, so I secretly grabbed one, and my eyes lit up as I chewed.
Ingredients
- 300g high-gluten flour

- 120g fresh milk

- 3 grams of dry yeast

- 60g of egg liquid

- 3 grams of salt

- 45 grams of white sugar

- 60g light cream

- 10g matcha powder

- 20g butter

- 100g cream cheese

- 30 grams of sugar

- 140g milk

- 60g glutinous rice flour

- 10g corn starch

- 15g butter

Steps
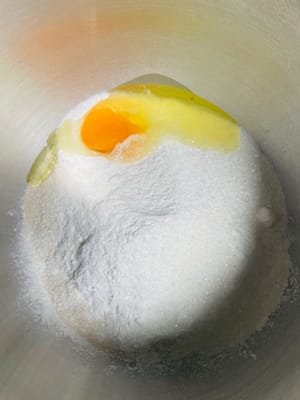
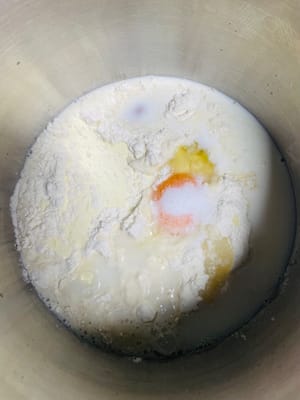
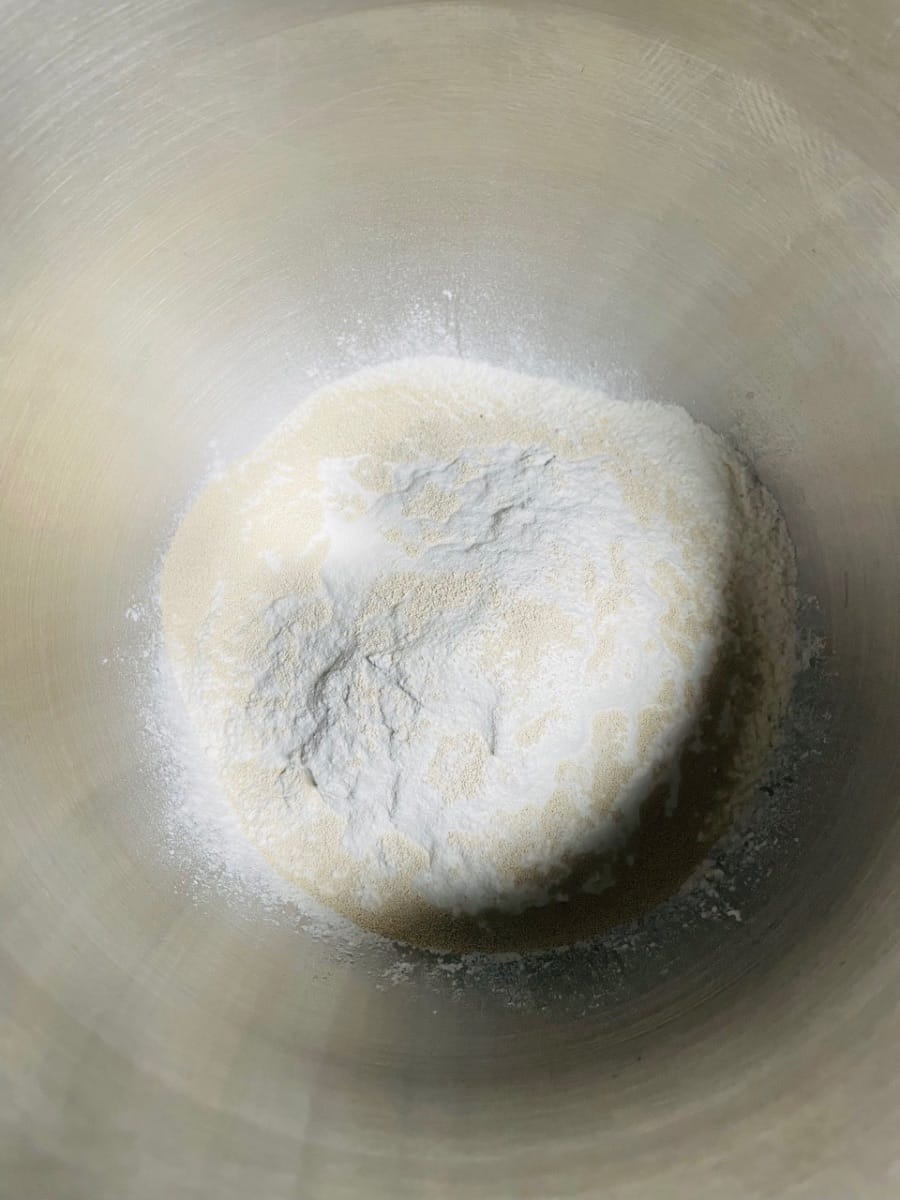
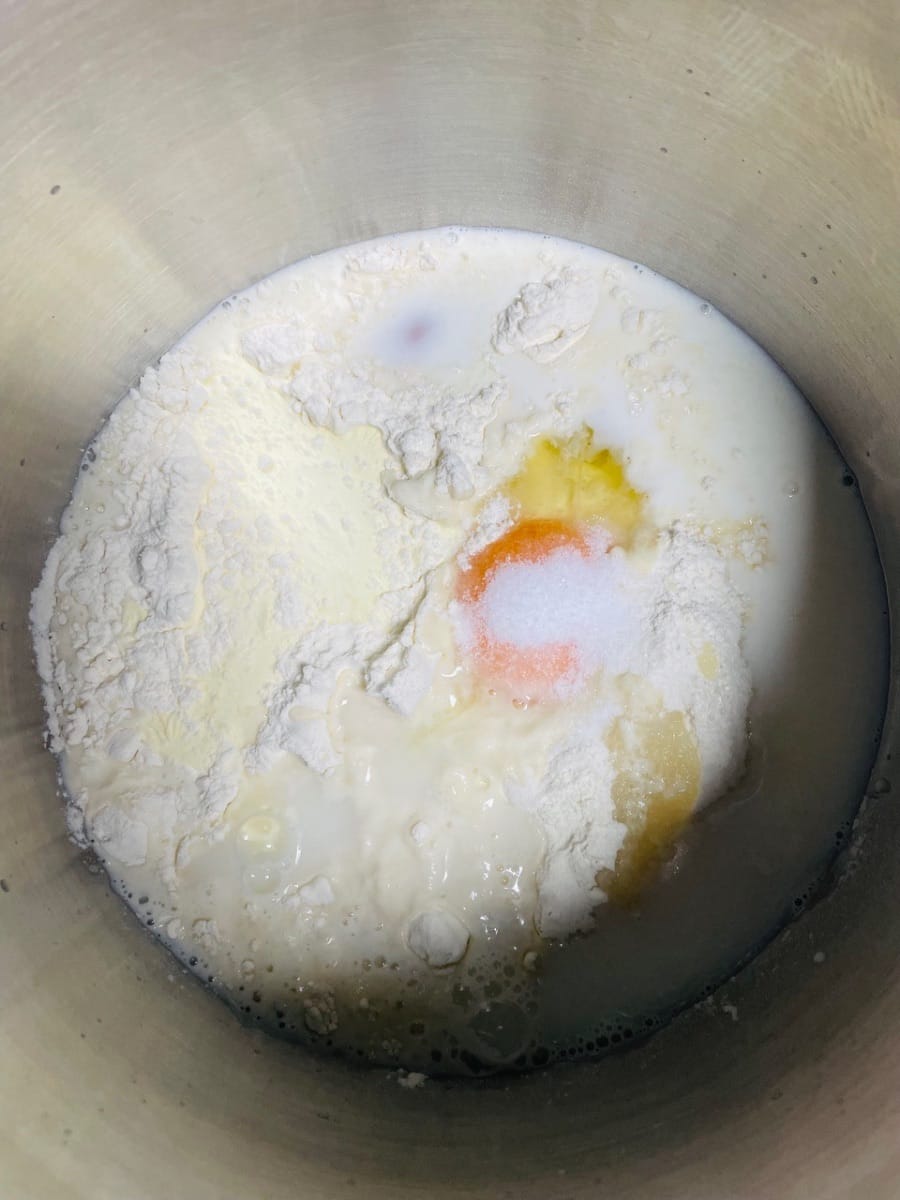
- Prepare ingredients + mix (first step: weigh all ingredients): Put all the ingredients, including high-gluten flour, matcha powder, granulated sugar, salt, yeast, milk, and egg liquid, into the mixing bowl (do not add butter yet).

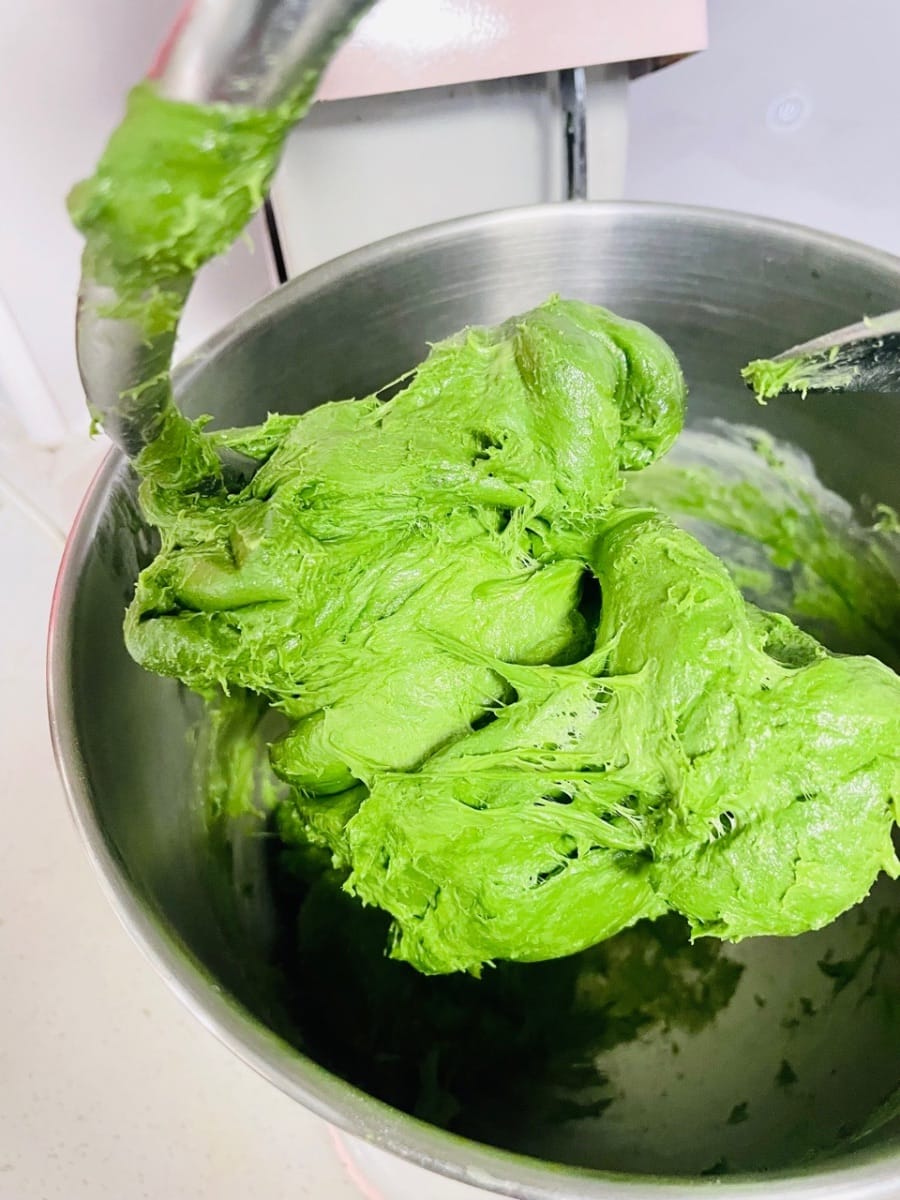
- First kneading (to achieve an 80% gluten development): Knead the dough on low speed for 2 minutes (to fully combine the dry and liquid ingredients and prevent lumps), then switch to high speed and knead for 6 minutes, until you can stretch it into a thin membrane with jagged edges around the opening.
Achieving an 80% gluten development indicates the initial formation of gluten. This makes it easier to knead a resilient, translucent membrane after adding butter, preventing it from crumbling.

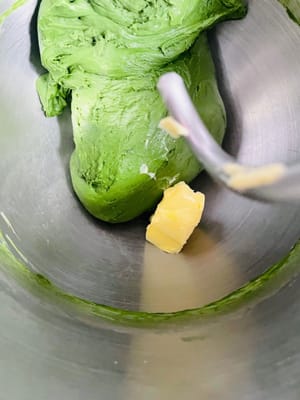
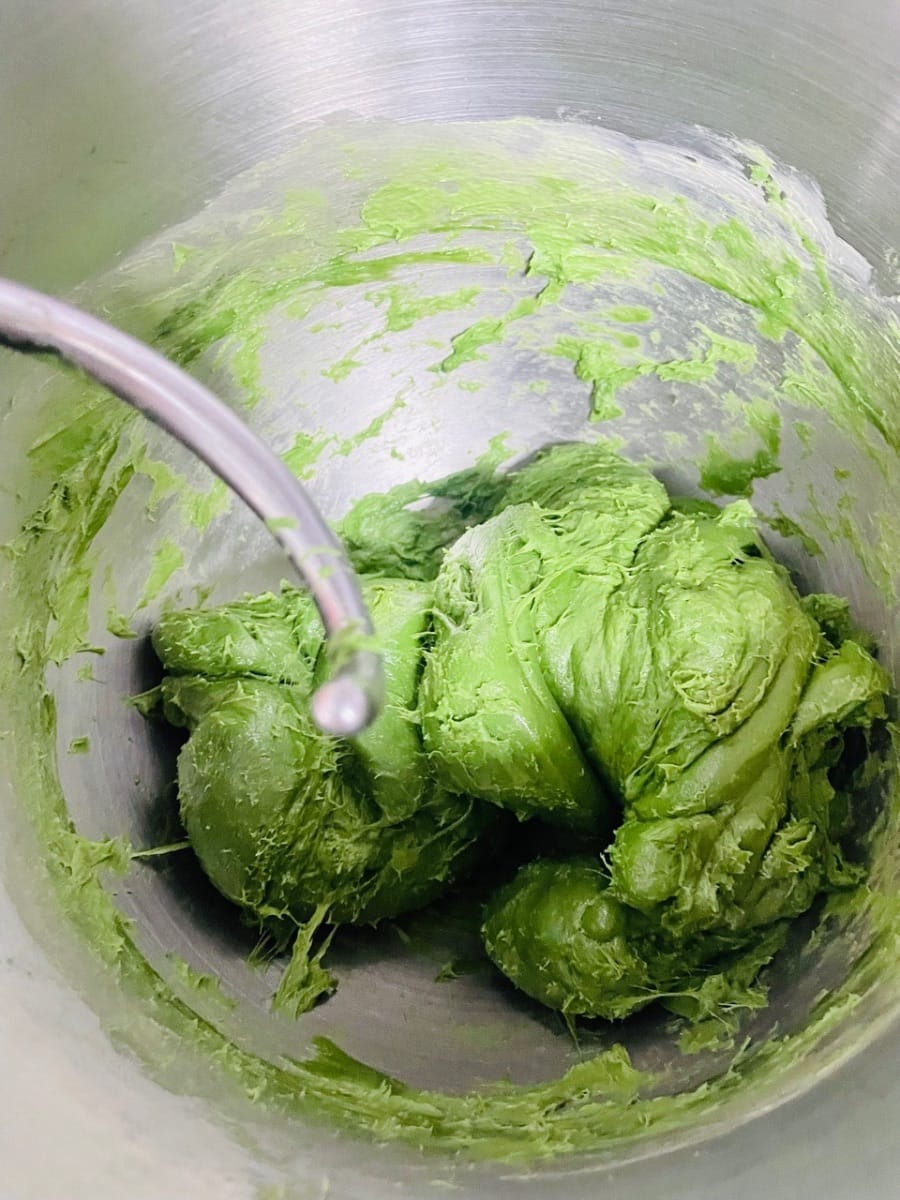
- Add butter (add in a separate step): Cut the softened butter into small pieces, knead on low speed for about 3 minutes to allow the butter to be slowly incorporated into the dough and prevent it from sticking to the sides of the bowl.


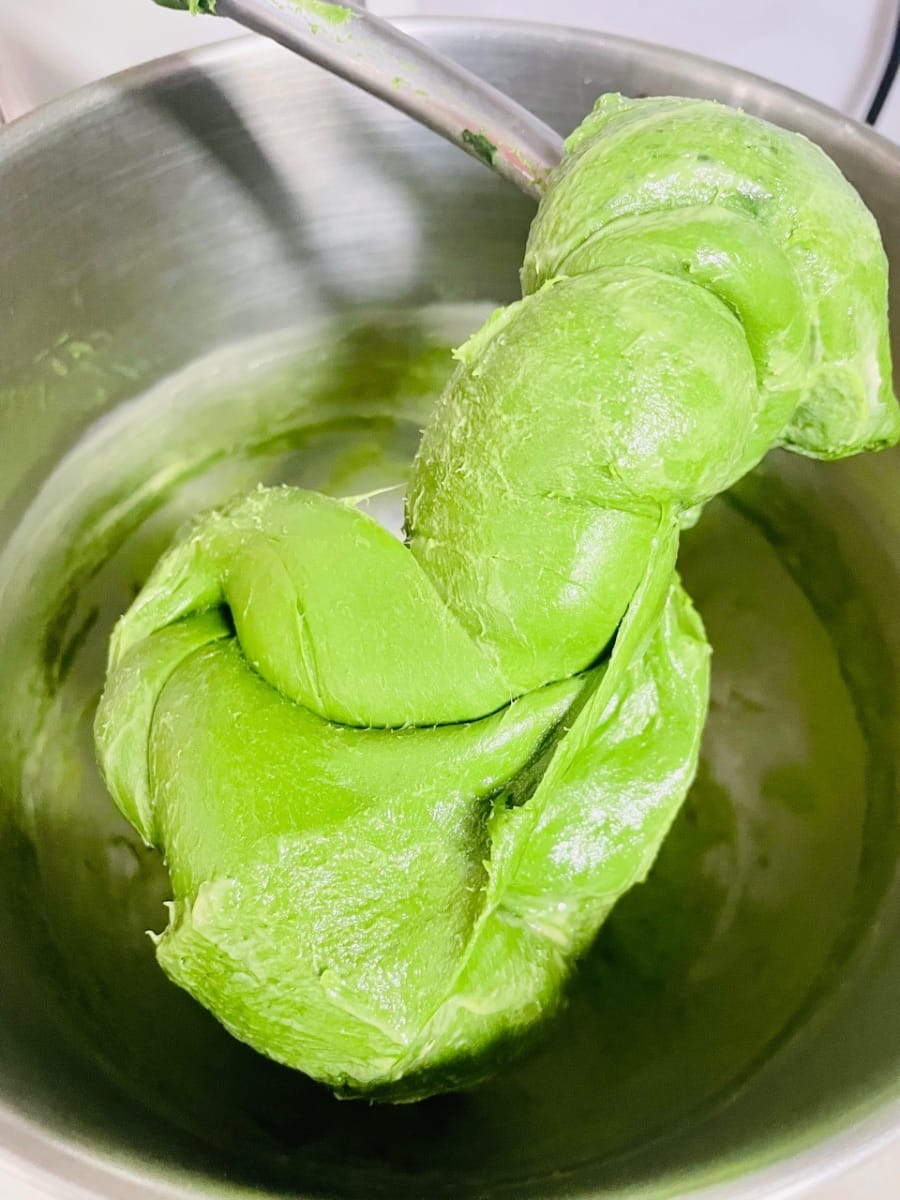
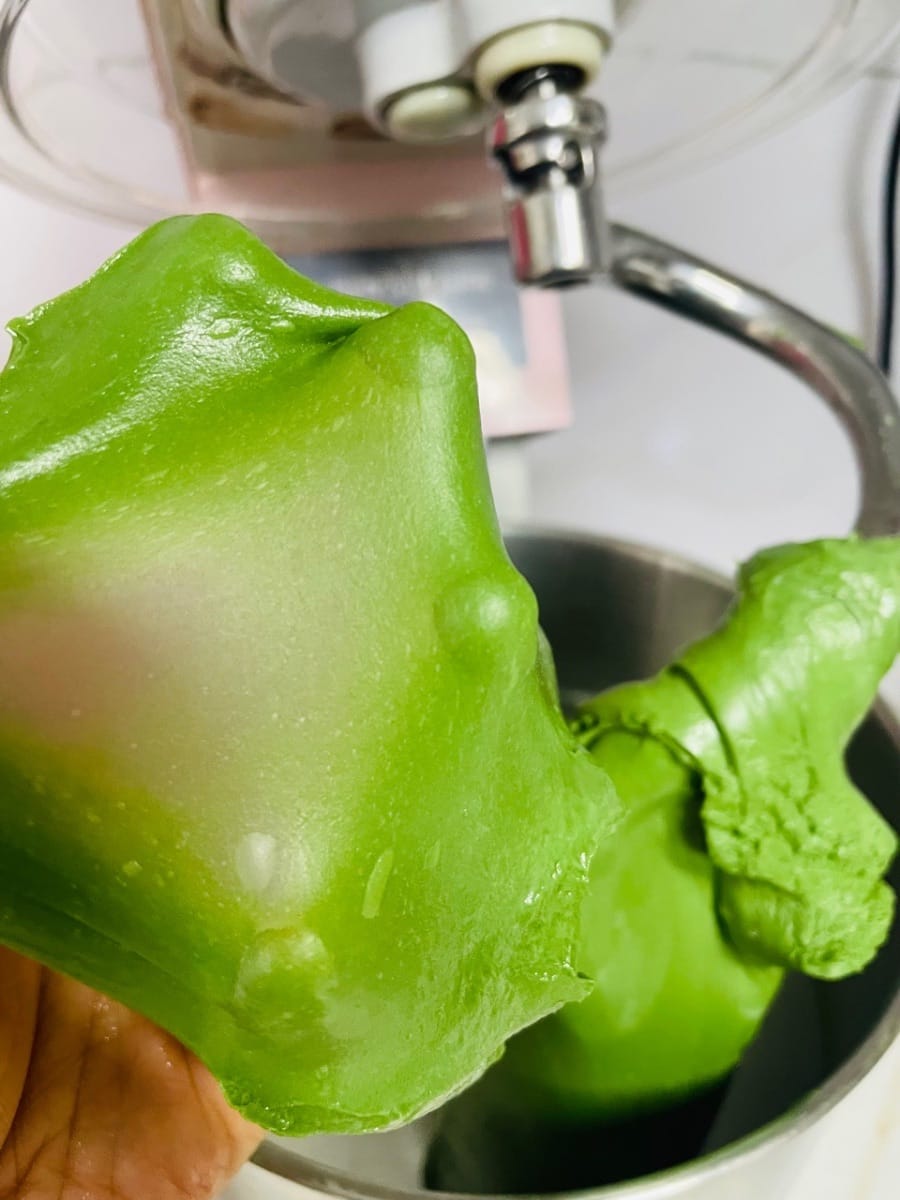
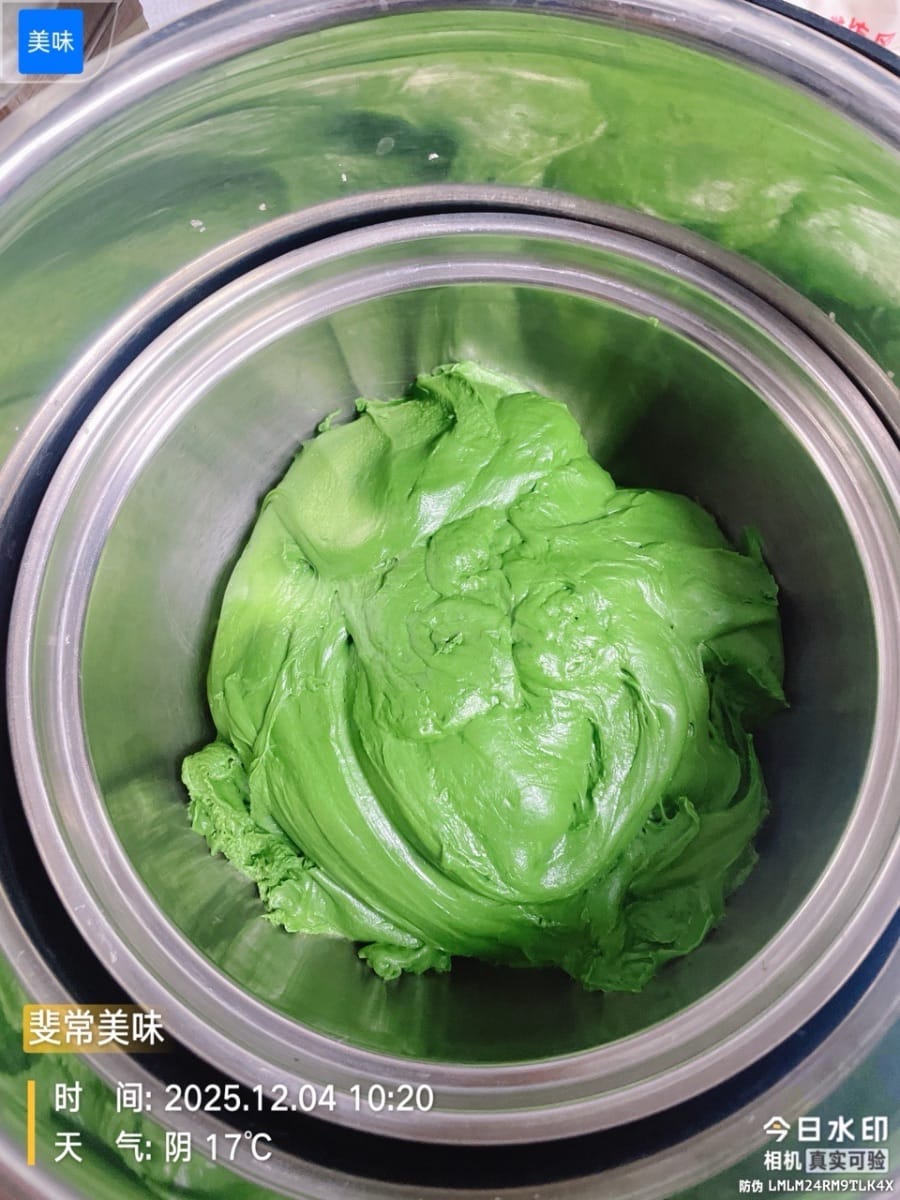
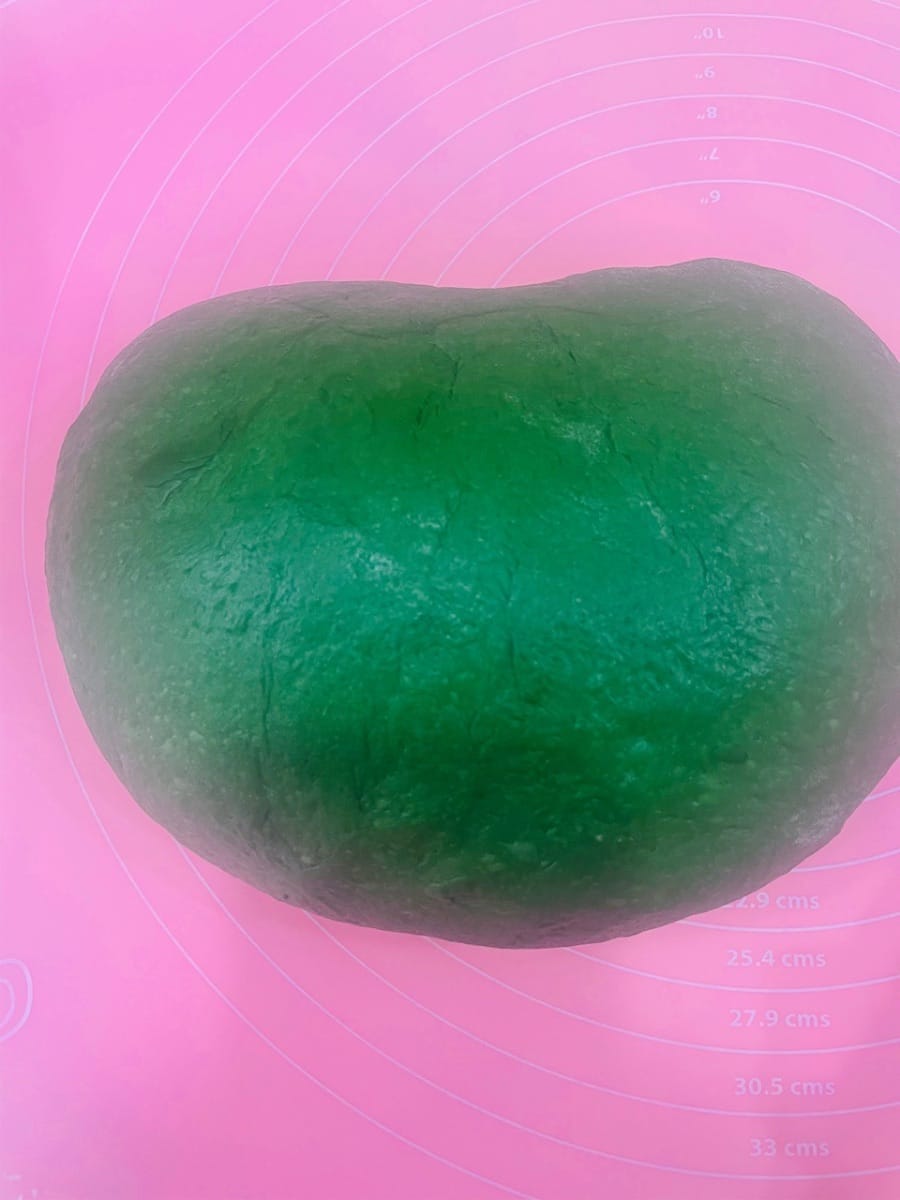
- Second kneading (knead until a gluten window is formed)
Knead on medium-high speed for 8 minutes, until you can stretch it into a thick, glove-shaped membrane with smooth edges when torn.
The gluten window is the key to a soft, chewy European-style bread (pretty, right? A little proud of myself!).


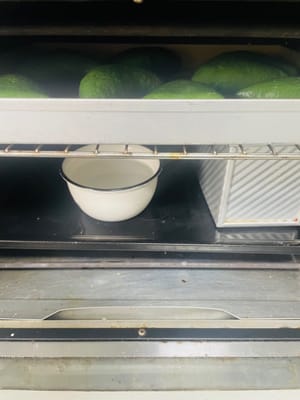
- First Fermentation (for a fluffy texture) Place the kneaded dough in a 30°C environment (oven/proofing pot, with a bowl of water nearby to maintain humidity) and let it rise until it doubles in size. To test if it's ready, poke a hole with a wet finger; if the hole doesn't shrink back or collapse, it's ready.
30°C is the optimal temperature for yeast activity; maintaining humidity prevents the dough from drying out.


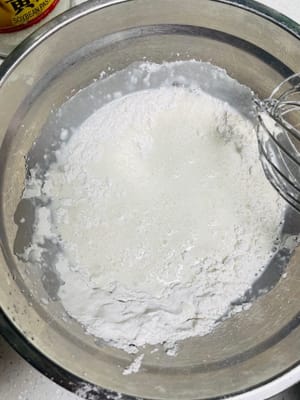
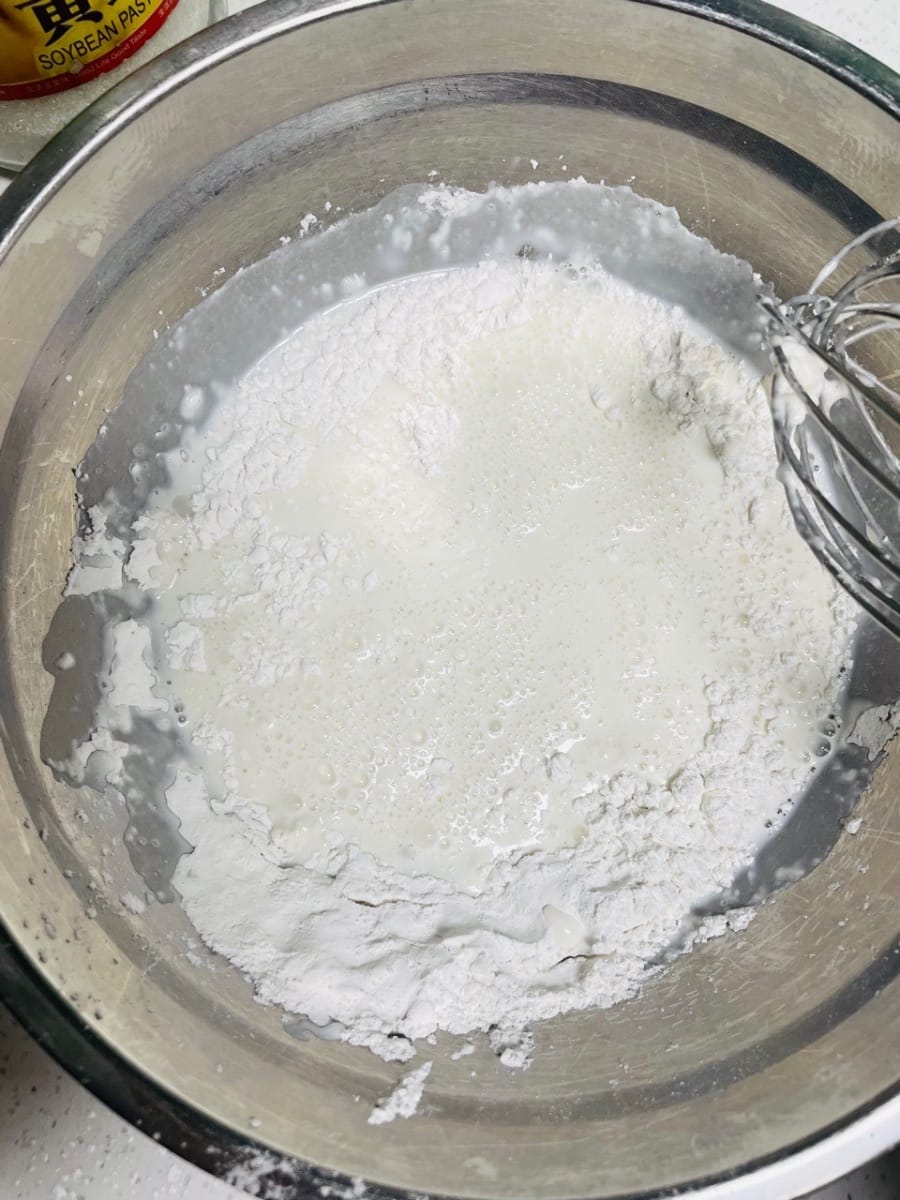
- Making the mochi filling (while fermenting to save time)
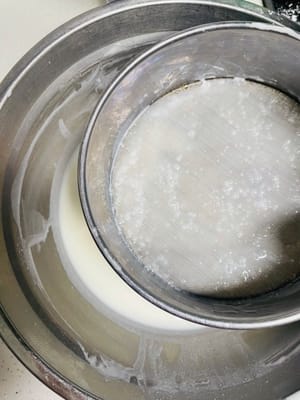
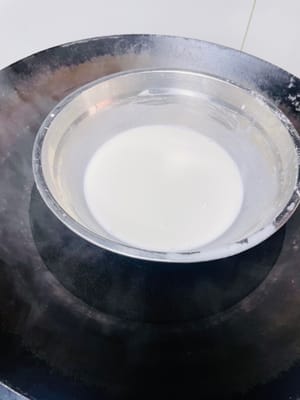
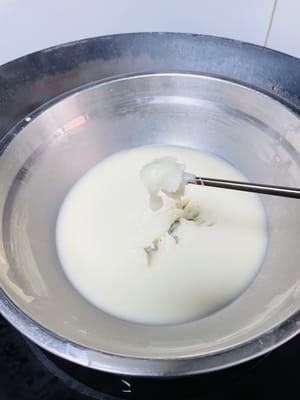
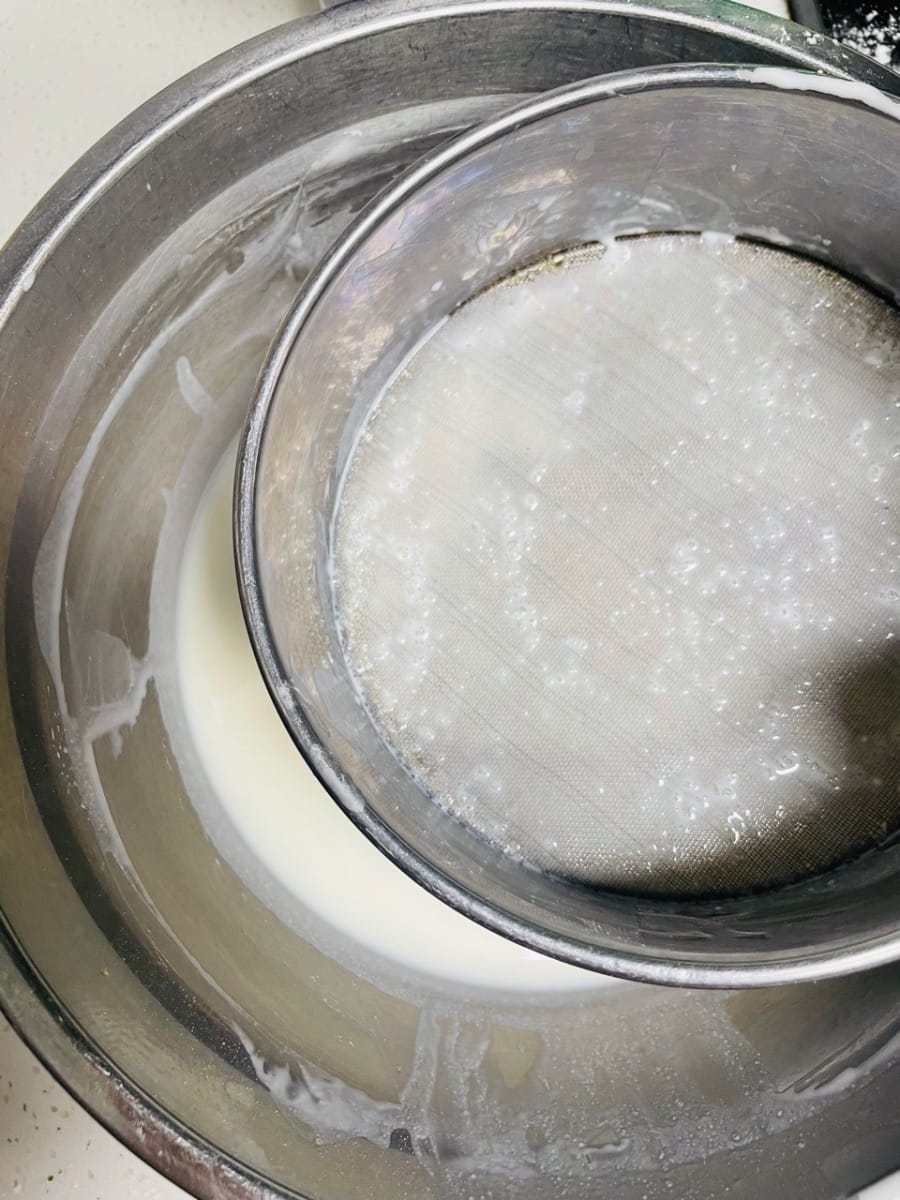
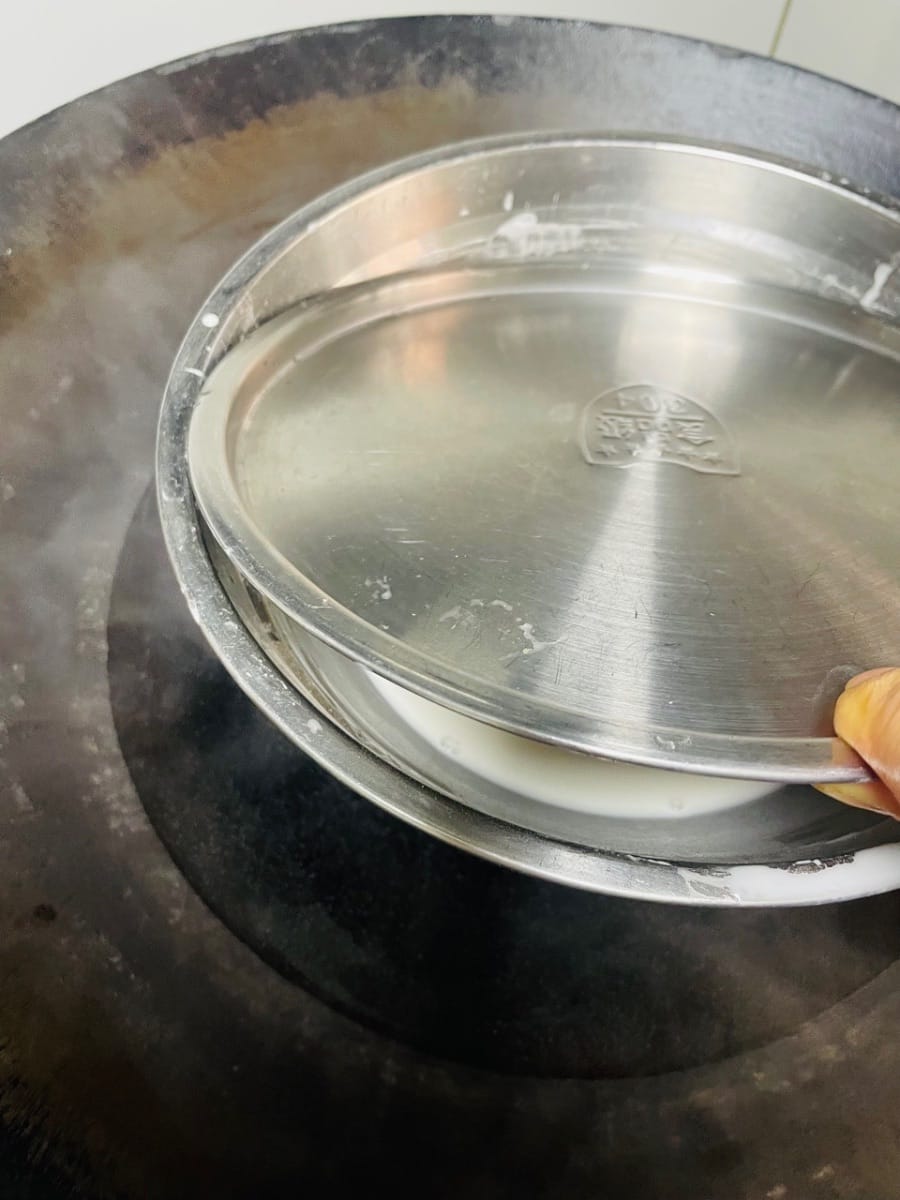
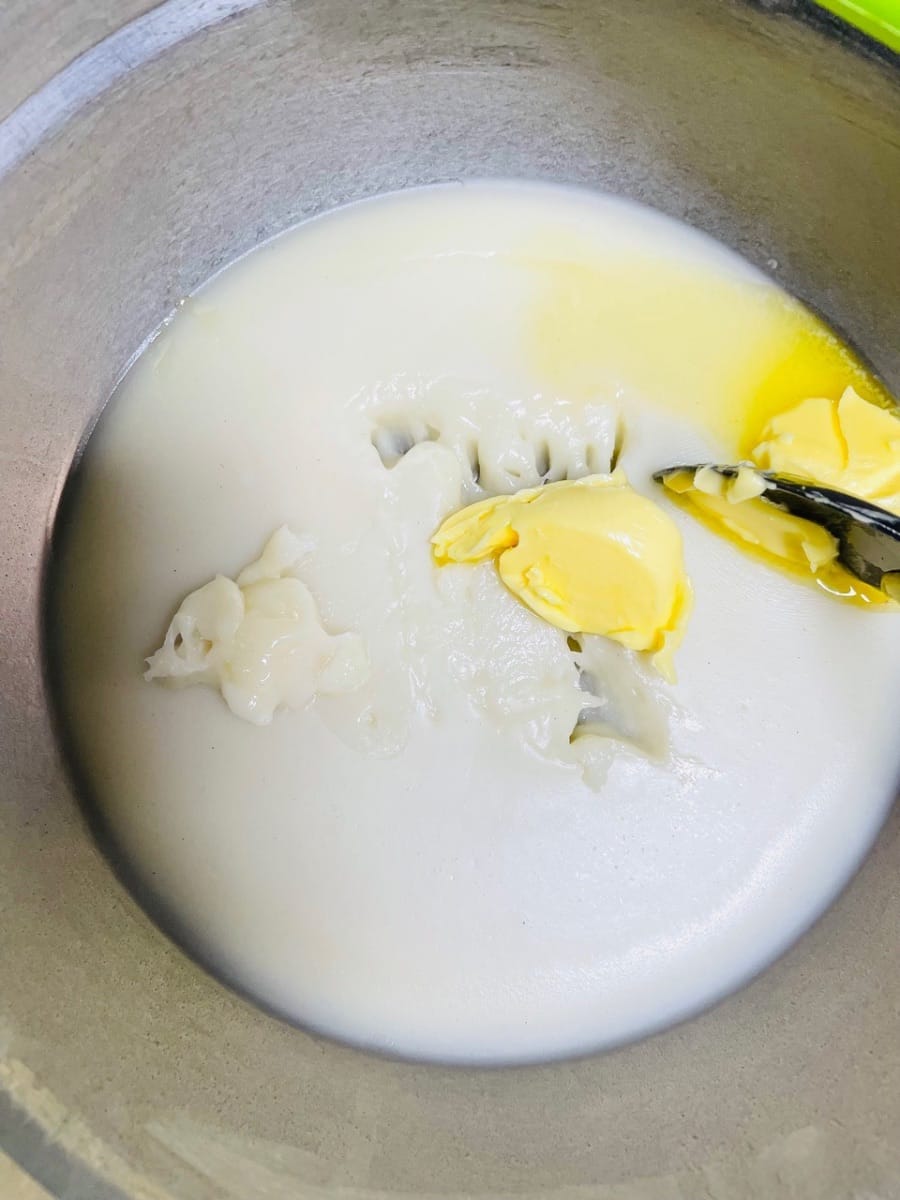
Mochi preparation: Mix cornstarch, glutinous rice flour, granulated sugar, and milk together, sift, and steam for 15-20 minutes (until there is no dry powder). Sifting makes the mochi smoother, and steaming it thoroughly will result in a chewy texture.

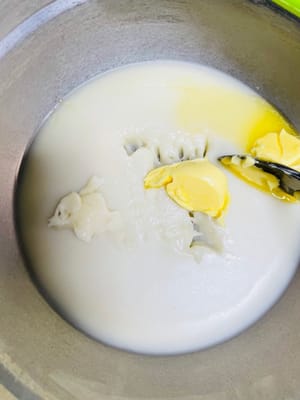
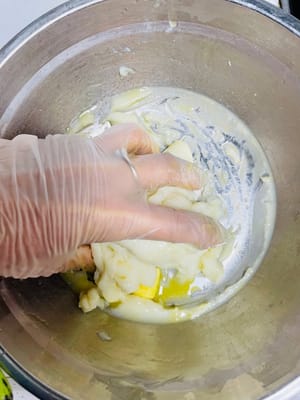
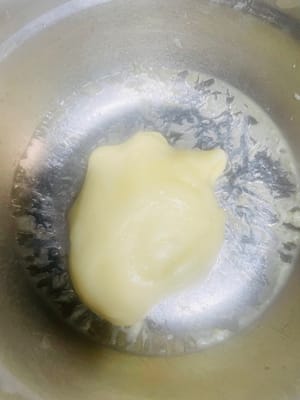
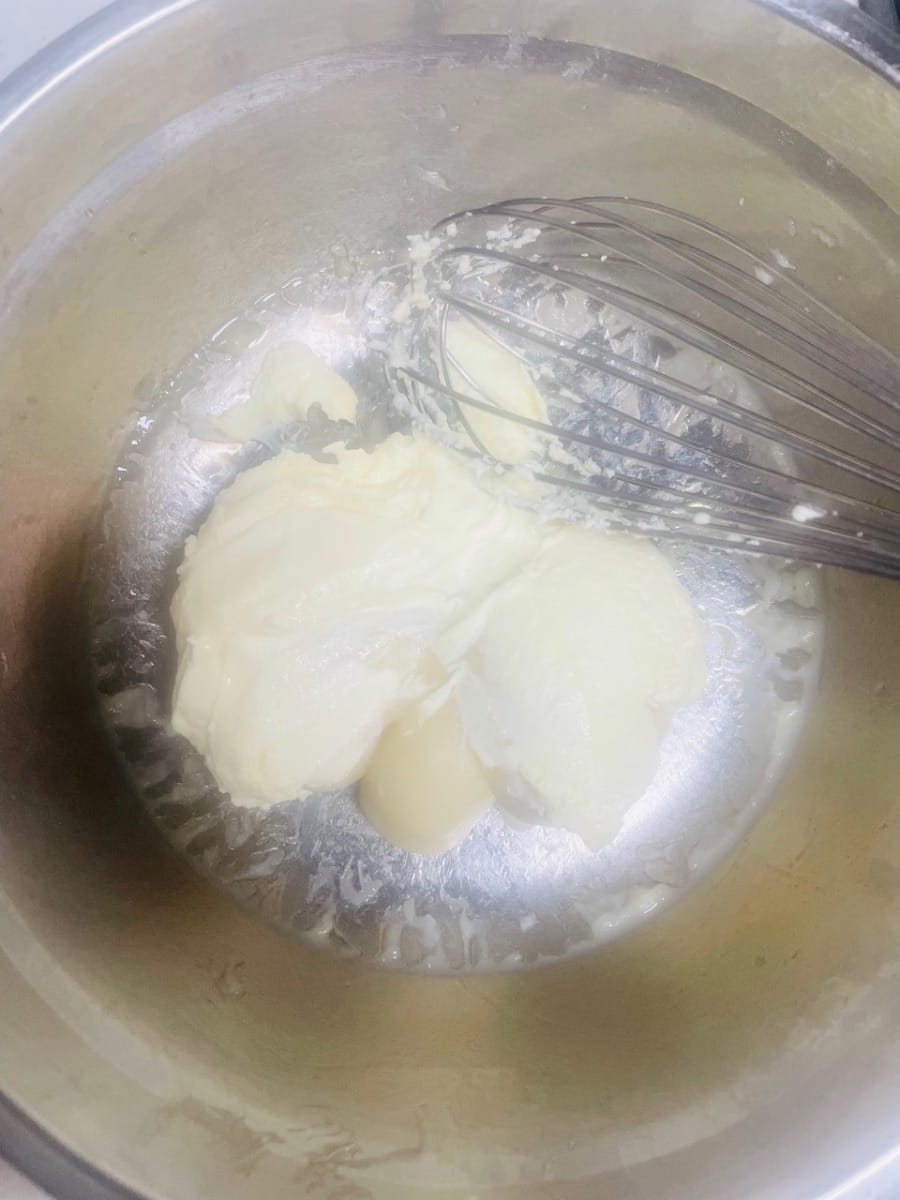
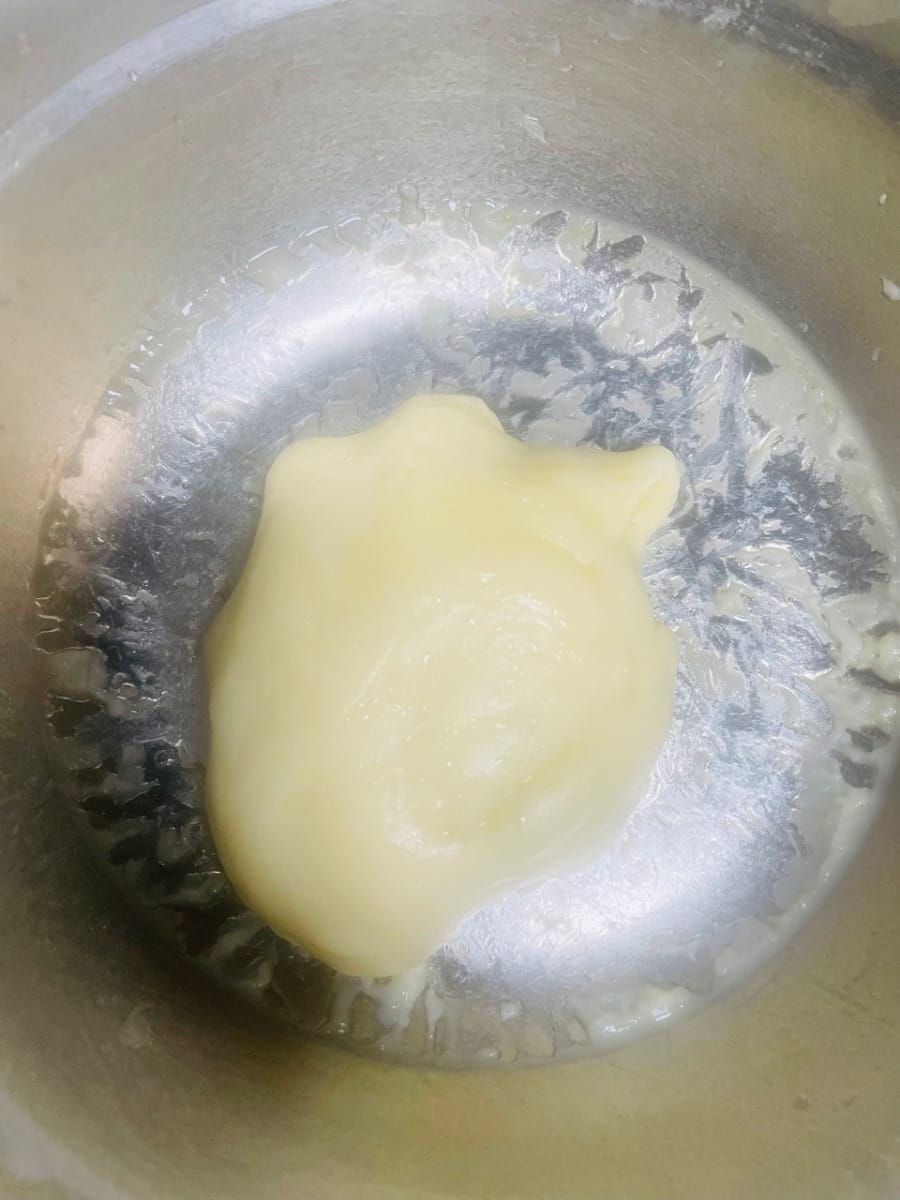
- After removing from the heat, add butter and smooth cream cheese, and knead until fully combined.

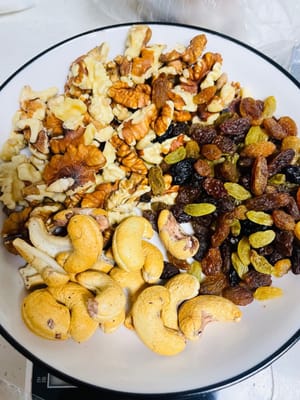
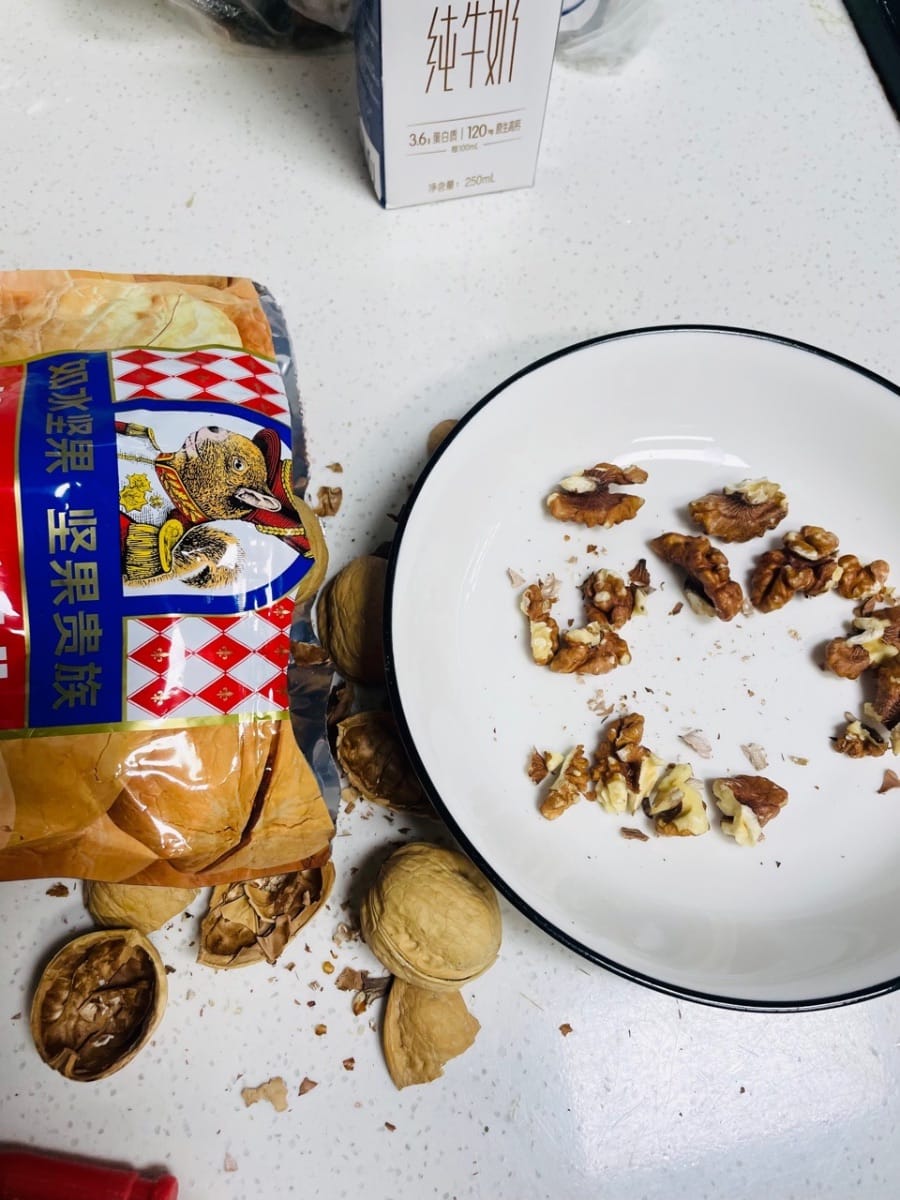
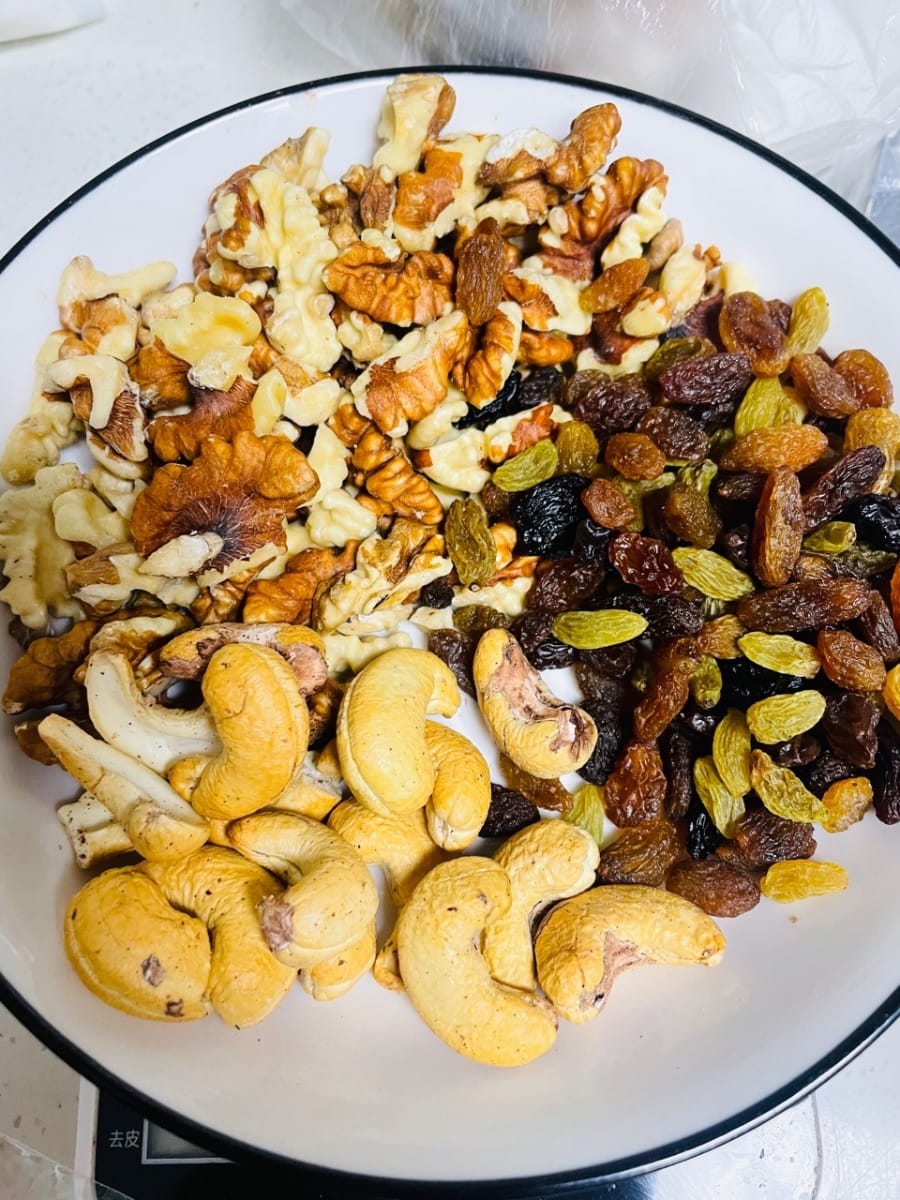
- Prepare Nuts
Prepare your favorite ingredients such as roasted walnuts, raisins, and dried cranberries. Don't chop them too finely.
Adding nuts/dried fruit enhances the texture and flavor.

- Shaping and Filling (Two Steps, No Hassle, No Sticking)
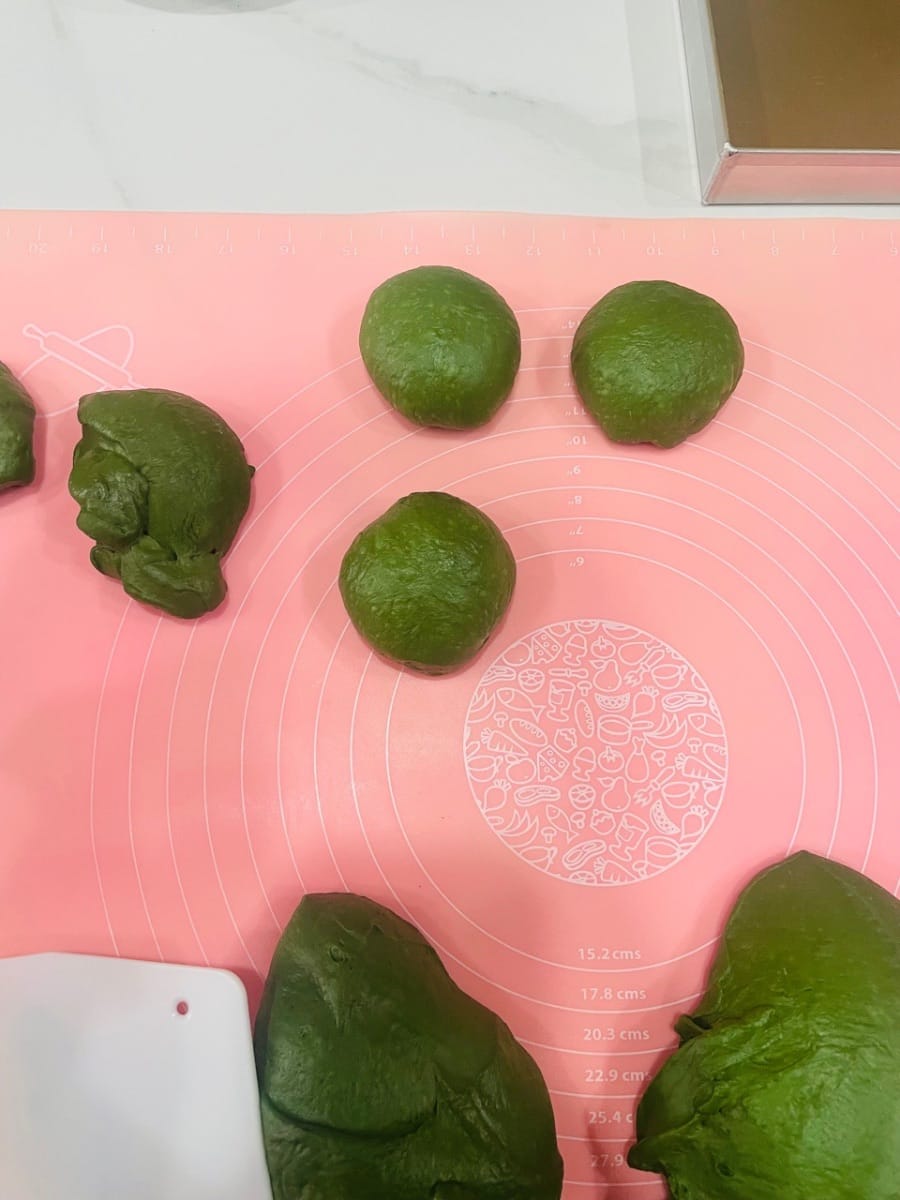
(1) Rounding, Moisturizing, and Relaxing
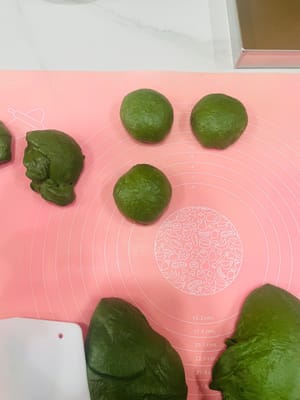
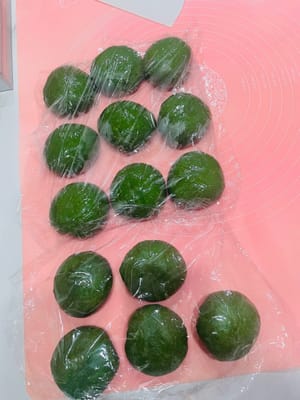
Sprinkle a thin layer of flour on the surface of the risen dough (to prevent sticking), and divide it into 6 equal portions using a scraper; roll each portion into a smooth small ball, cover with plastic wrap to keep moist, and let it rest for 15 minutes.
Rounding makes the dough structure finer; covering with plastic wrap prevents the surface from drying out and cracking, and resting for 15 minutes allows the gluten to "rest," preventing it from shrinking back when rolling it out later.

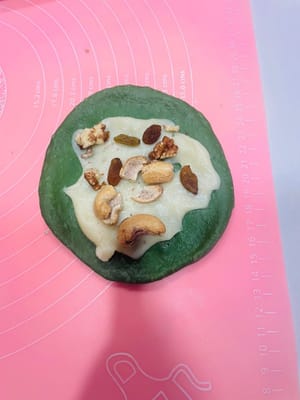
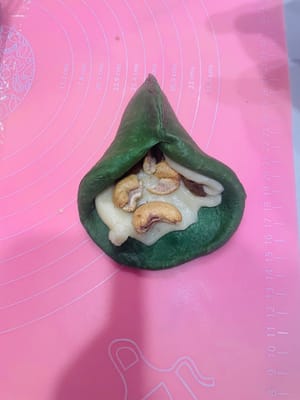
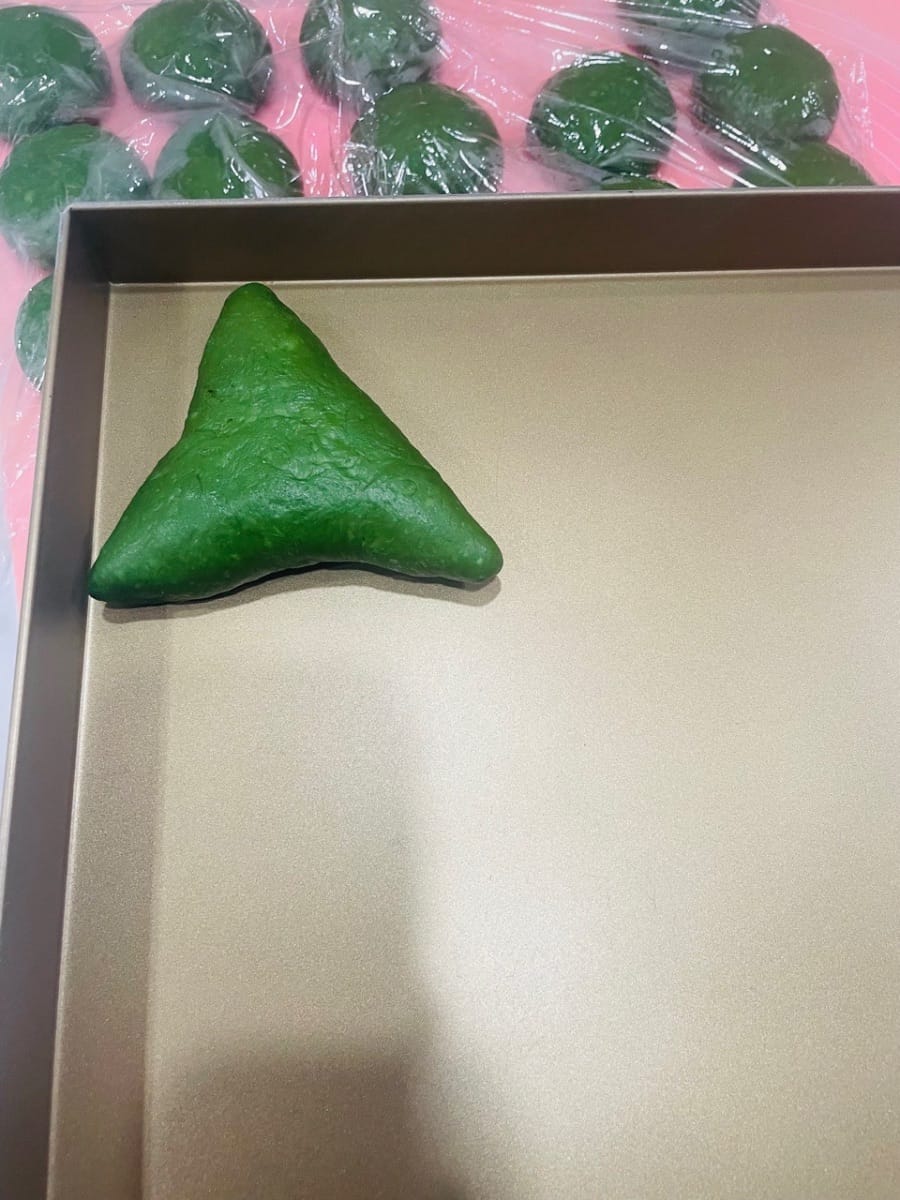
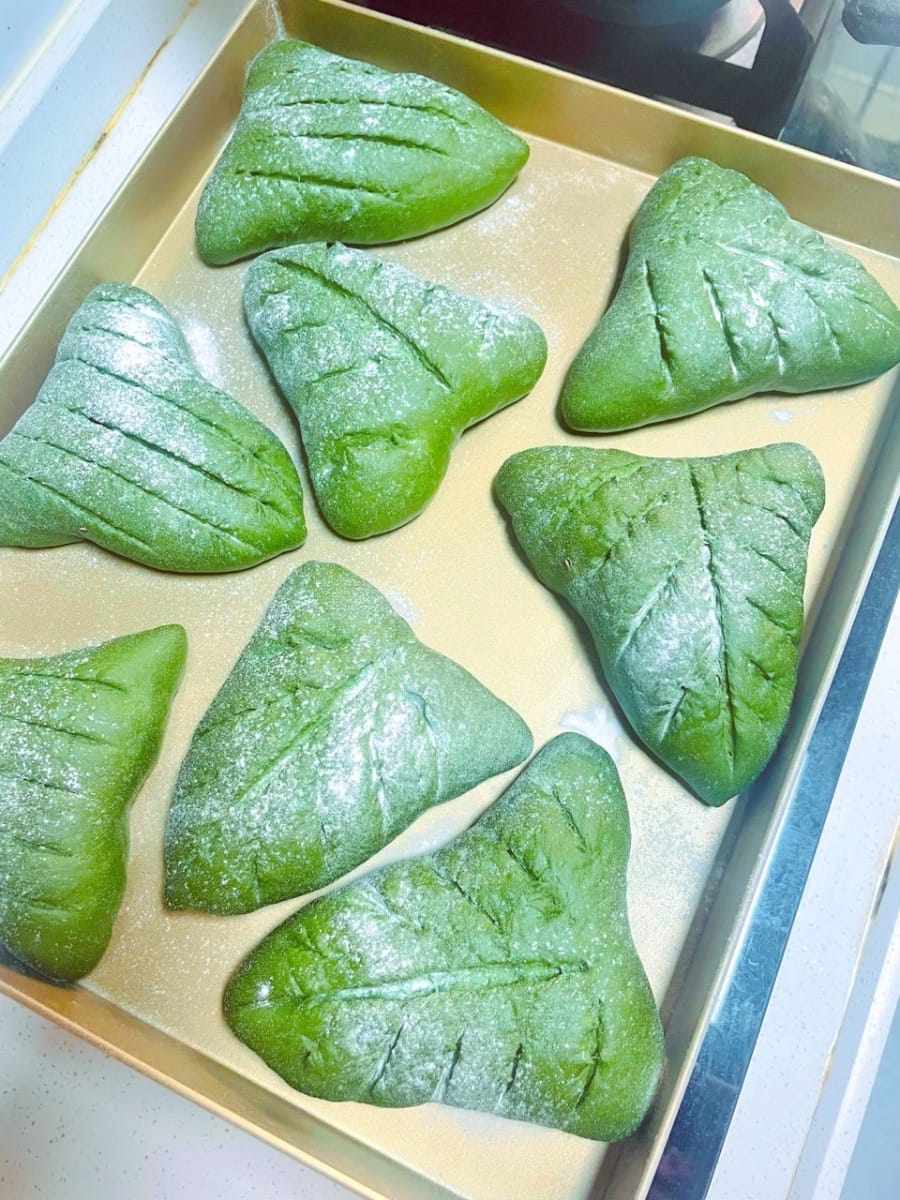
- (2) Filling and Shaping Take a relaxed dough ball, flatten it with your palm, then roll it into a circle. Place the mochi filling and chopped nuts in the center, and pinch it together from one end to the middle, sealing the opening tightly (pinch several times to prevent the filling from leaking out during baking). Alternatively, shape it as you like.
Tip: If you don't know how to roll or fold, just watch the video I posted; it's super easy to follow the steps!


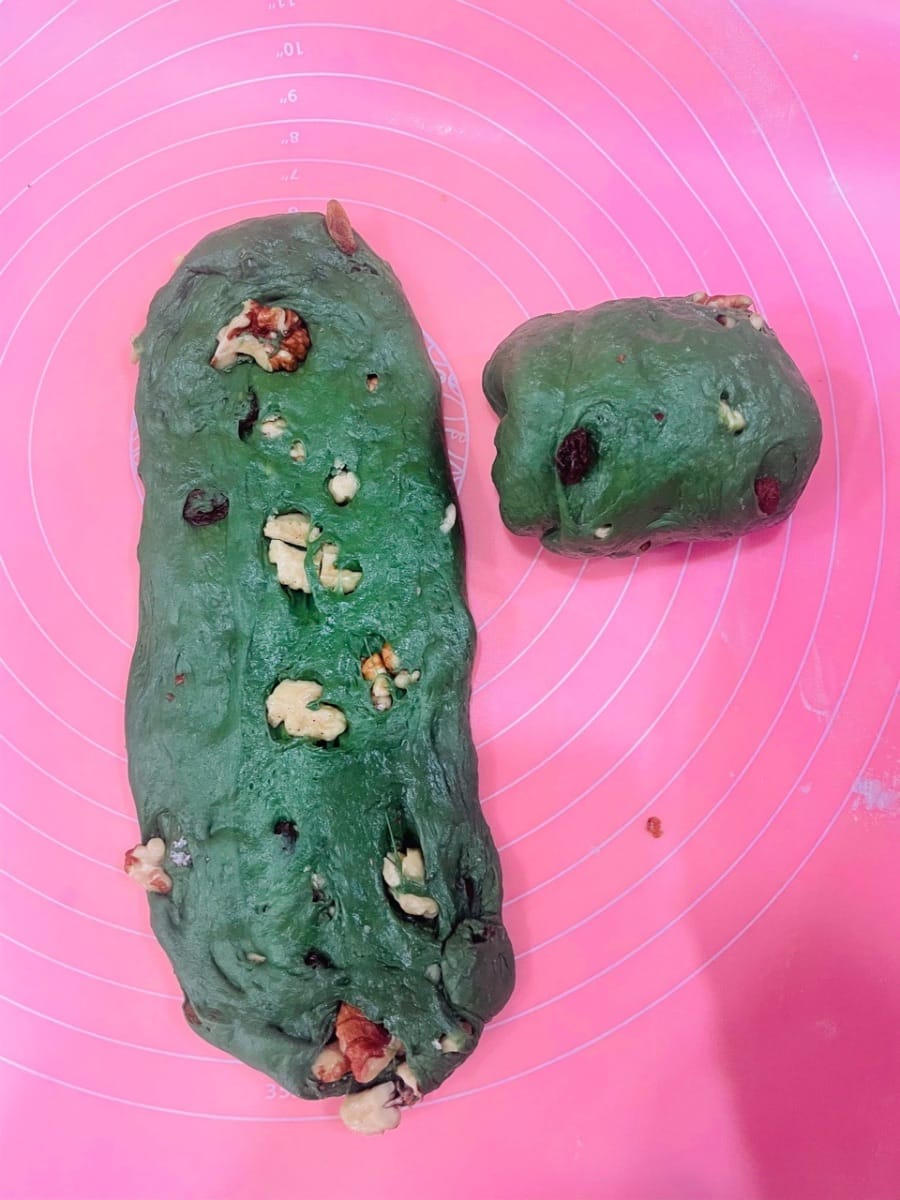
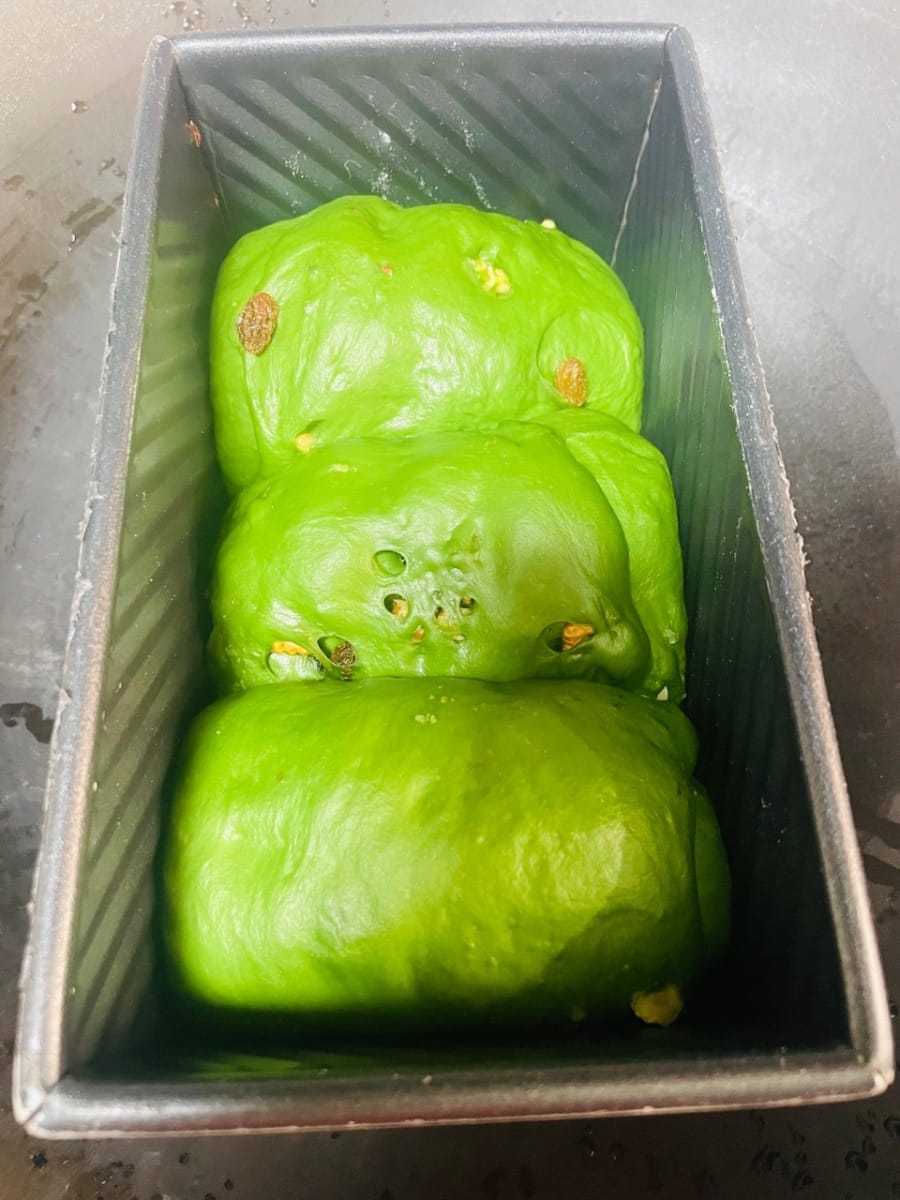
- Nut Toast (I made double the recipe): Sprinkle the remaining dough with a little flour, roll it out into a thin rectangle, spread chopped nuts evenly on top, and roll it up tightly from one end, pinching the seam side down.
Rolling it tightly prevents it from unraveling during baking, and pinching the seam side down prevents it from cracking during baking.


- Second fermentation: Place the shaped bread on a baking tray and put it in a 35°C oven (with a bowl of warm water inside to keep it moist) until it rises to 1.5 times its original size, or until the toast is 80% full (do not press it with your hands during the process! It will deform if you press it).
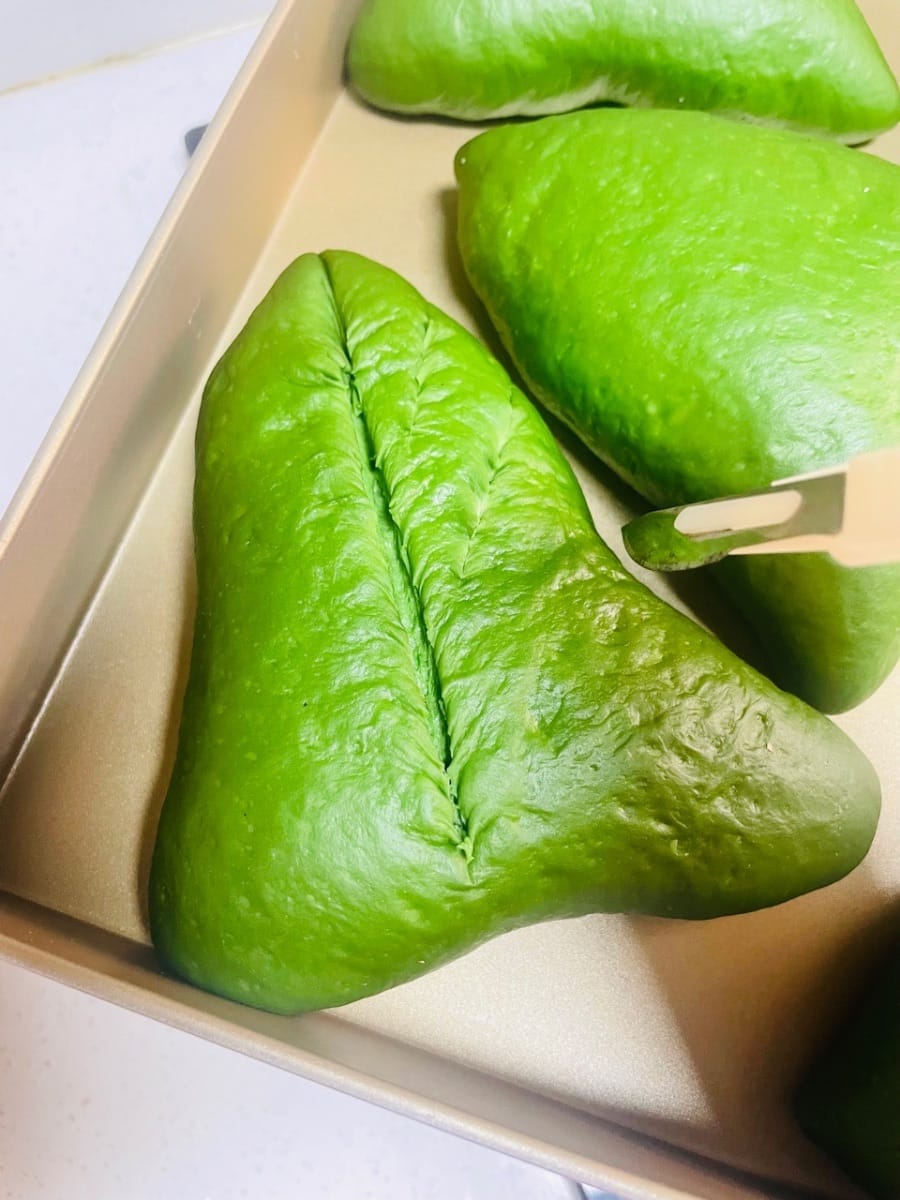
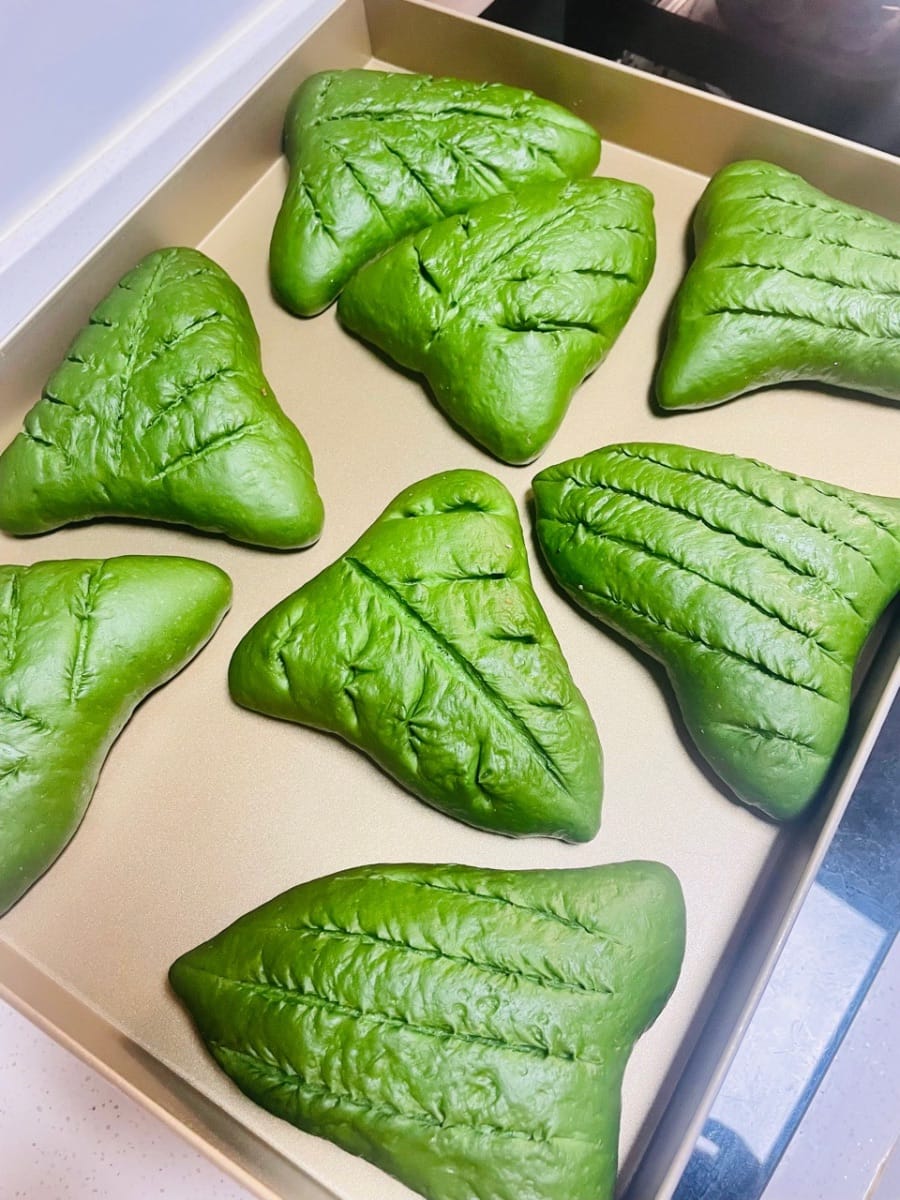
- Scoring and sifting flour: After the dough has risen, score the surface with a knife in your desired pattern (ignore my blade's dullness). Then sift a thin layer of flour (score first, then sift; don't mix up the order). Don't touch the bread after sifting. Simultaneously preheat the oven to 160°C (325°F).
The second rise is done without pressing down the dough to preserve its air pockets; pressing it will cause it to collapse into a dense, unappetizing dough. Scoring before sifting prevents flour from falling into the scores and affecting the appearance. Preheating the oven simultaneously saves time, allowing for direct baking after rising, resulting in a fluffier bread.


- Baking (Keep a close eye on the oven to prevent burning/overcooking!)
Matcha Soft European Bread: Bake at 160°C (325°F) for 20 minutes. Remember to cover with aluminum foil around the 10-minute mark (to prevent the surface from burning). Every oven is different, so check on it frequently during baking to prevent it from becoming too dry or burnt.
Nut Matcha Toast Rolls: Set a conventional oven to 100°C (top heat) and 220°C (bottom heat). Place on the bottom rack to bake (this ensures the bottom bakes through without over-browning). Also, cover with aluminum foil after 10 minutes to prevent the nuts and matcha powder on the surface from burning.
Putting on the bottom rack in a conventional oven helps prevent the bottom from stale. Different ovens have different temperatures, so keep a close eye on the bread while baking for the perfect texture.


Languages
Matcha-Mochi-Käse (weiche europäische Art) - Deutsch (German) versionMatcha Mochi Cheese Soft European Style - English version
Matcha Mochi Queso Suave Estilo Europeo - Español (Spanish) version
Mochi au fromage matcha moelleux à l'européenne - Français (French) version
Mochi Keju Matcha Lembut ala Eropa - Bahasa Indonesia (Indonesian) version
Matcha Mochi al formaggio morbido in stile europeo - Italiana (Italian) version
抹茶もちチーズソフトヨーロピアンスタイル - 日本語 (Japanese) version
유럽식 부드러운 말차 모찌 치즈 - 한국인 (Korean) version
มัทฉะโมจิชีสนุ่มสไตล์ยุโรป - แบบไทย (Thai) version
抹茶麻薯芝酪軟歐 - 香港繁體中文 (Traditional Chinese - Hong Kong) version