Red Bean Paste Flower Rolls
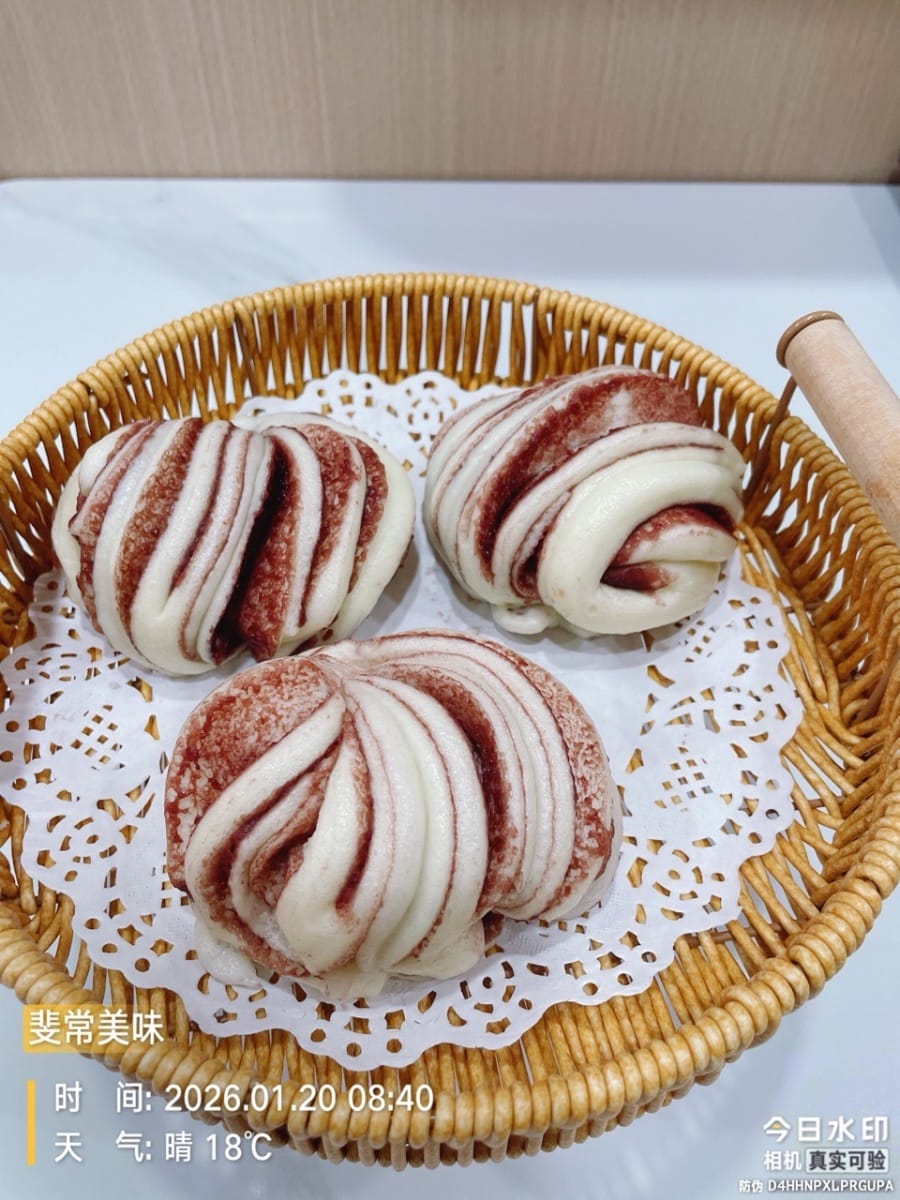
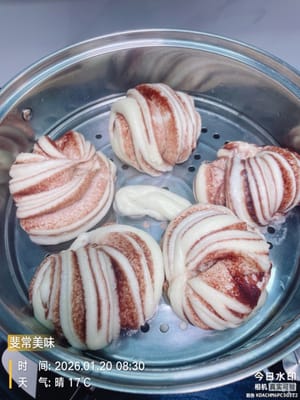
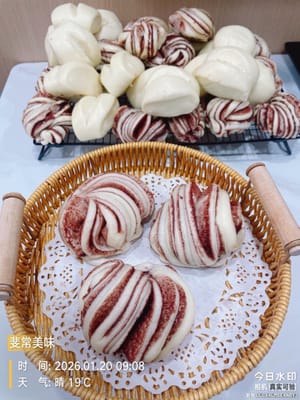
These red bean paste flower rolls are absolutely gorgeous! The red and white stripes resemble natural marble patterns. Each layer of red bean paste is rolled up perfectly, creating a fluffy and soft white dough wrapper around a smooth and sweet red bean paste filling. Just looking at them makes my mouth water. The dough is soft yet slightly chewy, and the red bean paste is delicate and not too sweet. You can taste the slightly grainy red bean flavor in every bite.
Ingredients
- 350g all-purpose flour (Approximately 8 recipes)
- 2 grams of salt

- 20g corn oil

- 3.5 grams of dry yeast

- 175g water

- 30 grams of sugar
- 300g red bean paste

Steps
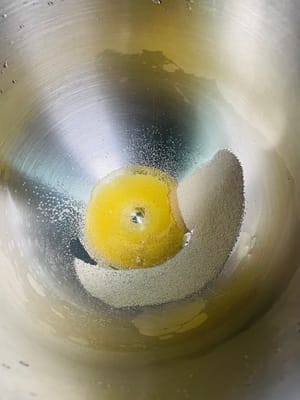
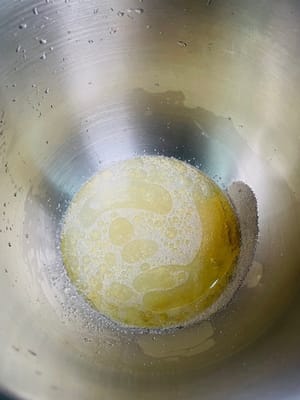
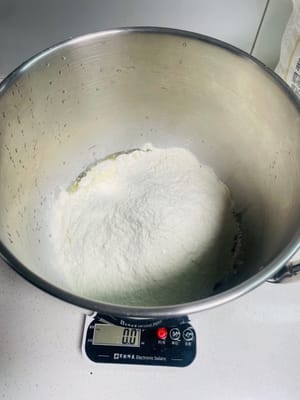
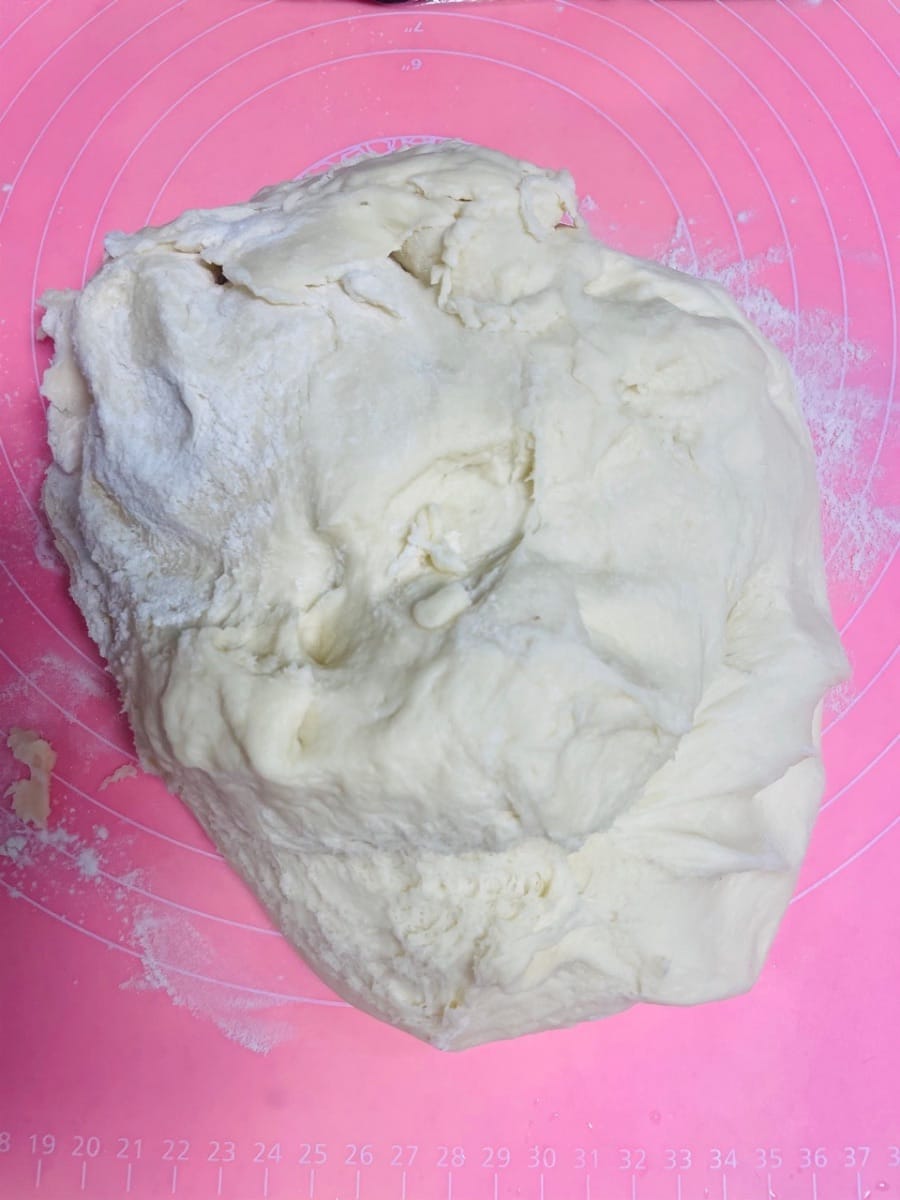
- In the mixing bowl, first stir the yeast, cooking oil, salt, and warm water until dissolved, then add the flour and sugar.
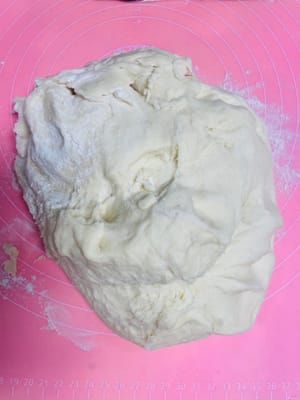
Use a dough mixer or knead by hand until the dough becomes smooth and no longer sticky.
- When the weather is cold, remember to preheat the fermentation environment in advance.
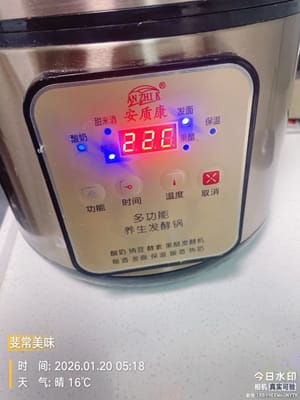
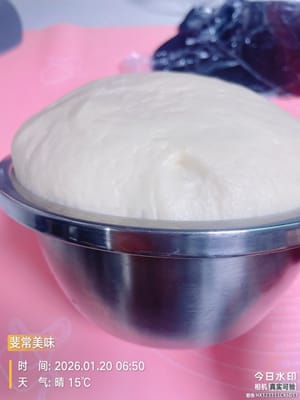
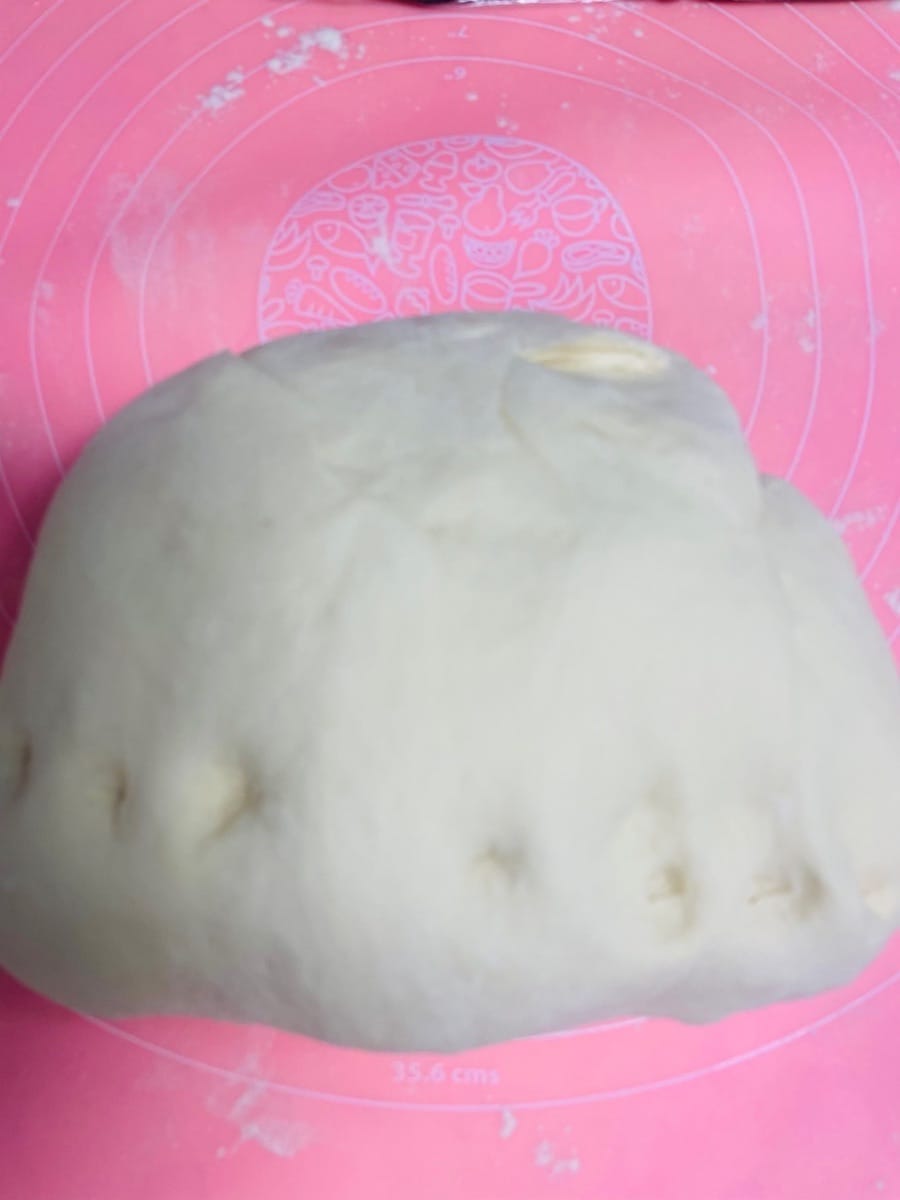
- Place the dough in a warm, humid place at around 30°C and let it rise until it doubles in size.
If you don't have an oven or proofing box, place a bowl of warm water under the dough bowl, making sure the water temperature doesn't exceed 35°C, and let it rise in a warm water bath for about 25-30 minutes.

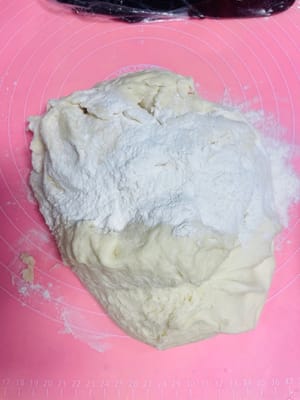
- Sprinkle some dry flour on the work surface and transfer the risen dough over it.
Add a little more dry flour and knead for a while until you can't see any obvious large air pockets when you cut the dough open.
This step is key to making smooth, glossy steamed buns and beautiful flower rolls. Don't skip this step if you care about appearance!

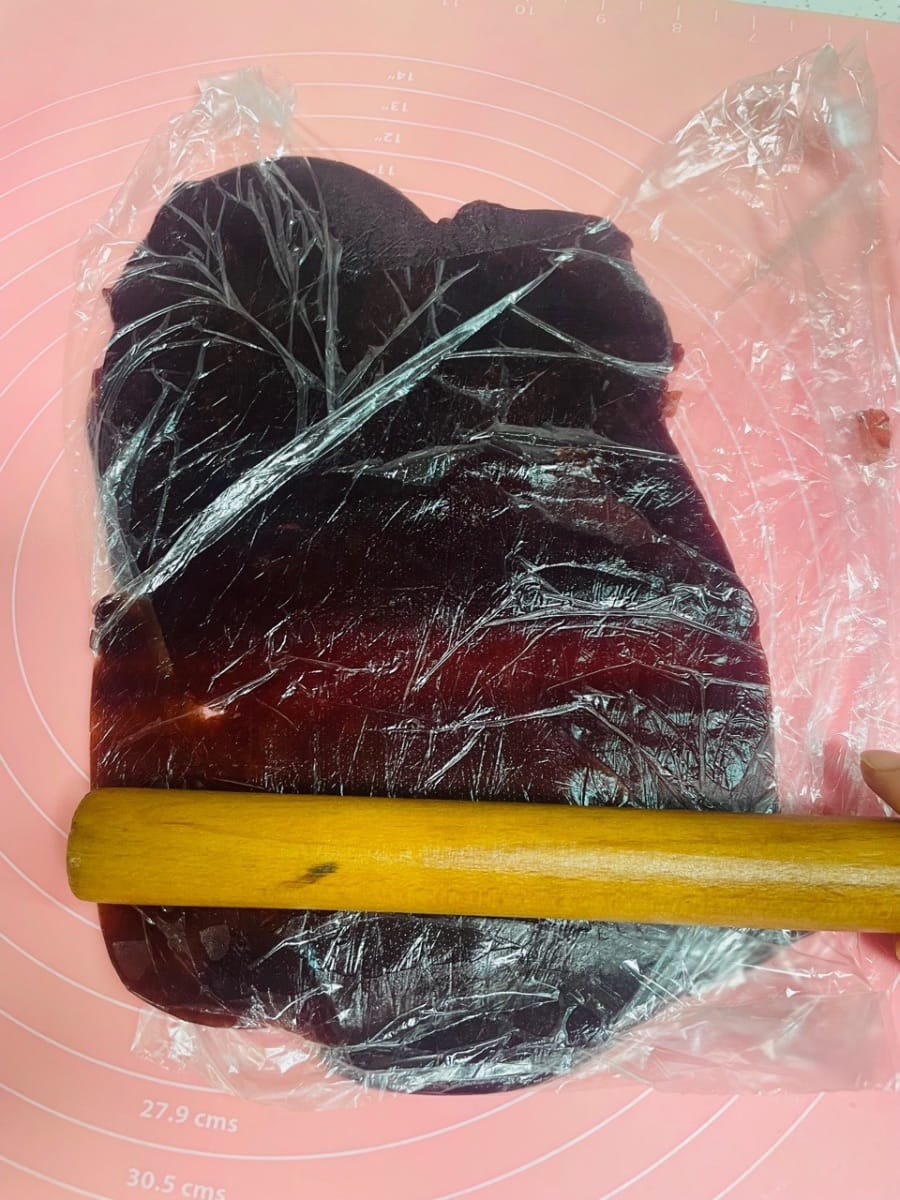
- Put the red bean paste into a plastic bag or cover it with plastic wrap, and roll it out into a thin sheet about the same size as the dough.
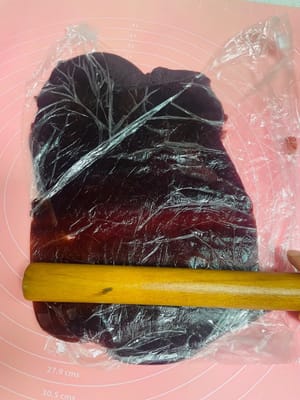
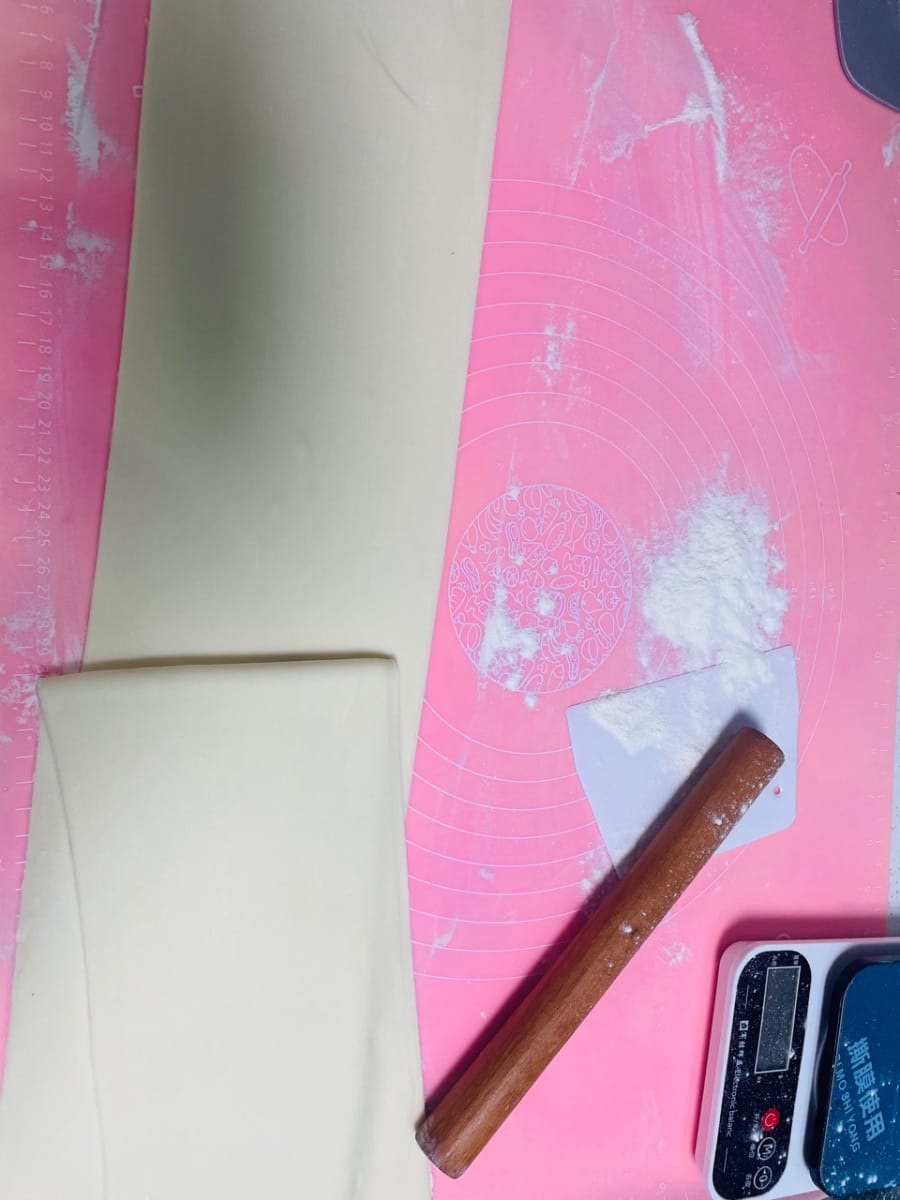
- I used a pasta machine to roll the dough into a thin sheet. If you're rolling it by hand, roll it out to a thickness no more than 2 mm, a width of 25 cm, and a length of at least 30 cm.
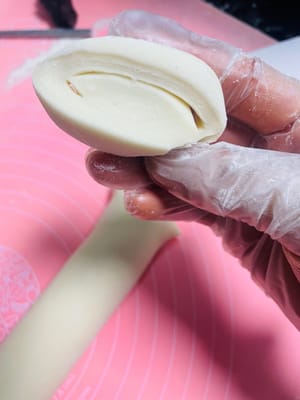
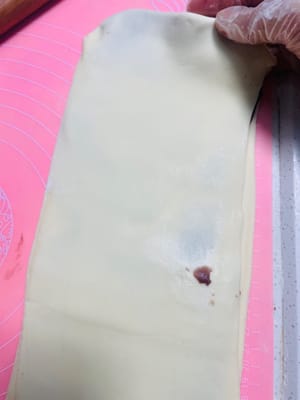
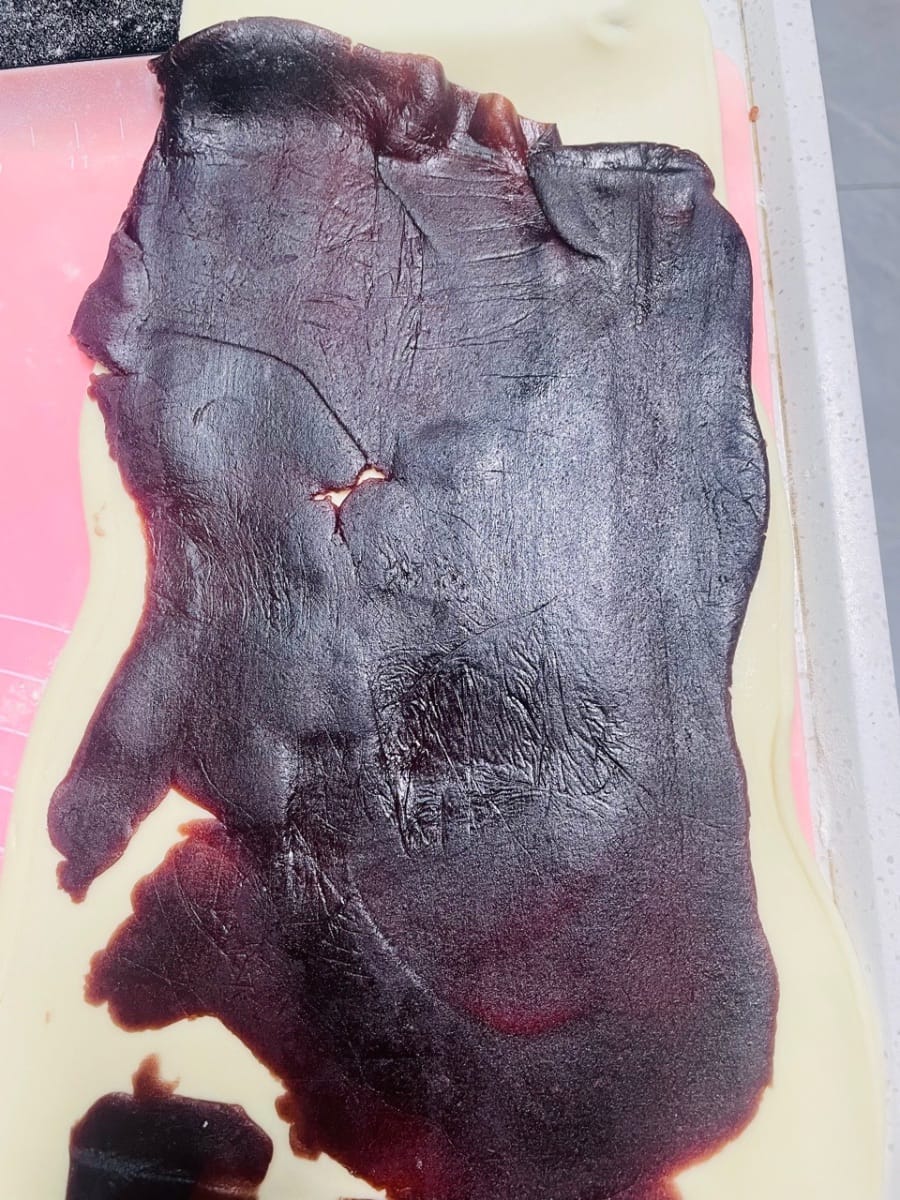
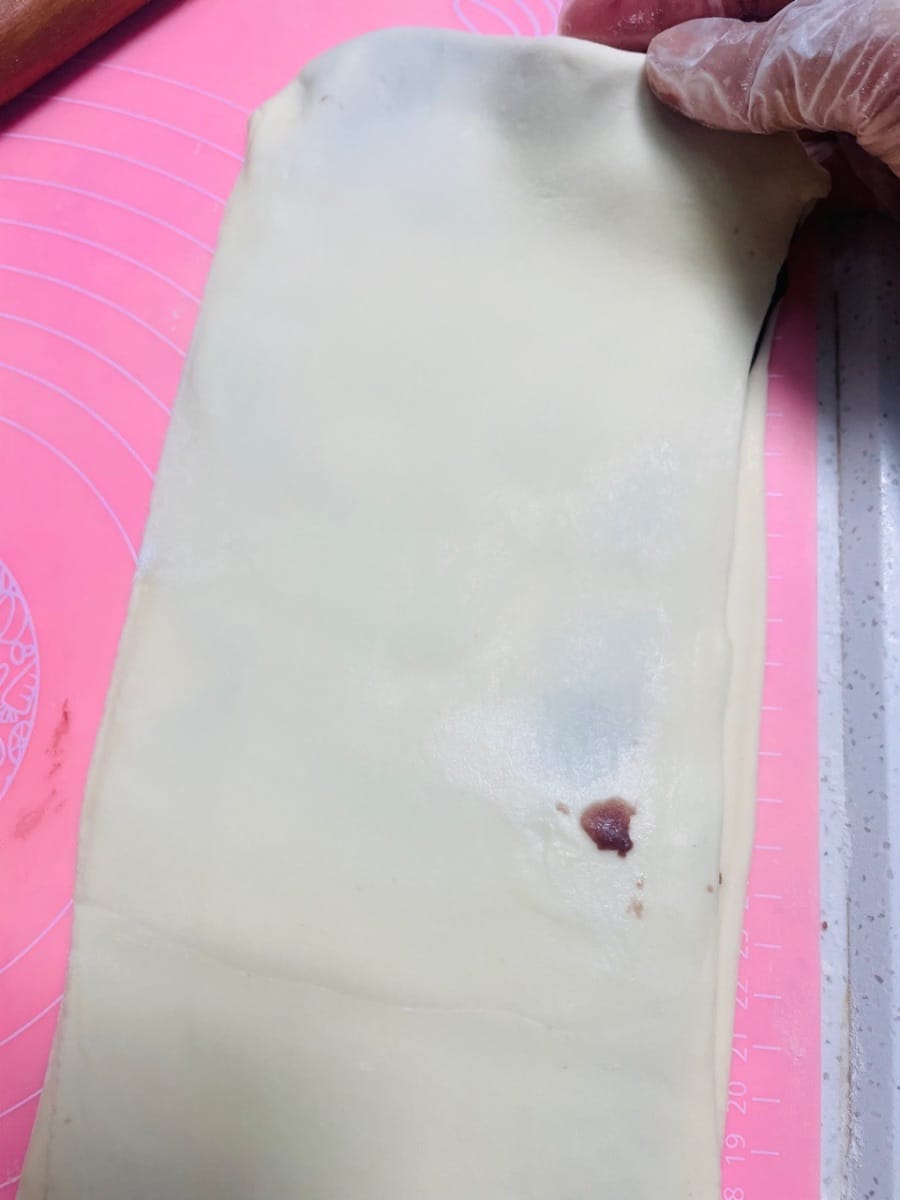
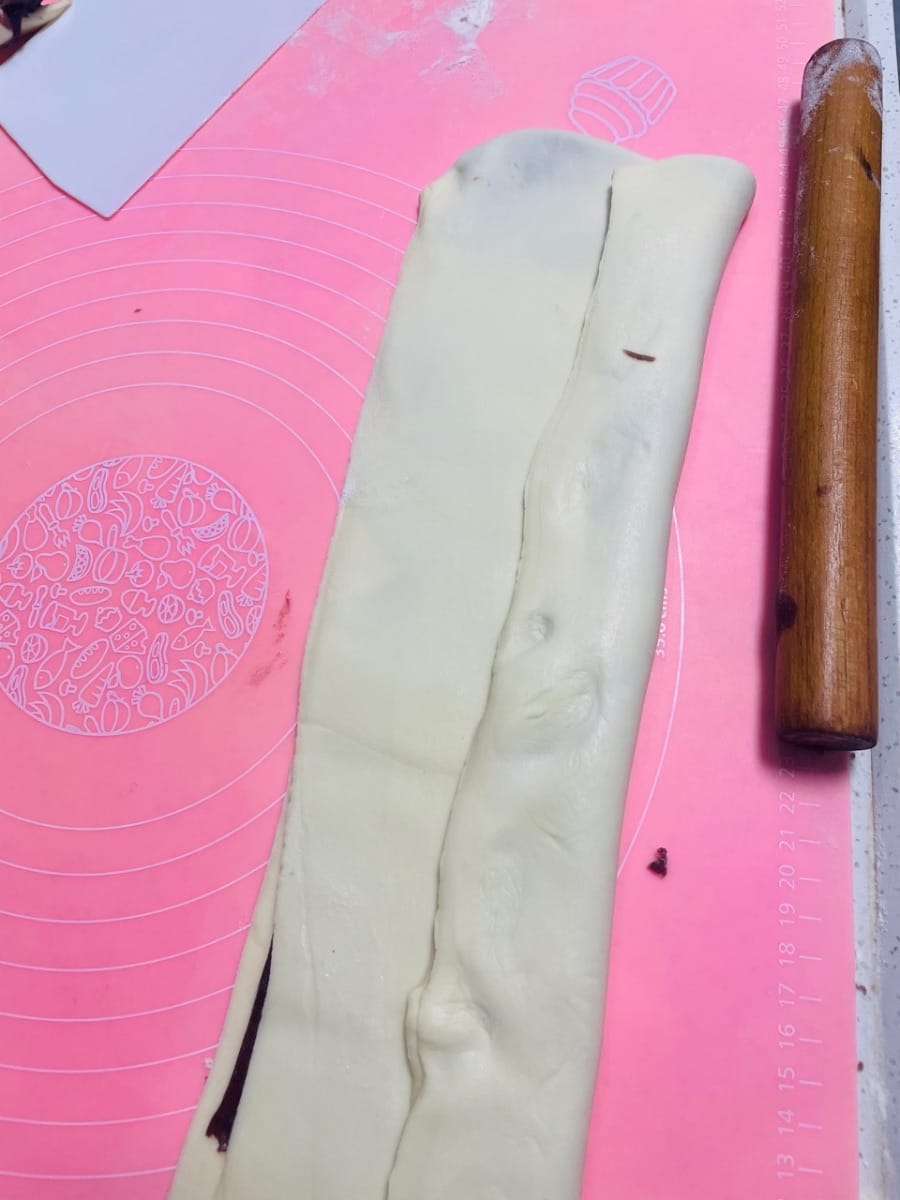
See picture: Place the rolled-out red bean paste sheet on half of the dough sheet, then cover it with the other half.
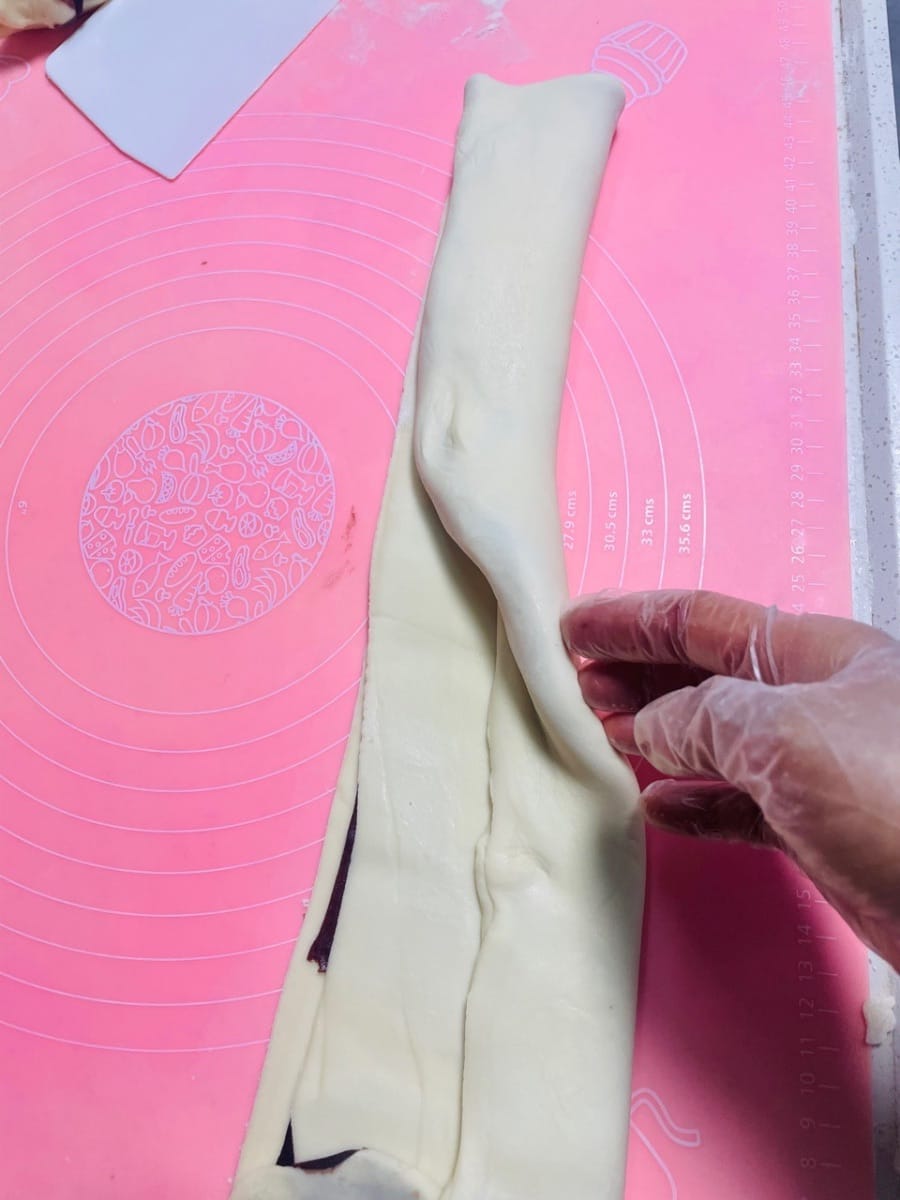
Gently smooth it out with your hand, then fold it in half again, starting from one-third of the way down.
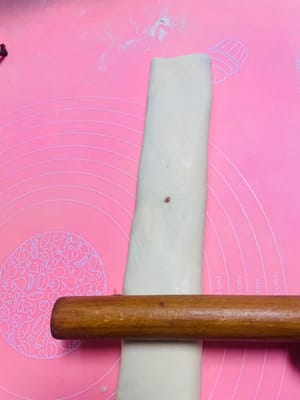
Use a rolling pin to flatten it slightly, making the red bean paste adhere more firmly to the dough.


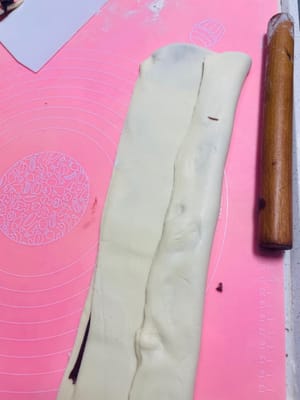

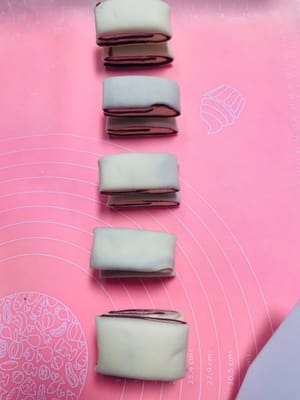
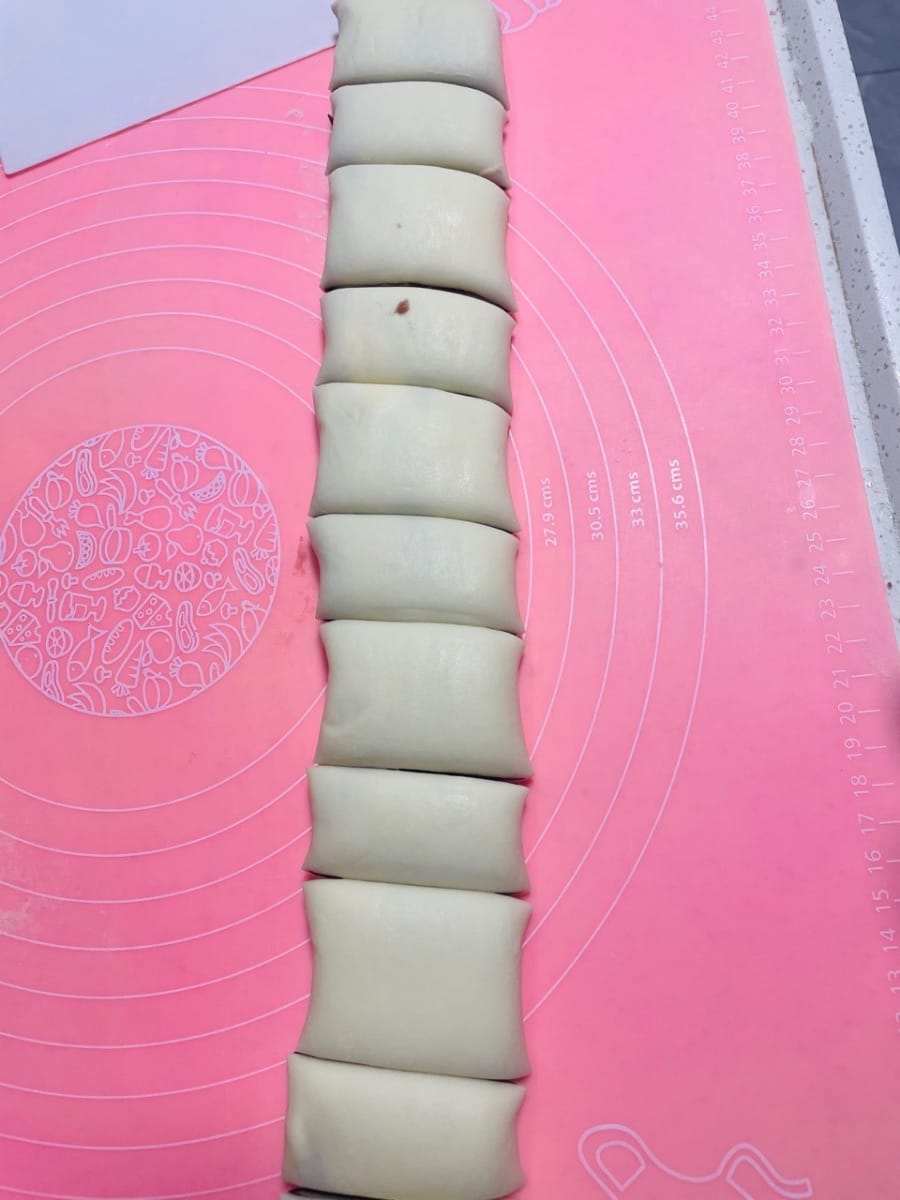
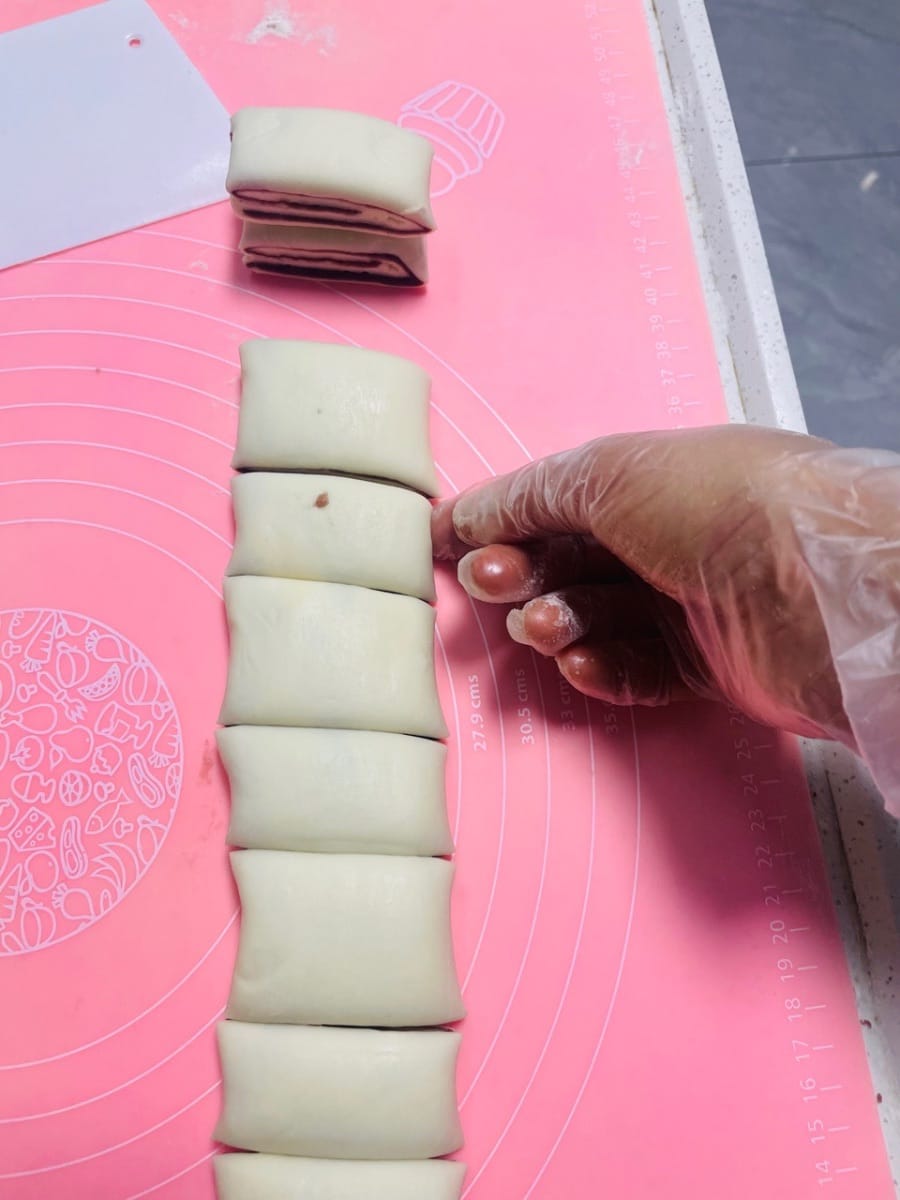
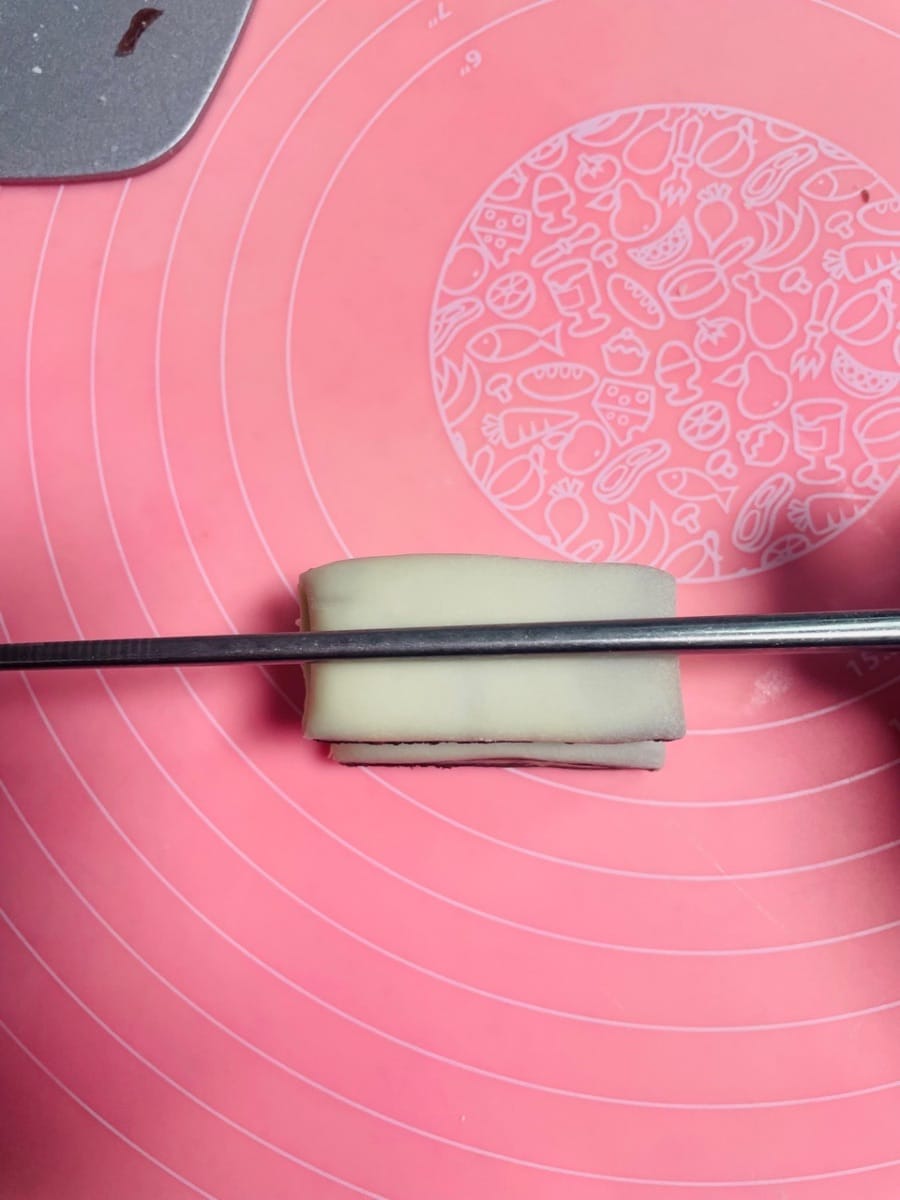
- Cut the dough into strips of two different widths, about 3.5 cm wide for the larger strips and about 2 cm wide for the smaller strips. Place the smaller strips on top of the larger strips.
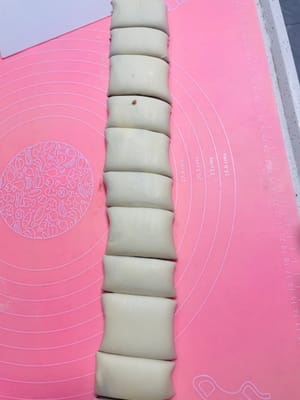

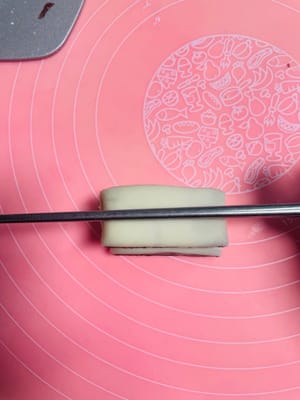
- Take a set of strips of different sizes and press them down firmly in the middle with chopsticks.
When removing the chopsticks, pull them out from the side, not from underneath.
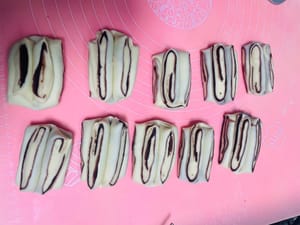
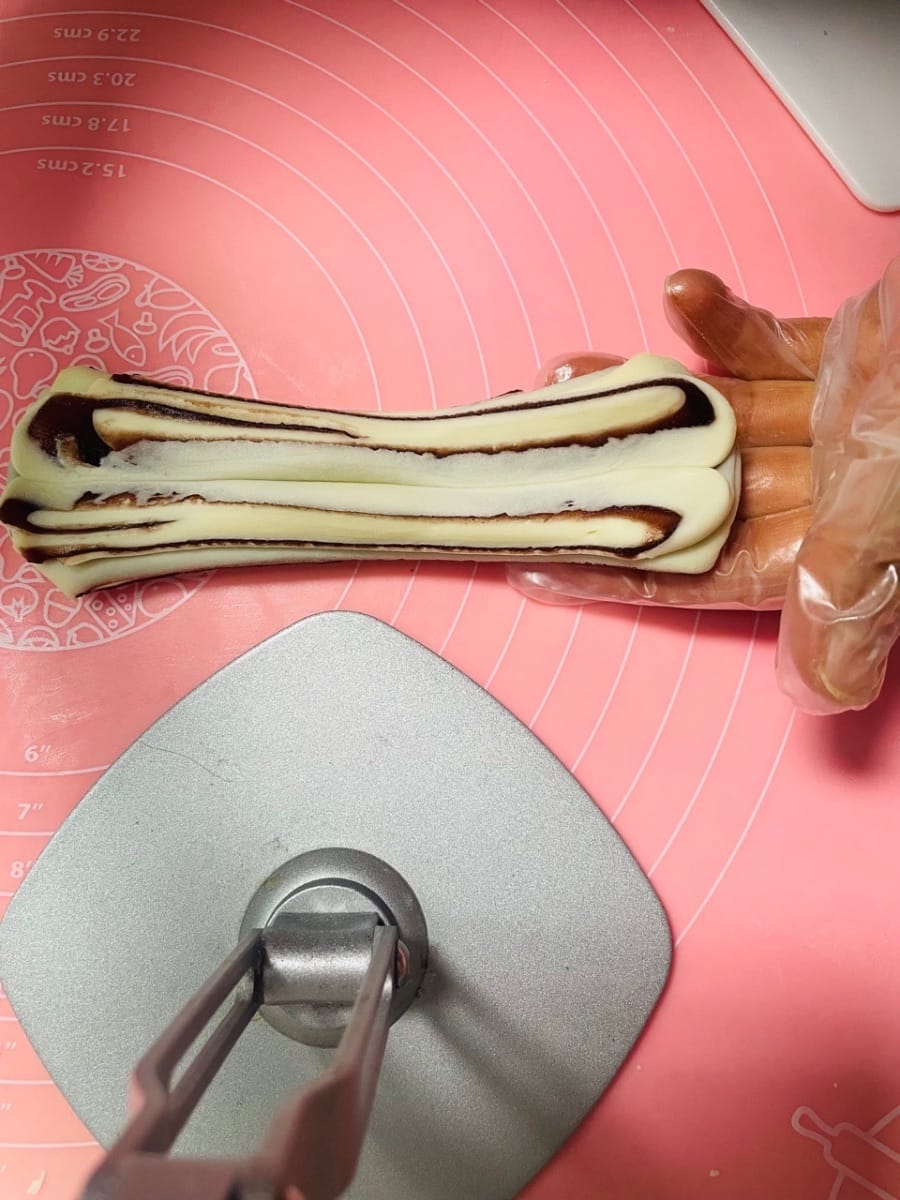
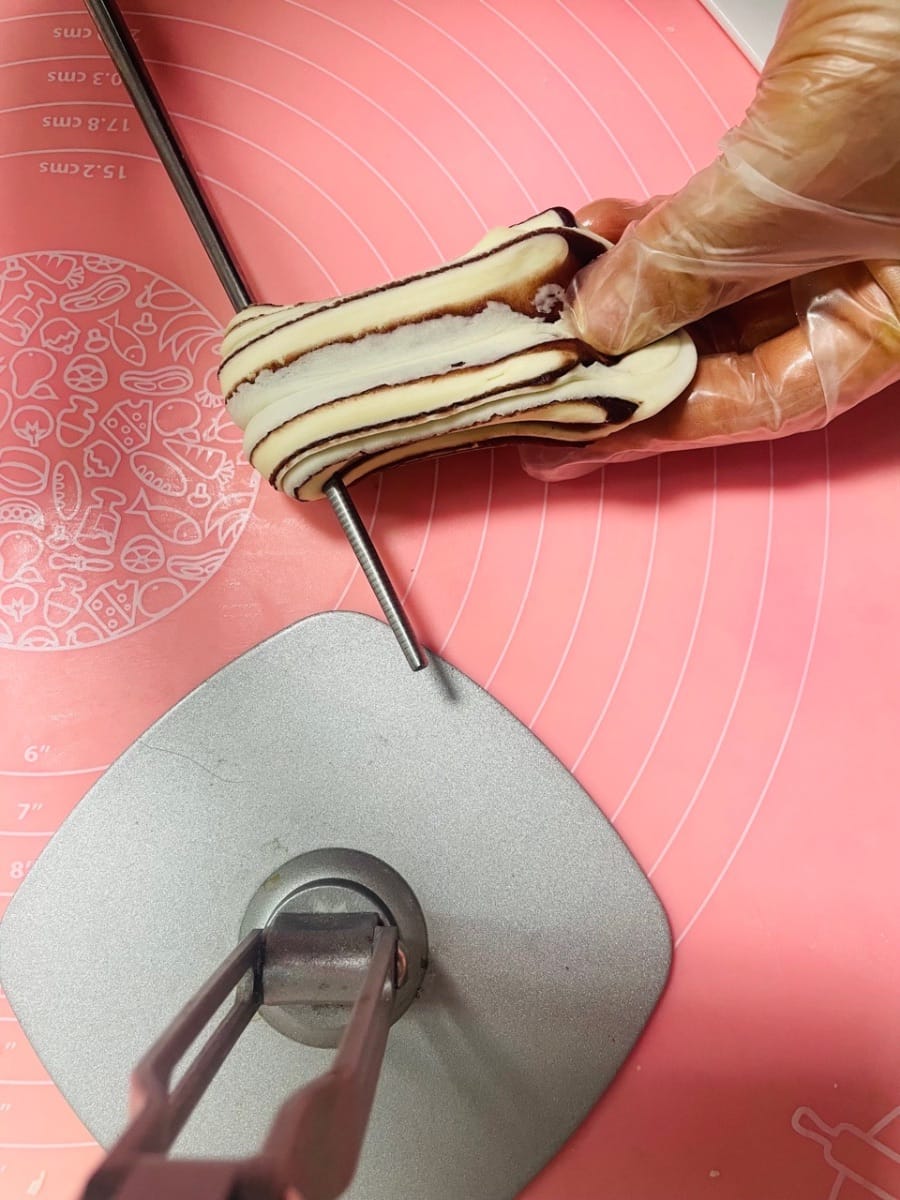
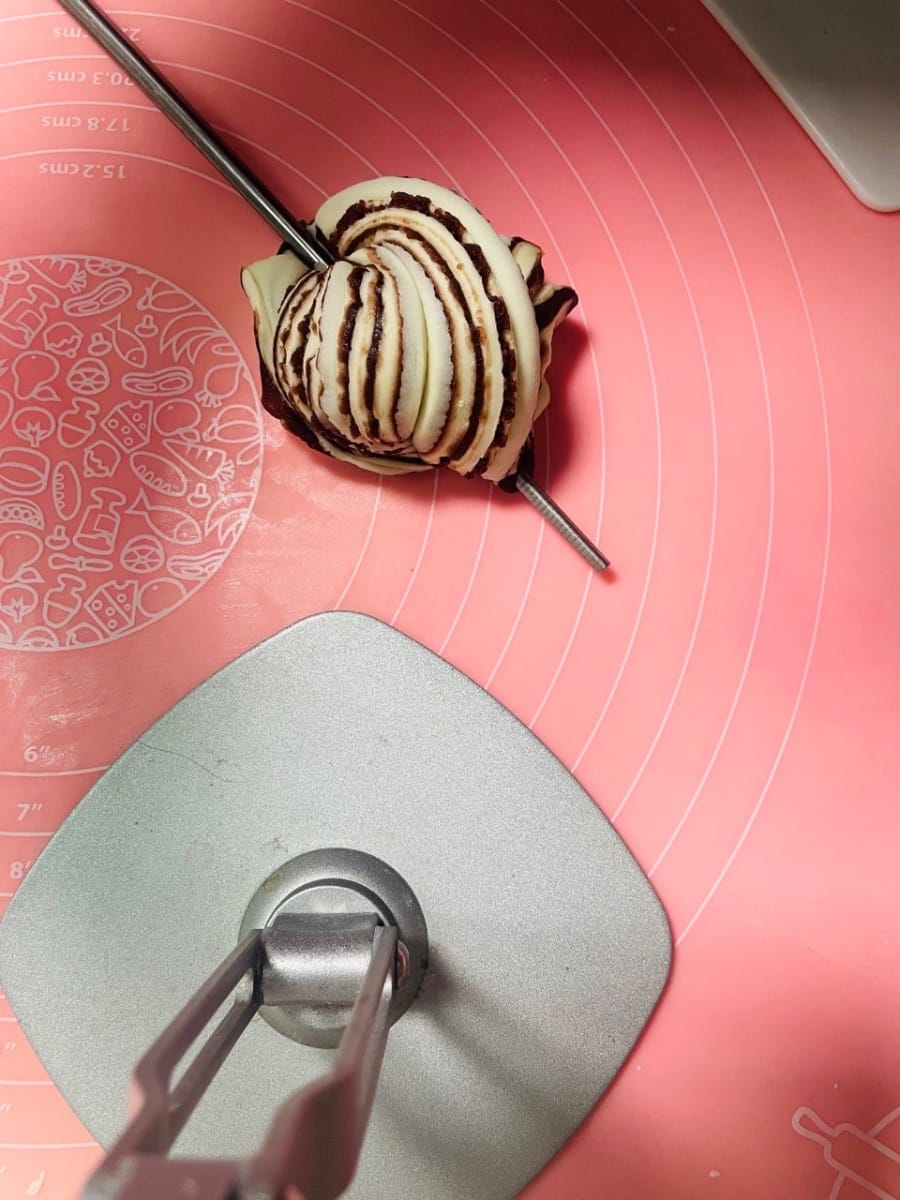
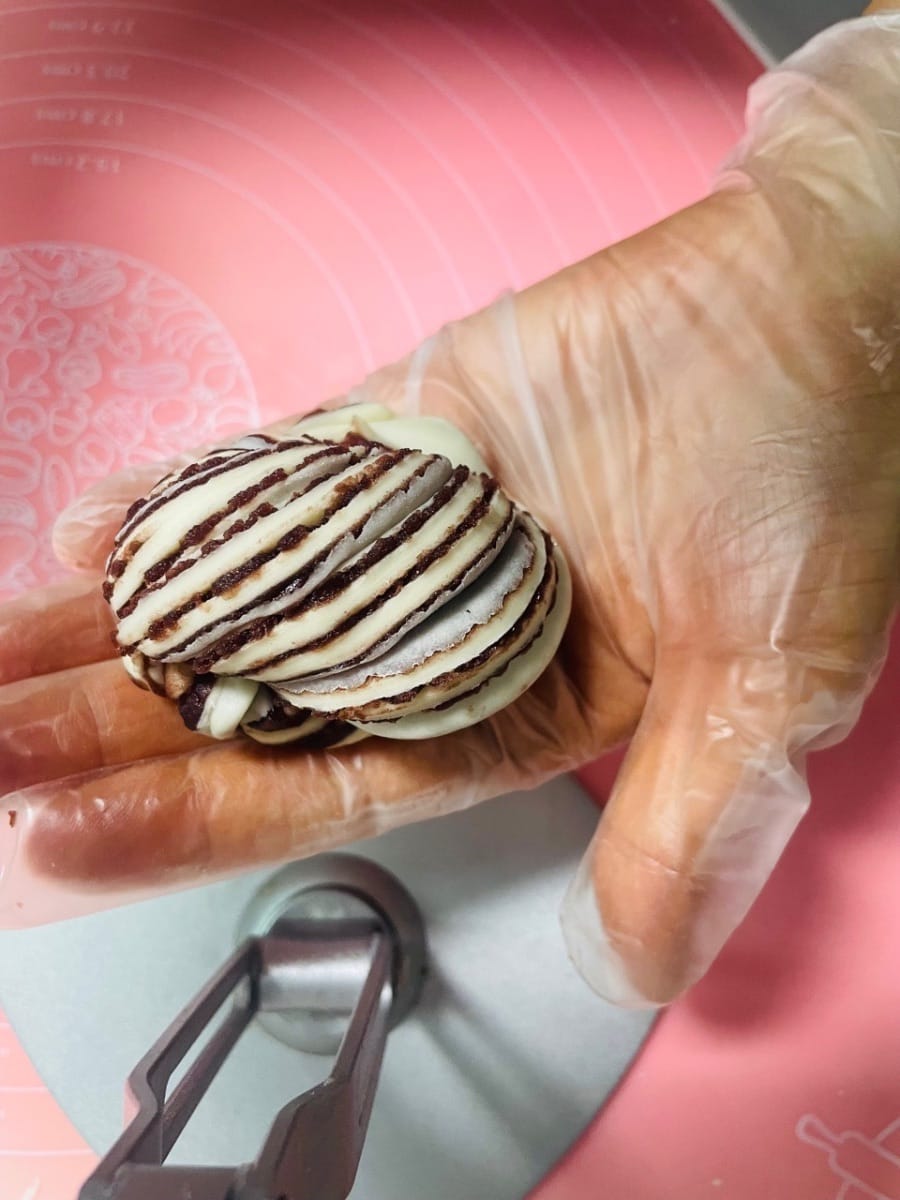
- Gently stretch the pressed noodles to about 15 centimeters long, twist them in the middle with chopsticks, pinch the ends tightly, and then gently press them down with chopsticks.
(This step is clearer in the video; remember to pull the chopsticks out from the bottom.)


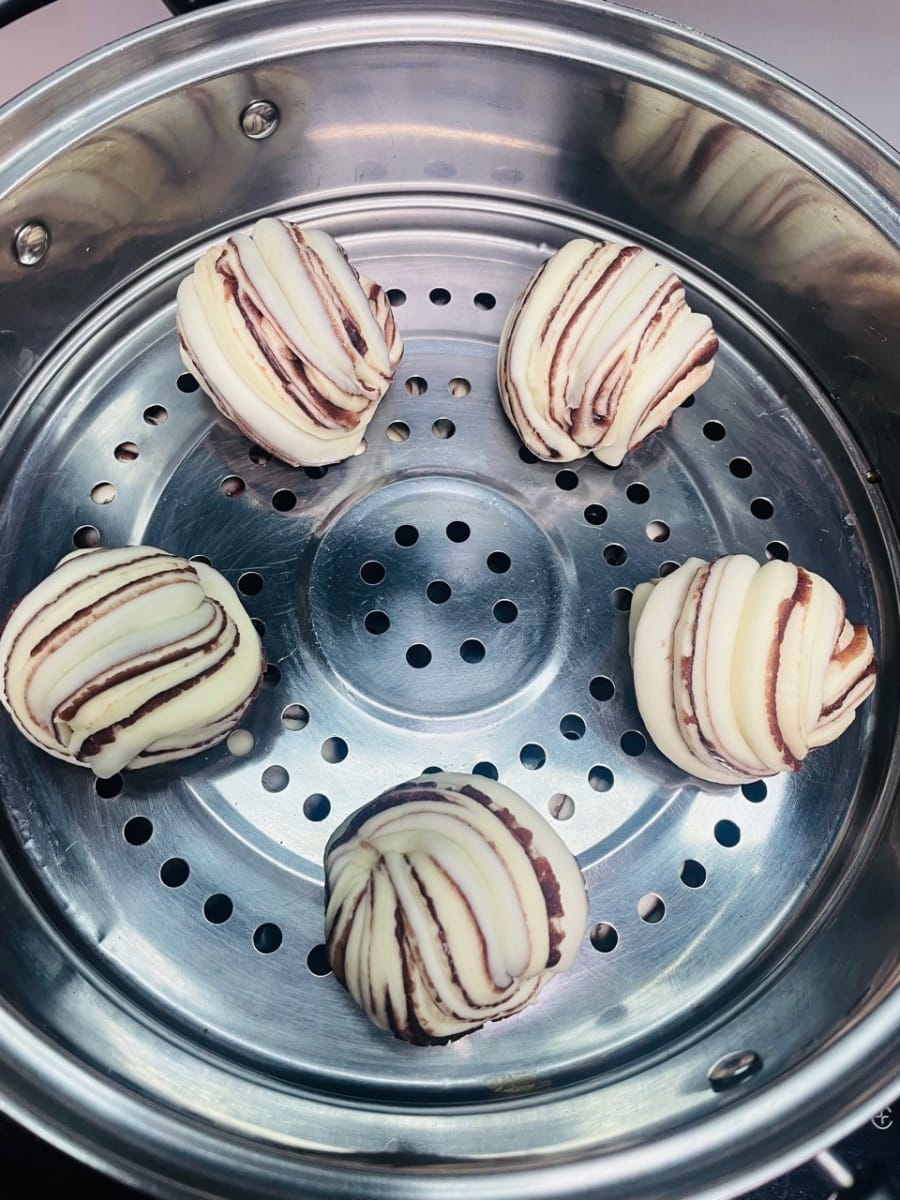
- You can line the steamer with parchment paper, or simply brush a thin layer of oil on top and wipe it evenly with kitchen paper.
I'm steaming three layers, so I brushed oil directly on top because I was worried about insufficient steam from parchment paper.
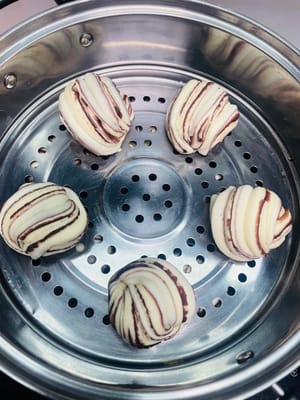
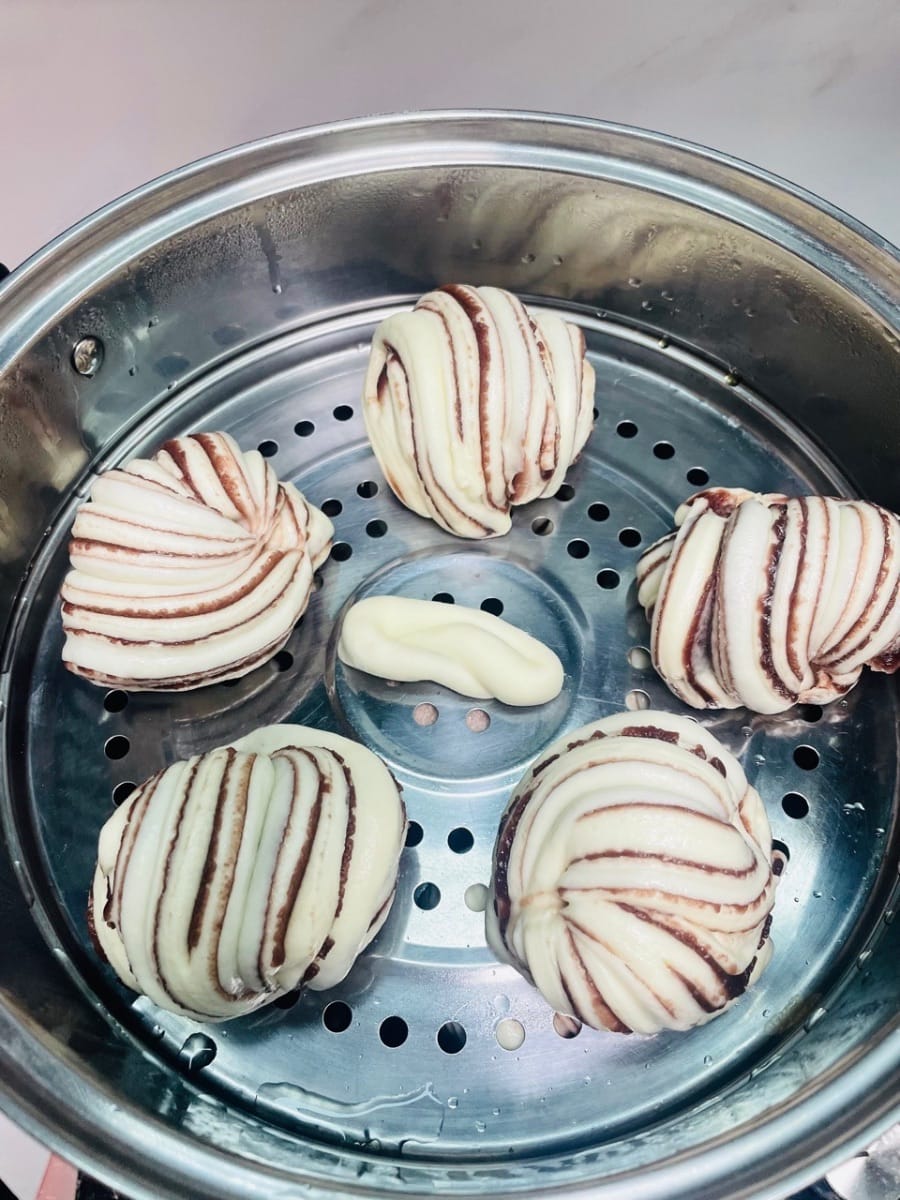
Place the steamed buns in the steamer. Heat the water to 70 degrees Celsius at the bottom, then turn off the heat. The warm water will accelerate fermentation; let them rise to 1.5 times their original size, about 15 minutes.
After the water boils, steam for 12-13 minutes, then turn off the heat and let them sit for another 3 minutes before opening the lid.

- Transfer the steamed buns to a cooling rack to cool completely before packing. Don't leave them in the steamer, otherwise the moisture will affect the texture.
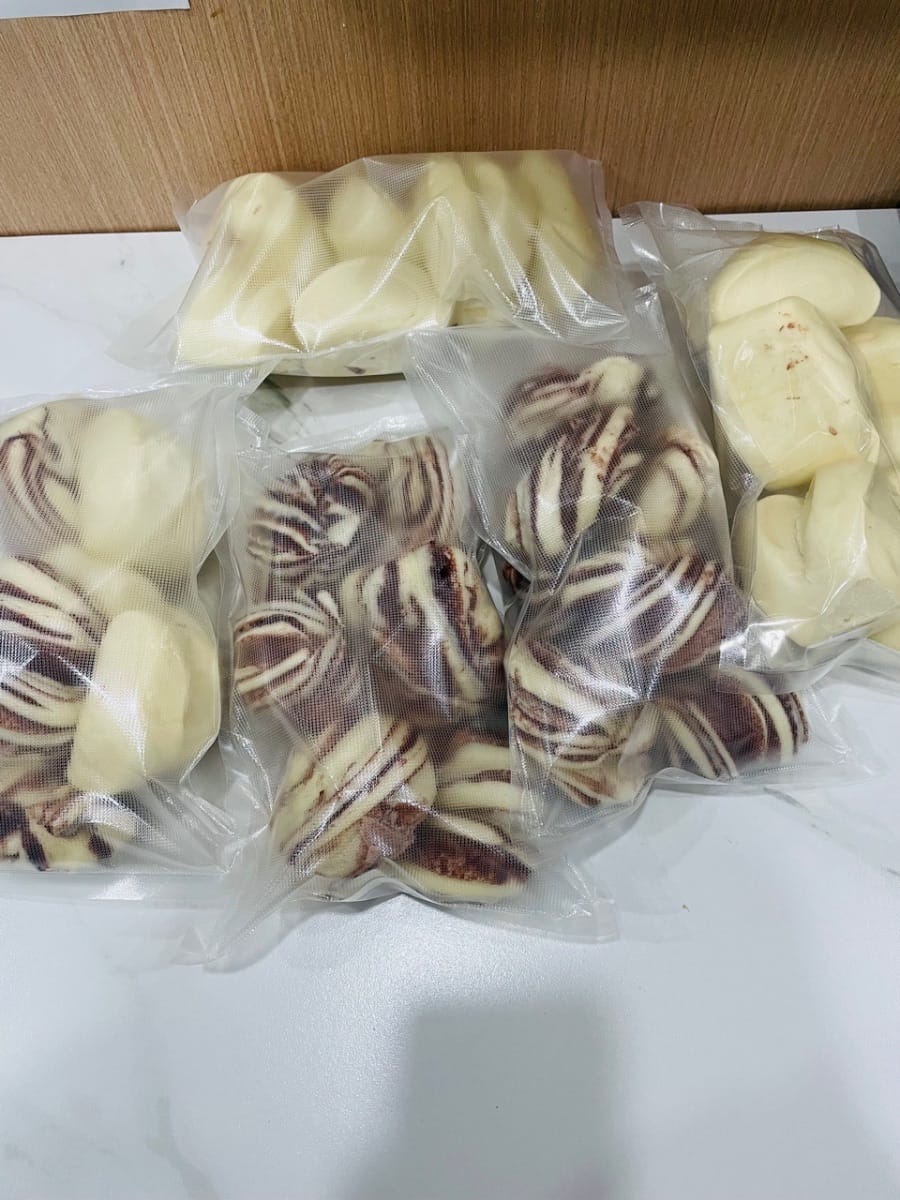
Leftovers can be frozen. When you want to eat them, thaw them and steam them again; they'll taste just as good as freshly steamed.
This was a special request from a friend, so I had to make sure it was all arranged perfectly for her. I packed it up and shipped it to her so she could smell the aroma of the steamed buns and beans even through the screen, and feel the happiness of eating them fresh out of the steamer as soon as they arrived!


Languages
Frühlingsrollen mit roter Bohnenpaste - Deutsch (German) versionRed Bean Paste Flower Rolls - English version
Rollitos de flor de pasta de frijoles rojos - Español (Spanish) version
Rouleaux de printemps à la pâte de haricots rouges - Français (French) version
Lumpia Bunga Isi Kacang Merah - Bahasa Indonesia (Indonesian) version
Involtini di pasta di fagioli rossi - Italiana (Italian) version
あんこ花巻き - 日本語 (Japanese) version
팥앙금 꽃말이 - 한국인 (Korean) version
ปอเปี๊ยะไส้ถั่วแดง - แบบไทย (Thai) version
紅豆沙花卷 - 香港繁體中文 (Traditional Chinese - Hong Kong) version