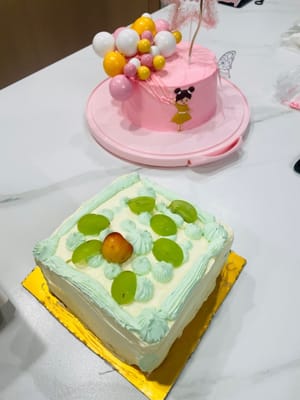
DIY birthday cake


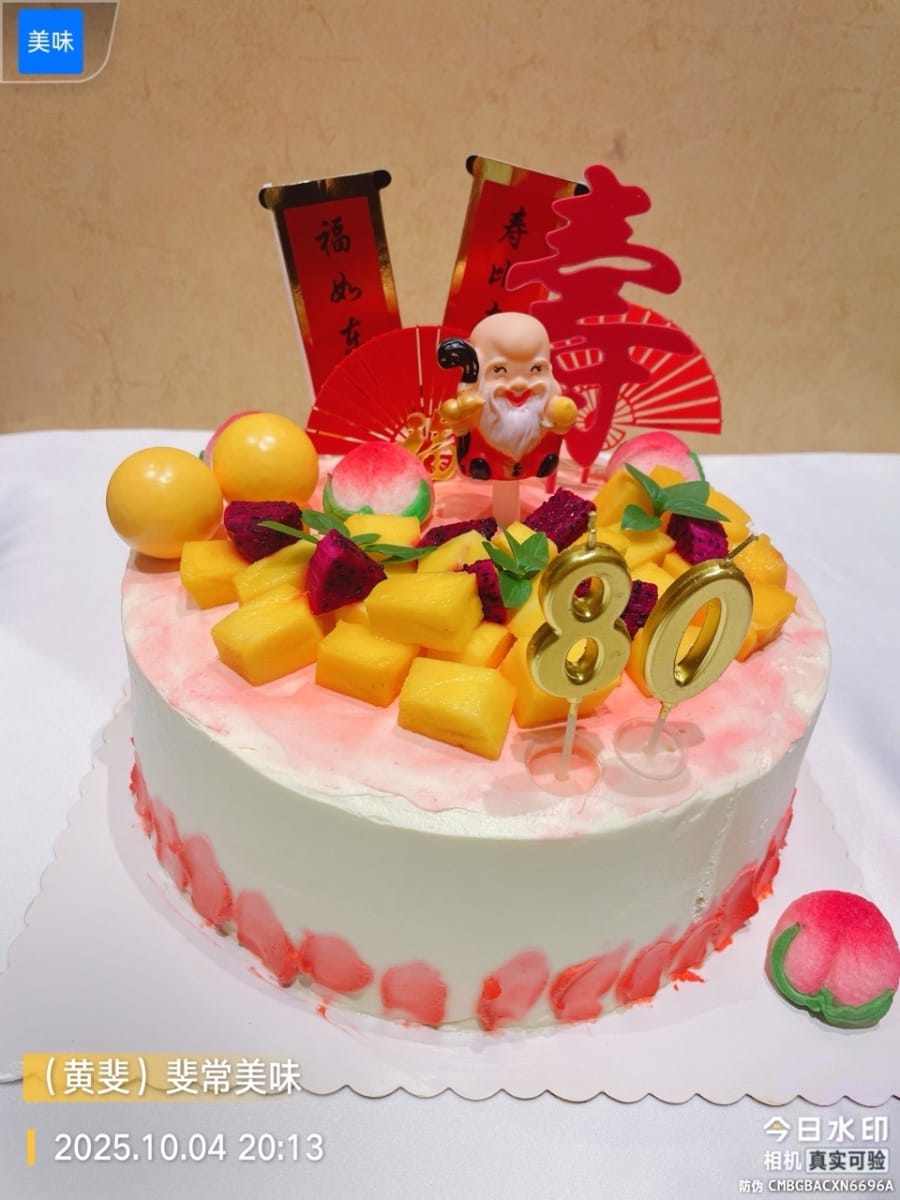
~DIY birthday cakes are all about "happy even if you flip over"! The surface is crooked but creative, and the fruit decoration looks like performance art - this unique "abstract work" is so good that even Picasso would call it an expert! It's also a global limited edition😀 ~No additives, full of safety! Animal cream has a natural milky aroma, and fresh fruit tastes like sunshine when you bite it. It's not a technological feat, but a healthy and safe thing to eat. After all, what we make is not a cake, but a happy and safe "life worth it"!
Ingredients
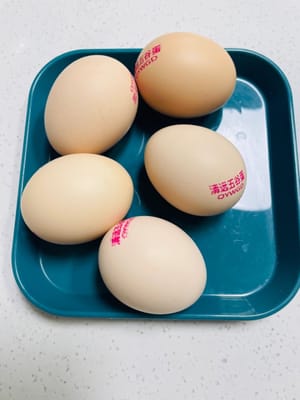
- 6 eggs (8-inch recipe)
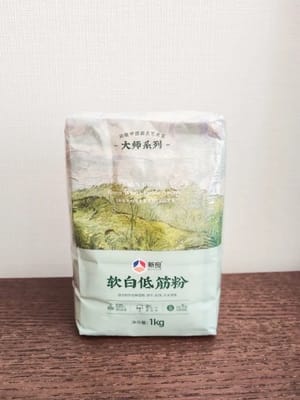
- low-gluten flour (90g)
- Corn Oil (60g)

- water (65g)
- Cornstarch (20g)
- sugar (70g (egg yolk paste 30g, egg white 40g)
- lemon juice (5 drops)

- Animal whipping cream (about 900ml, 400ml for assembling cake, 400ml for brushing, 100ml for decorating)
- sugar (10% of the amount of cream)

- optional cream cheese (cheese about 200)
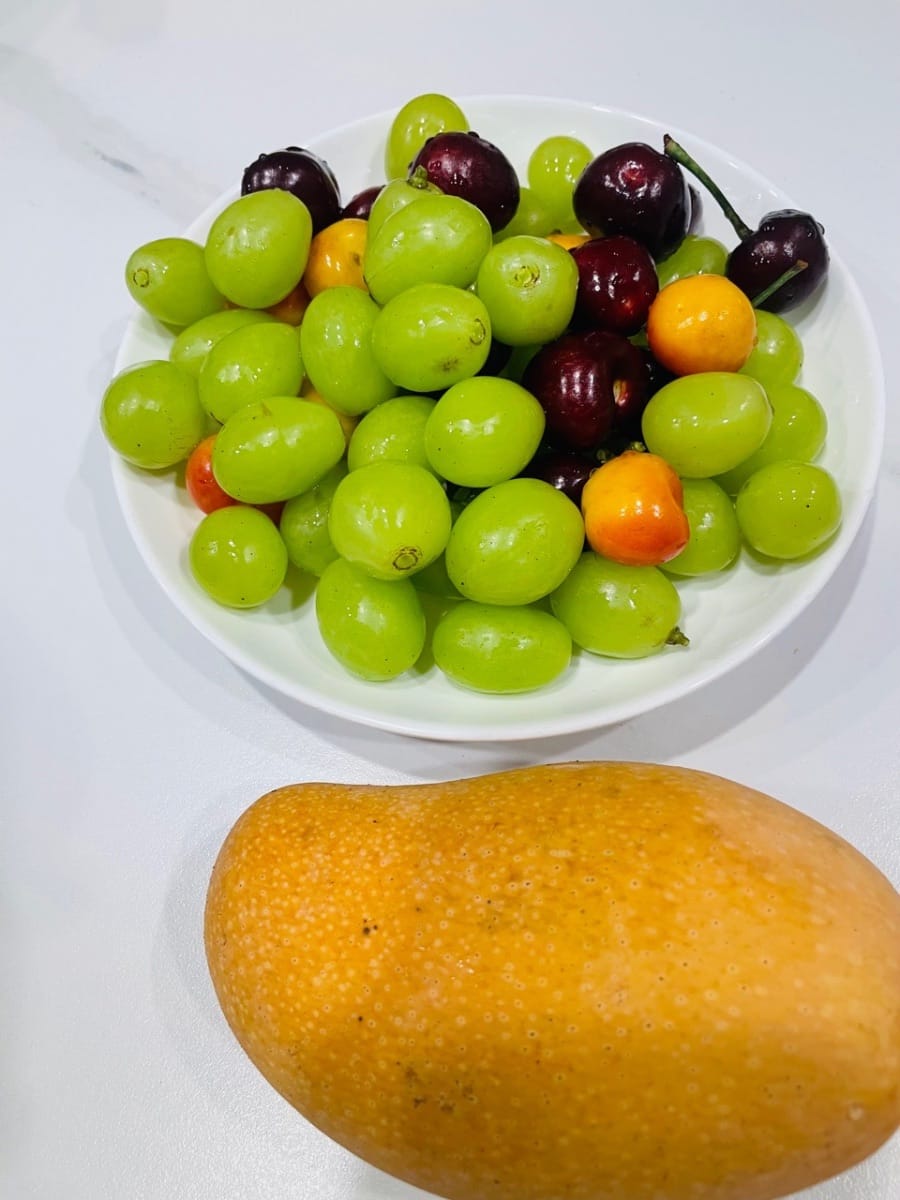
- Fruit filling and garnish (Any. Recommended blueberries, raspberries, durian, mango, strawberries)
Steps
- baking cake
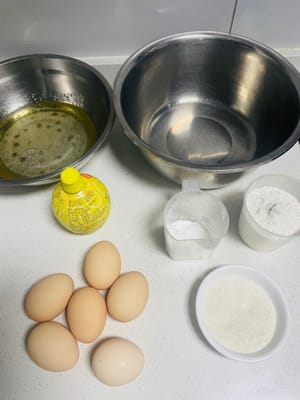
- Prepare the ingredients such as low-gluten flour, corn starch, eggs, corn oil, white sugar, water, and lemon juice according to the recipe, then take two clean large basins, and you can start!
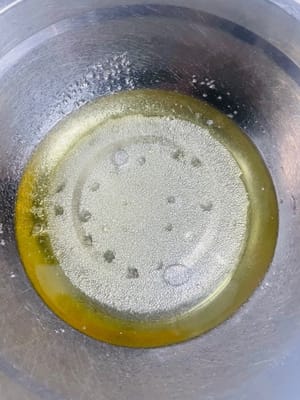
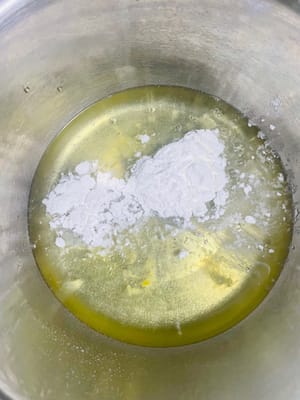
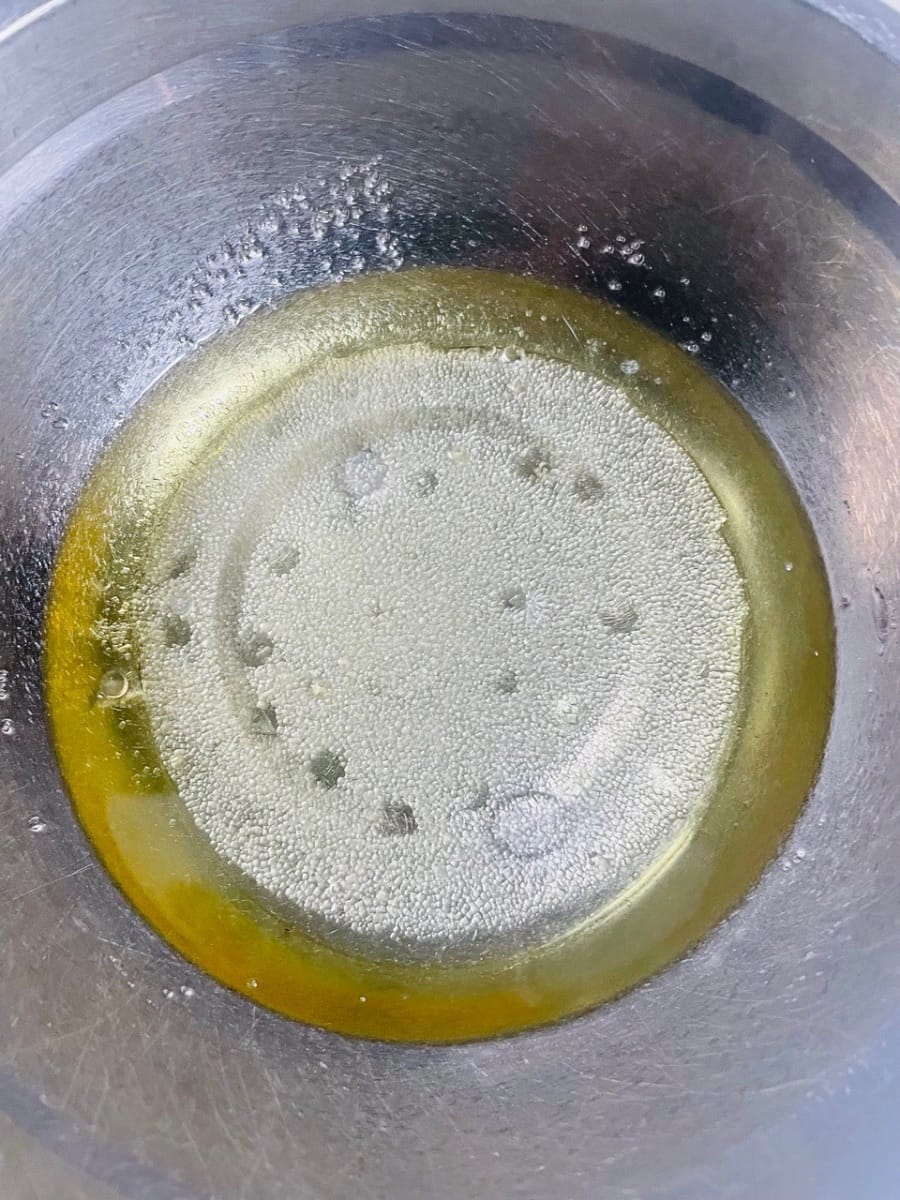
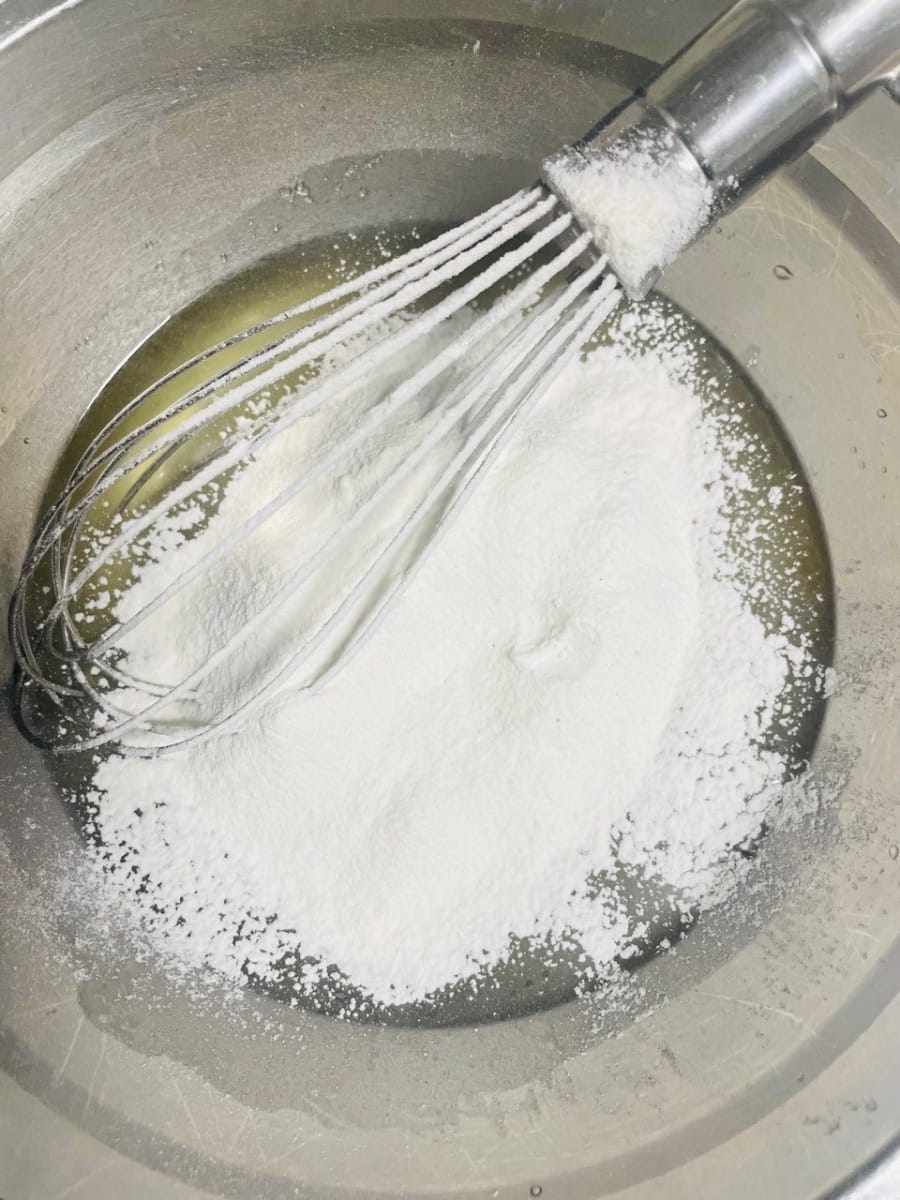
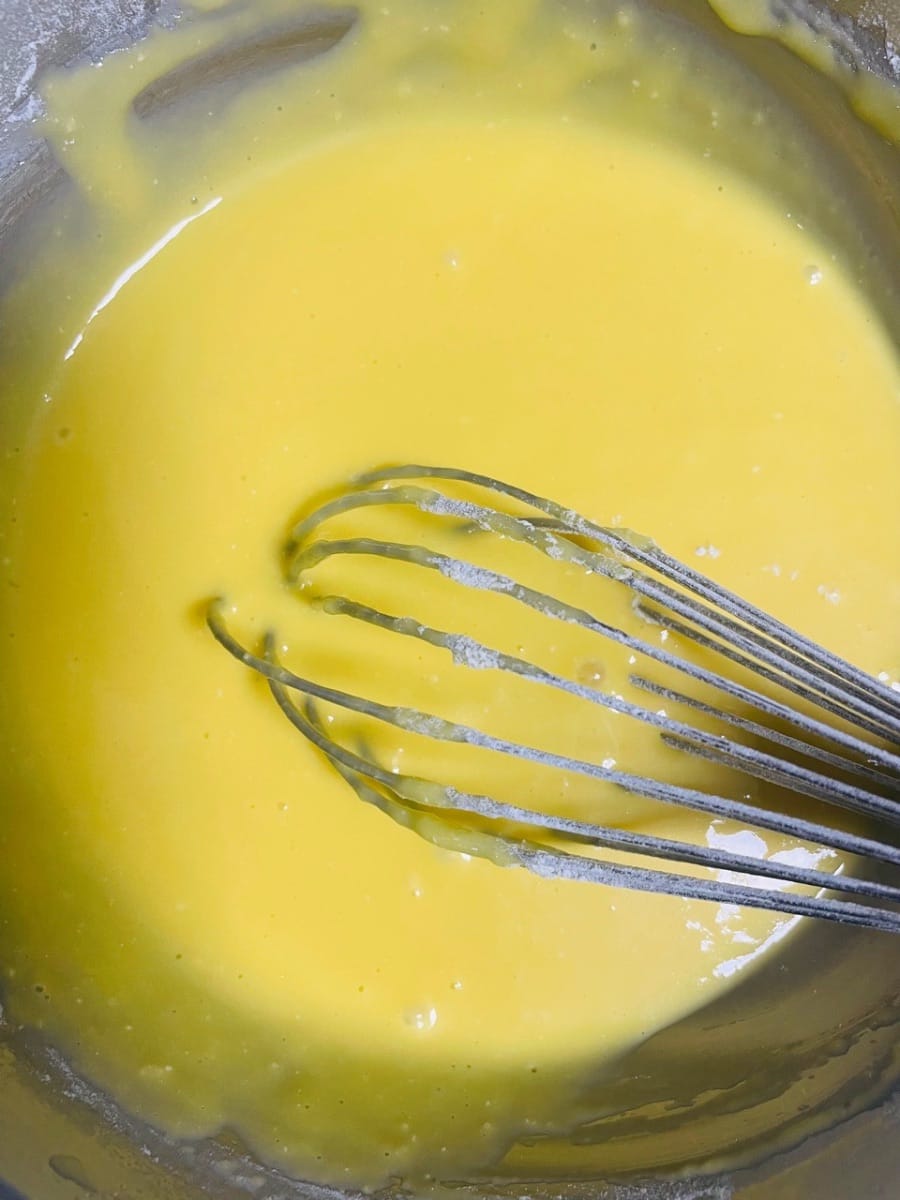
- Pour corn oil, sugar and water into a bowl and stir until the sugar dissolves.
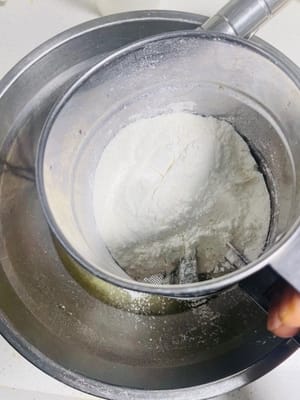
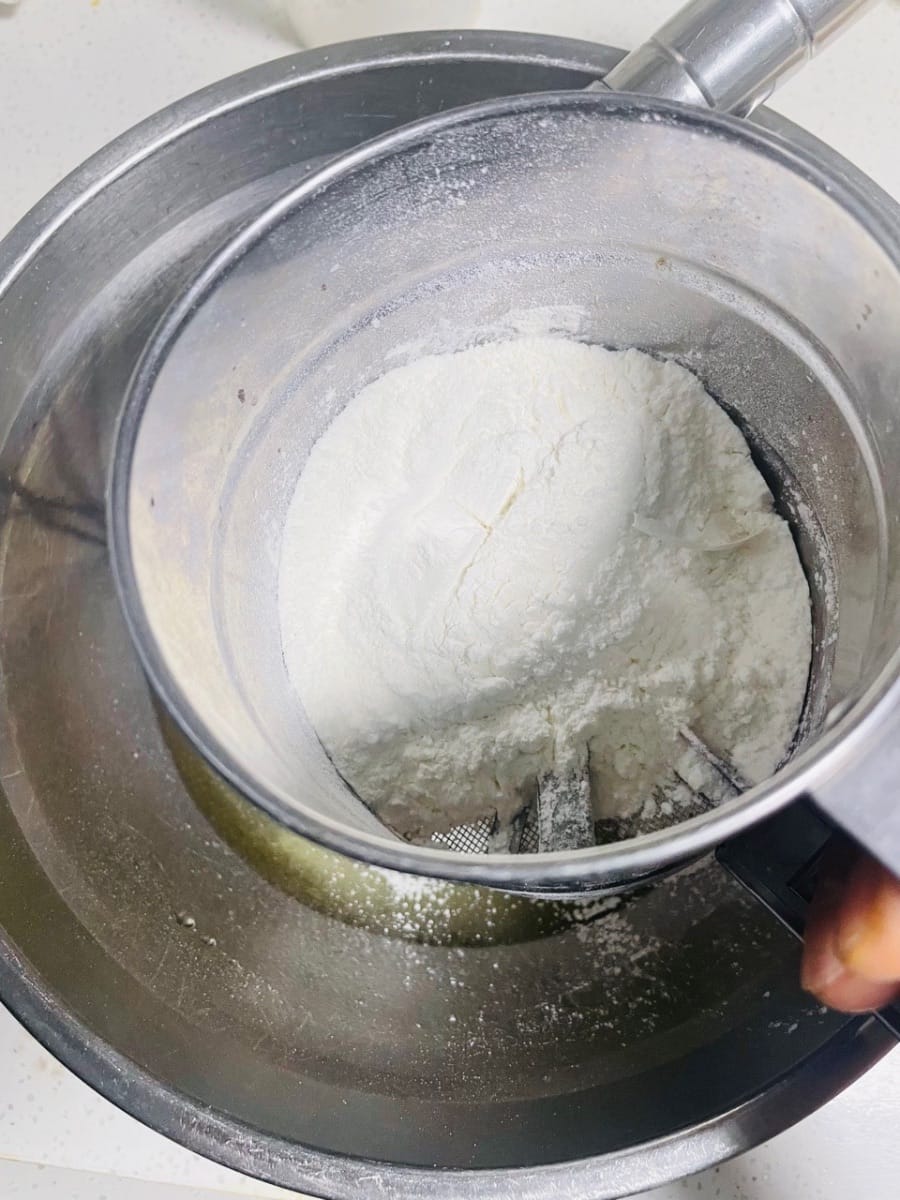
- Sift in flour: Sift the low-gluten flour into the liquid basin. The sieve can stop the lumps of flour, making the subsequent batter more delicate.
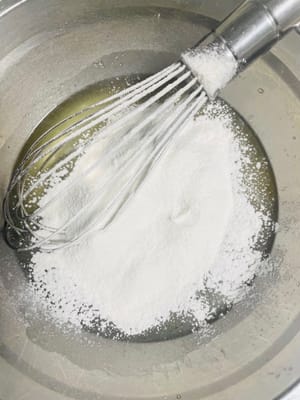
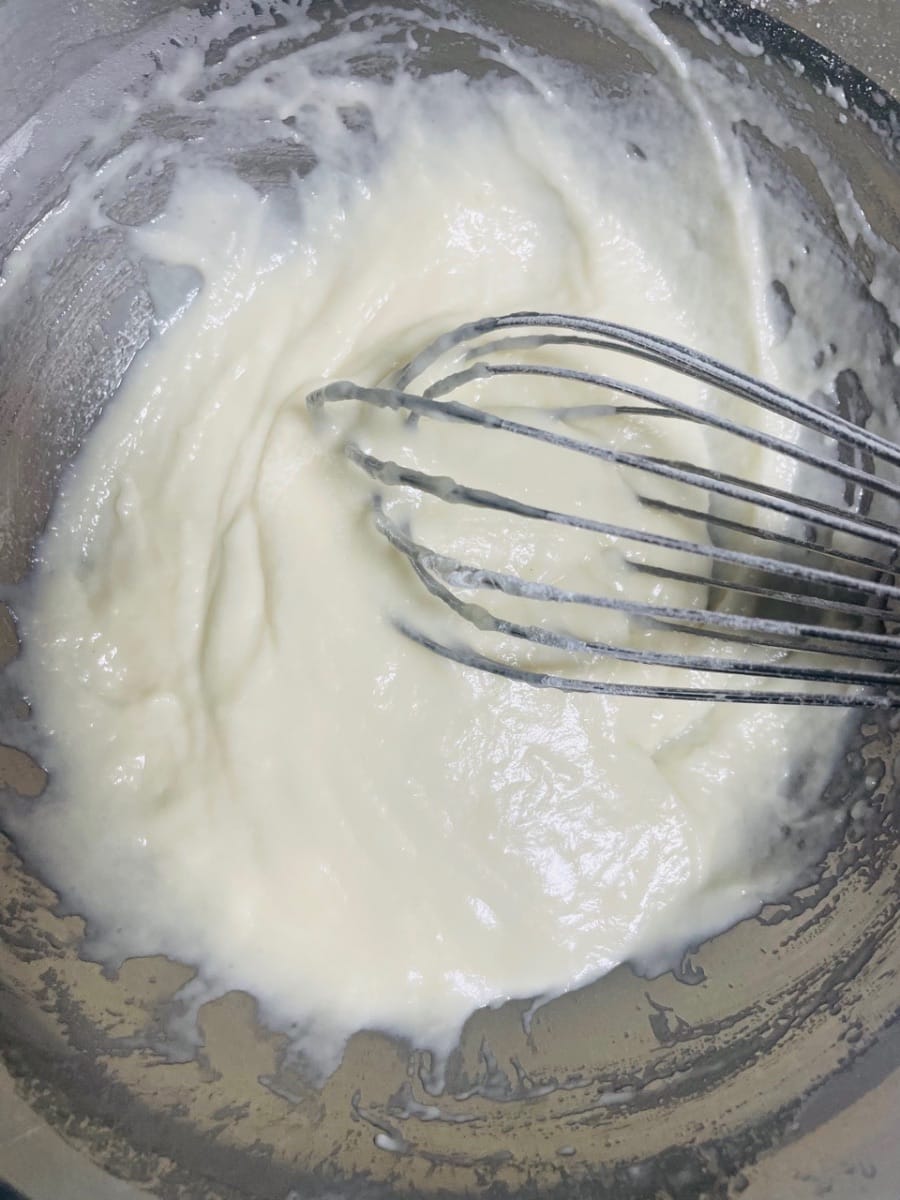
- Stir in a "Z" shape or cross method instead of in circles to prevent the flour from forming gluten. Stir until the flour is smooth and has no dry powder.

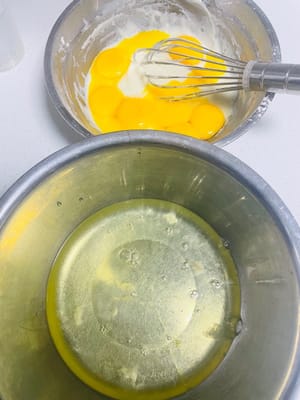
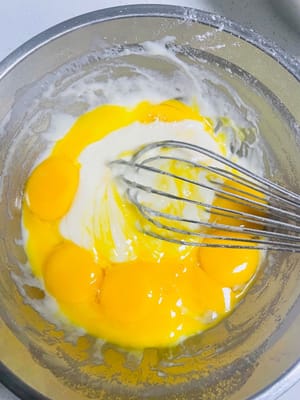
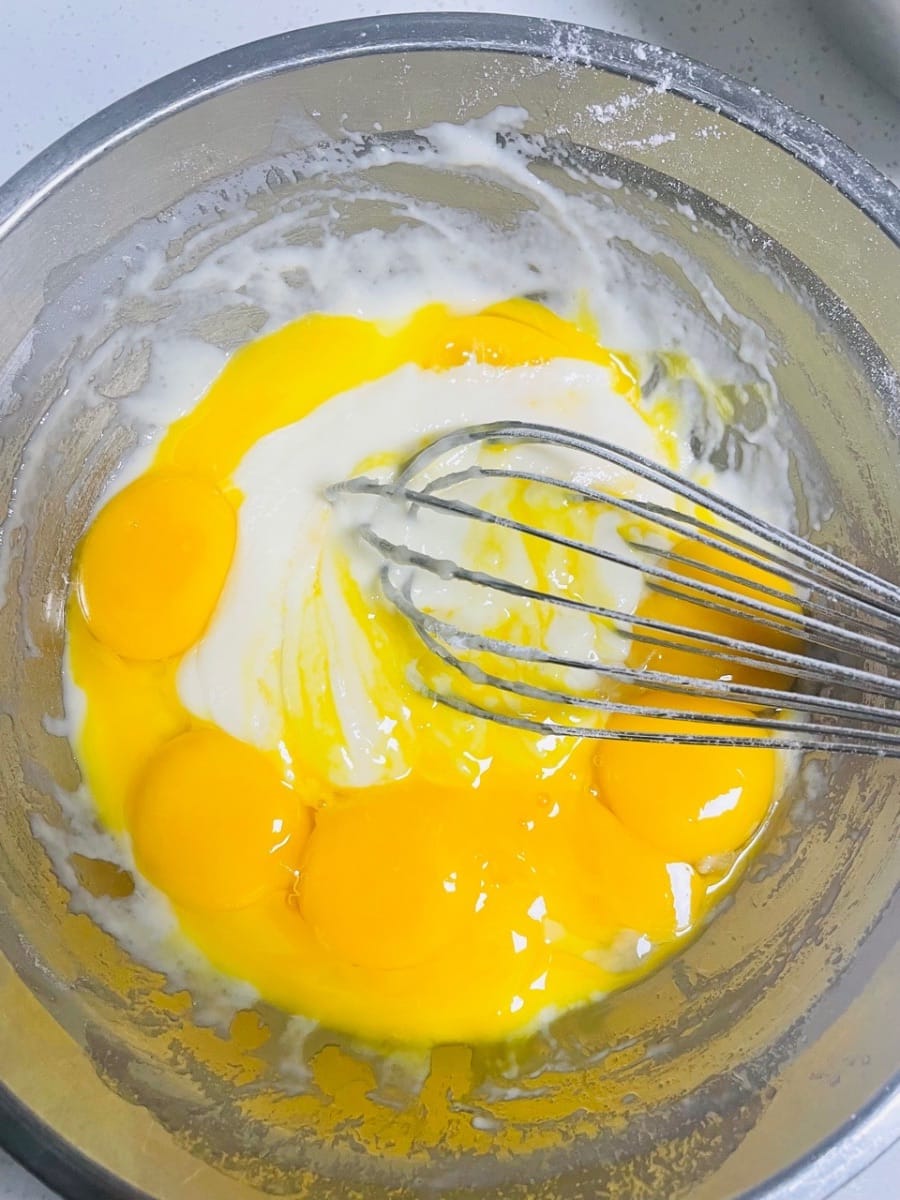
- Separate the egg white and yolk: separate the egg white and yolk, throw the egg yolk into the batter bowl, and put the egg white in another clean bowl. Be careful not to mix the egg yolk in the egg white, and the egg white bowl must be completely free of water and oil, otherwise the egg white cannot be whipped.
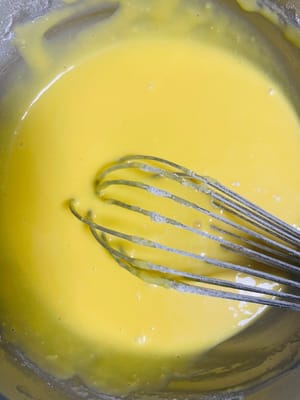
- Stir the egg yolk paste: Then use the "Z" or cross method to stir the egg yolk paste. Don't make circles again to keep the batter "gentle".
- Video of the above steps.
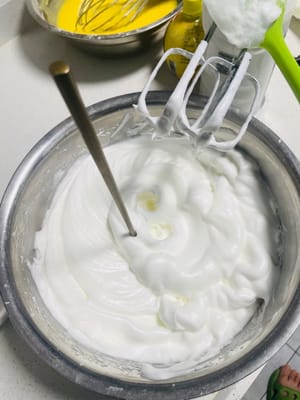
- Add cornstarch and lemon juice to a bowl of egg whites and stir gently so that when you use a whisk later, the starch won’t fly everywhere.
- Use an electric whisk at low speed, then slowly turn it to high speed, and finally turn it back to low speed. Whip until wet foam (when you lift the whisk, the egg whites have big hooks) or hard foam (small corners). Don't beat too hard, as over-whipping will easily cause the cake to crack; don't be lazy, as under-whipping will cause the cake to collapse. Whip until a chopstick can stand firmly on it.
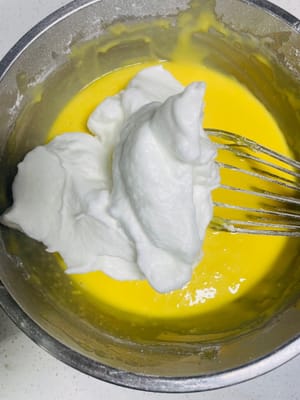
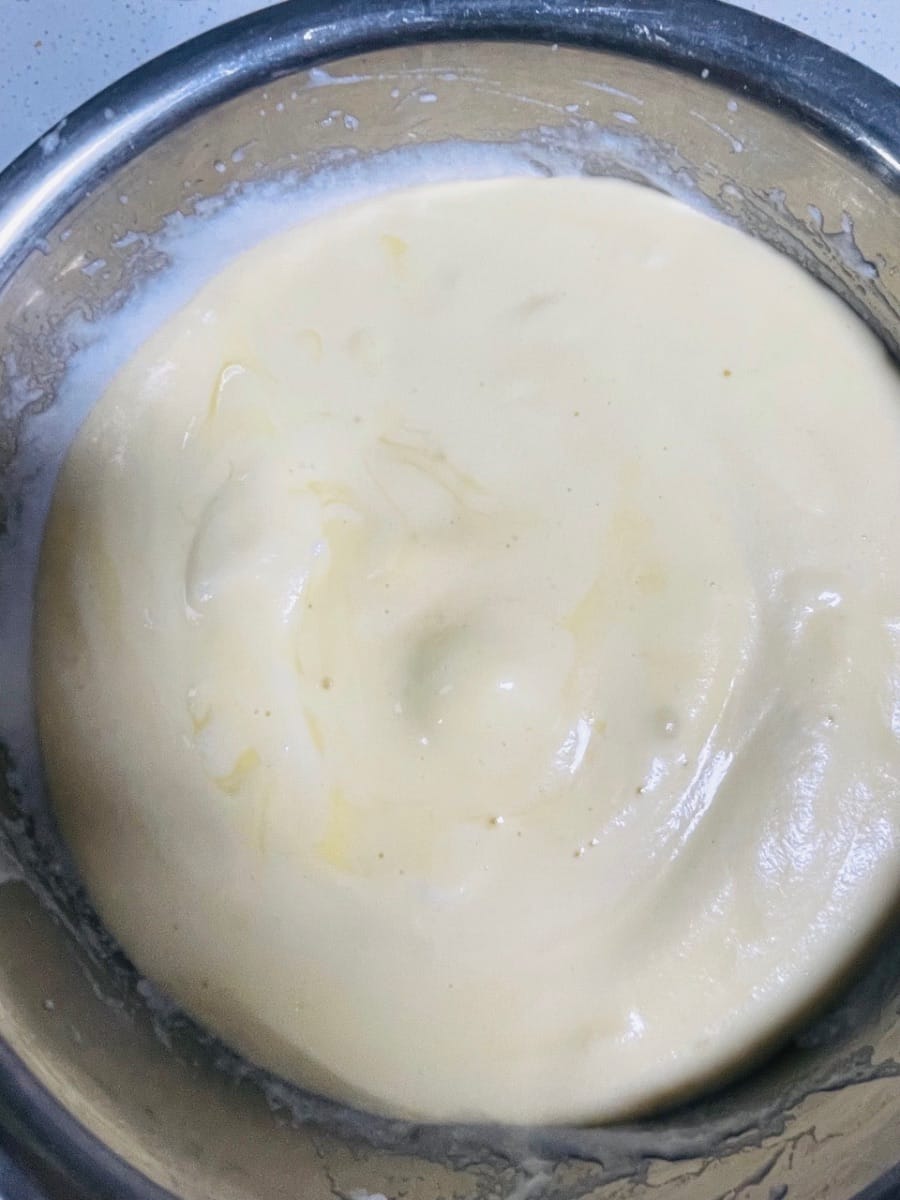
- Take one-third of the meringue and add it to the egg yolk batter. Mix by cutting and folding. Do not stir too hard, otherwise the egg whites will be deflated and the cake will not rise.
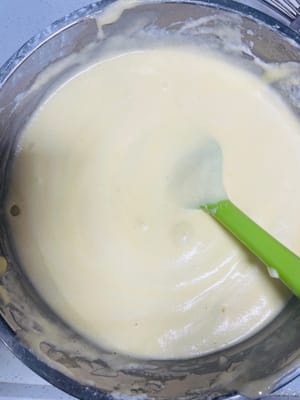
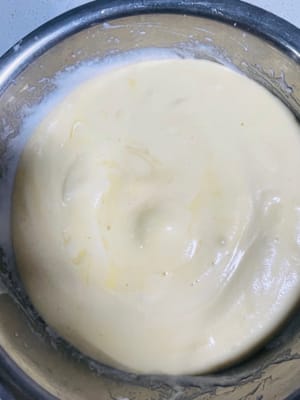
- Pour the egg yolk mixture into the remaining meringue, and continue mixing them slowly using the same folding method as before. The batter will become thicker and thicker, revealing the "dawn" of success.


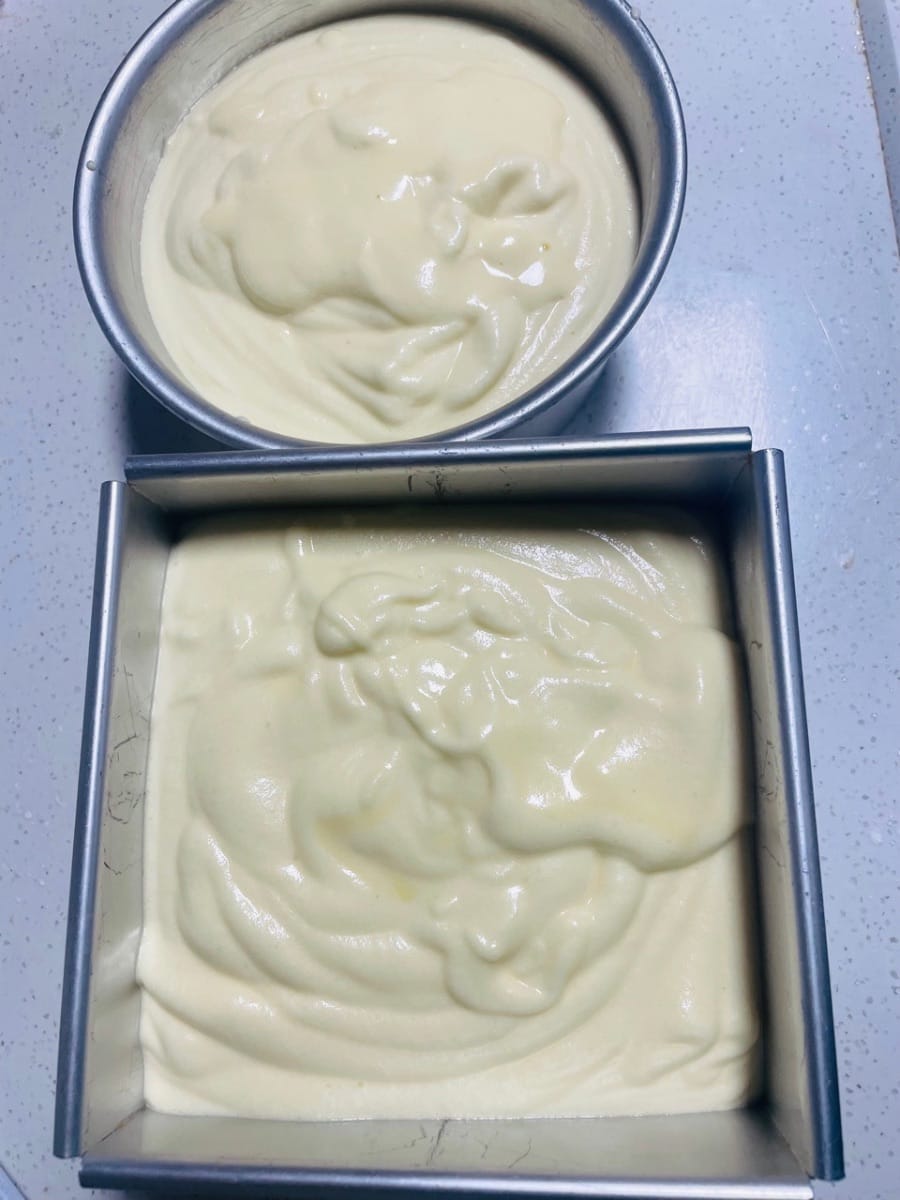
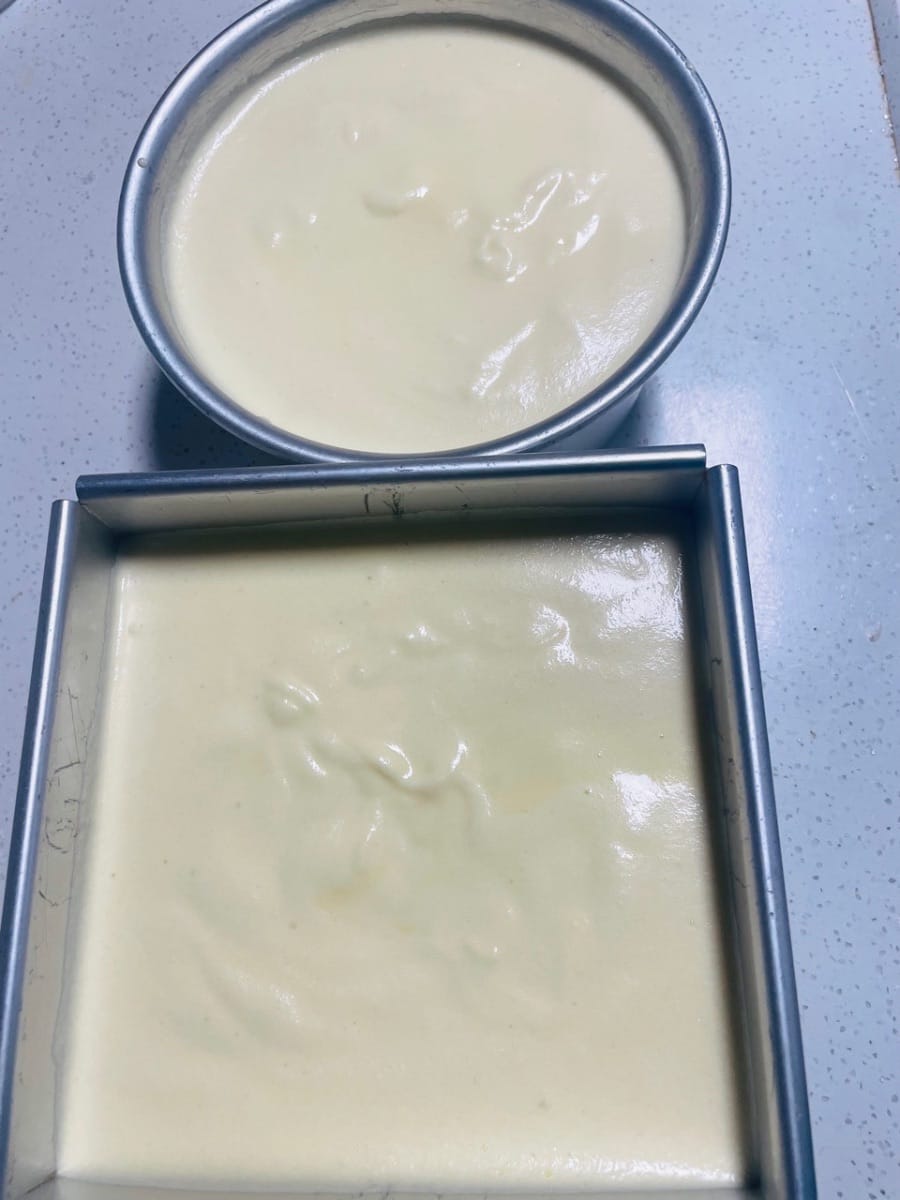
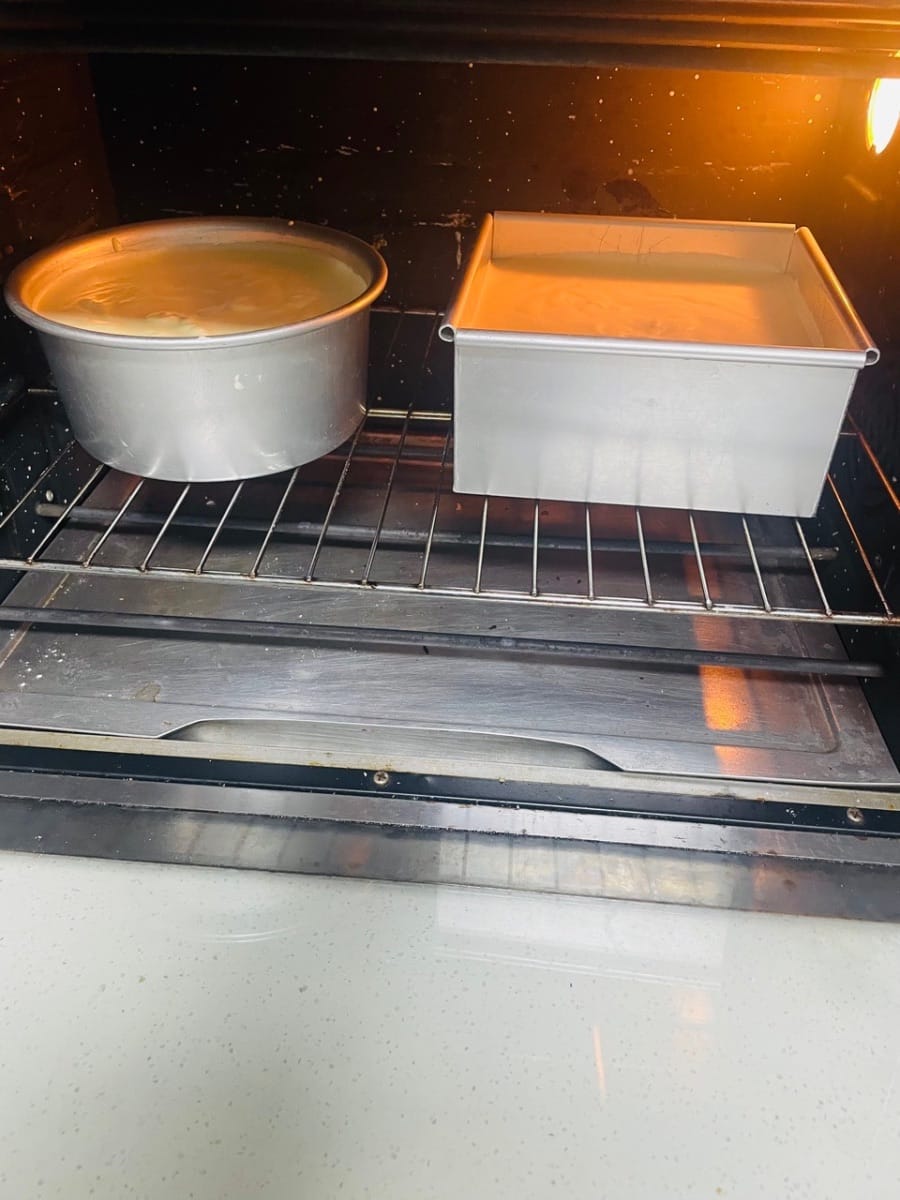
- Pour the batter into the mold, drop it down from a height of about 20 cm a few times to shake out the bubbles in the batter, which will make the cake texture more delicate.


- Preheat the oven in advance and adjust the temperature according to the recipe, such as 150-160℃, and bake for 40-50 minutes. Don't open the oven door frequently during baking, as the heat will escape and the cake will collapse!
Test for doneness: Insert a chopstick into the center of the cake. If there is no sticky surface on the chopstick after pulling it out, it is done. Otherwise, bake for a few more minutes.

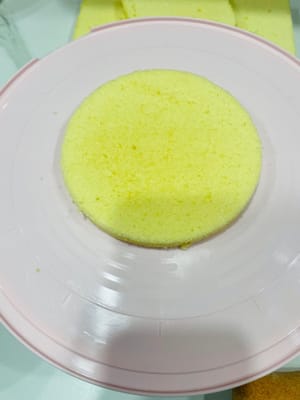
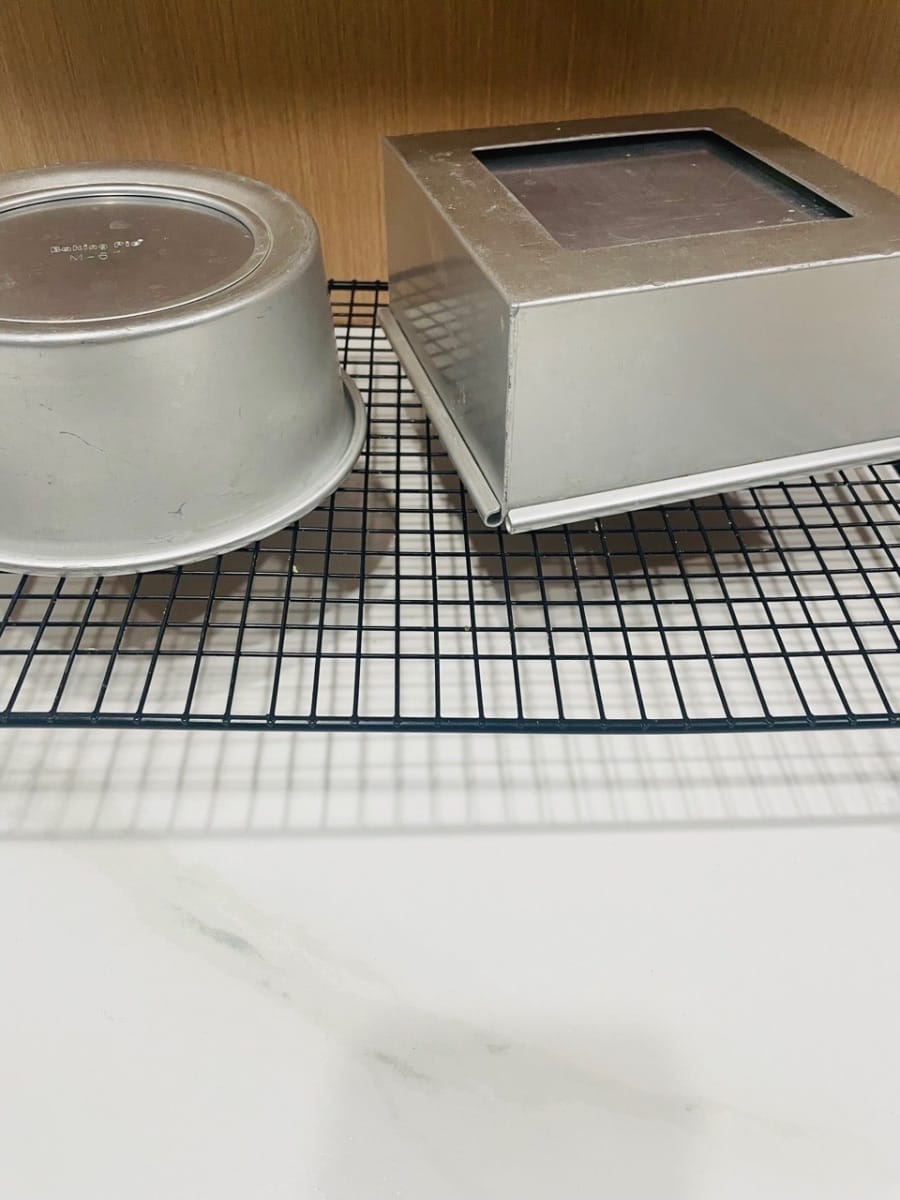
- Turn the pan upside down to cool: Immediately after taking it out of the oven, gently drop the mold to shake out the heat and prevent the top from shrinking. Then turn it upside down to cool until it is completely set (about 1 hour).

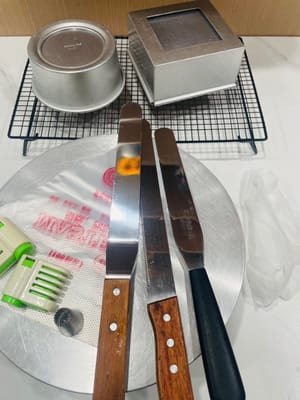
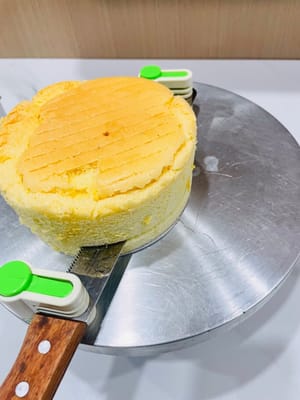
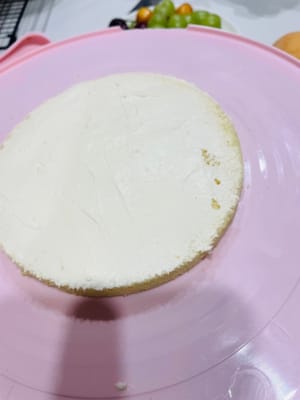
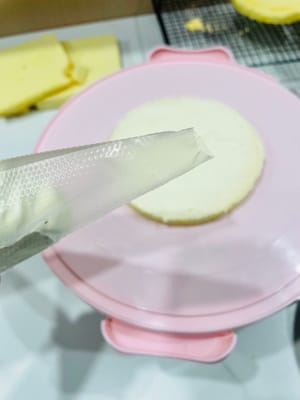
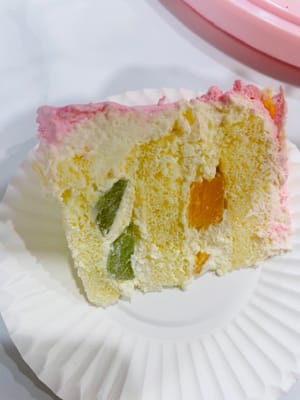
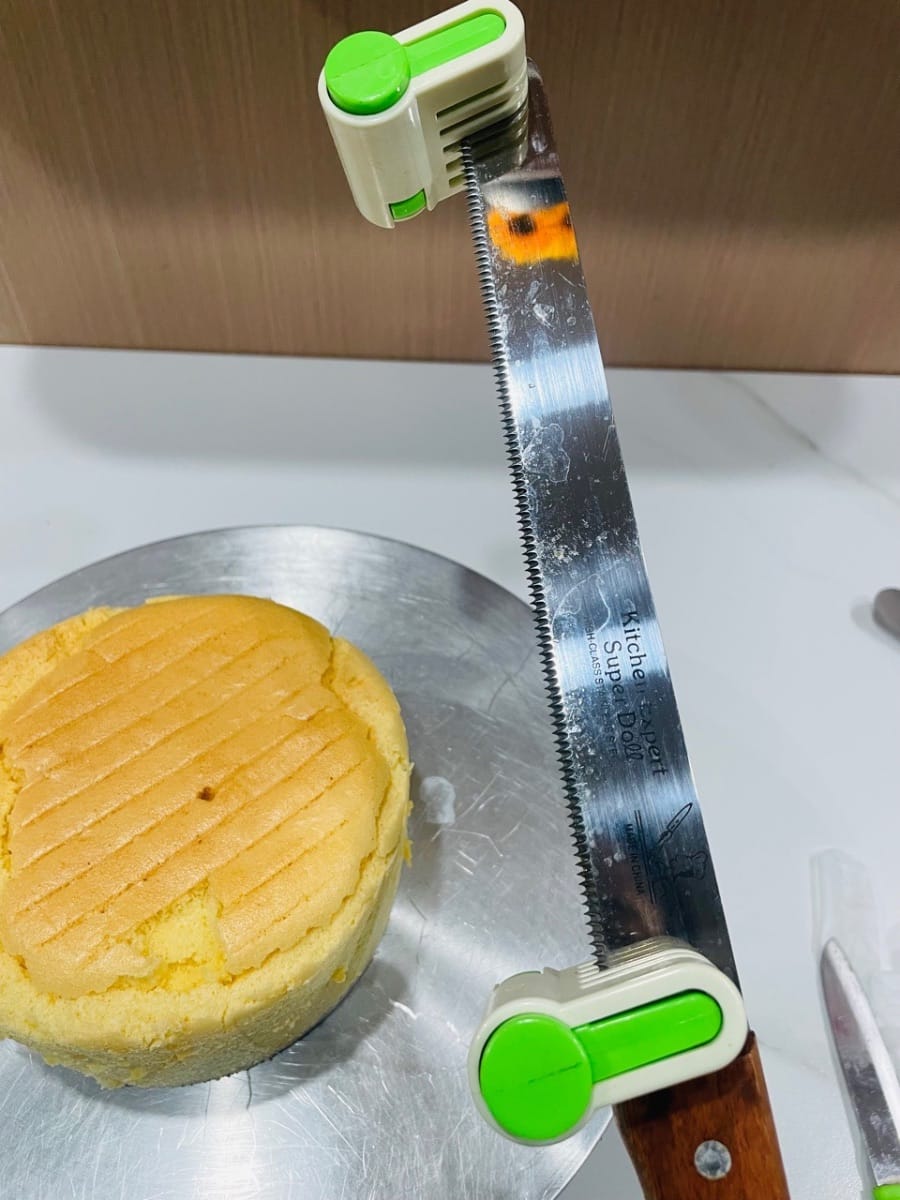
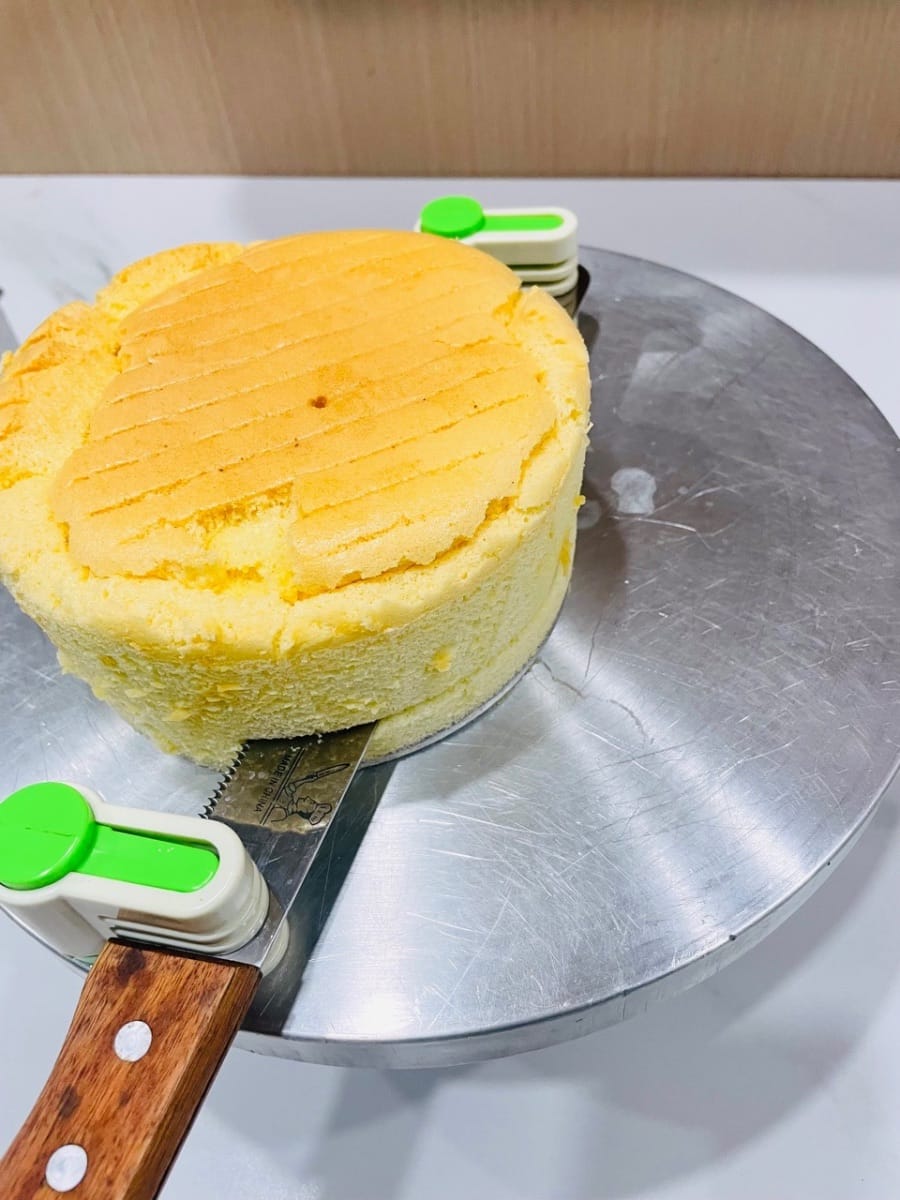
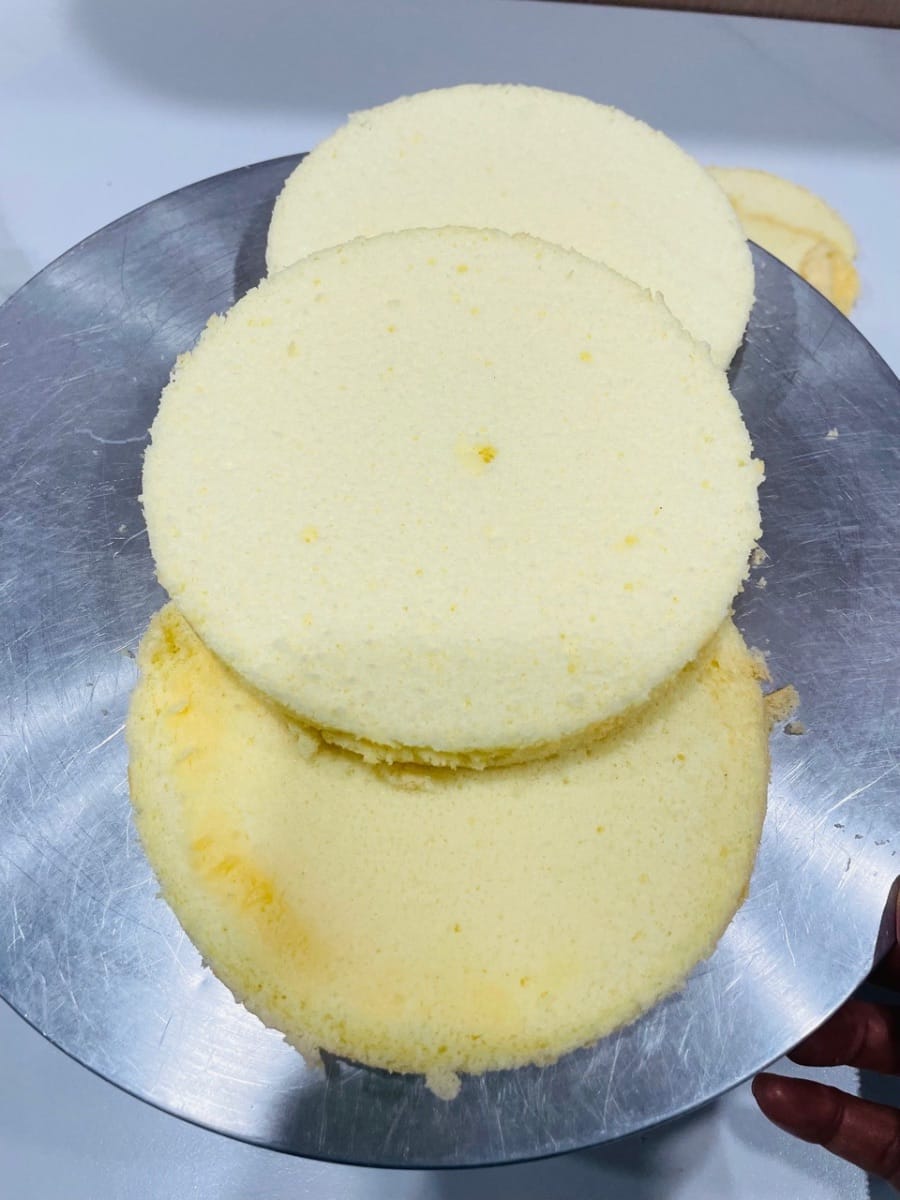
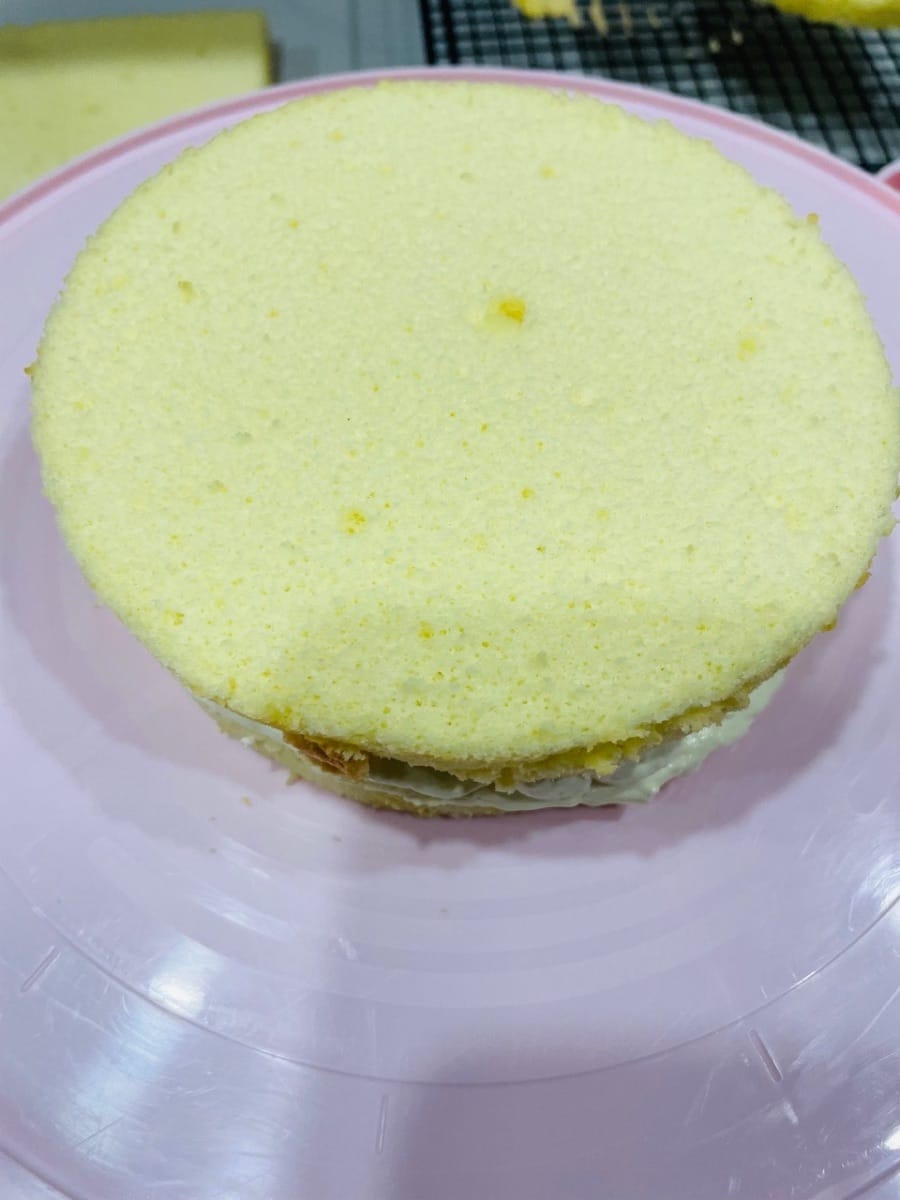
- Slicing: When the cake is completely cool, you can use tools to cut it into three pieces after removing it from the mold. Then spread the cream and add the filling to turn it into a beautiful birthday cake!


- Cream preparation (temperature control is key) From the step of filling the cake, the whole process needs to be operated in an environment of 15-20℃ to prevent the cream from melting when heated and affecting the finished product.
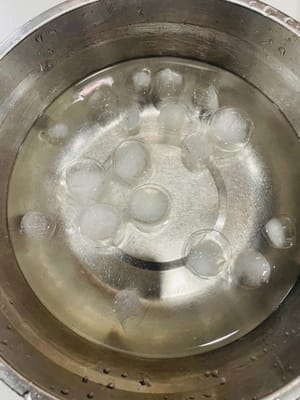
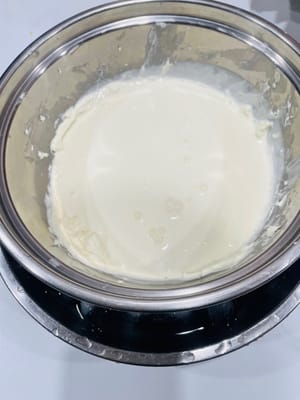
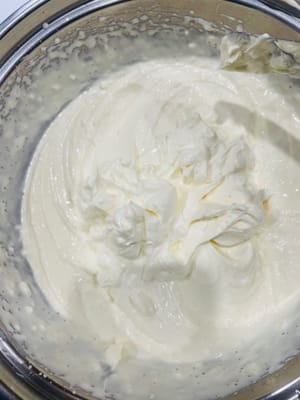
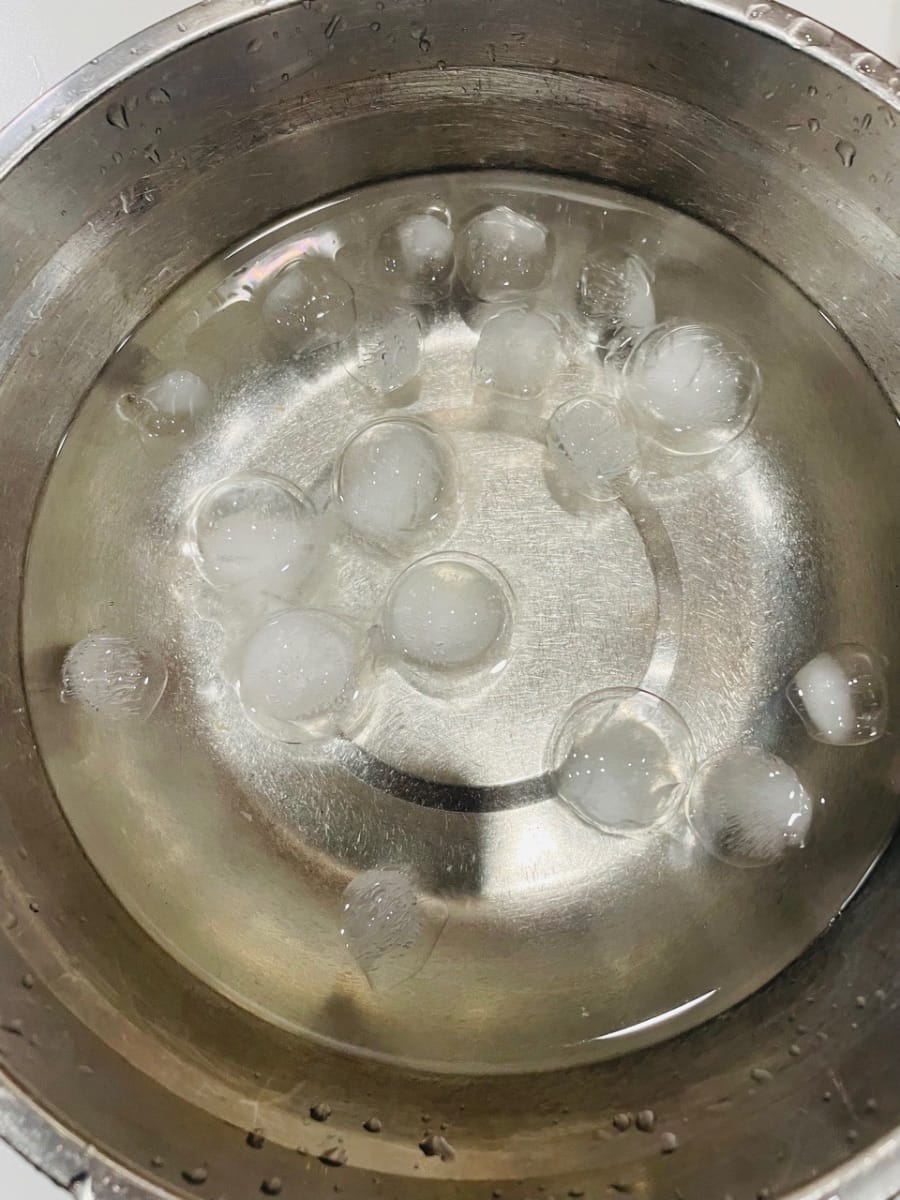
- Prepare an ice water bath: Take a large pot, put a lot of ice cubes and ice water; then take a clean container without water or oil, pour in animal whipping cream (animal whipping cream is recommended, it has a light taste, needs to be refrigerated for more than 12 hours before whipping, and is easier to whip in an environment of 15-20℃).
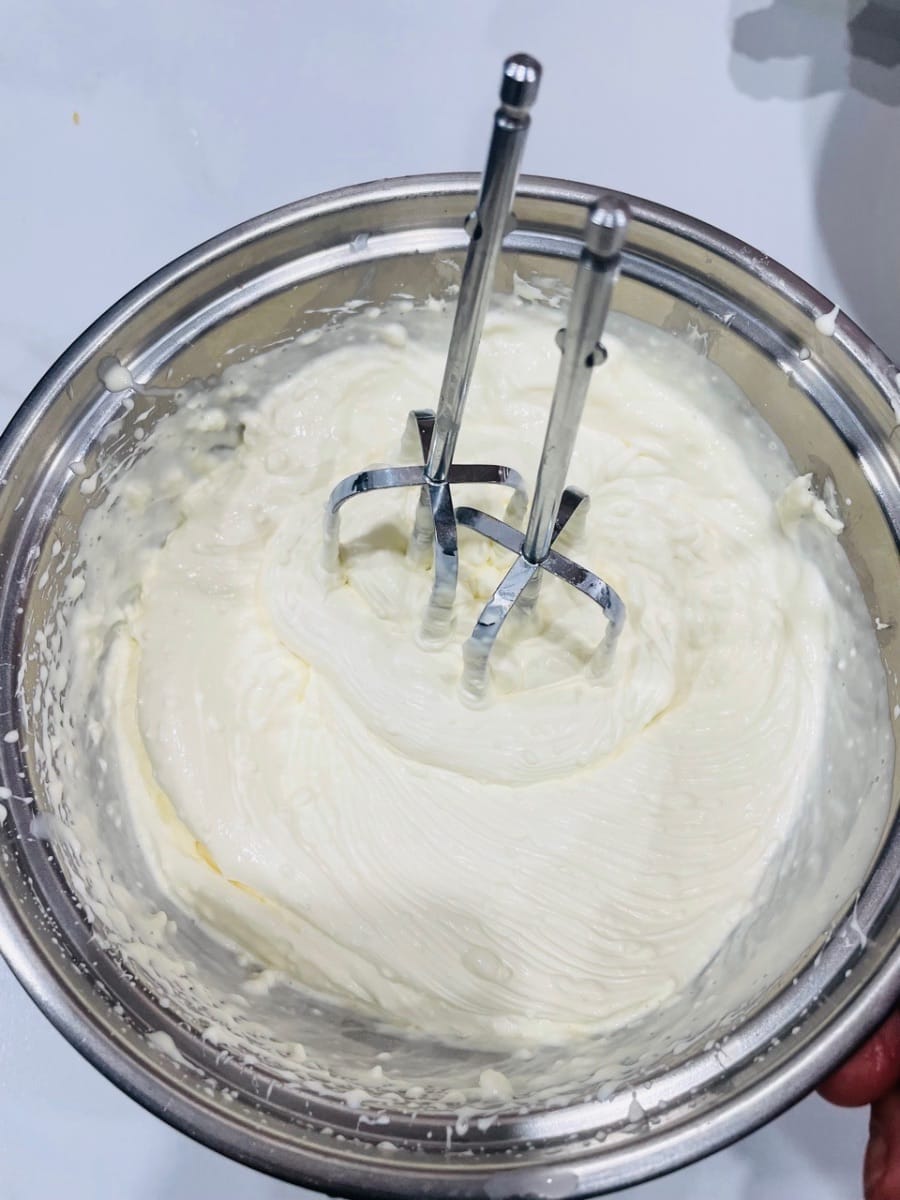
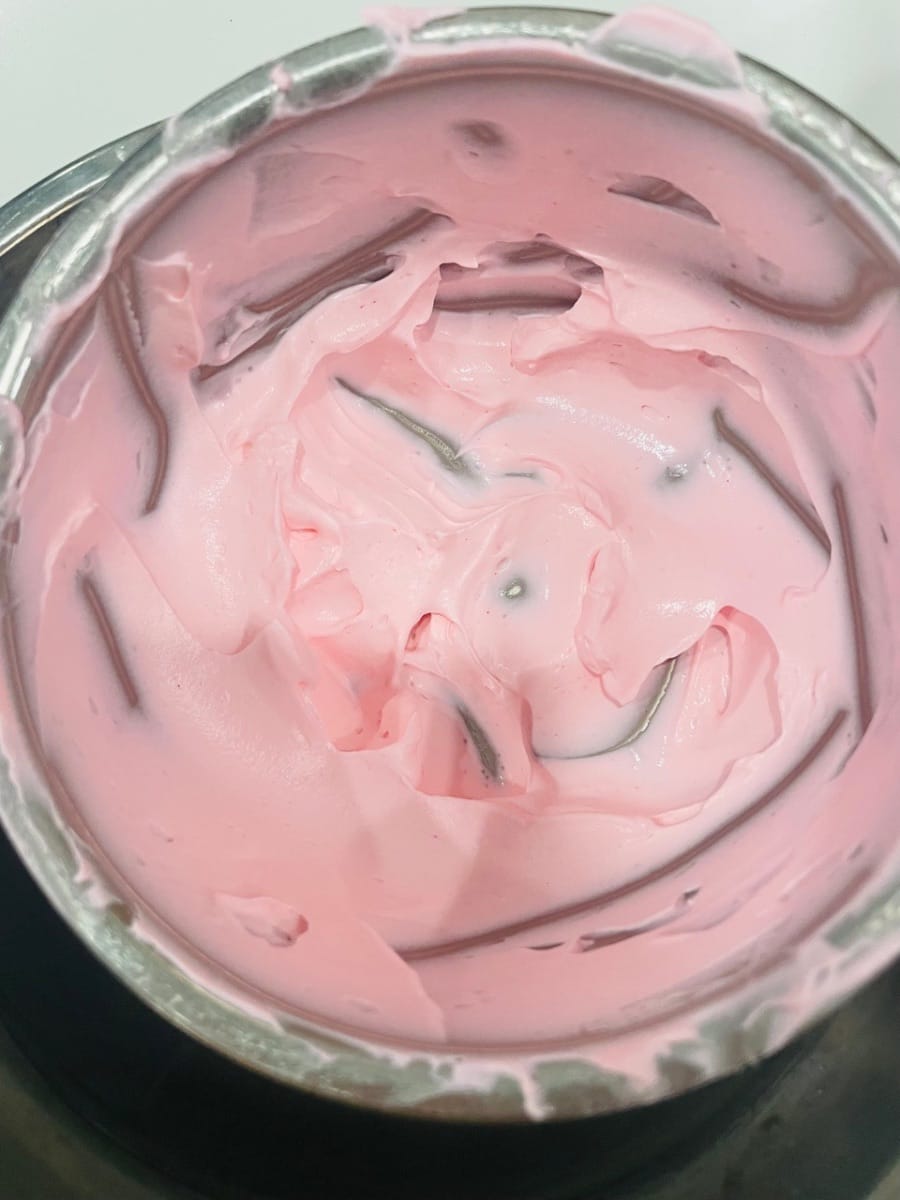
- According to the ratio of animal whipping cream to fine sugar of 10:1 (if you want to enrich the taste, you can add a small amount of cream cheese (it needs to be whipped until smooth and free of particles, otherwise it will easily clump. After beating evenly, add the animal whipping cream in batches and continue beating to allow the two to fully blend. In this way, the finished product has a delicate texture, and the effect will be better whether it is for coating or decorating), pour the sugar into the animal whipping cream.

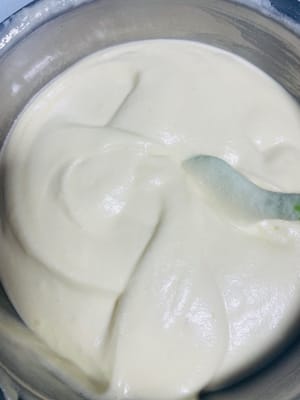
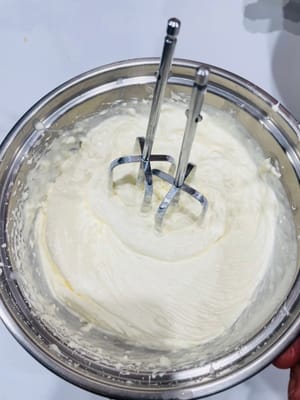
- Use an electric whisk to whip at medium speed until the animal whipped cream has clear lines and the hook of the whisk stands upright without bending, reaching a hard foam state suitable for decorating. Set aside.
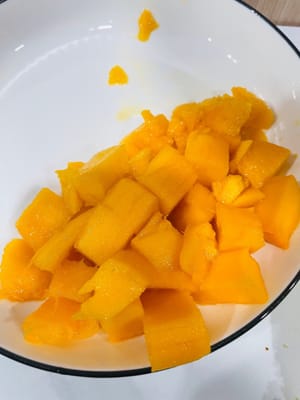
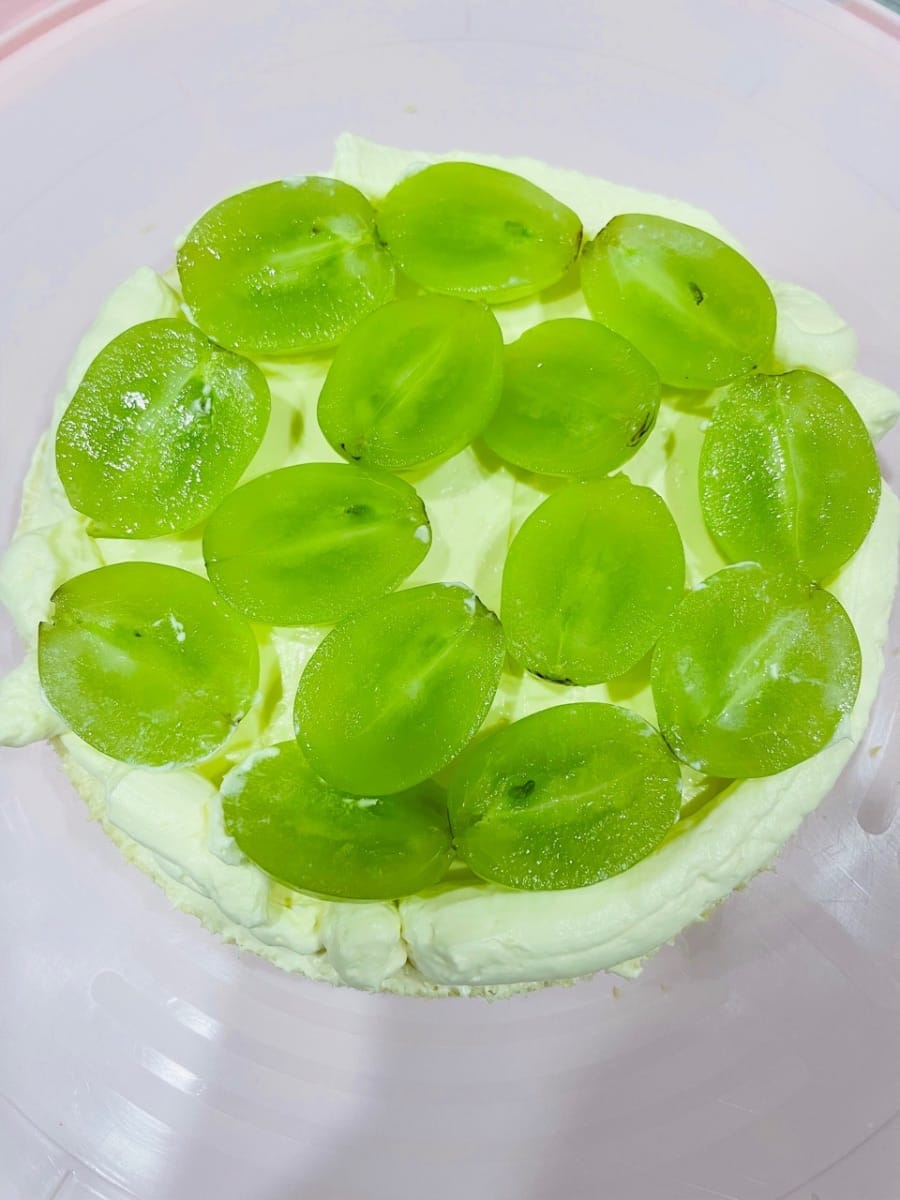
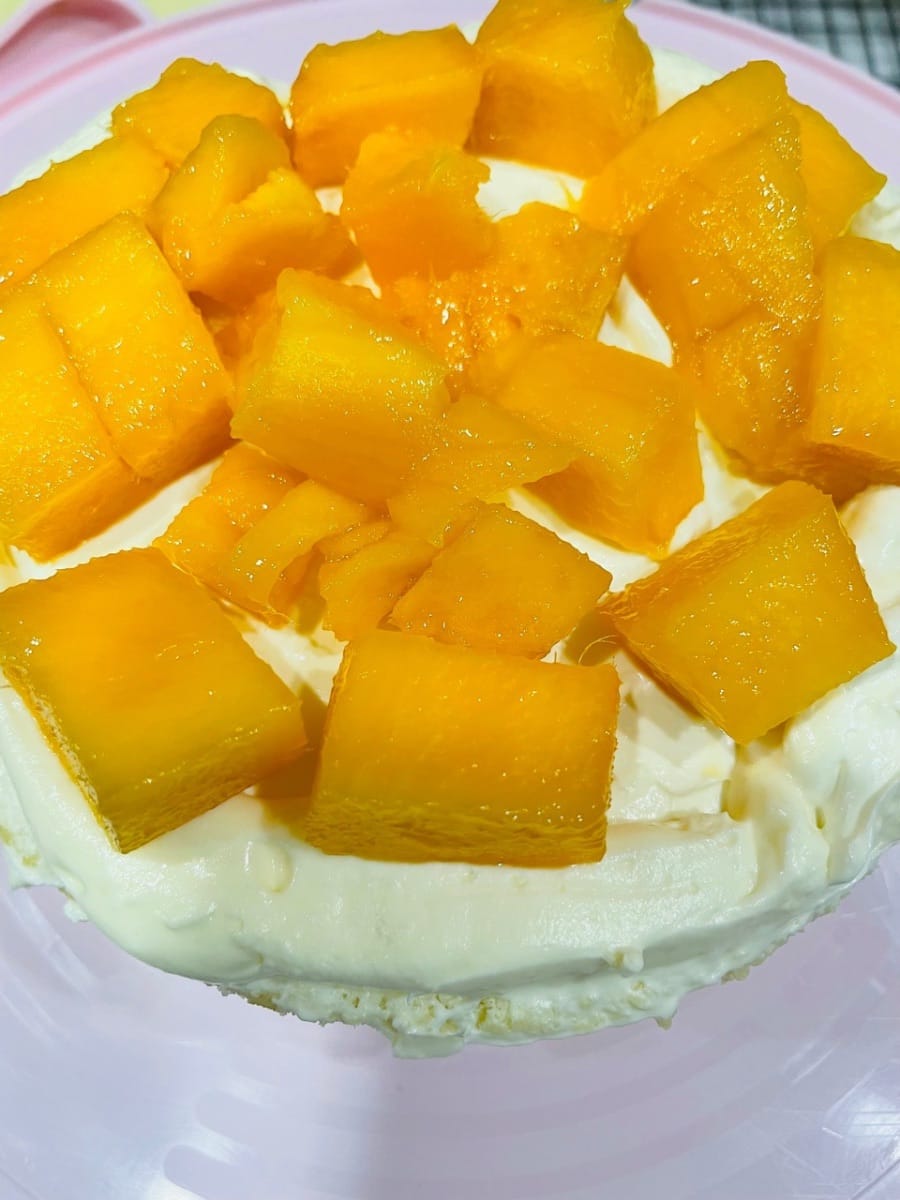
- Fruit processing: Wash and cut the fruits for filling in advance (such as mango, strawberry, etc., choose according to your preference), drain the water to prevent the cream from melting later.

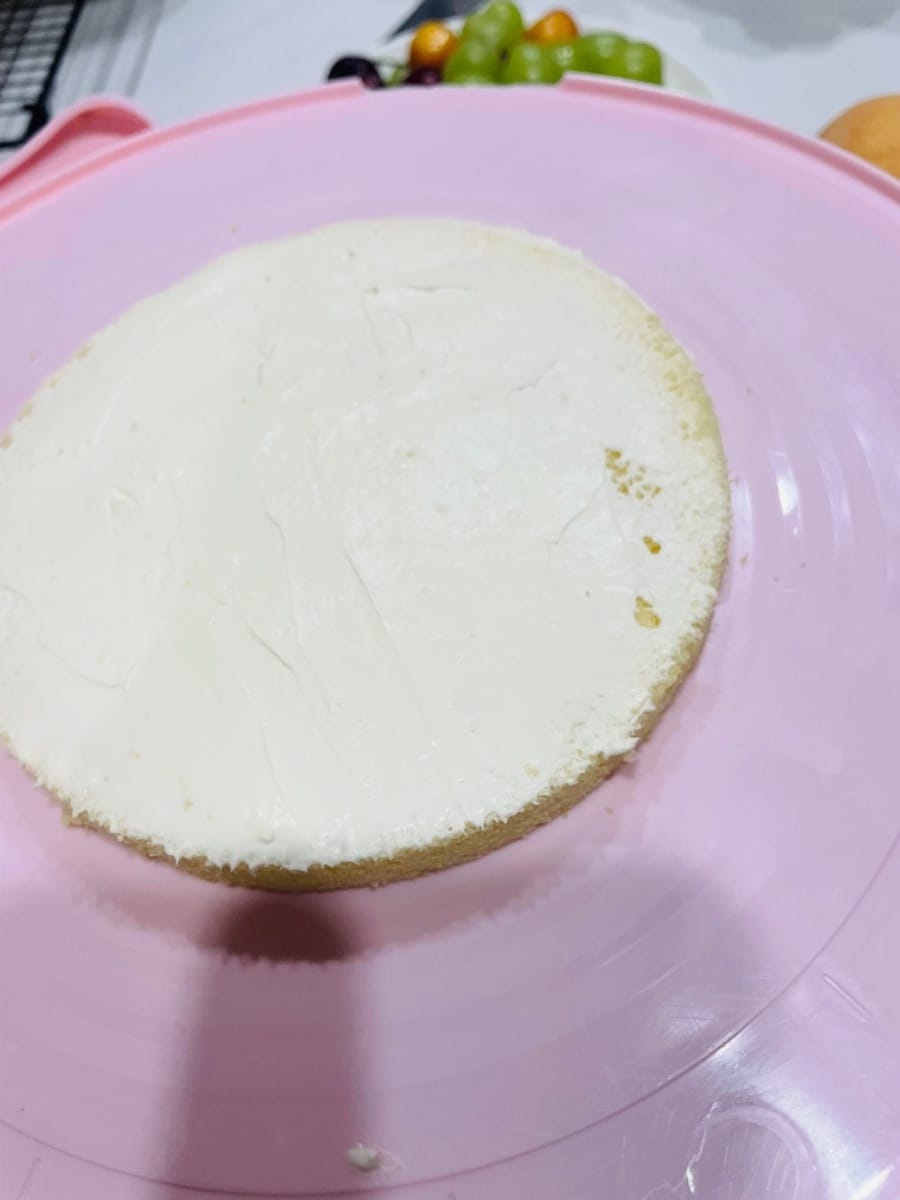
- cake base assembly
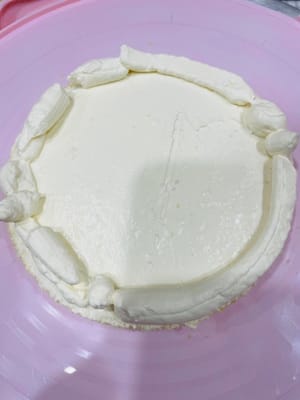
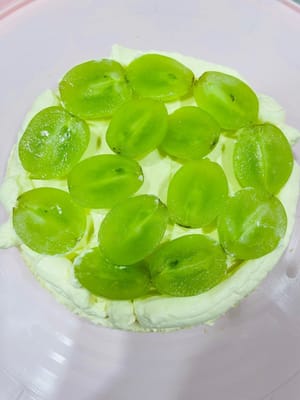
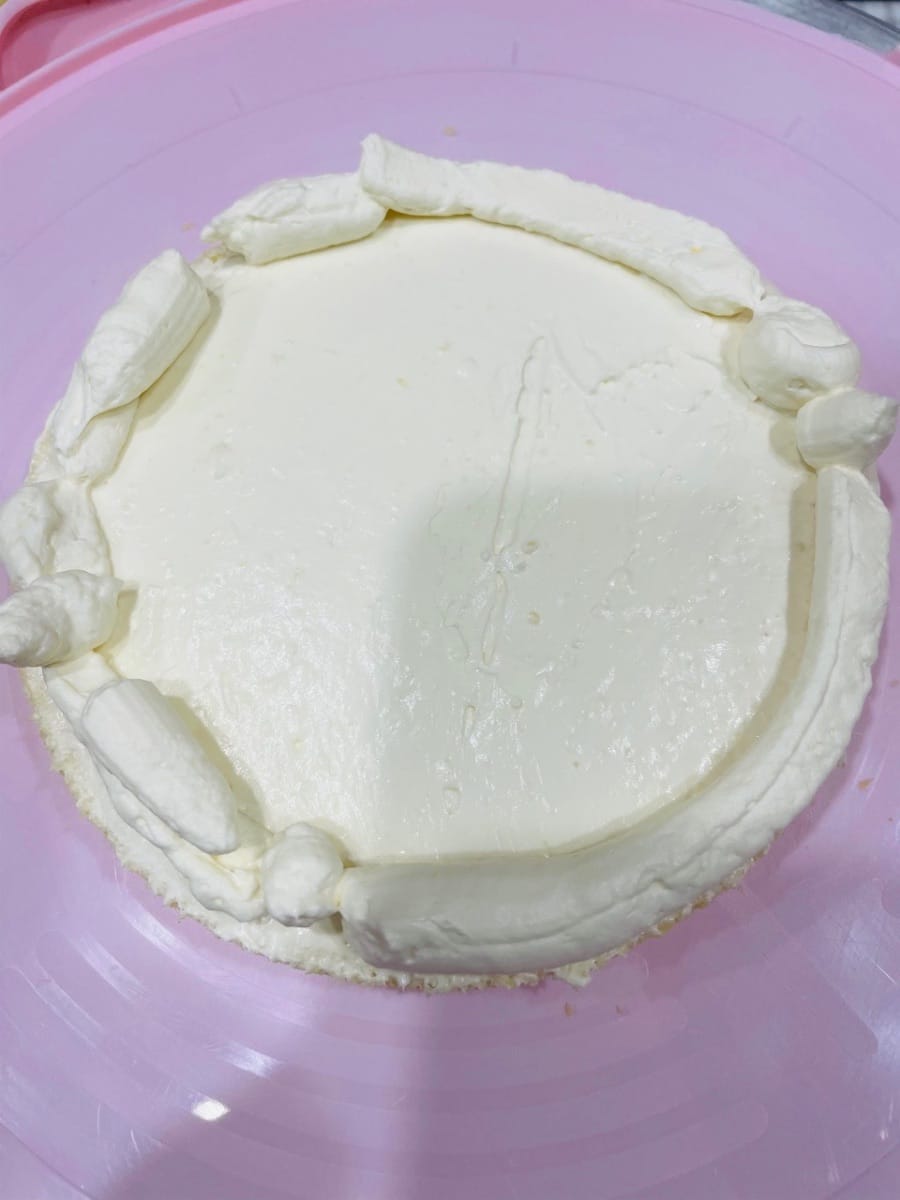
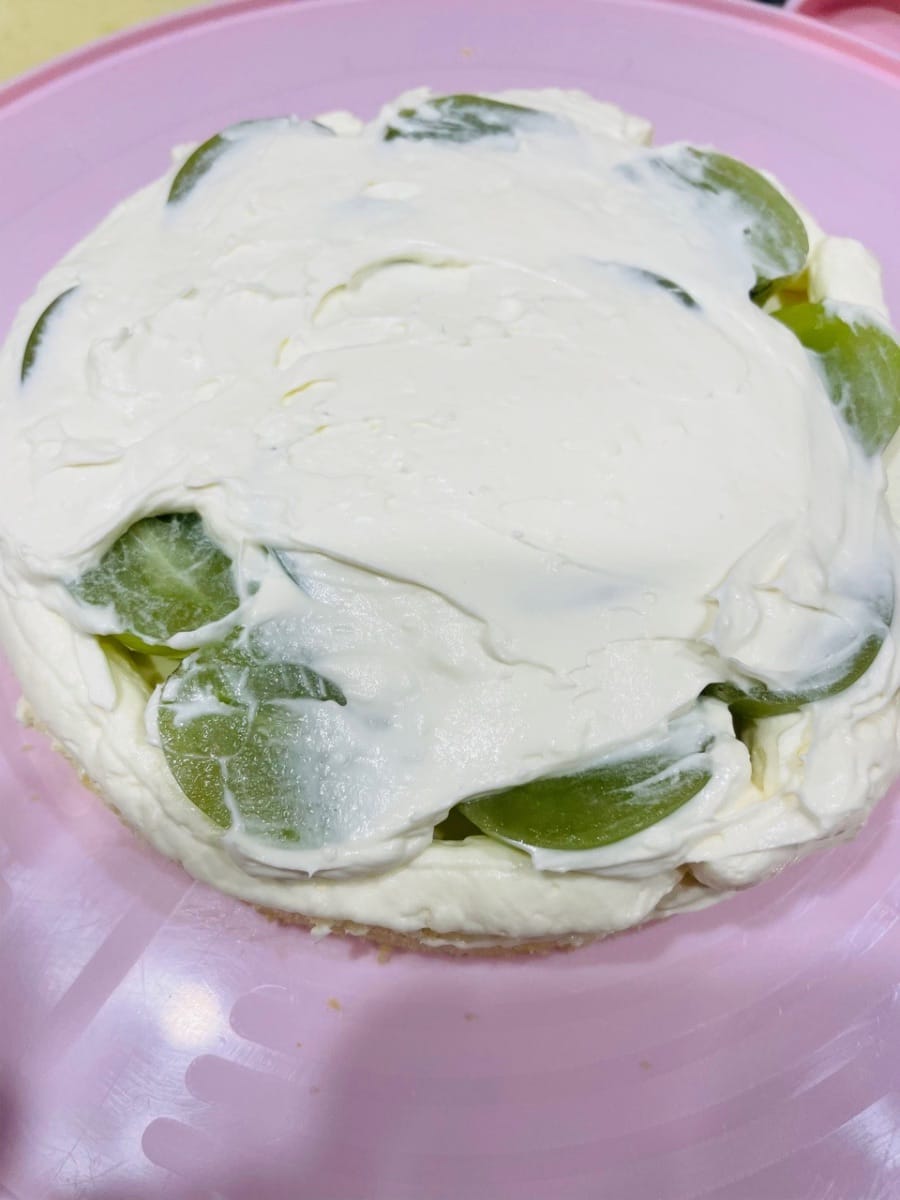
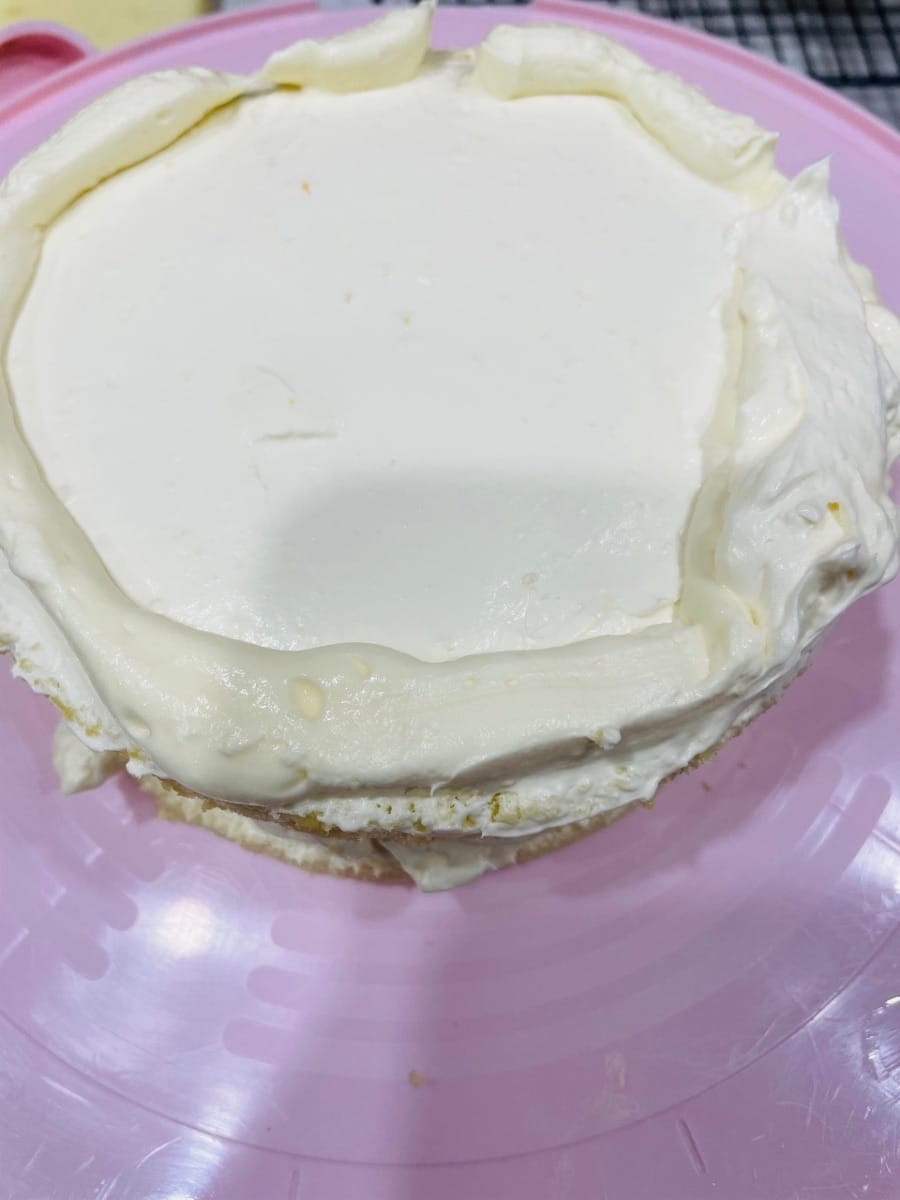
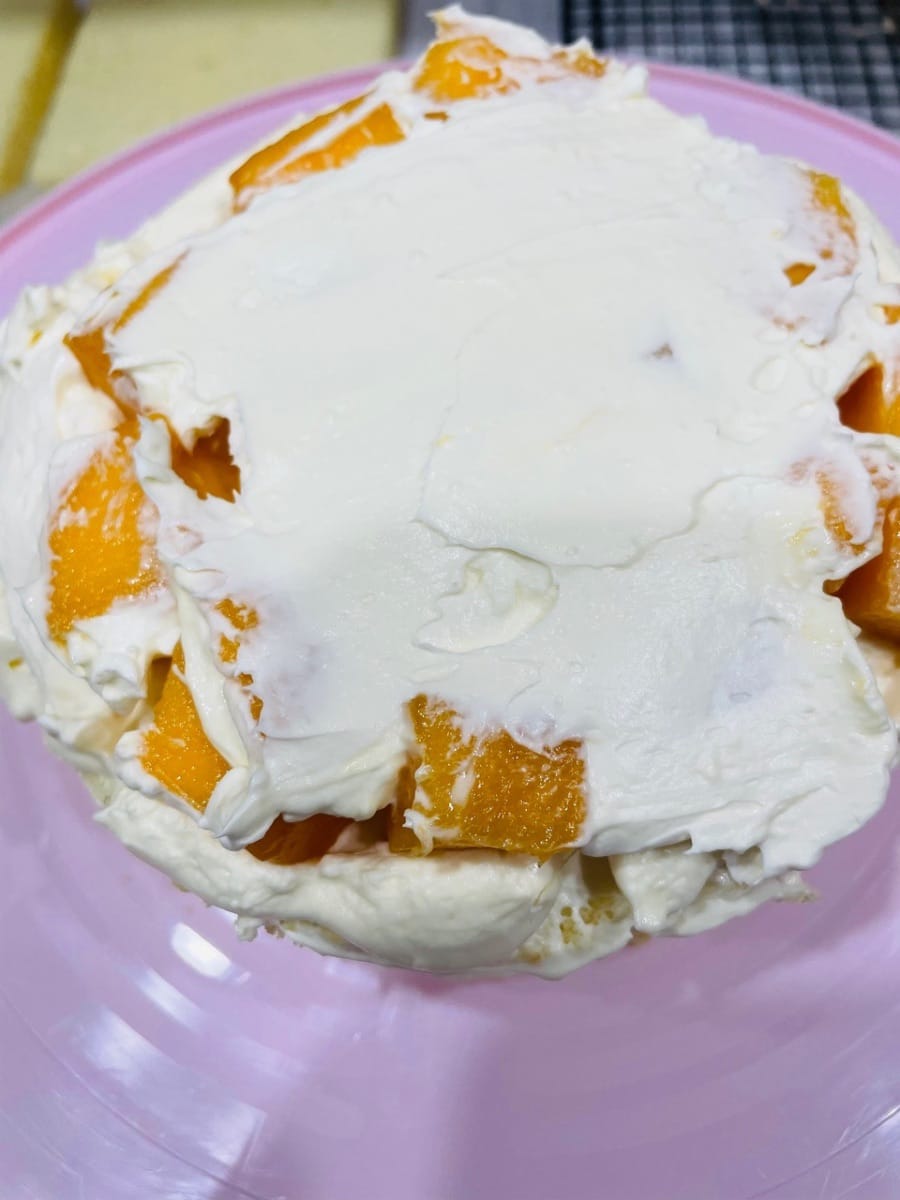
- Preparing the first layer of filling: Take the bottom layer of cake base, spread a layer of whipped filling cream evenly, place the prepared fruits, and then cover with a little cream to initially fix the fruits.
~ Use a spatula to smooth the edges of the first layer of cream and fruits to prepare for covering the next layer of cake slices (if you are skilled in the operation, this step can also be incorporated into the subsequent steps).

- Place the second layer of cake evenly and press lightly to fit it with the lower layer of cream.

- Follow the process of "spreading butter + adding fruit + adding butter" and repeat the steps to complete the assembly of multi-layer cake base (the number of layers depends on personal needs, generally 2-3 layers are common).


- Whipped cream (for coating and decorating, add 10% sugar)
- Whipping status of cake topping cream: it needs to be whipped to medium hardness, with clear cream lines, and a short and straight sharp hook when the egg beater is lifted. It has a fine and shiny texture and does not flow. It is not easy to drip after being scooped up with a spatula. It is usually whipped to 80% to 90% done. Avoid overcooking. Look at the white state.
Whipping status of cake decorating cream: it needs to be whipped to hardness, with clear and firm cream lines, and a short and upright sharp hook when the egg beater is lifted. It has a solid texture, and the edges of the squeezed patterns are clear and not easy to collapse. It is usually whipped to 90% to 100% done, suitable for making various three-dimensional shapes. Look at the pink state.

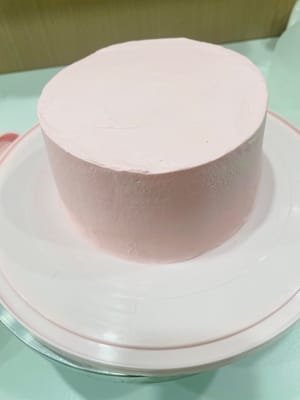
- Cake brushing tips
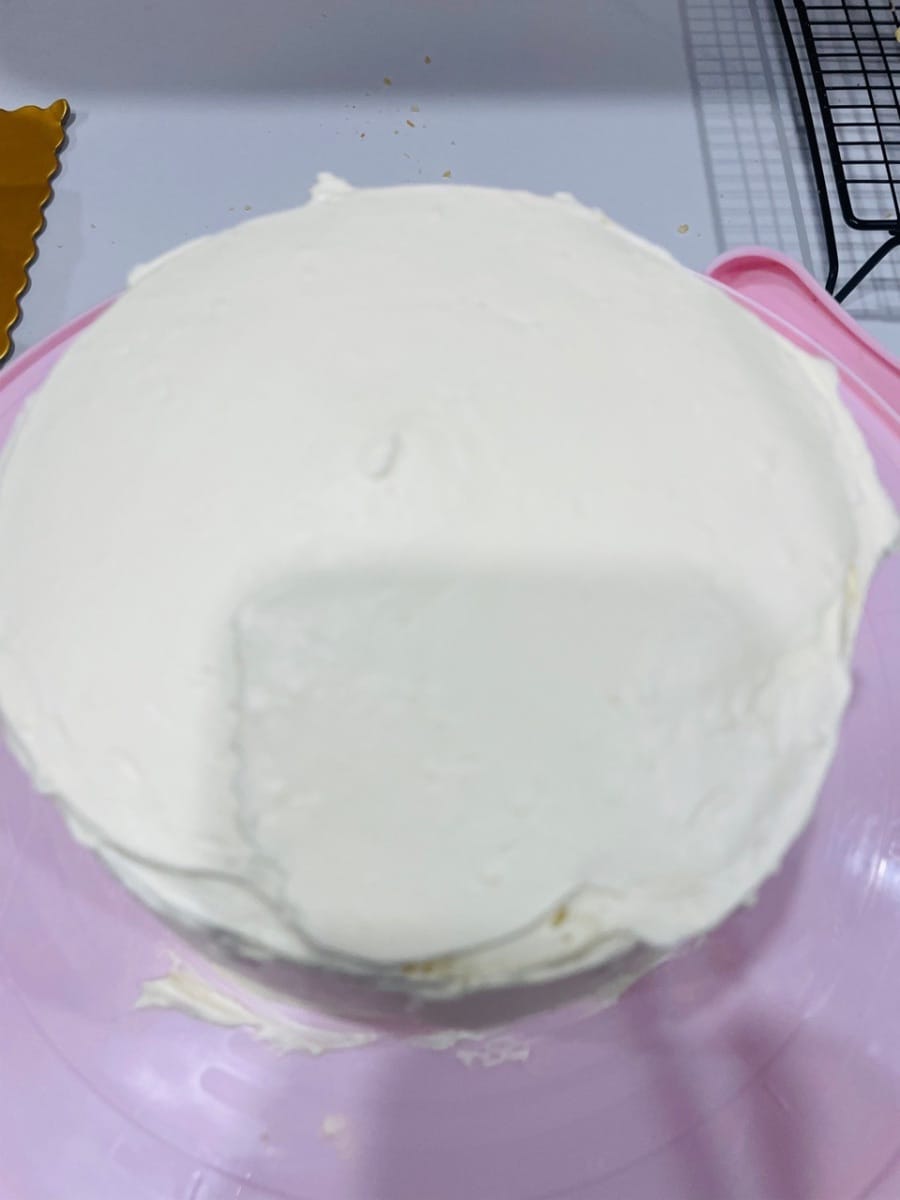
- Flat surface (top)
1. Pile enough ingredients: first put a dollop of butter in the center of the top of the cake base, and gently push it towards the edge with a spatula to cover the entire surface.
2. Spatula angle: The spatula is 45 degrees to the surface of the cake, and the wrist is used to push the butter flat, and the excess butter will be squeezed to the side.
3. Finishing skills: The spatula is close to the edge and quickly retracts a circle to remove the excess butter and make the top edge smoother.

- Spread the side
1. Spread the cream evenly: Use a spatula to spread the cream on the side of the cake, first pile up the material and then spread it evenly to avoid uneven thickness.
2. Turntable coordination: Hold the spatula vertically against the side with your right hand, and turn the turntable at a constant speed with your left hand to make the cream surface smooth.
3. Trimming: After spreading the side, use a spatula to clean the cream at the junction of the top and the side to avoid corners.
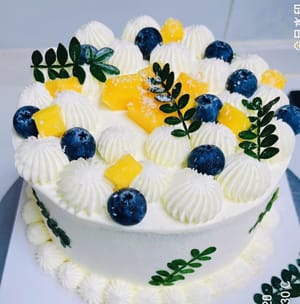
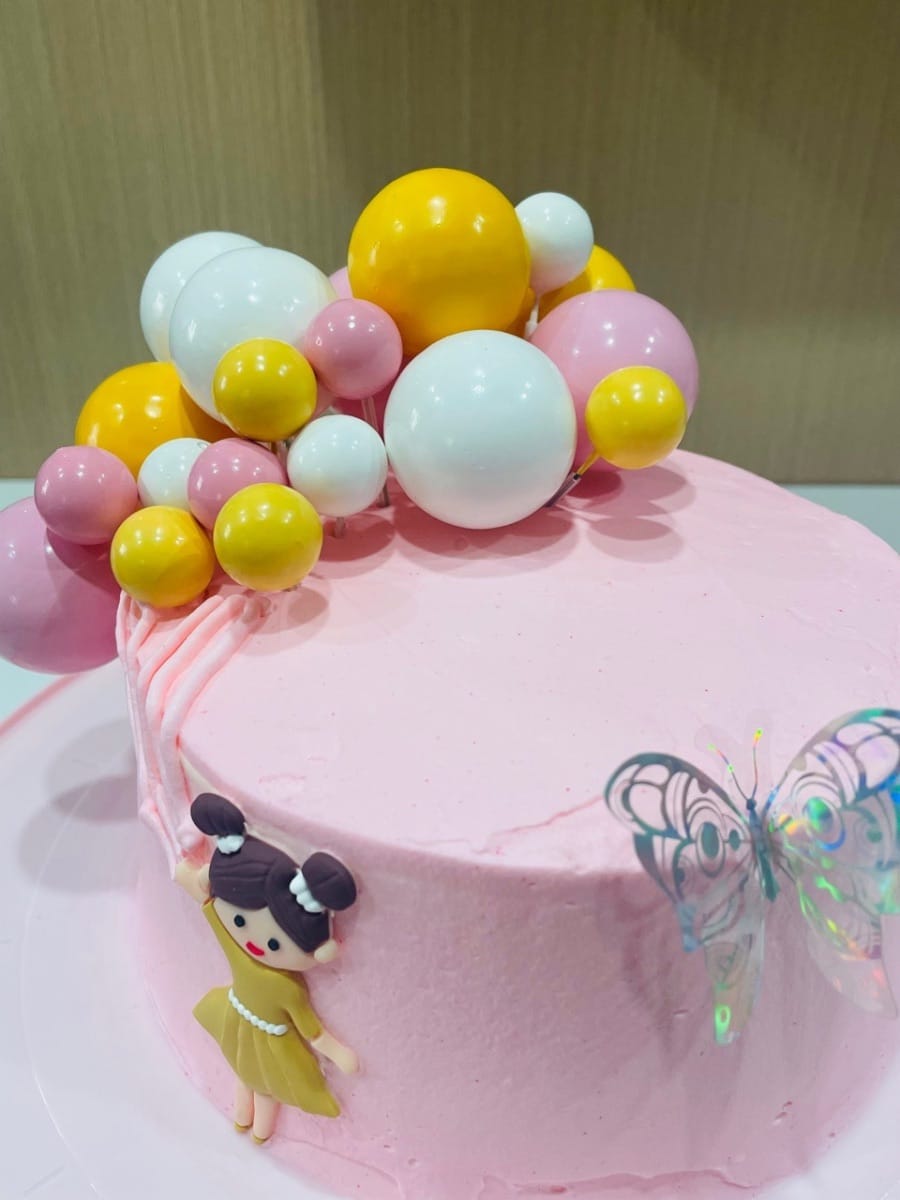
- Add favorite garnishes, such as chocolate inserts.
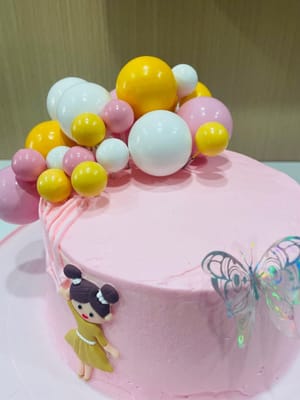

- Advanced Decorating
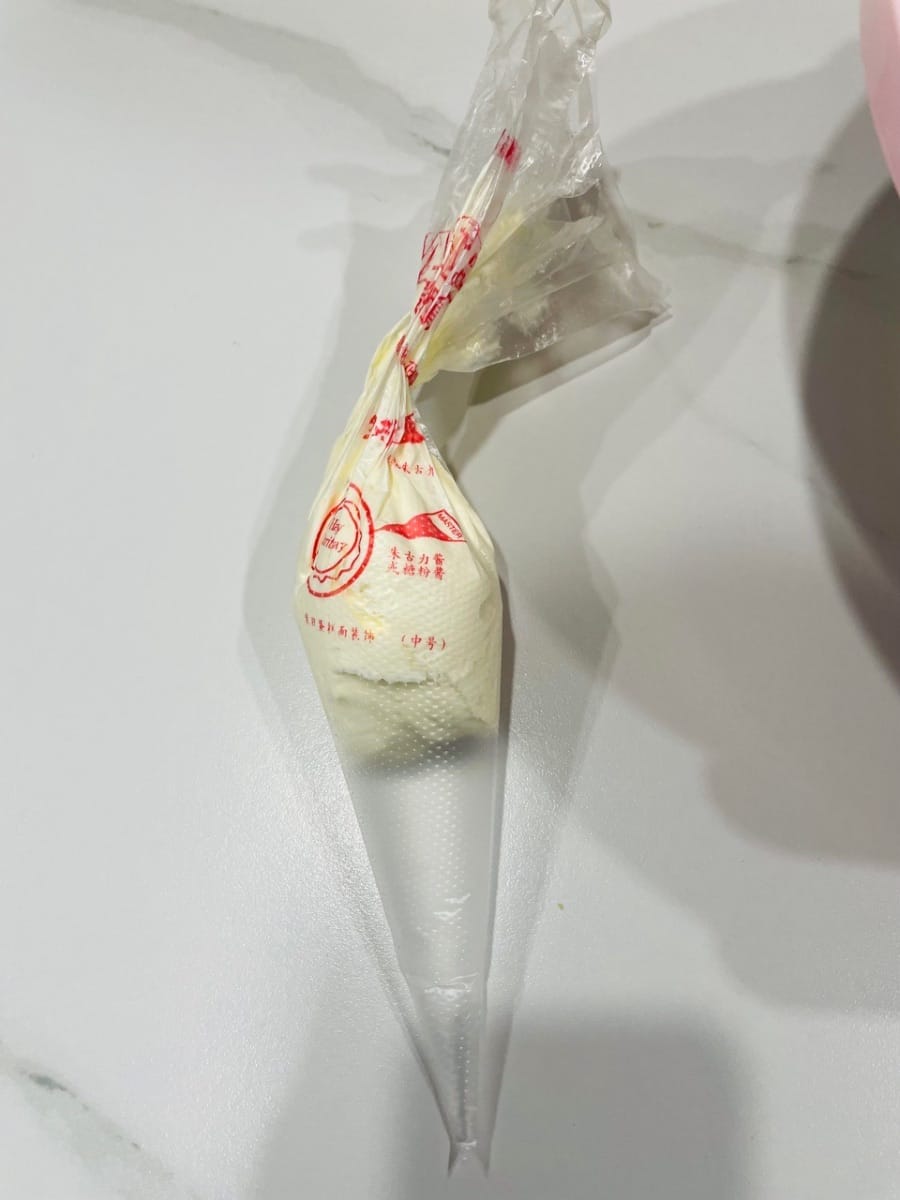
~Put the Decorating Bag in Place: Put the decorating nozzle into the decorating bag in advance (I forgot to take a photo of this step), and cut the mouth to fit the flower shape (e.g. a small mouth for a round mouth, a slightly larger and suitable mouth for a star-shaped mouth).
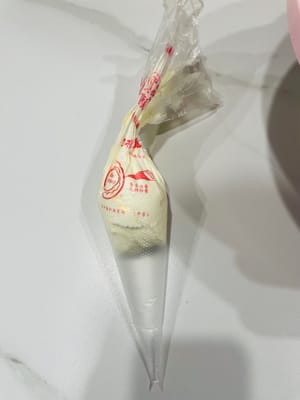
- ~Flower piping operation: Keep your wrist stable when piping flowers, and operate according to the characteristics of the flower nozzle - use a round nozzle to squeeze dots, and a star-shaped nozzle to squeeze flowers, and decorate the surface of the cake as you like.
^_^ Start a parent-child baking copy with the little beast at home! I made ornaments, and my little beast was decorating flowers. I used her video to perform a "negative teaching material + positive demonstration" magic show in the flower decorating industry! Look at the way she holds the flower piping bag, her posture is so standard that she looks like a graduate of the flower decorating master class, but when the cream comes out - wow! Crooked, ups and downs, a proper "abstract art".
Here is a key point for everyone: students with high hand temperature must not go into battle with bare hands, otherwise your cream will "melt" faster than the little beast's work, and it will collapse into a pool as soon as the flower shape is squeezed out! Remember, wear gloves to decorate flowers, correct posture + temperature control, so that your cake will not "turn over", and say goodbye to the same "abstract art" as the little beast!
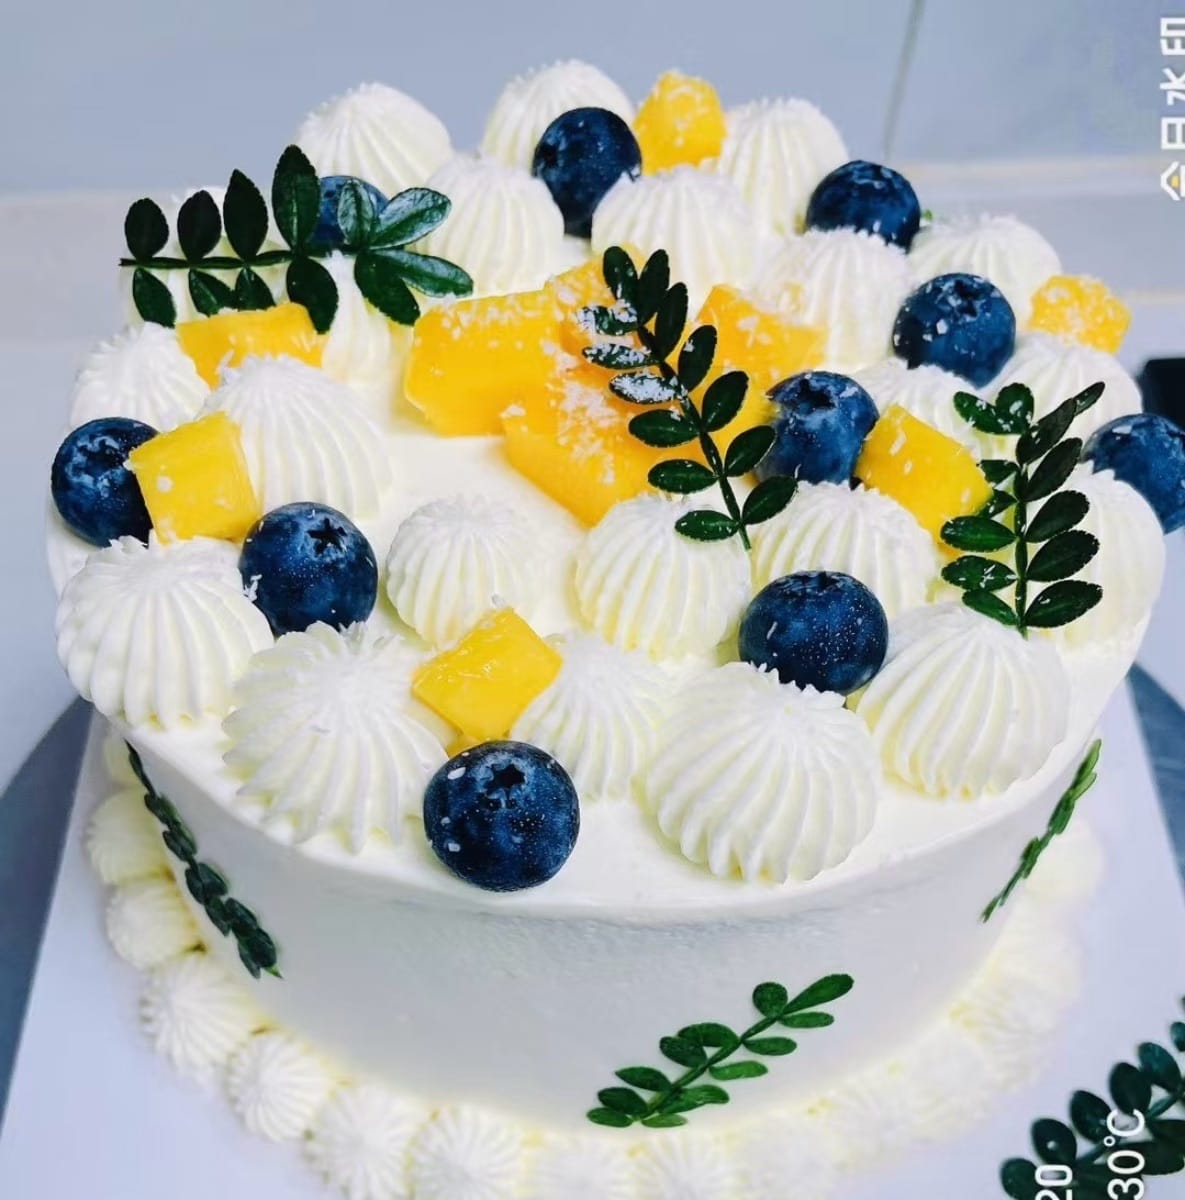
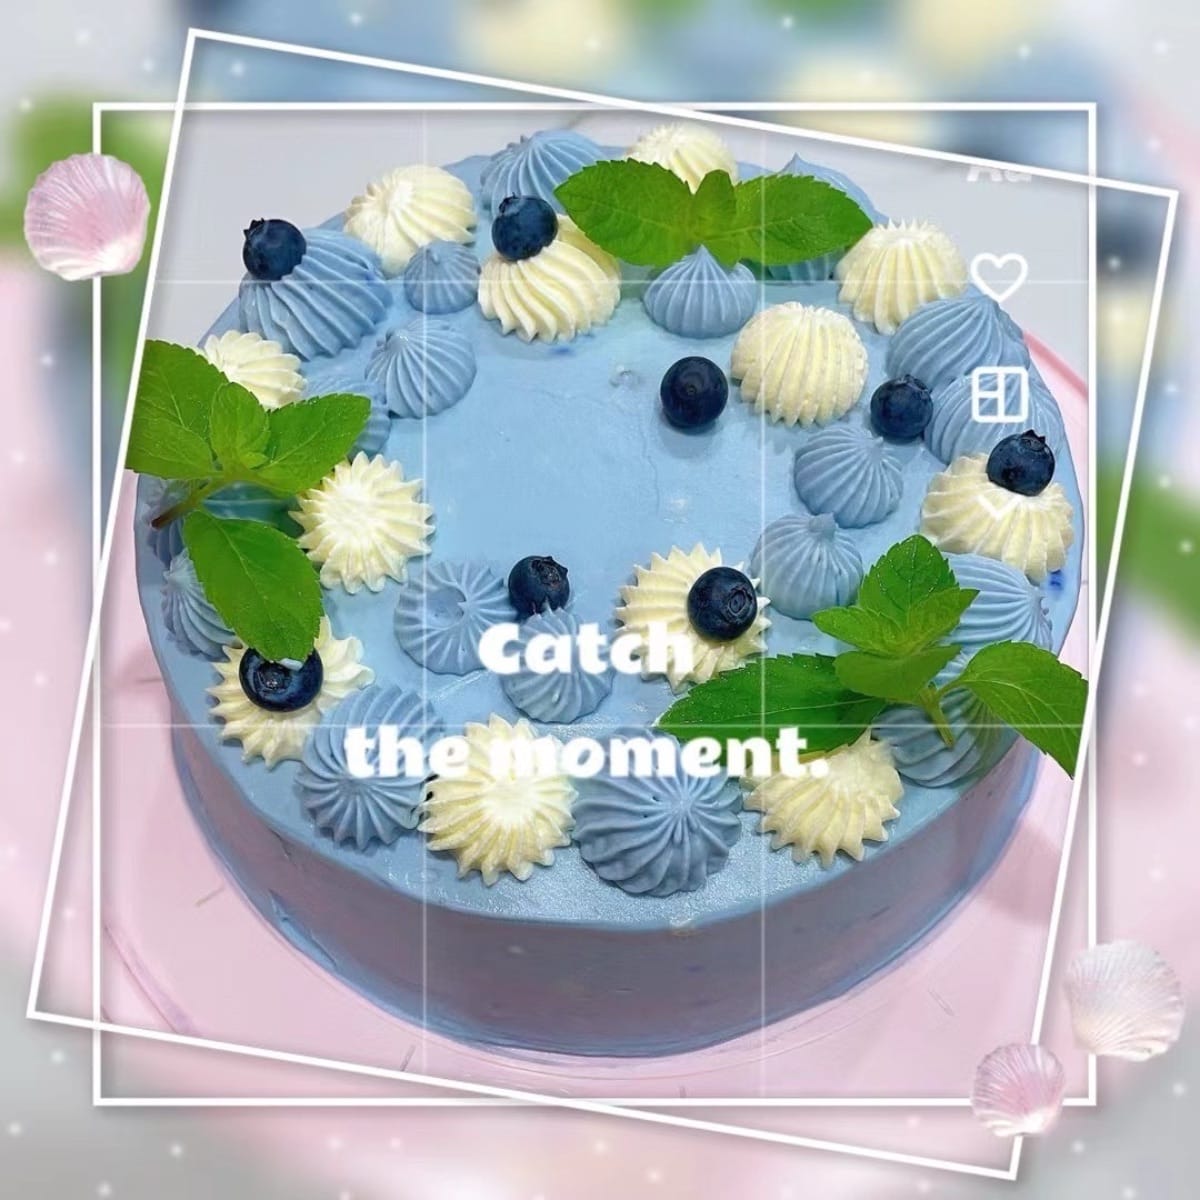
- Final inspection: Check the cake as a whole, adjust the decoration position, and fill in the small flaws in the surface, so that the DIY birthday cake is perfectly presented, and you can enjoy it or share it happily!
Cakes I have made before~~


Languages
DIY Geburtstagstorte - Deutsch (German) versionDIY birthday cake - English version
pastel de cumpleaños DIY - Español (Spanish) version
gâteau d'anniversaire DIY - Français (French) version
kue ulang tahun DIY - Bahasa Indonesia (Indonesian) version
torta di compleanno fai da te - Italiana (Italian) version
DIYバースデーケーキ - 日本語 (Japanese) version
DIY 생일 케이크 - 한국인 (Korean) version
เค้กวันเกิด DIY - แบบไทย (Thai) version
DIY生日蛋糕 - 香港繁體中文 (Traditional Chinese - Hong Kong) version