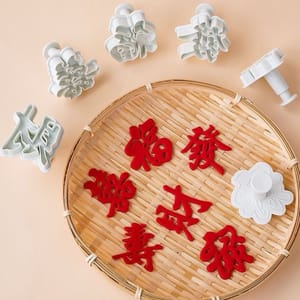
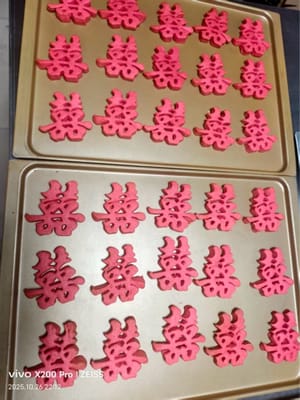
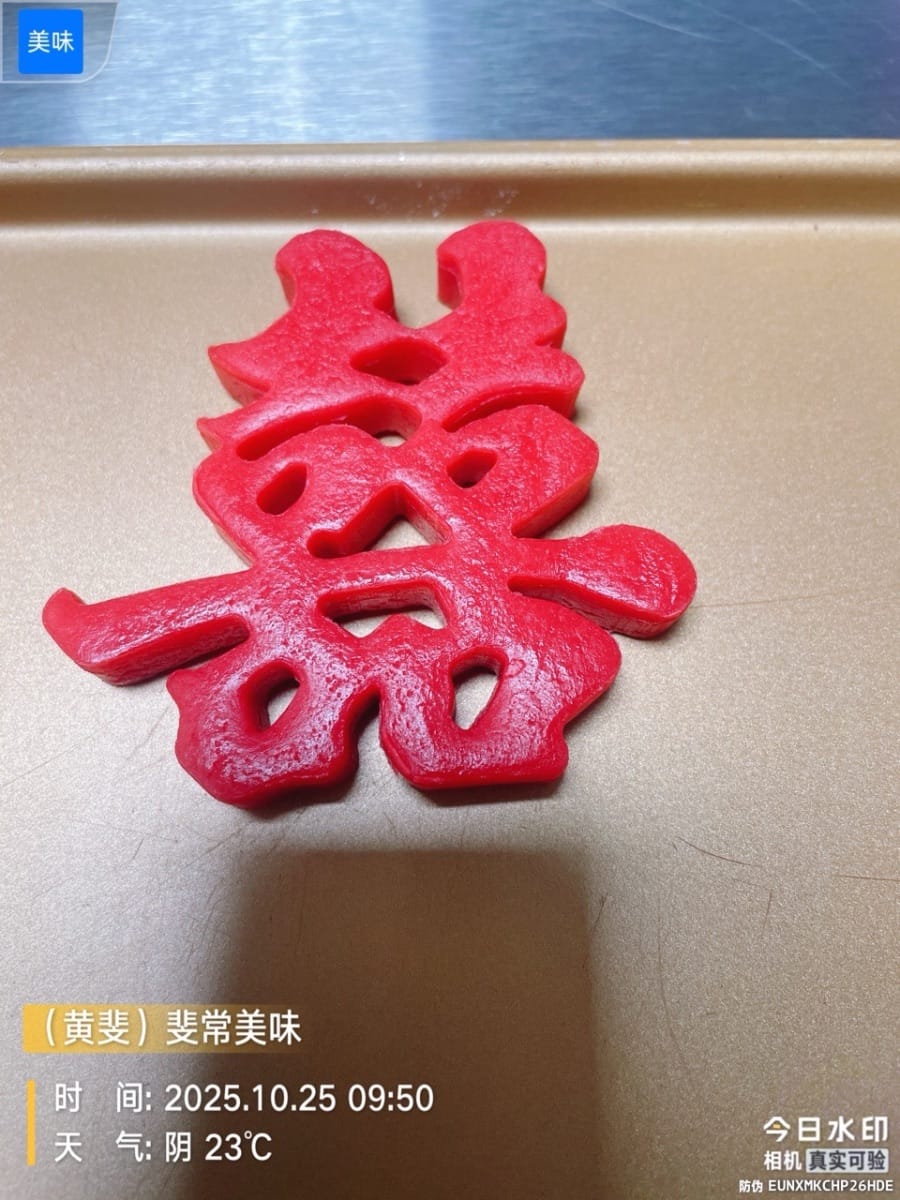
Festival Flavor Cookies

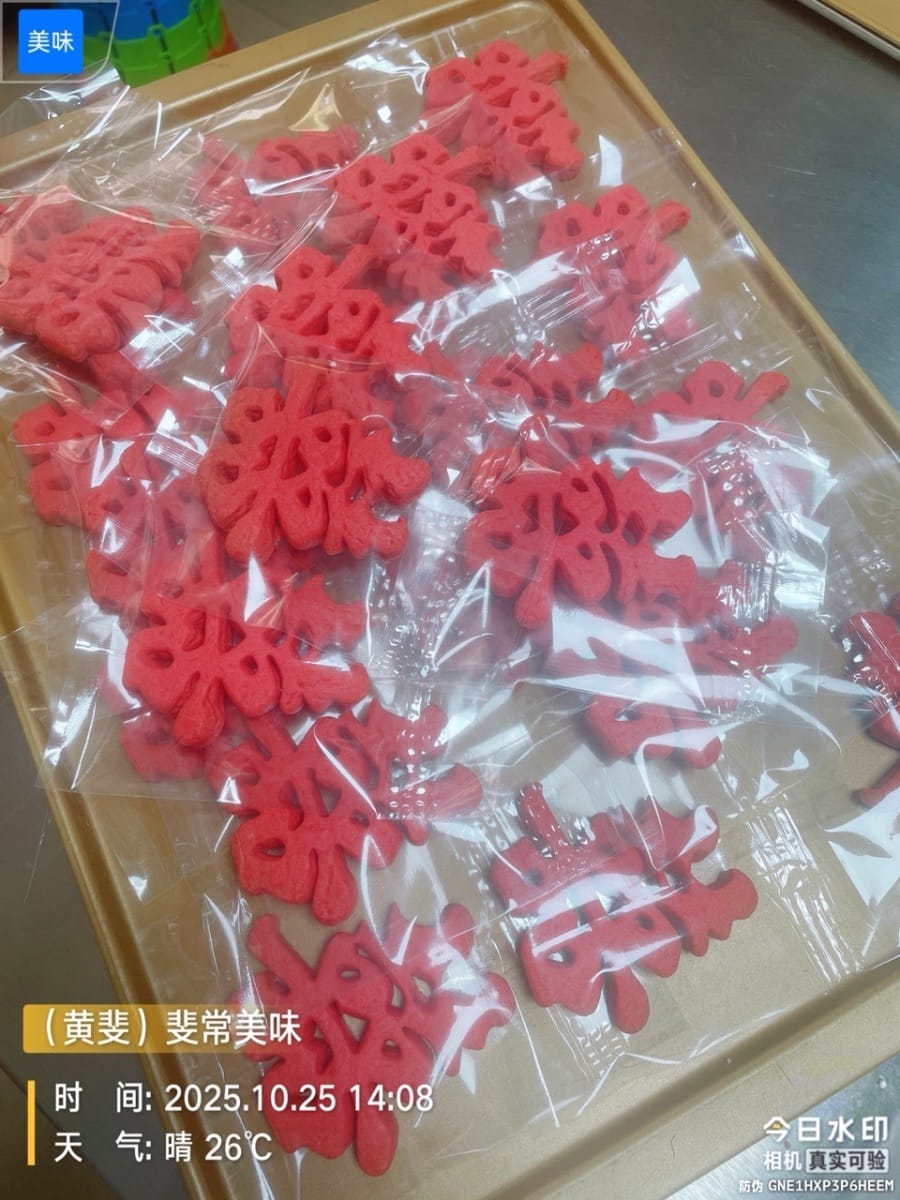
During Chinese New Year, print it with the character "福." The crisp "福" character, upon biting into it, brings the festive flavors of the New Year mixed with sweetness, creating an unforgettable, warm memory. Inscribe "Merry Christmas" on Christmas season, and hide the rosy red cookie among the gifts. The crisp sound and sweetness of unwrapping it instantly bring the fullness of surprise. For birthdays, print "Happy Birthday" on birthdays, and it rests quietly beside the cake. The crispness of each bite transforms the blessing into a vivid memory... With each mold change and each crisp bite, the sense of holiday ritual takes root, transforming ordinary days into unforgettable sweetness, letting the surprise ferment repeatedly on the tongue and in the heart, making every moment so delicious that it becomes extra precious.
Ingredients
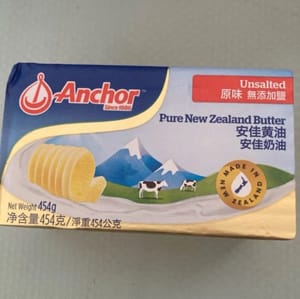
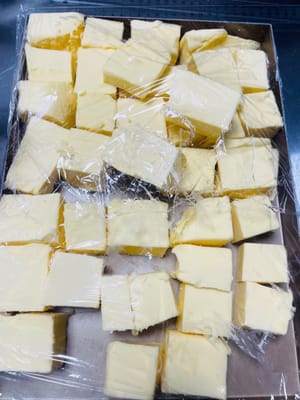
- 190g unsalted butter
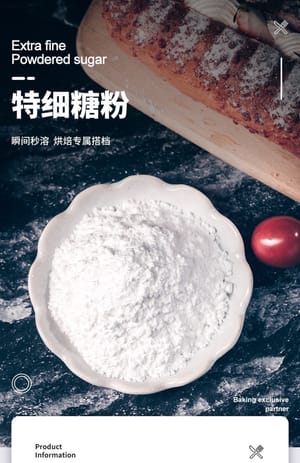
- 140g powdered sugar
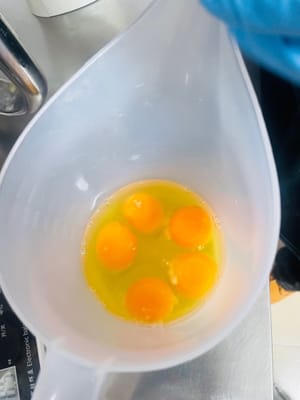
- 70g egg liquid
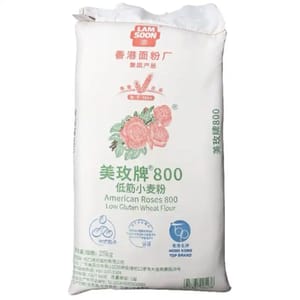
- 400 grams of low-gluten flour
- 2 grams of salt

- mold (select the style according to your needs) (The recipe makes about 25-30 slices. I made 1,000 slices as a customer order.)
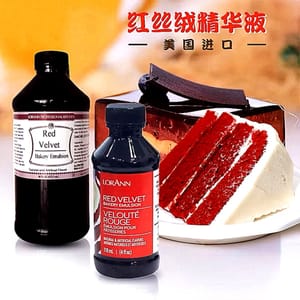
- Pigment or velvet liquid as needed (1 bottle cap)
Steps
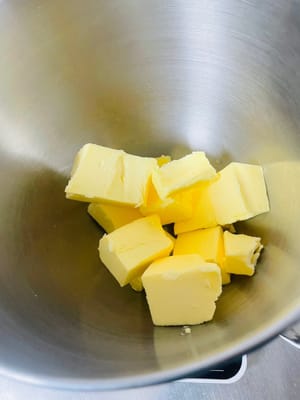
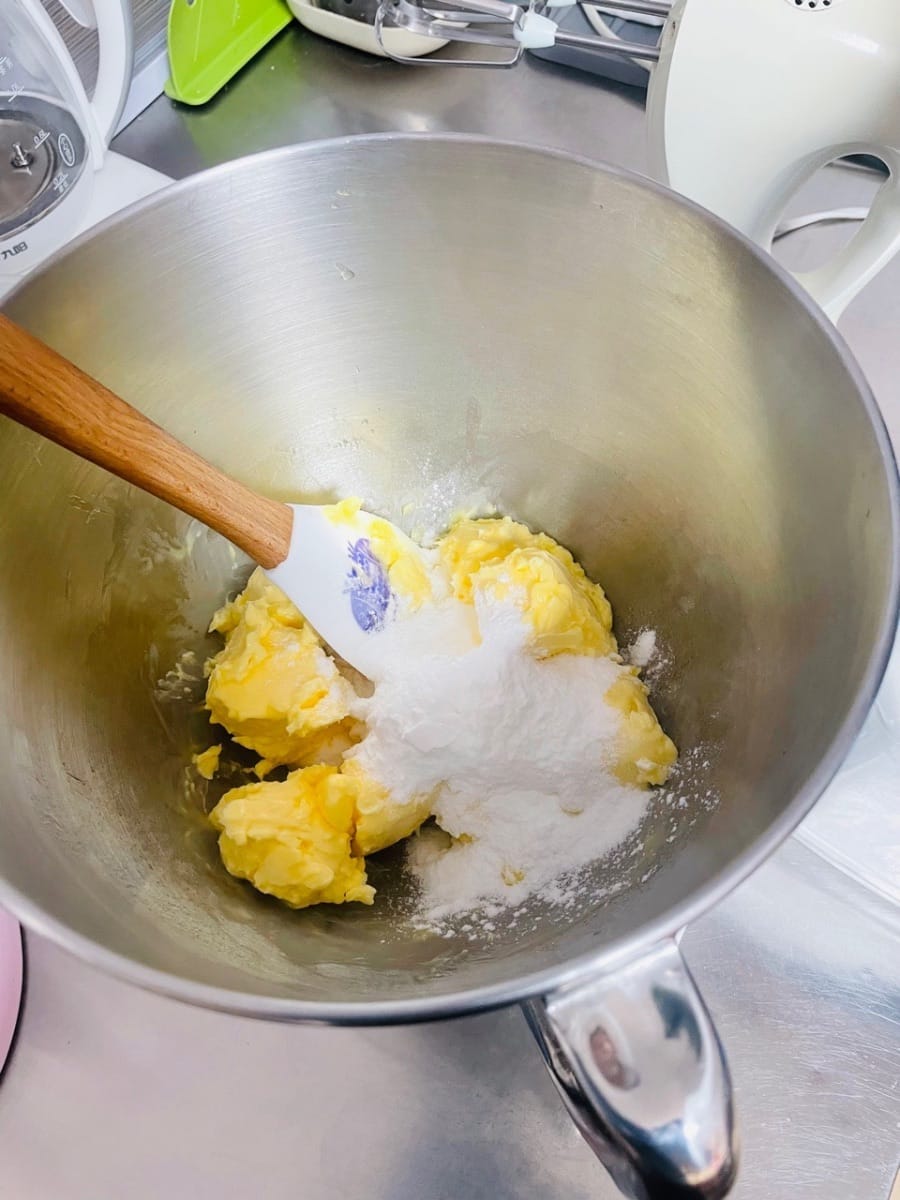
- Softening Butter:
Soften the butter at room temperature, around 25°C. Once a small indentation forms when you gently press it, it's softened enough.
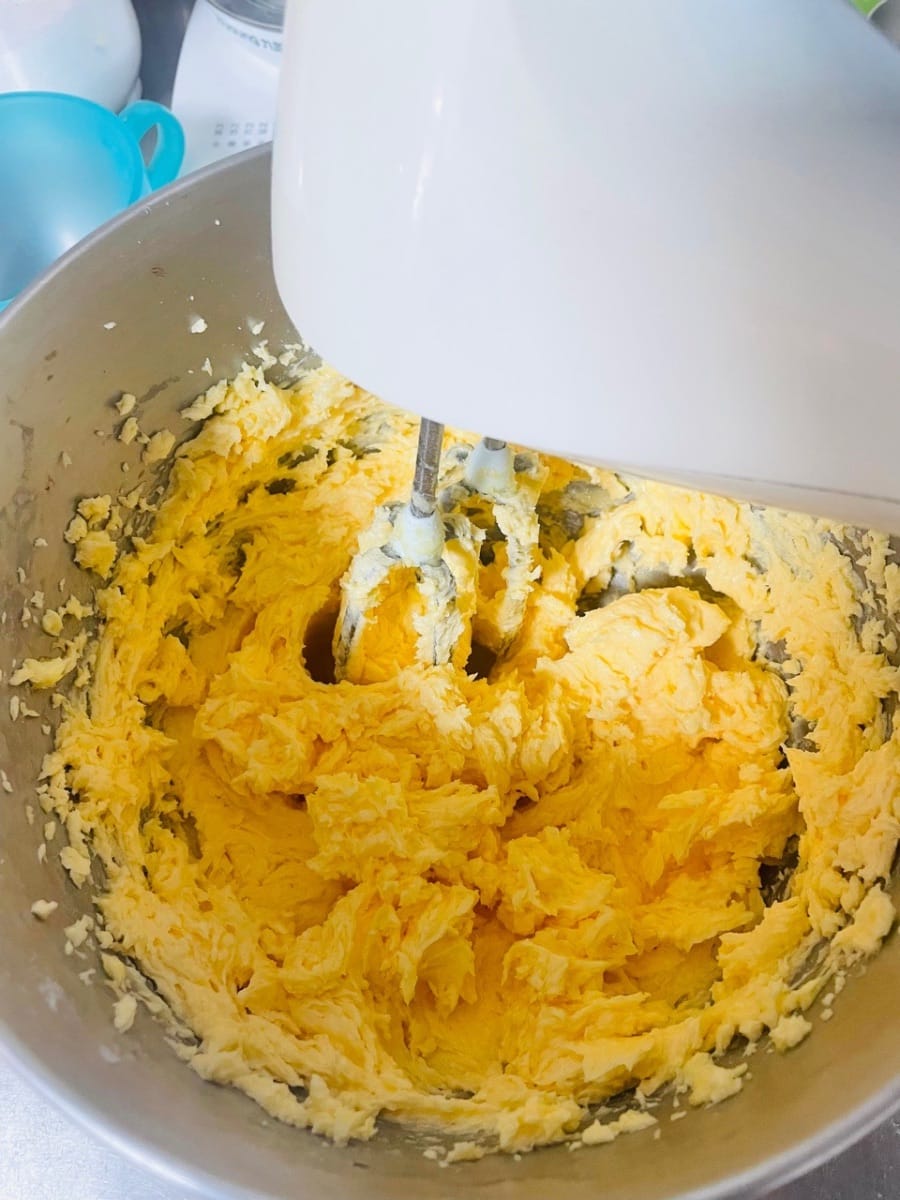
- Place the softened butter in a bowl, add the powdered sugar and salt, and beat with a whisk on medium speed until the butter becomes fluffy and pale.


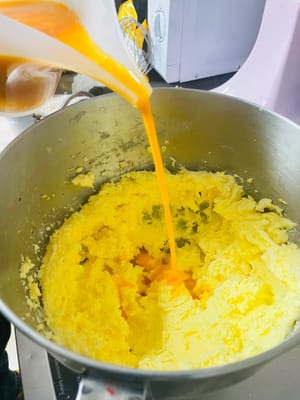
- Add the egg mixture:
Prepare the egg mixture and add it to the butter in two batches, beating at high speed with a whisk after each addition until the egg mixture is completely absorbed into the butter.
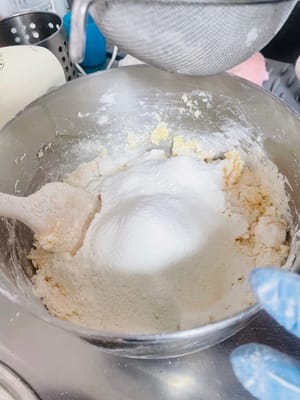
- Sieve the cake flour into the whipped butter and stir with a spatula until there are no lumps. Do not knead too hard, as this will cause the flour to form gluten and affect the texture.

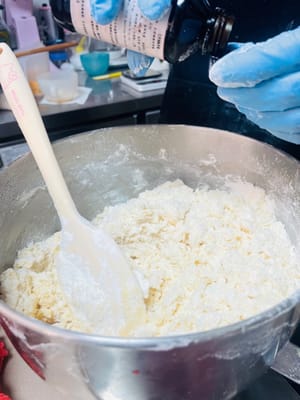
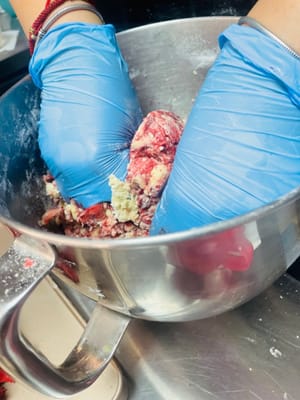
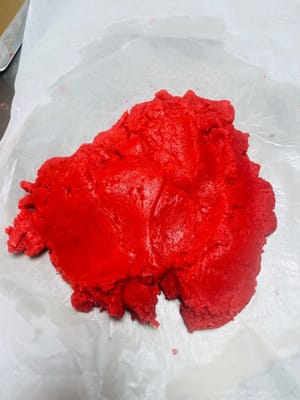
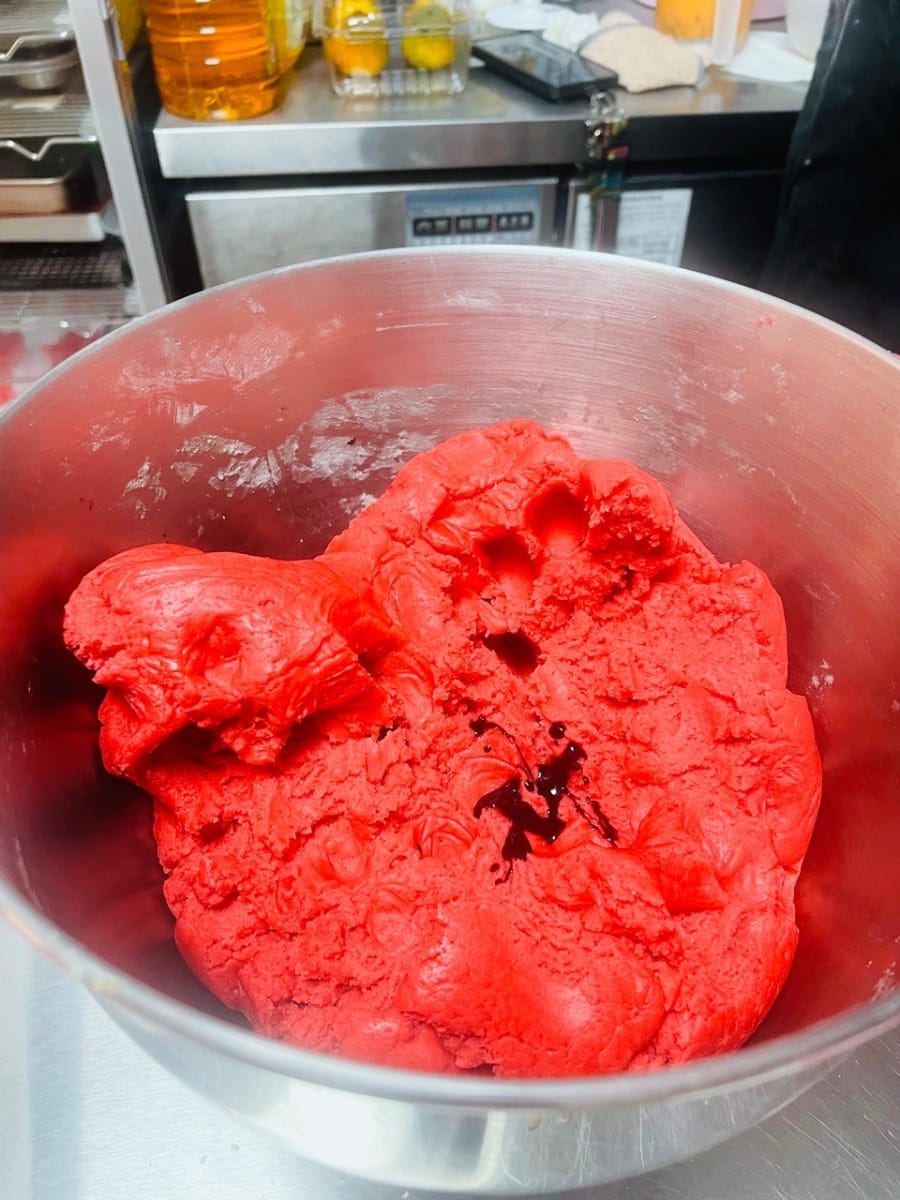
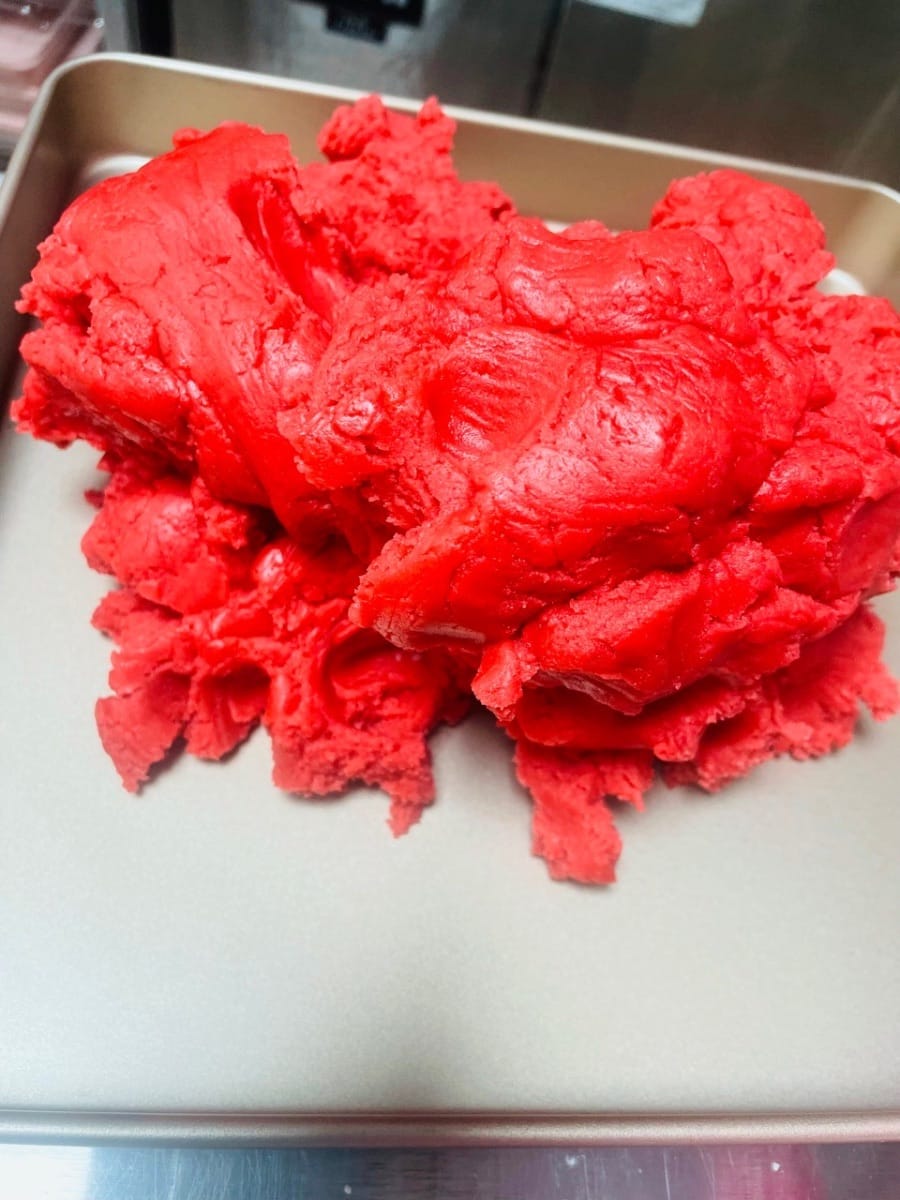
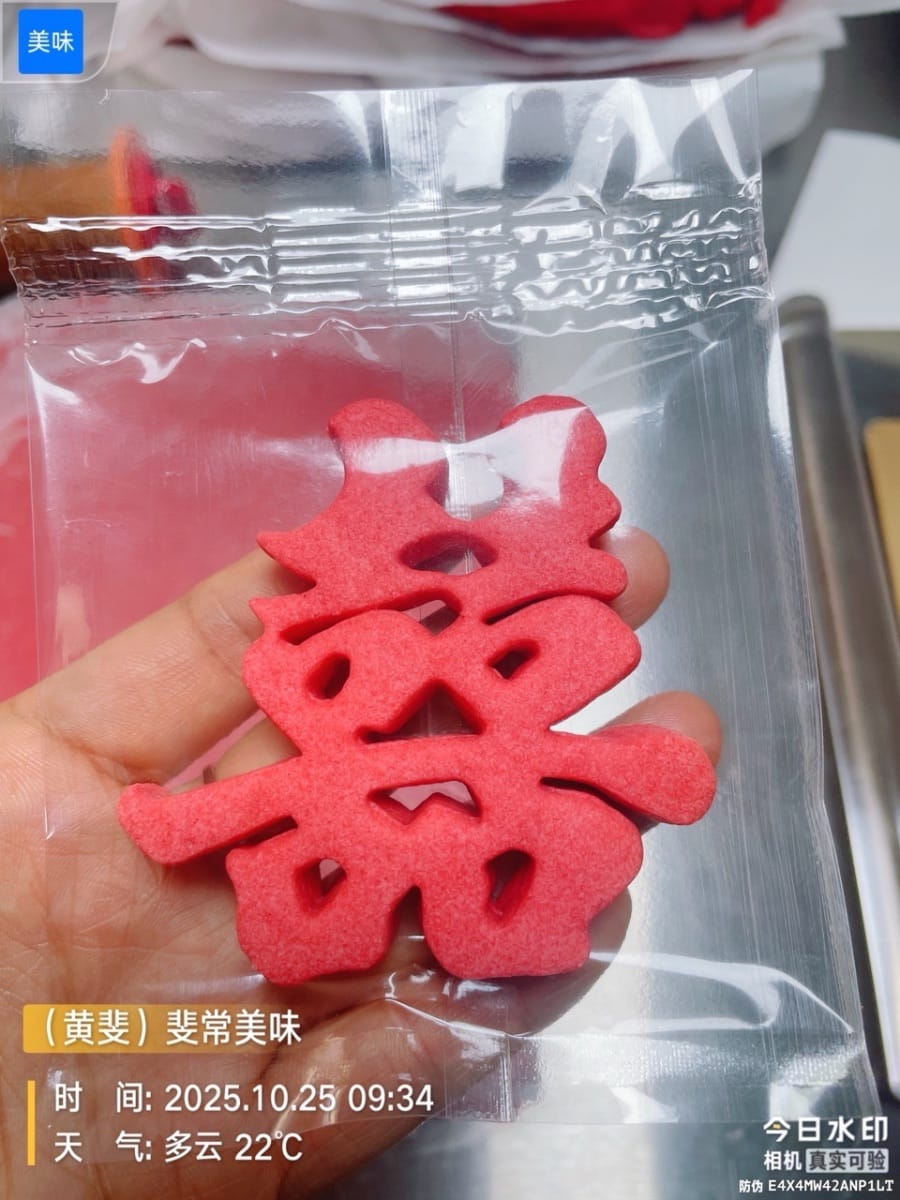
- Adding Color:
If you want to color the cookies, add coloring (e.g., green, red) to your liking. There's no set amount; add coloring gradually, stirring as you go, until you reach a color you like (this recipe uses about 1 capful). After adding coloring, mix the dough thoroughly with your hands.

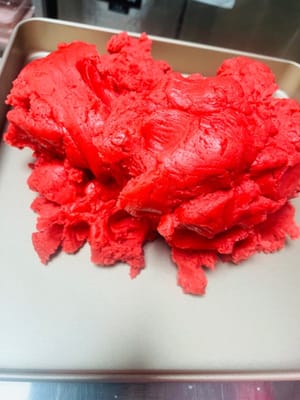
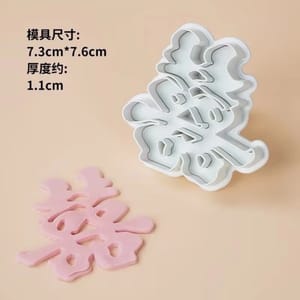
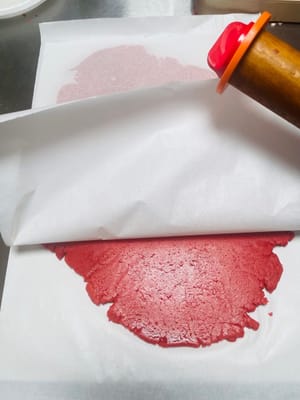
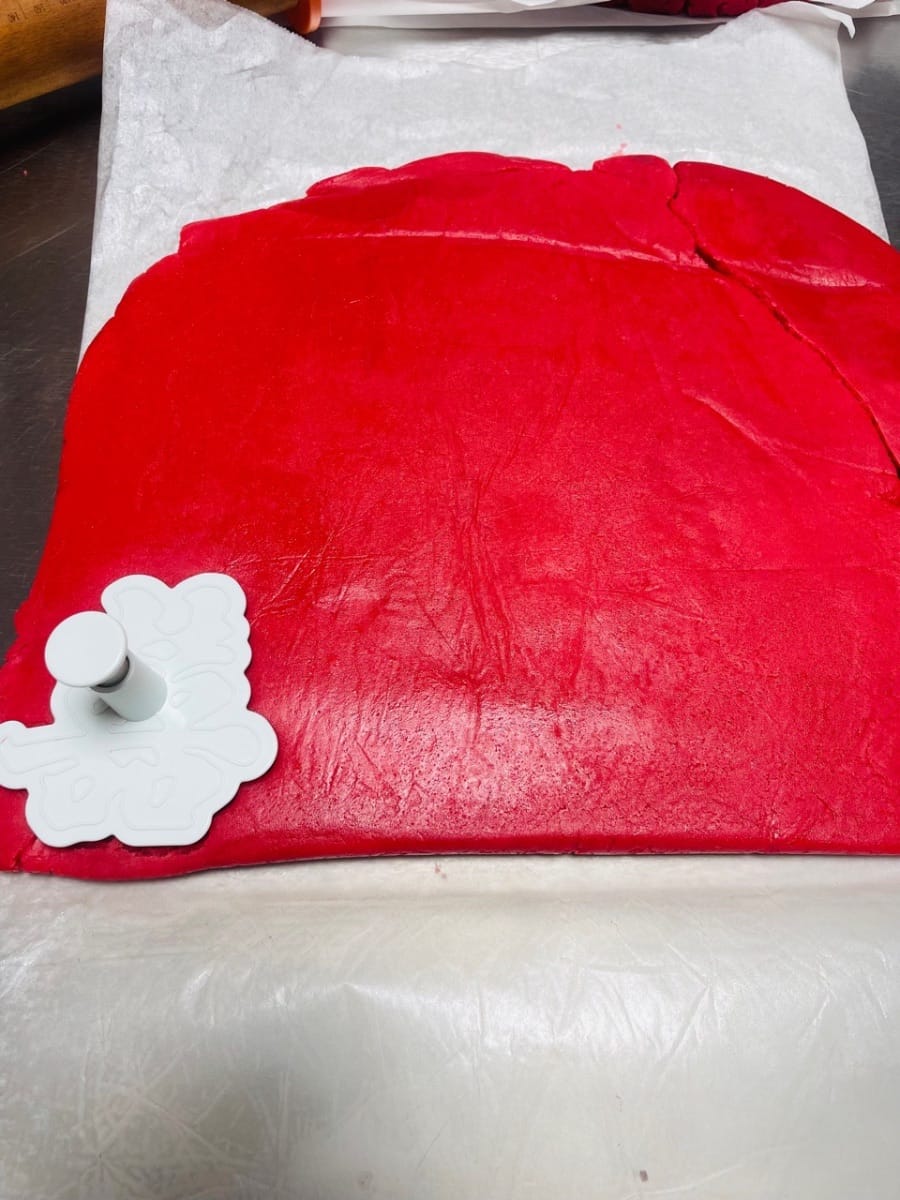
- Shaping and Freezing:
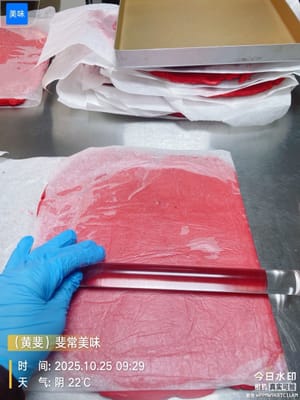
Line a work surface with baking paper. Place the mixed dough on the paper and cover with baking paper. Flatten the dough with your palms, then use a rolling pin to roll it out to a thickness of approximately 1 cm. If using a mold, the dough should be about 0.1 cm higher than the depth of the mold to achieve a fuller shape.
Freeze the rolled dough in the freezer's freezer compartment until it's slightly firm but still firm enough to press. This will prevent the cookies from sticking to the mold when you unmold them, and they will stay in shape when baked.
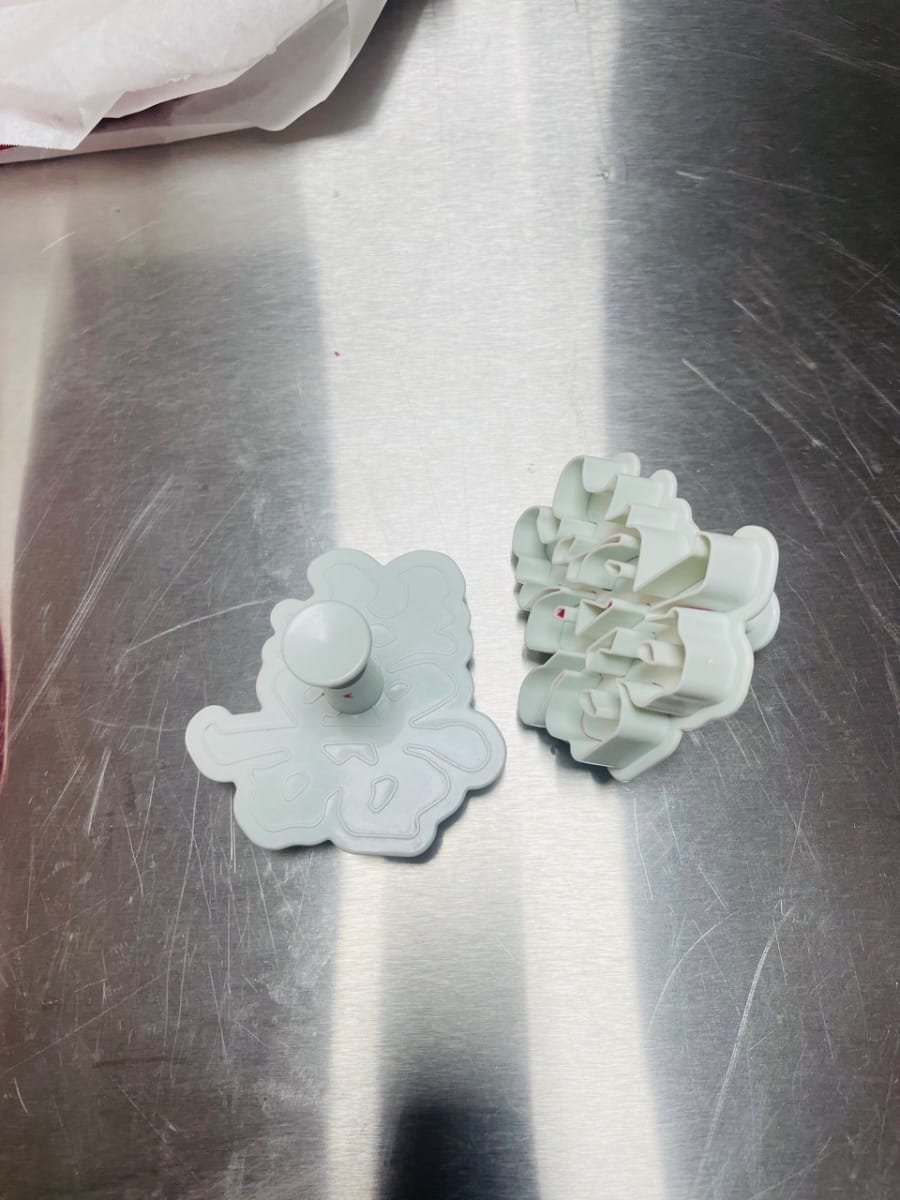
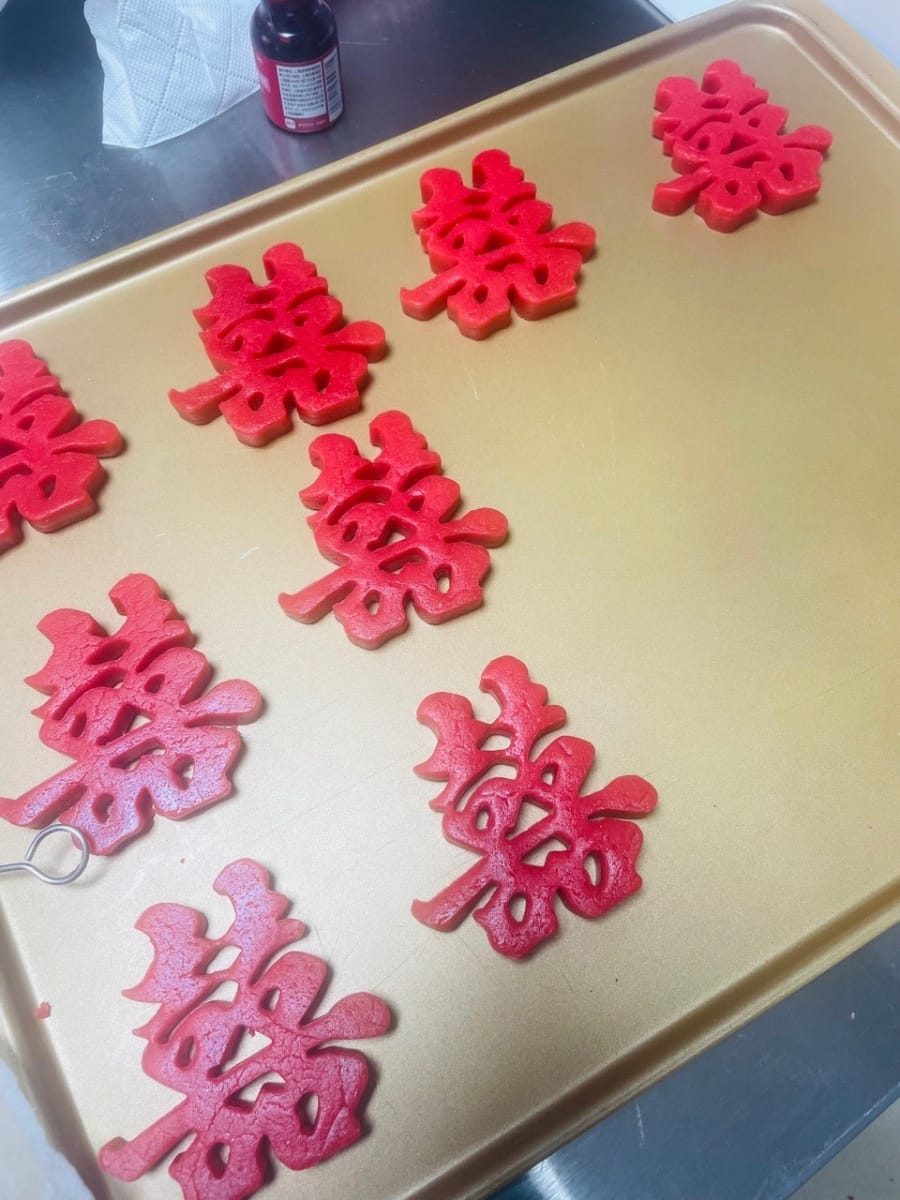
- Laminating:
Place the chilled dough on the work surface and press firmly into the desired shape using the prepared mold. Once formed, flip the mold over and use a spatula to scrape off any excess dough from the bottom of the dough. This will prevent the cookie design from sticking to the mold after unmolding. Don't waste the excess dough; you can re-roll it into a ball to make two more cookies.


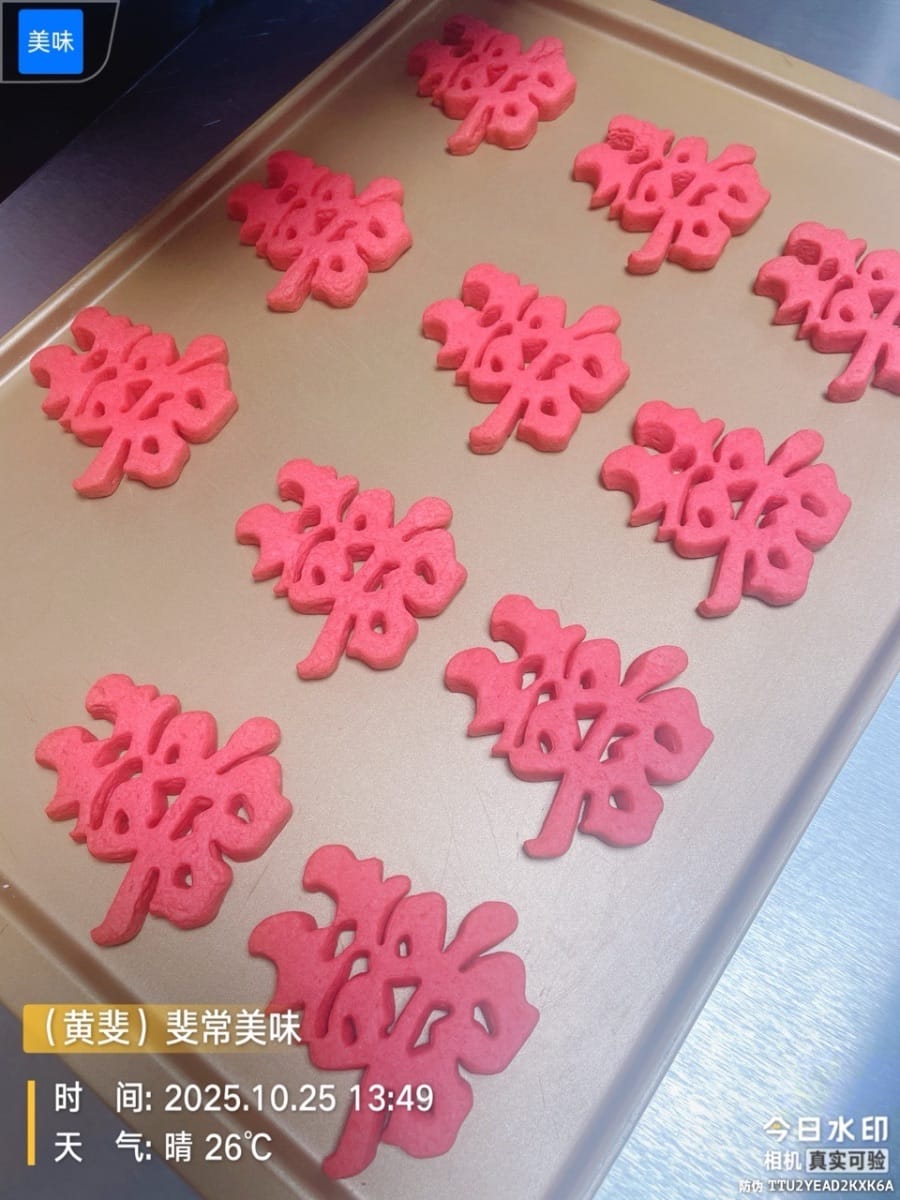
- Place the shaped cookies directly on a non-stick baking tray. Be sure to leave a certain distance between the cookies, because the cookies will expand during baking and will stick together easily if they are too crowded.


- Baking:
Preheat the oven to 150°C/350°F and place the baking sheet in the oven. Bake for 12 minutes, then cover the cookies with aluminum foil and bake for about 18 minutes more. Keep an eye on them during baking to prevent them from burning. If using an open-hearth oven, place the baking sheet in the middle to prevent the cookies from browning too much (also make sure to cover with aluminum foil).

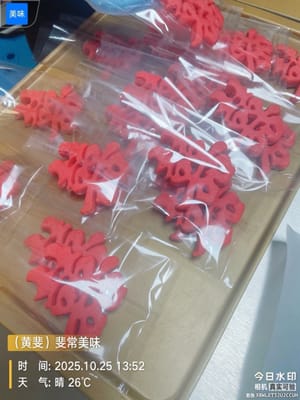
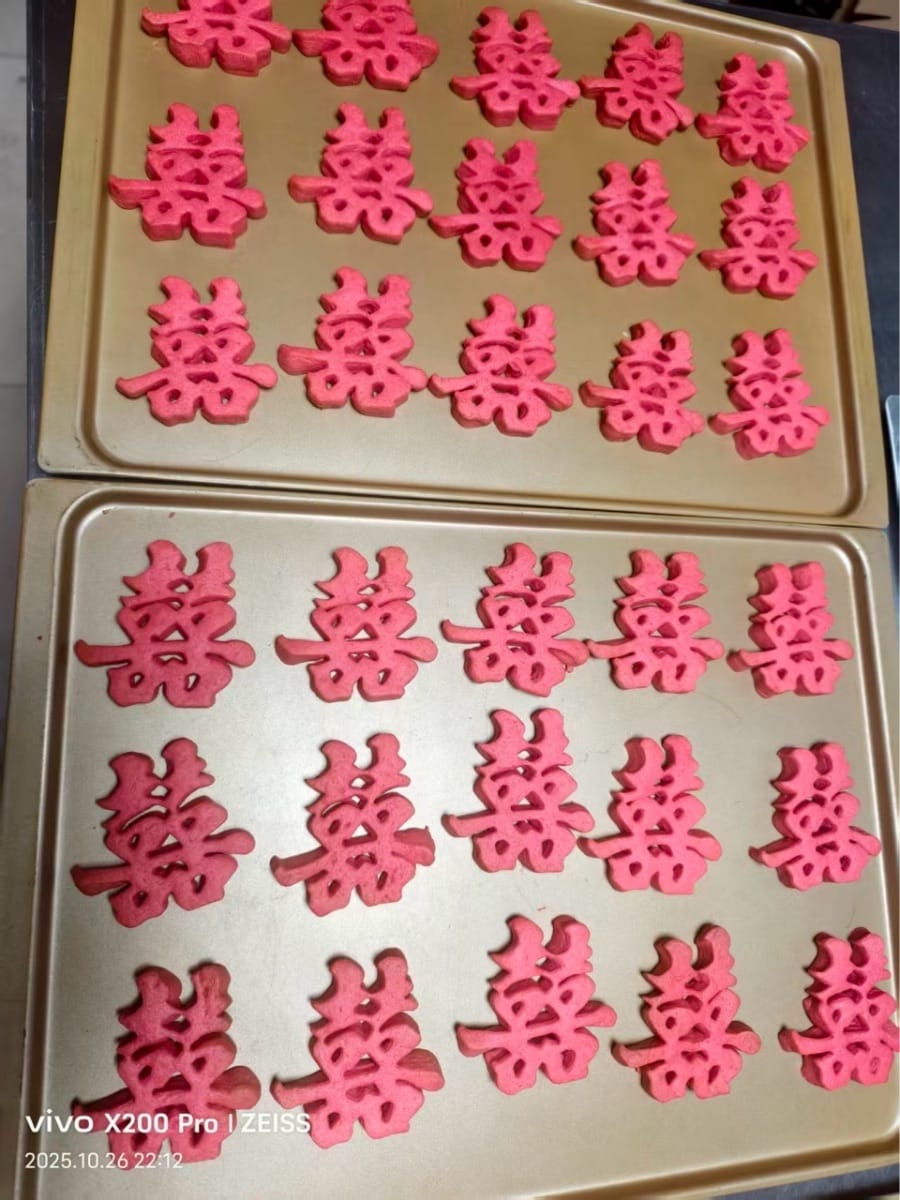
- Cooling and Packaging Steps:
After baking, remove the cookies from the oven and place them on a cooling rack to cool. Once the cookies are completely cool, individually wrap them. This is not only clean and hygienic, but also adds a sense of ritual and atmosphere to the cookie-making experience. They are perfect for gifting or simply enjoying.


Languages
Festival-Kekse - Deutsch (German) versionFestival Flavor Cookies - English version
Galletas con sabor a festival - Español (Spanish) version
Biscuits aux saveurs du festival - Français (French) version
Kue Rasa Festival - Bahasa Indonesia (Indonesian) version
Biscotti al sapore di festa - Italiana (Italian) version
フェスティバルフレーバークッキー - 日本語 (Japanese) version
축제맛 쿠키 - 한국인 (Korean) version
คุกกี้รสเทศกาล - แบบไทย (Thai) version
節味酥喜Cookie - 香港繁體中文 (Traditional Chinese - Hong Kong) version