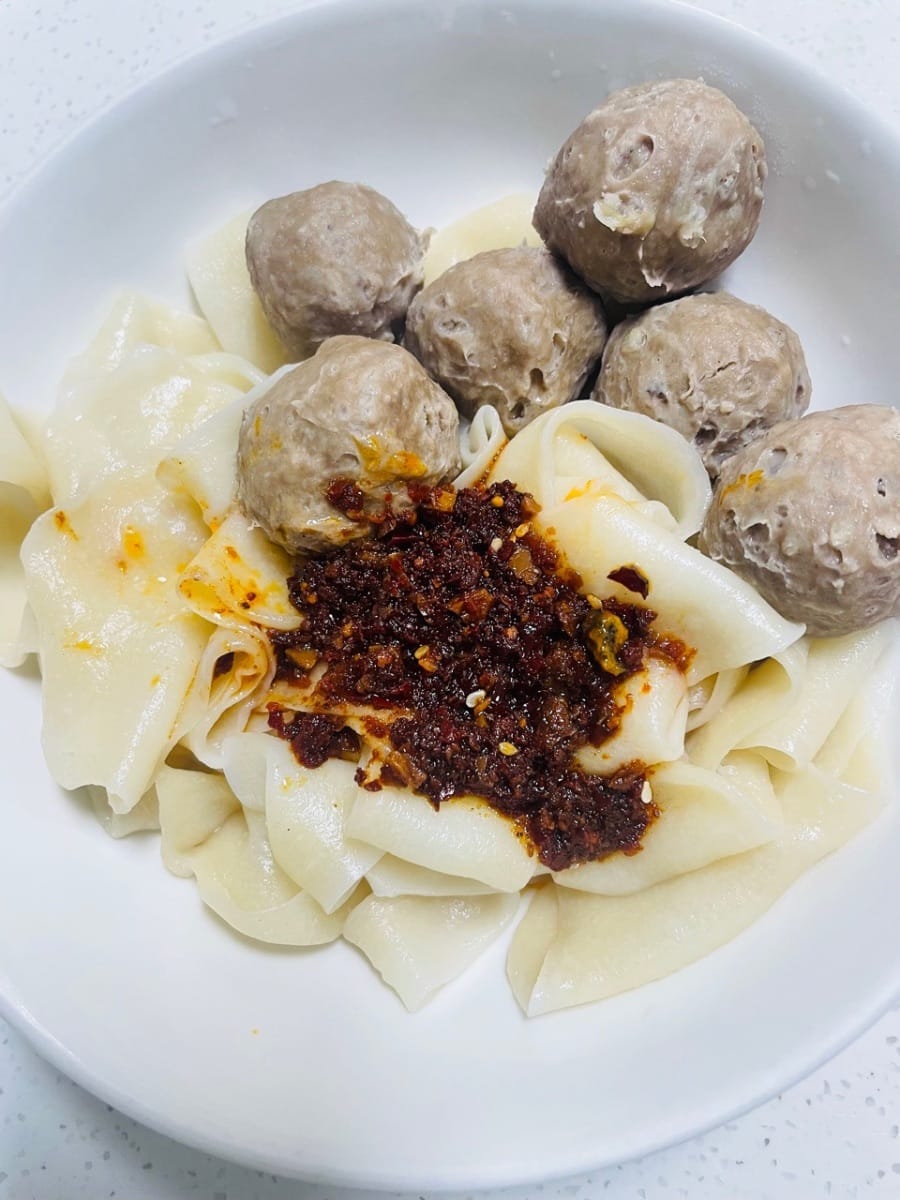
Chewy hand-pulled dough
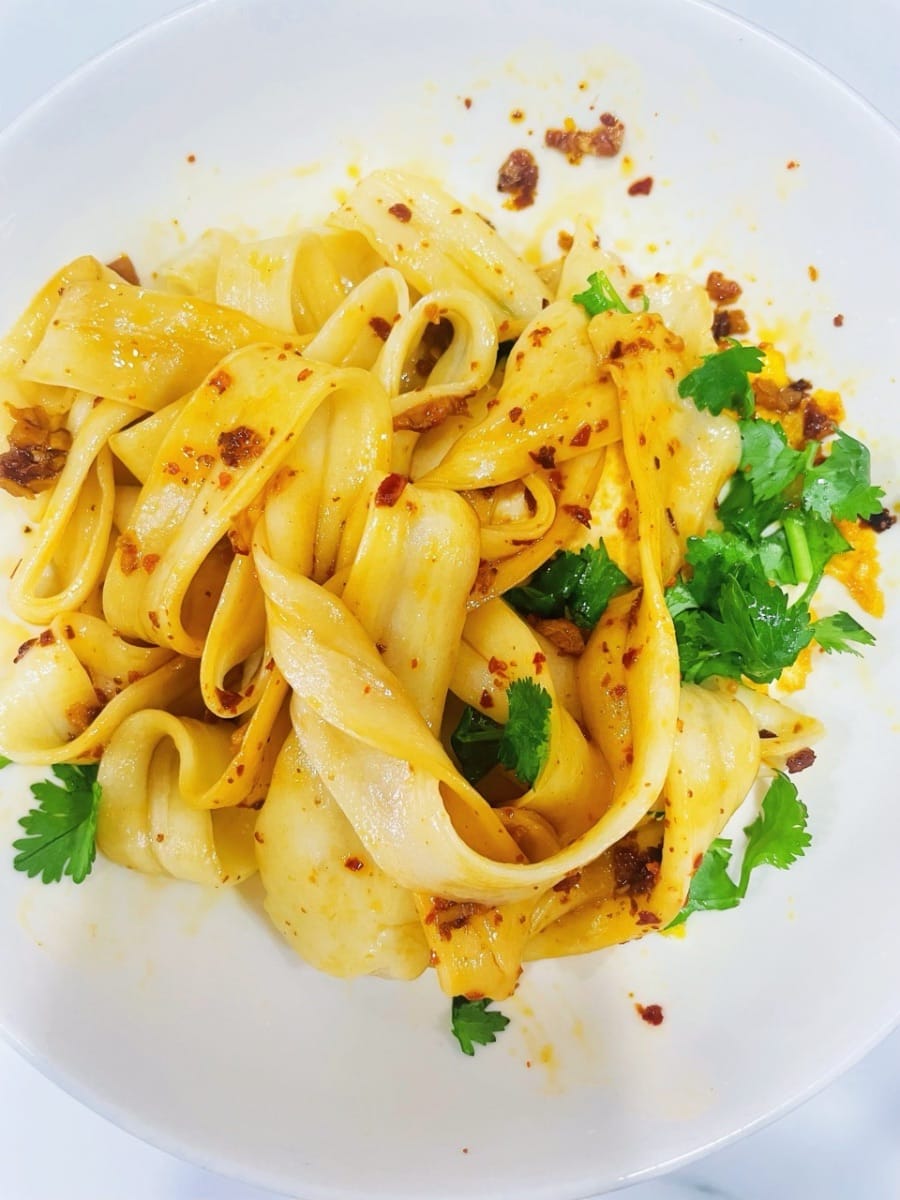


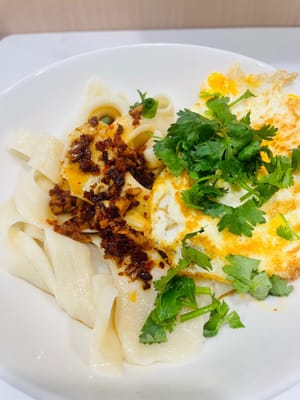
Take a look at these oil-splashed hand-pulled noodles. They look so good! Making them isn't complicated at all. Just let the dough rest, knead it, cut it into strips, rest it again, and then pull it apart. Simply boil it in a pot, remove it from the pot, and mix it. It's incredibly chewy, and the more you chew, the more delicious it becomes. It's a truly delicious, quick and easy dish that anyone can whip up at home. It's affordable, filling, and you'll never forget the flavor after trying it once!
Ingredients


Steps
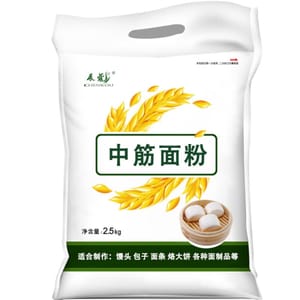
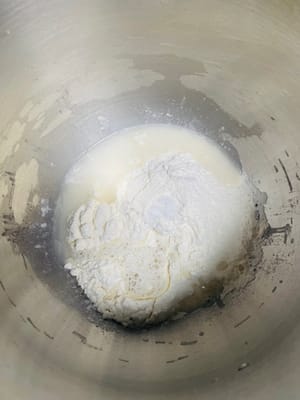
- Weigh 250g all-purpose flour (or strong flour, adjust to desired texture), 125-130g room-temperature drinking water, and 2g salt. Salt strengthens the gluten and enhances the texture of the noodles.
The amount of water should be approximately half the amount of flour, but this should also depend on the flour's water absorption capacity. You can start with 120g of water and gradually add more until the dough is soft.
- First Kneading and Resting: Place the dough on a chopping board and knead for 5-8 minutes until smooth. Place in a container, cover with plastic wrap, and let rest for 20 minutes.
Second Kneading and Resting: After resting, knead for another 5 minutes, then cover with plastic wrap and let rest for 20 minutes. Repeat the kneading and resting process three times. (If you're in a hurry, you can do less, but kneading and resting three times will ensure the noodles are chewier.)

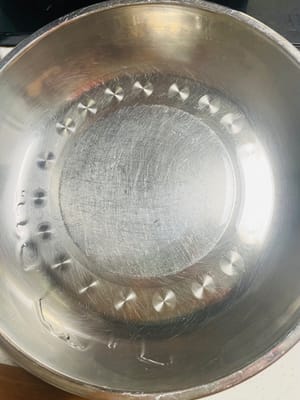
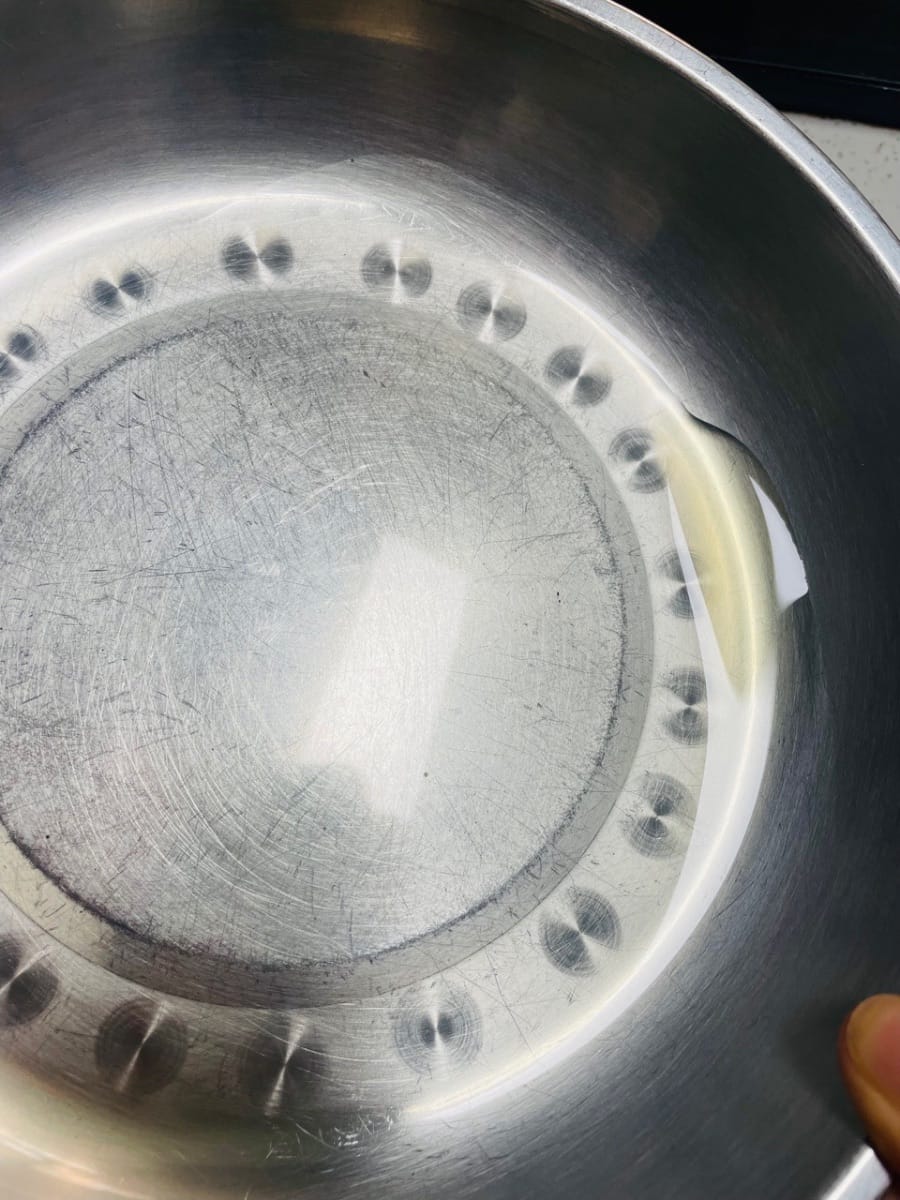
- Prepare a flat-bottomed, wide-mouthed container (basin), and evenly apply cooking oil to the inner wall and bottom of the container (it is recommended to use odorless vegetable oil, such as corn oil or soybean oil, to avoid the influence of odor). The amount of oil applied should be based on forming a thin layer of oil film.

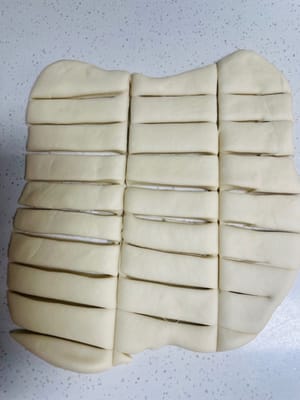
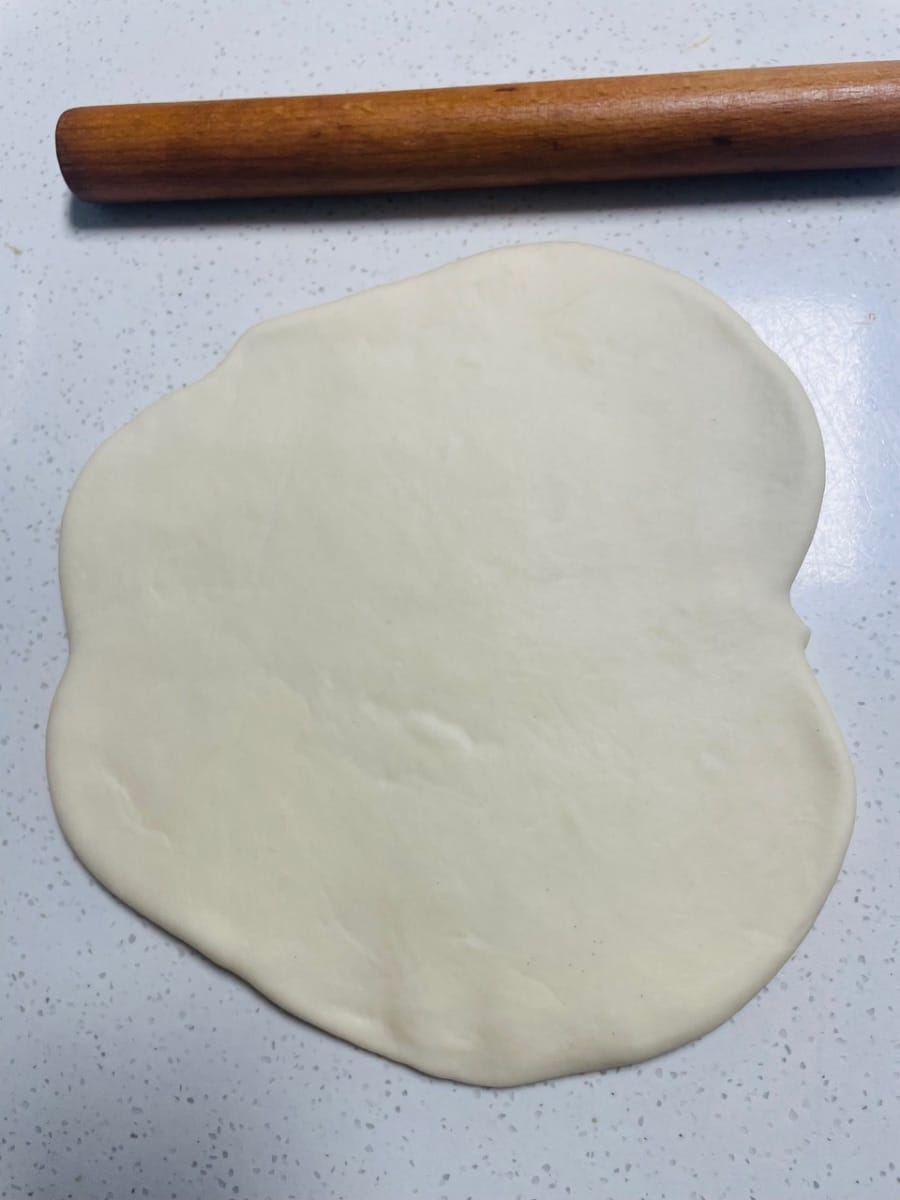
- After the third kneading and proofing, place the dough on a work surface and press evenly with a rolling pin (or a professional dough pressing tool) until it forms a pancake about 0.5 cm thick. Press evenly to avoid uneven thickness.

- Use a sharp knife (such as a dough cutter) to cut the dough into pieces about 1.5 cm wide and 4 cm long (you can adjust the width to your preference). Ensure the cuts are neat to provide a regular foundation for pulling the noodles later.
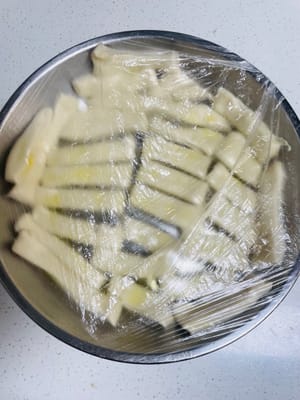
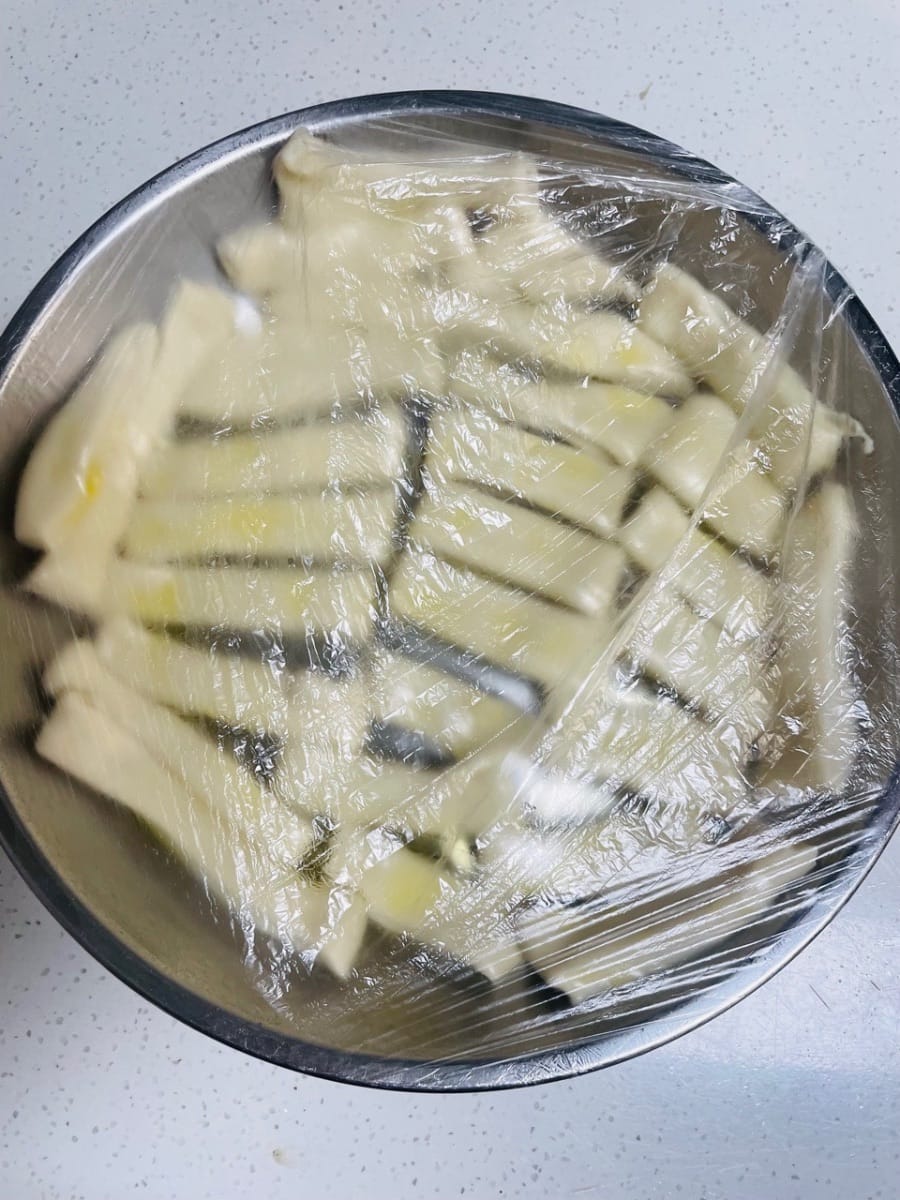
- Place the cut noodles one by one in a container, ensuring that both the surface and bottom of the noodles are evenly coated with oil to prevent sticking. Once stacked, cover with plastic wrap and let rise for 30 minutes. Alternatively, seal the dough and refrigerate overnight (4-6°C). Low-temperature rising allows the gluten to mature slowly, improving the noodles' ductility and ensuring they are not compromised for use the next day.

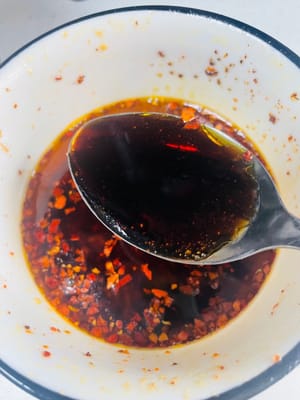
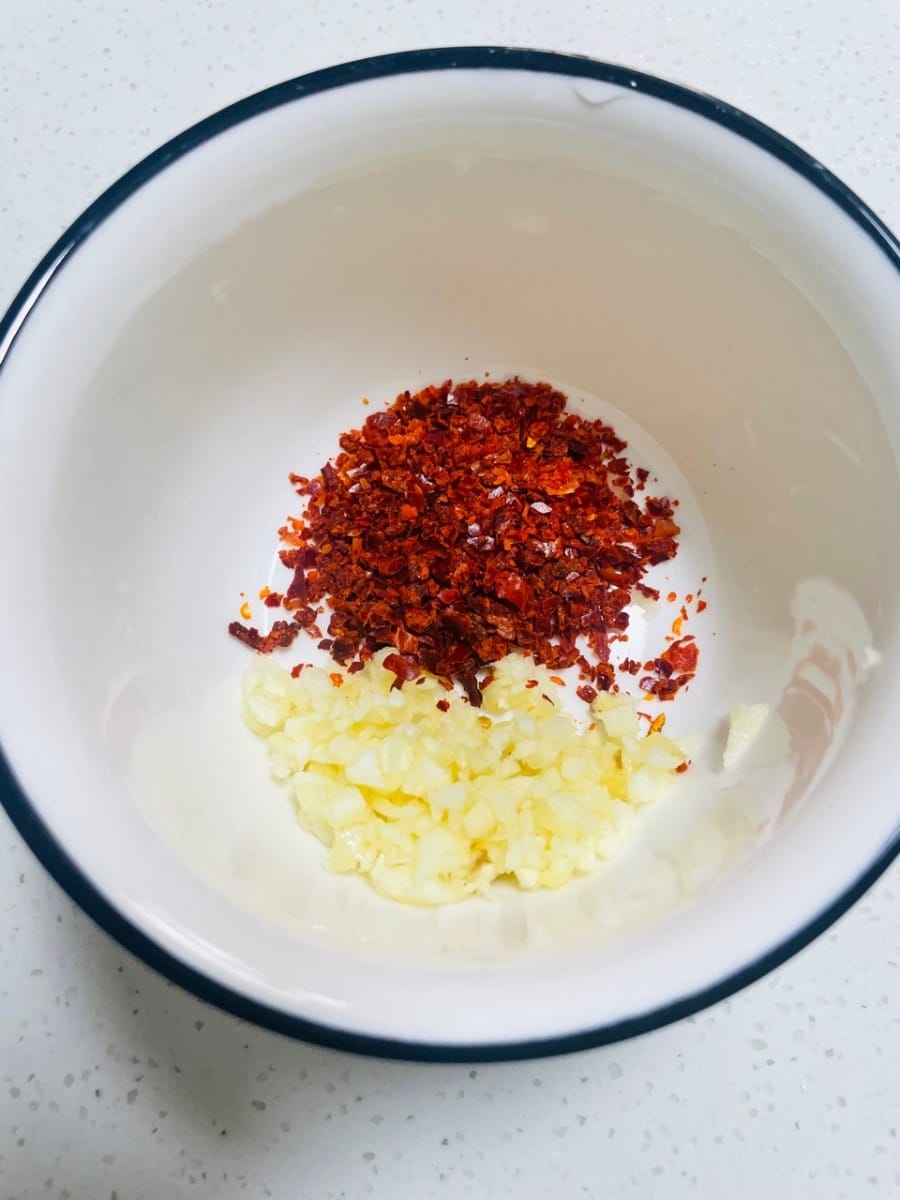
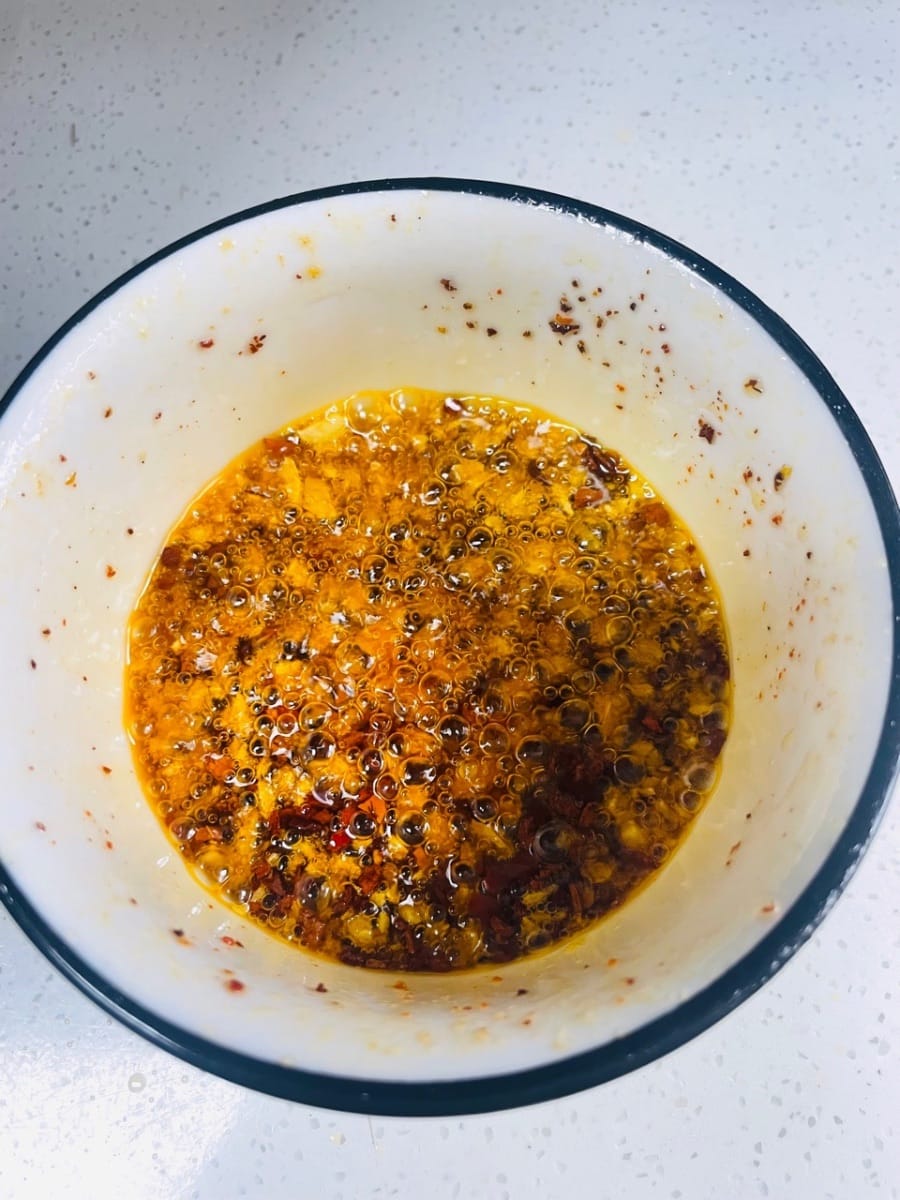
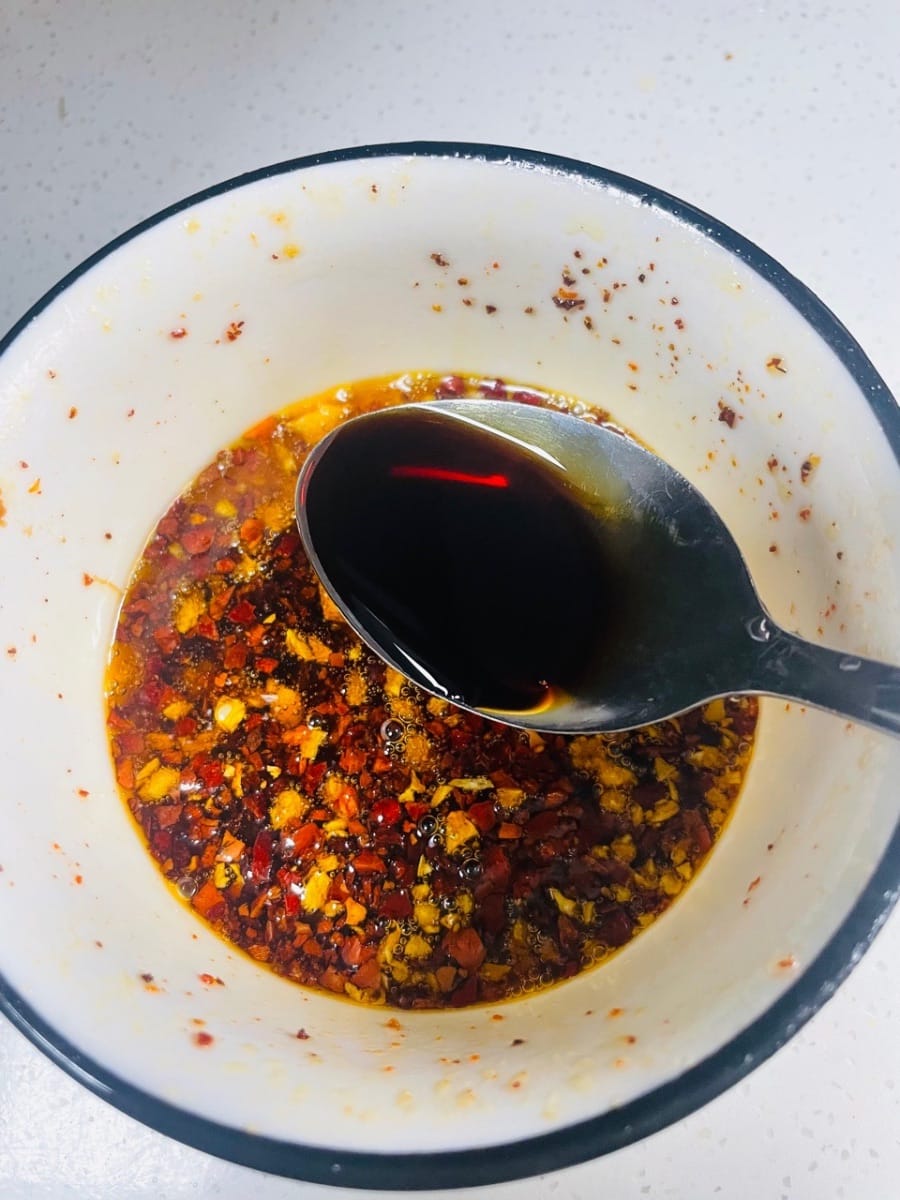
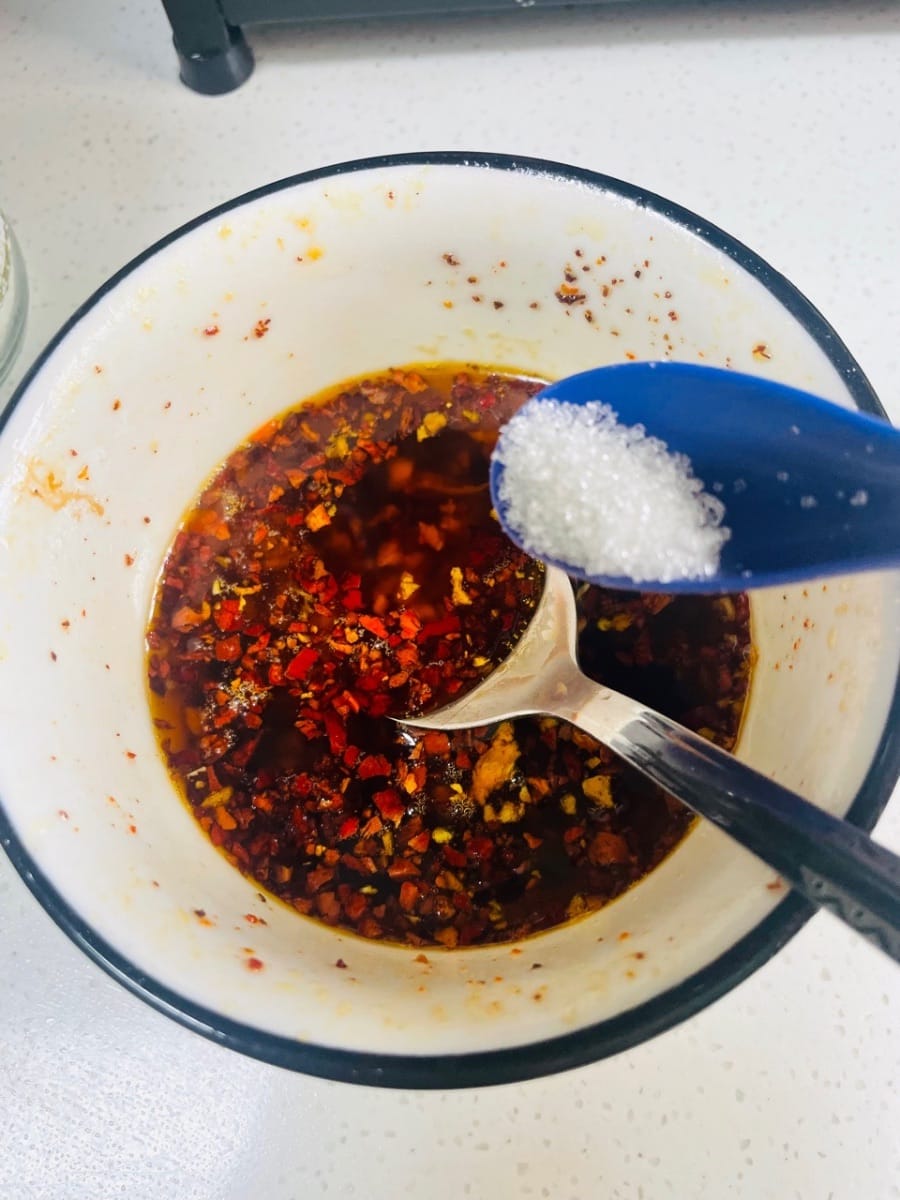
- In a clean bowl, place 2-3 tablespoons of dried chili powder (or chopped chili, adjust the spiciness to your liking) and 3-5 cloves of minced garlic. Heat vegetable oil at 180-200°C and pour it into the bowl to enhance the aroma. Then, add 3 tablespoons of light soy sauce, 3 tablespoons of aged vinegar, 1 teaspoon of sugar, 1 teaspoon of salt, and 1 teaspoon of sesame oil. Stir well to create the sauce.


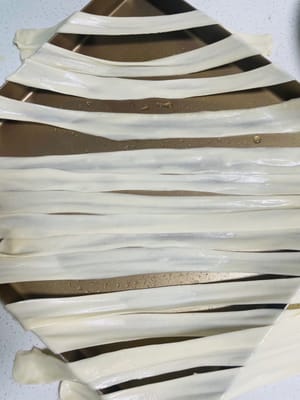
- Quick Pulling of Fresh Noodles (Video Shows My Time-Hope Version)
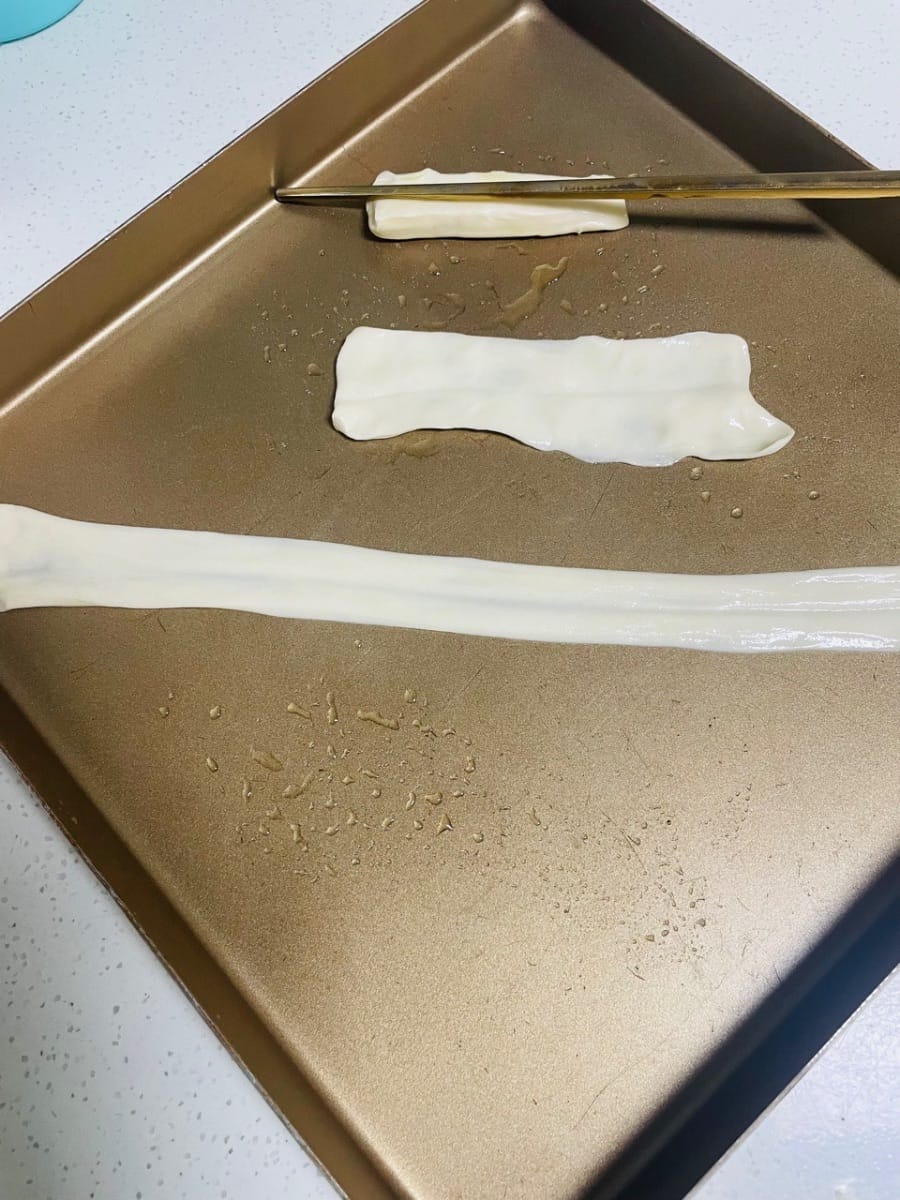
Take a single piece of fresh noodles and pat it down to slightly stretch it. Then, use chopsticks to press a mark in the center and flatten the dough. Then, pinch the ends of the flattened dough with your thumbs, index fingers, and middle fingers. Quickly and gently shake the dough with your wrists, using gravity to stretch it outwards (use moderate pressure to prevent breakage). Pull until the dough is evenly thick, 2-3 times its original width, and the length fits the pot. If making multiple noodles, it's recommended to pull and cook them as you go to avoid sticking.
Slow Pulling of Overnight Refrigerated Noodles
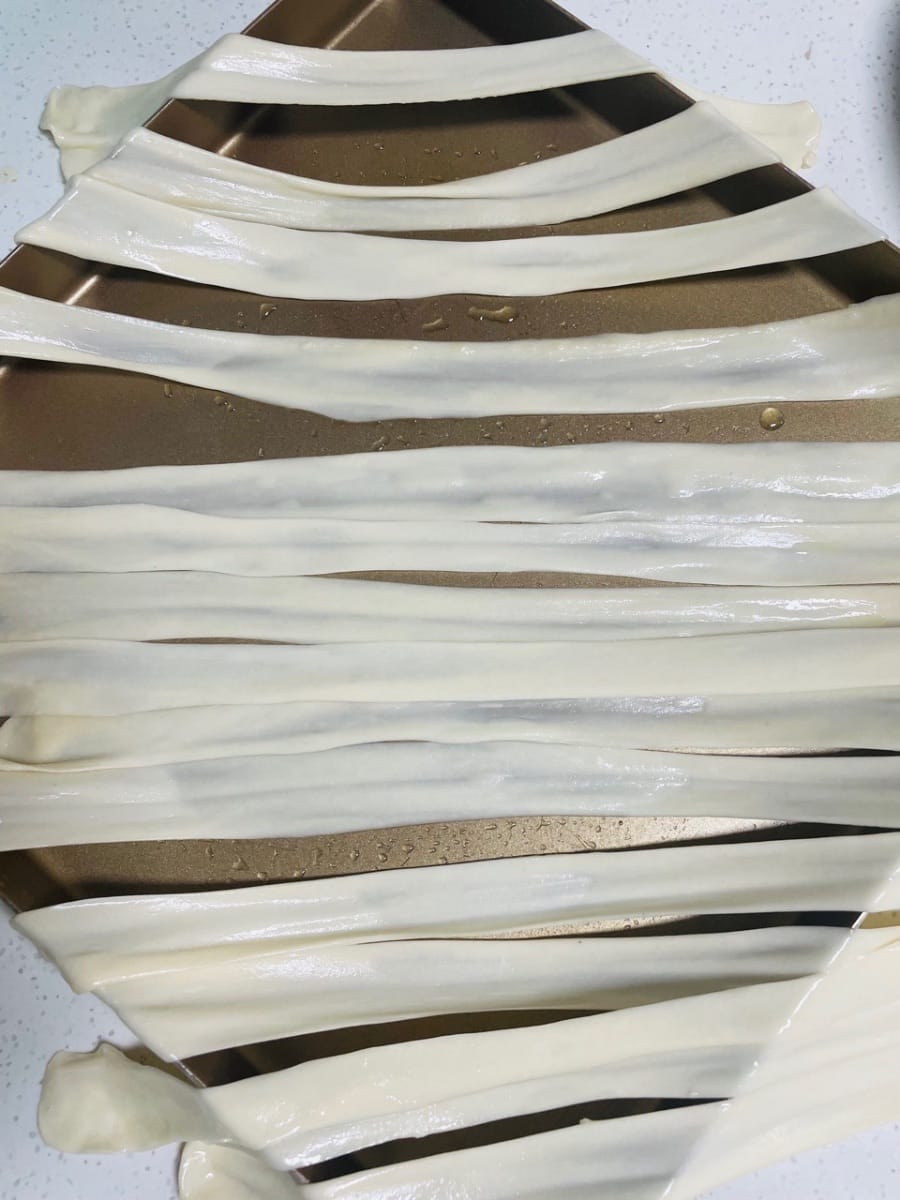
Remove the overnight noodles from the refrigerator and let them warm to room temperature briefly (they should be similar to fresh noodles, not hard). Then, use chopsticks to press a mark in the center of the dough. Then, pinch the ends of the dough with your thumbs, index fingers, and middle fingers and slowly pull and stretch each piece outwards (no need to shake quickly, just stretch slowly) until the thickness is even and the width and length are as desired before cooking.
Overall, the texture is exactly the same 😀

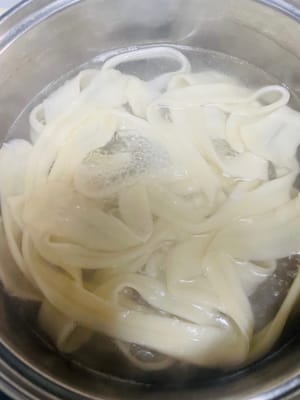
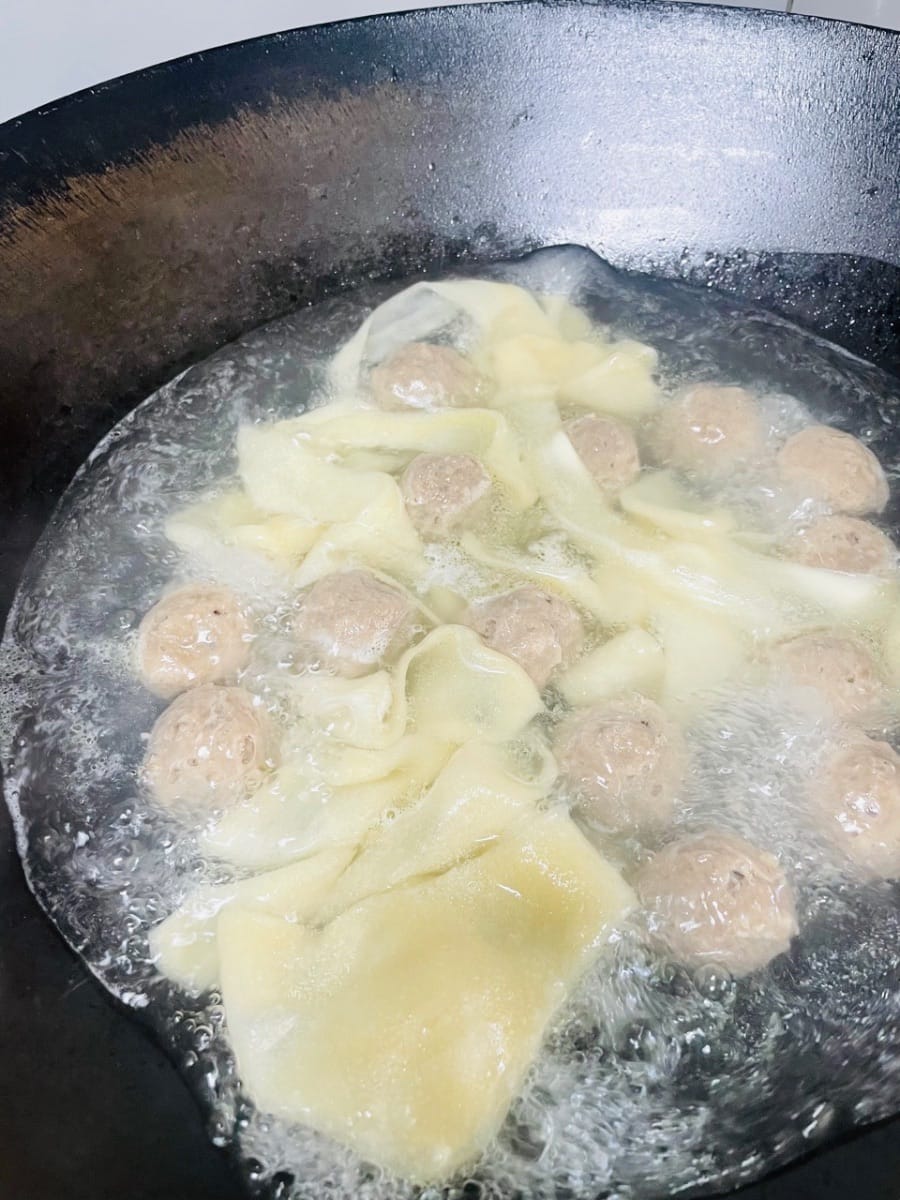
- Place the pulled noodles in boiling water and immediately stir gently with chopsticks to prevent them from sticking. Cook for 1-2 minutes. (Since noodles vary in thickness and width, observe them carefully: they are cooked through when they float and become slightly translucent.)
Use a slotted spoon to quickly remove the noodles, drain any excess water, and transfer to a prepared dish.

- Immediately pour the pre-prepared sauce over the noodles and quickly toss with chopsticks to evenly coat each noodle. Add garnishes (such as a fried egg, shredded vegetables, or bean sprouts, which should be blanched or cooked in advance) to enhance the visual appeal and nutritional richness of your delicious hand-pulled noodles.


Languages
Zäher, handgezogener Teig - Deutsch (German) versionChewy hand-pulled dough - English version
Masa masticable hecha a mano - Español (Spanish) version
Pâte moelleuse tirée à la main - Français (French) version
Adonan kenyal yang ditarik dengan tangan - Bahasa Indonesia (Indonesian) version
Impasto gommoso tirato a mano - Italiana (Italian) version
もちもちとした手ごね生地 - 日本語 (Japanese) version
쫄깃한 손으로 뜯은 반죽 - 한국인 (Korean) version
แป้งเหนียวนุ่มดึงด้วยมือ - แบบไทย (Thai) version
筋道手扯面皮 - 香港繁體中文 (Traditional Chinese - Hong Kong) version