Rich coffee cream cake roll
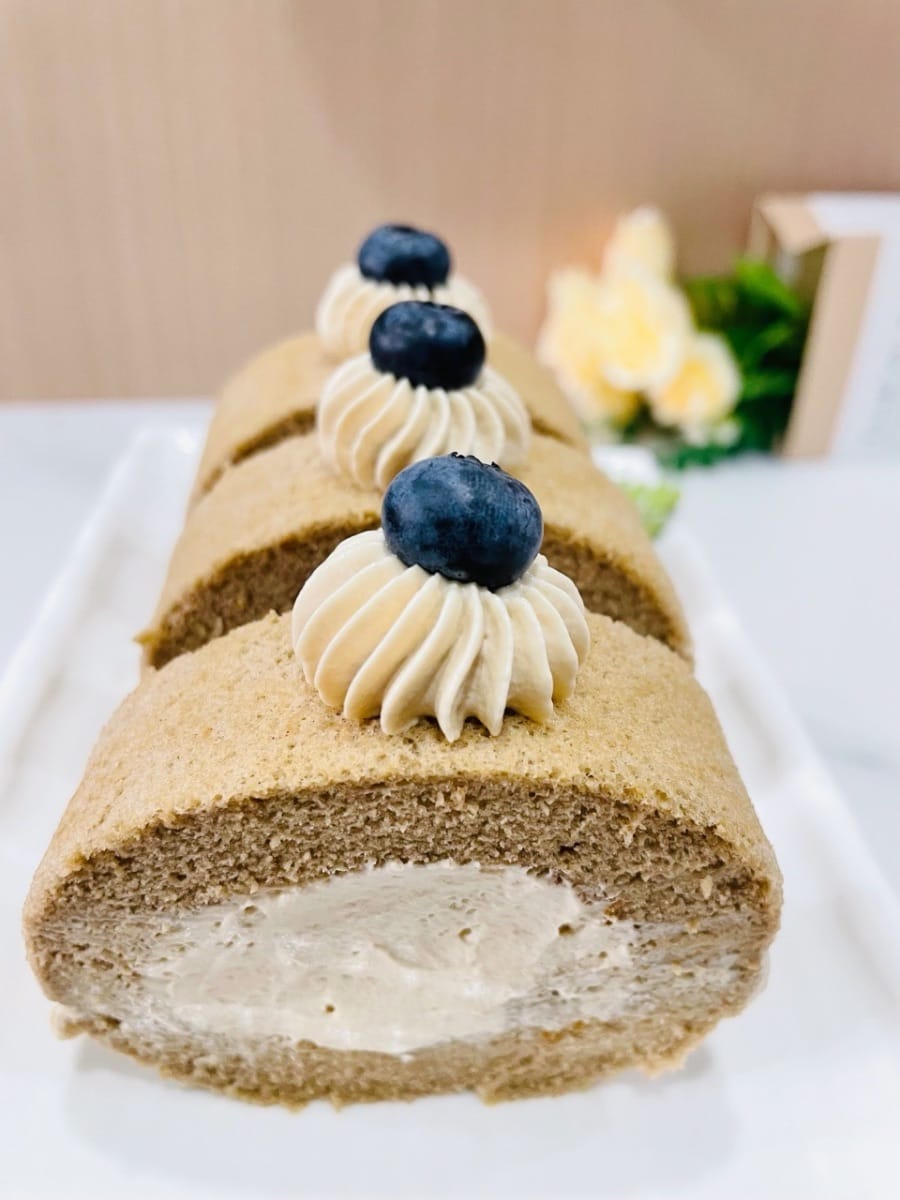
Coffee cream cake roll, with smooth and dense cream in the middle, the mellowness of coffee and the sweetness of cream blend perfectly. The brown cake body is wrapped with rich coffee aroma~ Whether it is used as breakfast to wake up vitality, afternoon tea to add comfort, or to share sweetness with girlfriends, it is perfect. Who can resist the happiness of falling in love with it in one bite? Hurry up and make arrangements~
Ingredients
- 5 eggs (about 60 grams)

- 70g low-gluten flour
- 65g hot water

- 50g corn oil

- 60g sugar (20g egg yolk paste, 40g whipped egg white)

- 10g corn starch

- 1 pack of coffee powder (Each packet is about 2 grams, one packet is one cup)

- 5g chocolate powder (I use Valrhona for chocolate coins, beans, powder, and beads. They are delicious. Except for being expensive, there is nothing wrong with it 😀)

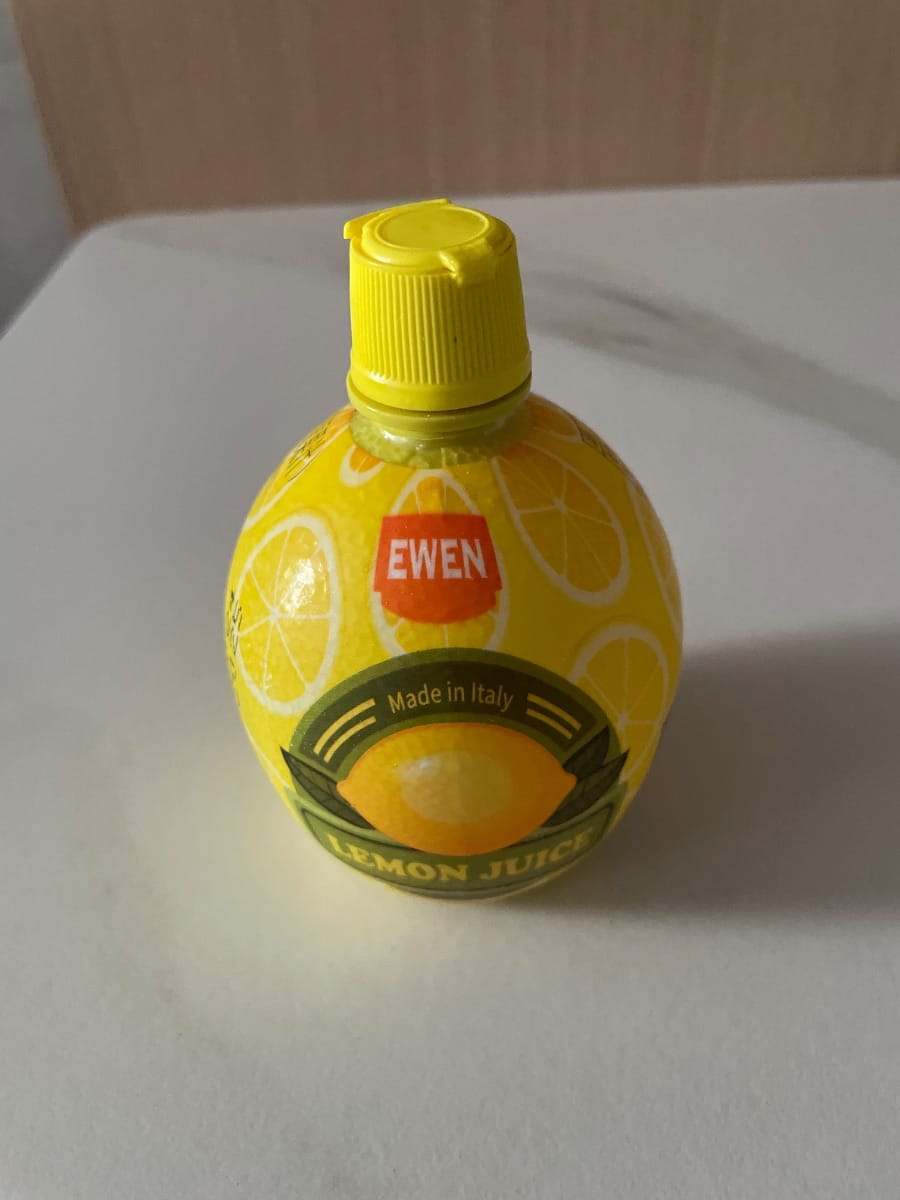
- 5 drops of lemon juice

- 1 pack of espresso powder (Each packet contains about 2 grams, and one packet is one cup.)

- 220g light cream
- 22 grams of sugar
- 5g coffee liquor

Steps
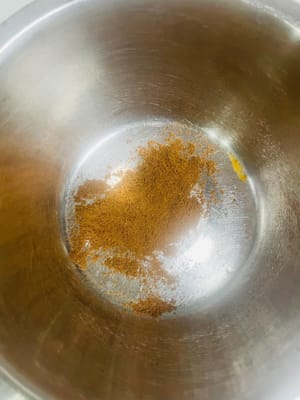
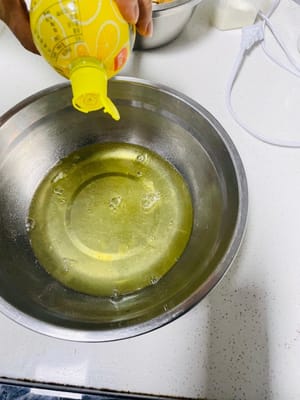
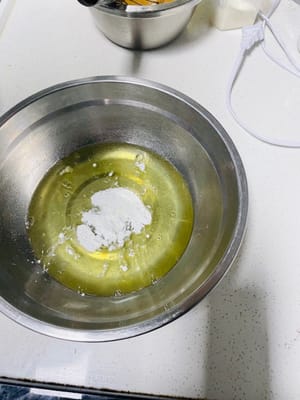
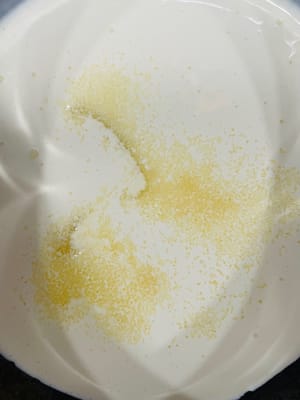
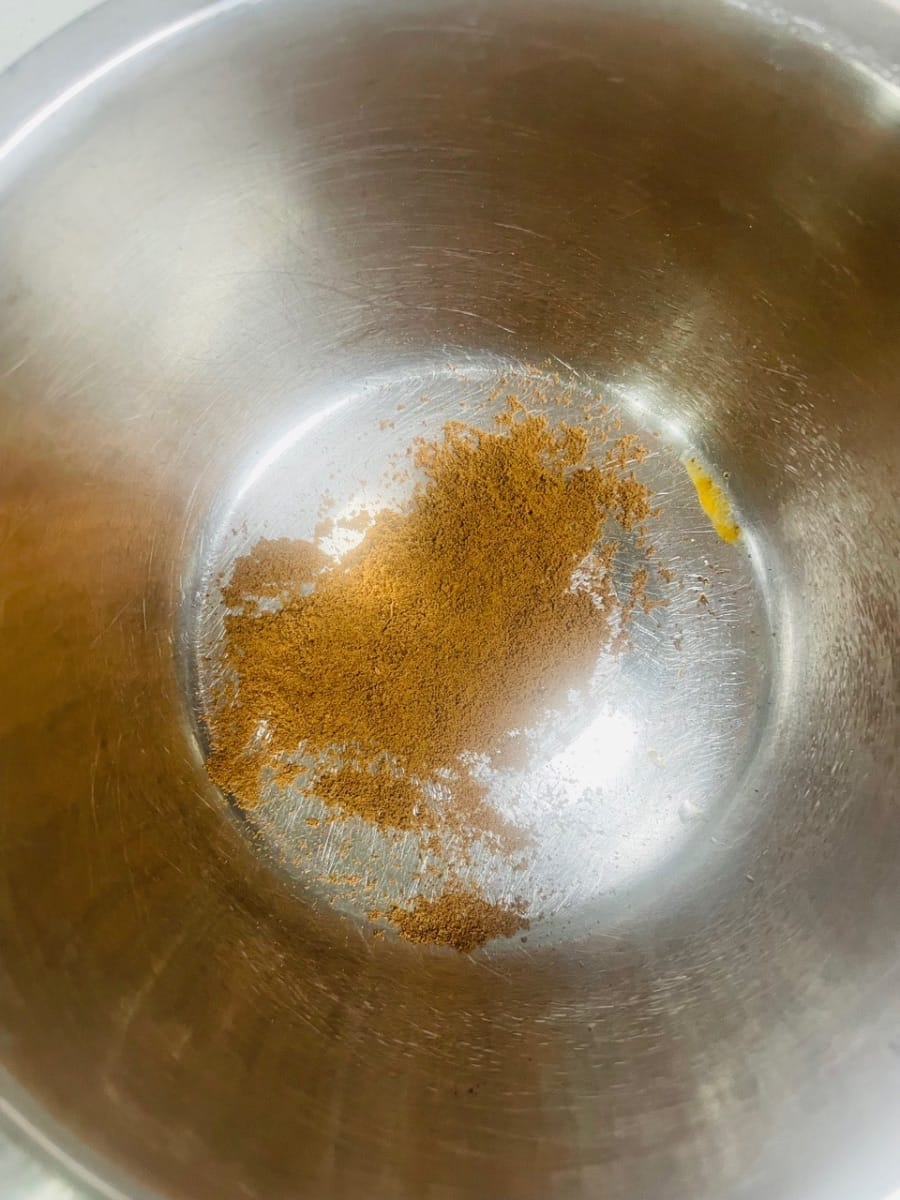
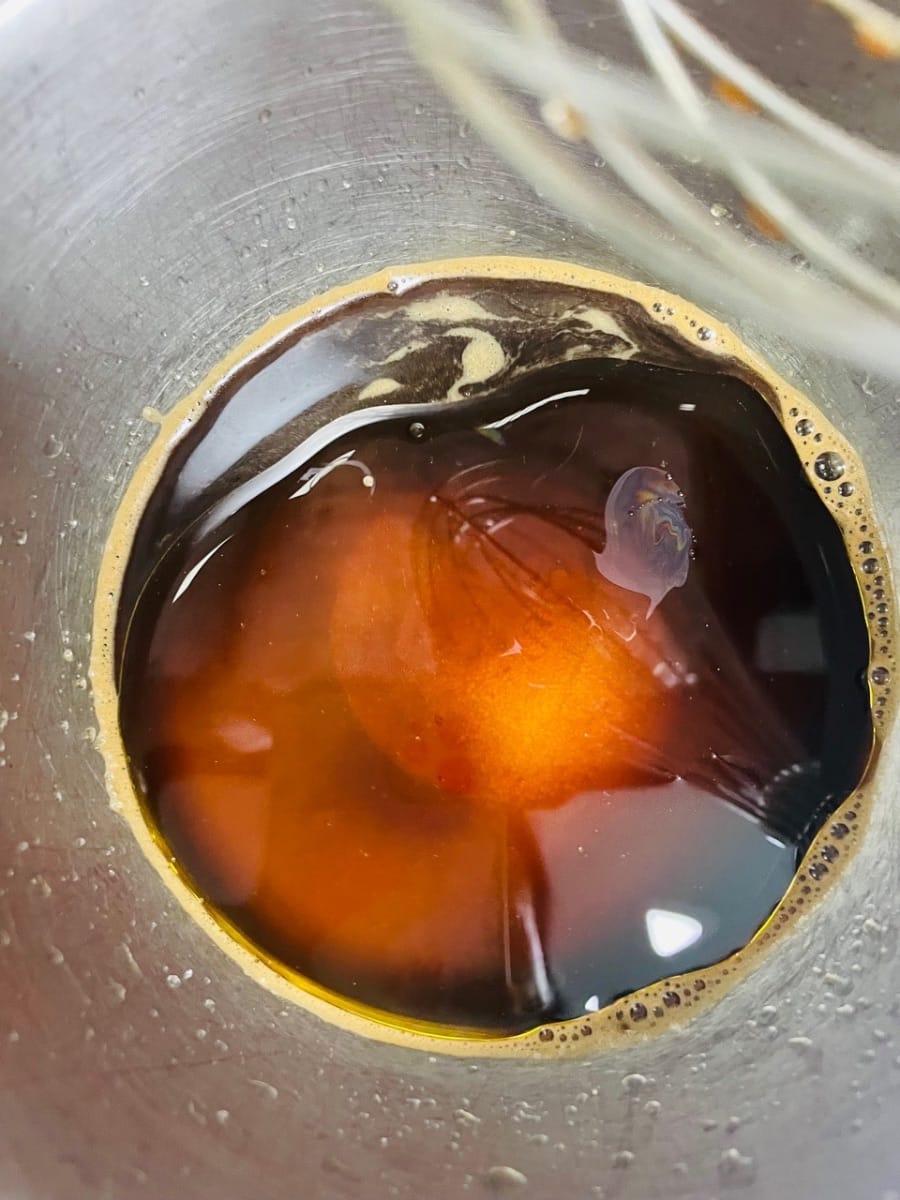
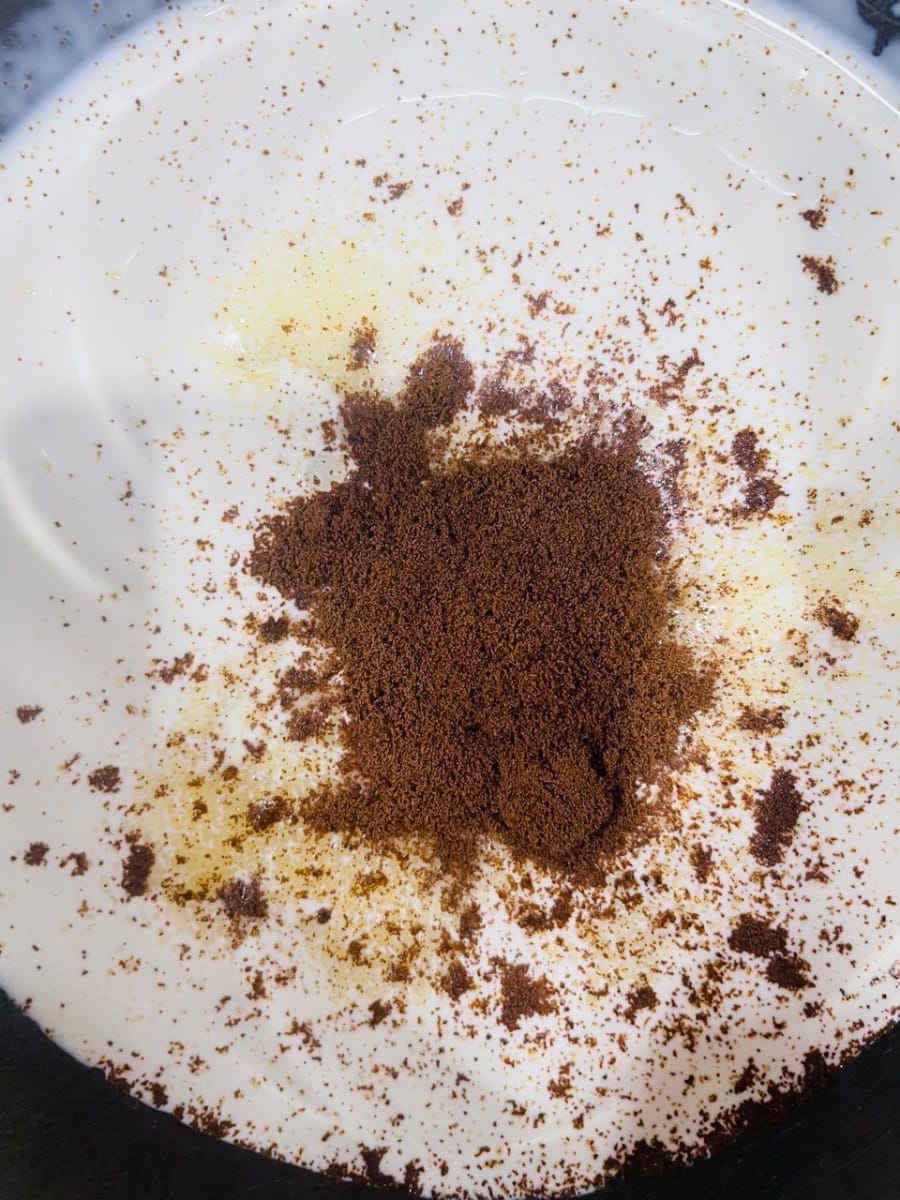
- Take a clean bowl, put in coffee powder, add 60g of hot water, stir well to allow the coffee to fully dissolve.
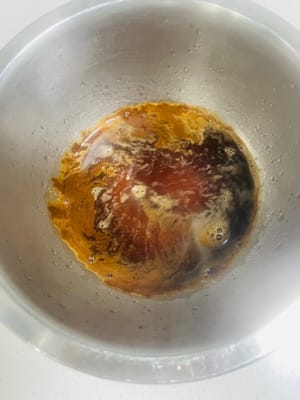
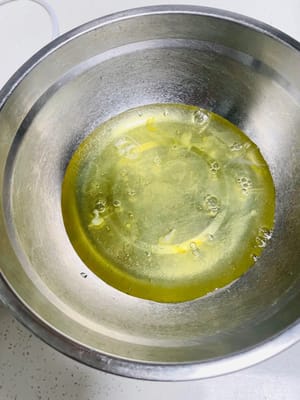
- Then add 20g of sugar and 50g of corn oil, continue stirring, and let it cool for later use.

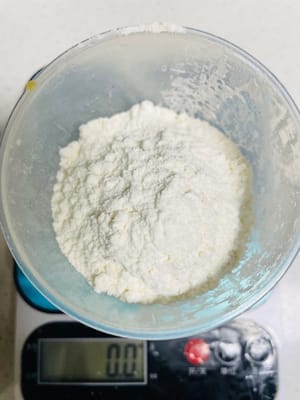
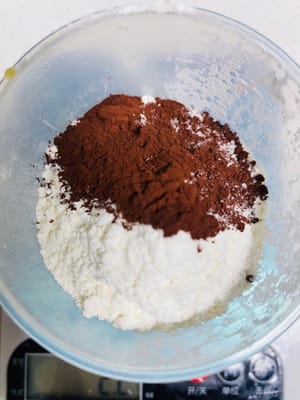
- Weigh 70g of low-gluten flour and 5g of Valrhona chocolate powder and set aside.
- Prepare lemon juice and set aside.

- Weigh 40 grams of white sugar and set aside.

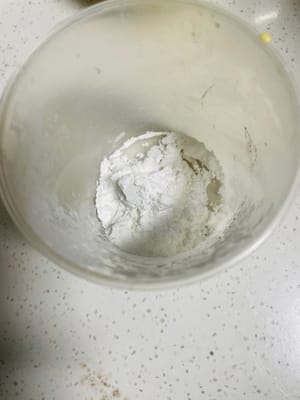
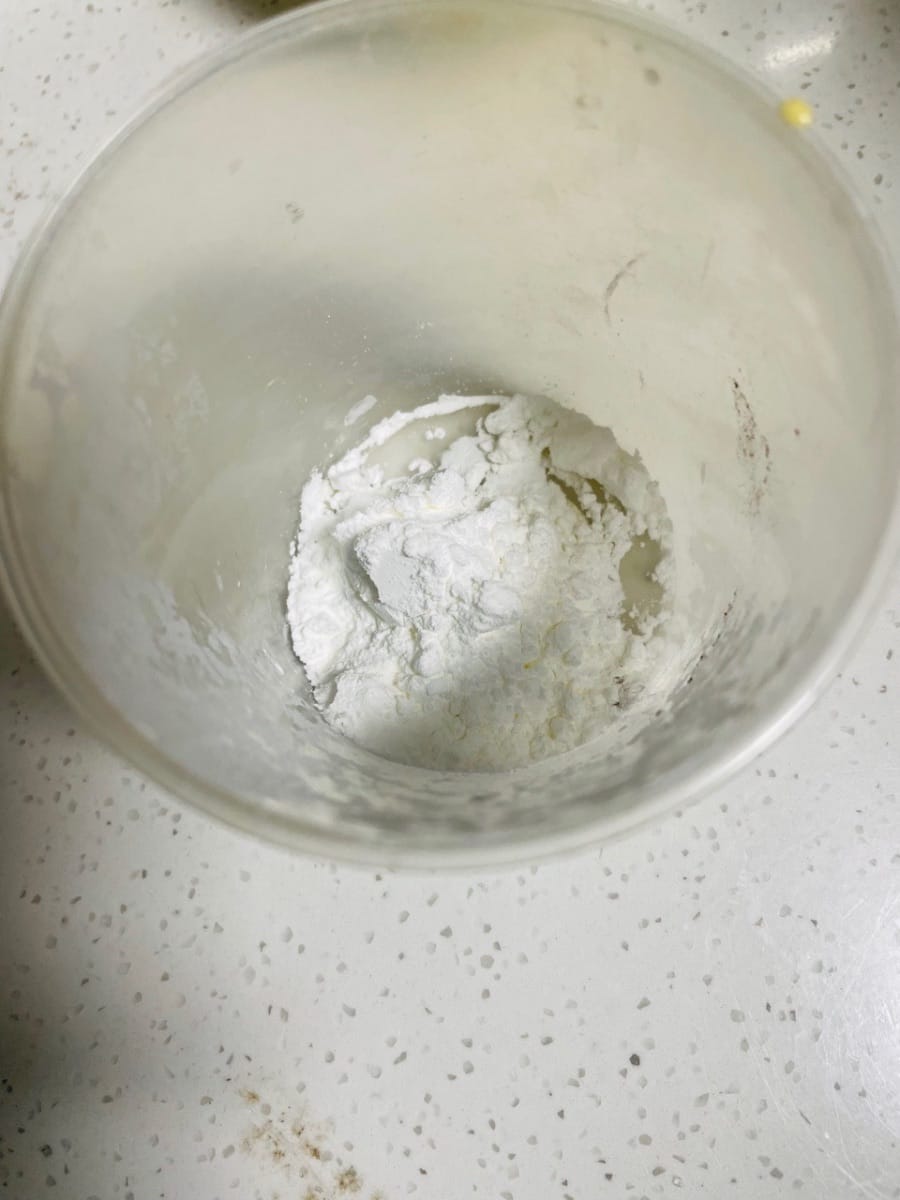
- Weigh 10 grams of corn starch and set aside.
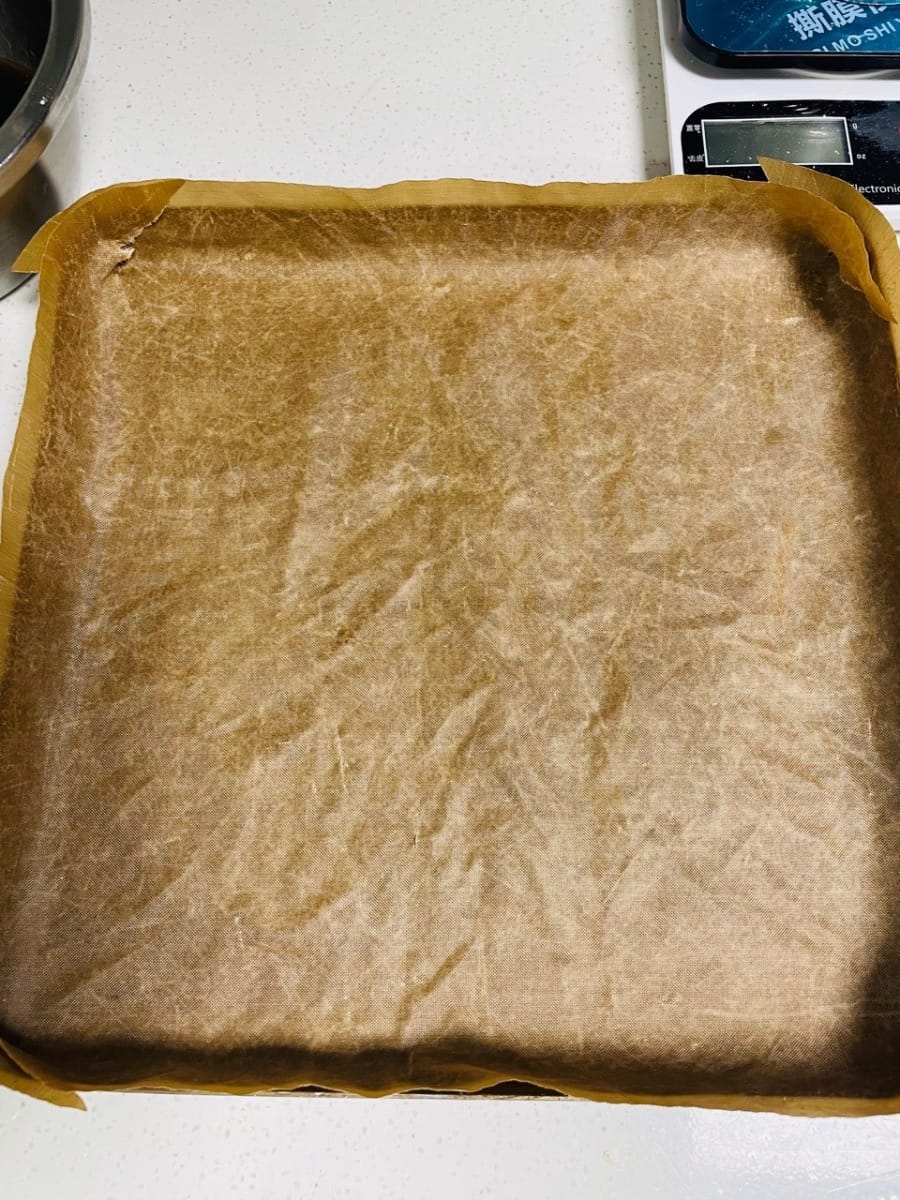
- Cover a 28×28×3 baking tray with high-temperature oilcloth and set aside.

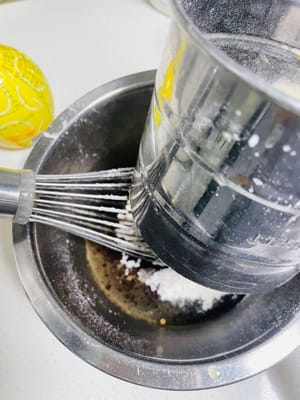
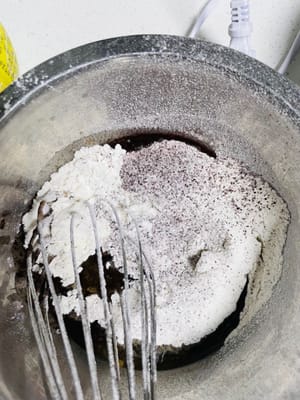
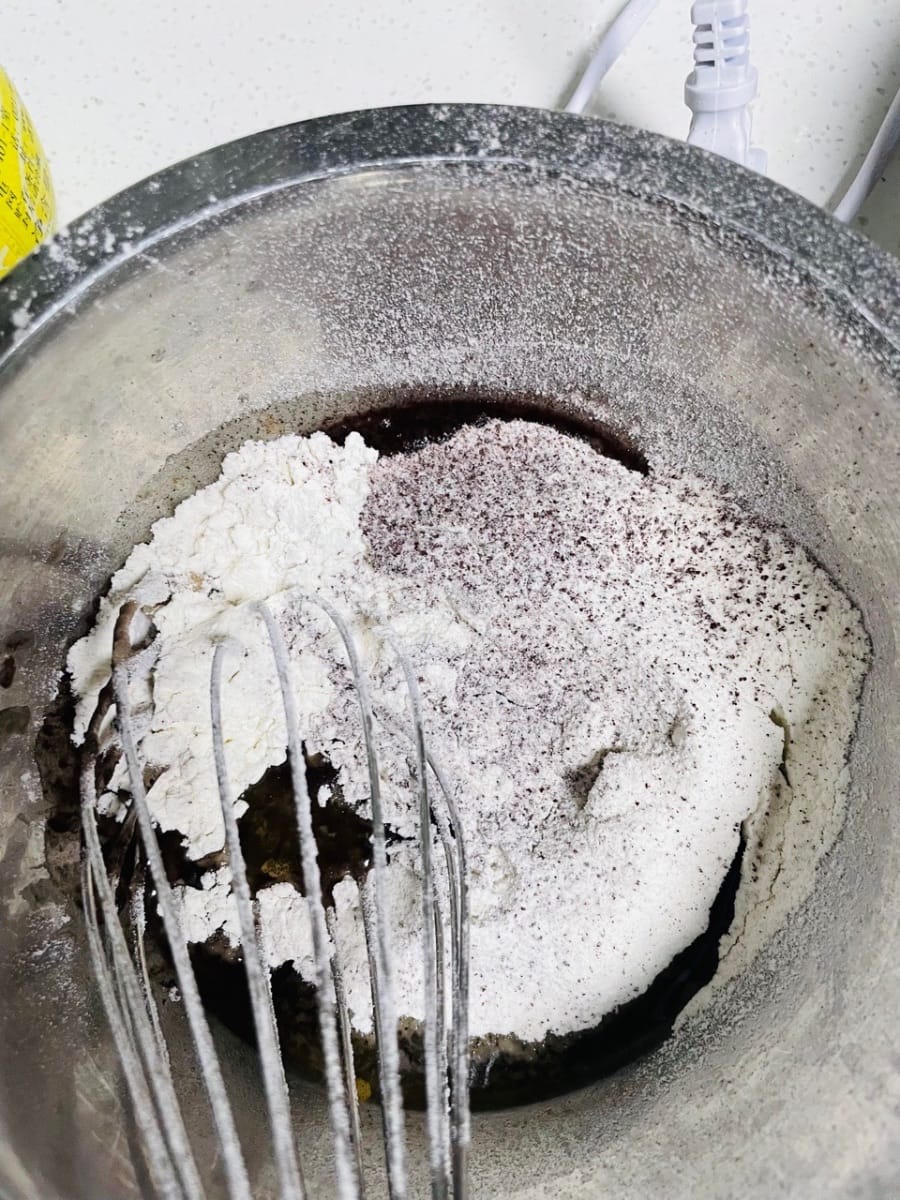
- Sift low flour and chocolate powder into the coffee liquid, and stir evenly with N-shaped gesture.
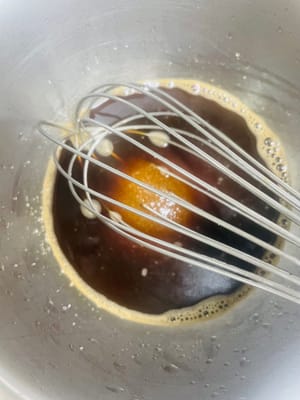
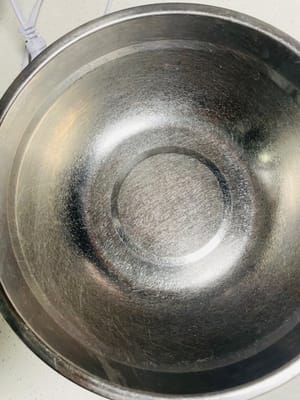
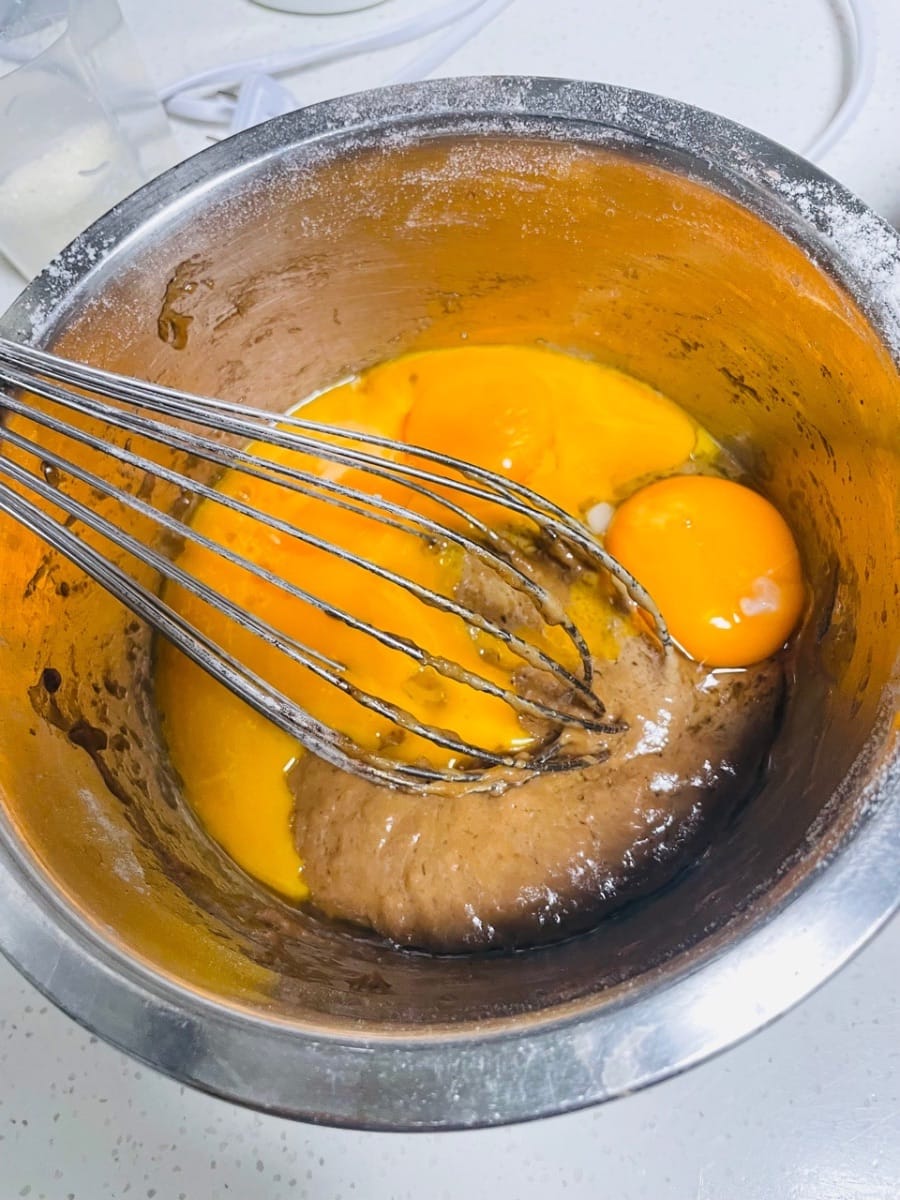
- Prepare a large oil-free and water-free pot, separate the egg yolk and egg white, put the egg yolk into the coffee mixture pot, and put the egg white into the water-free and oil-free pot
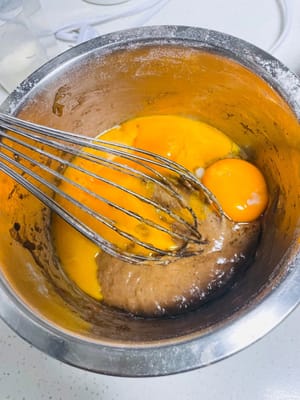
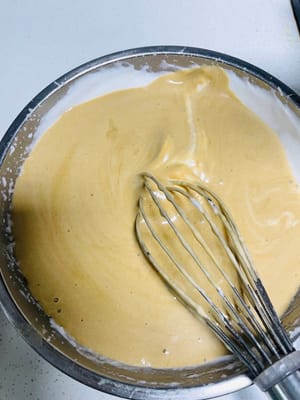
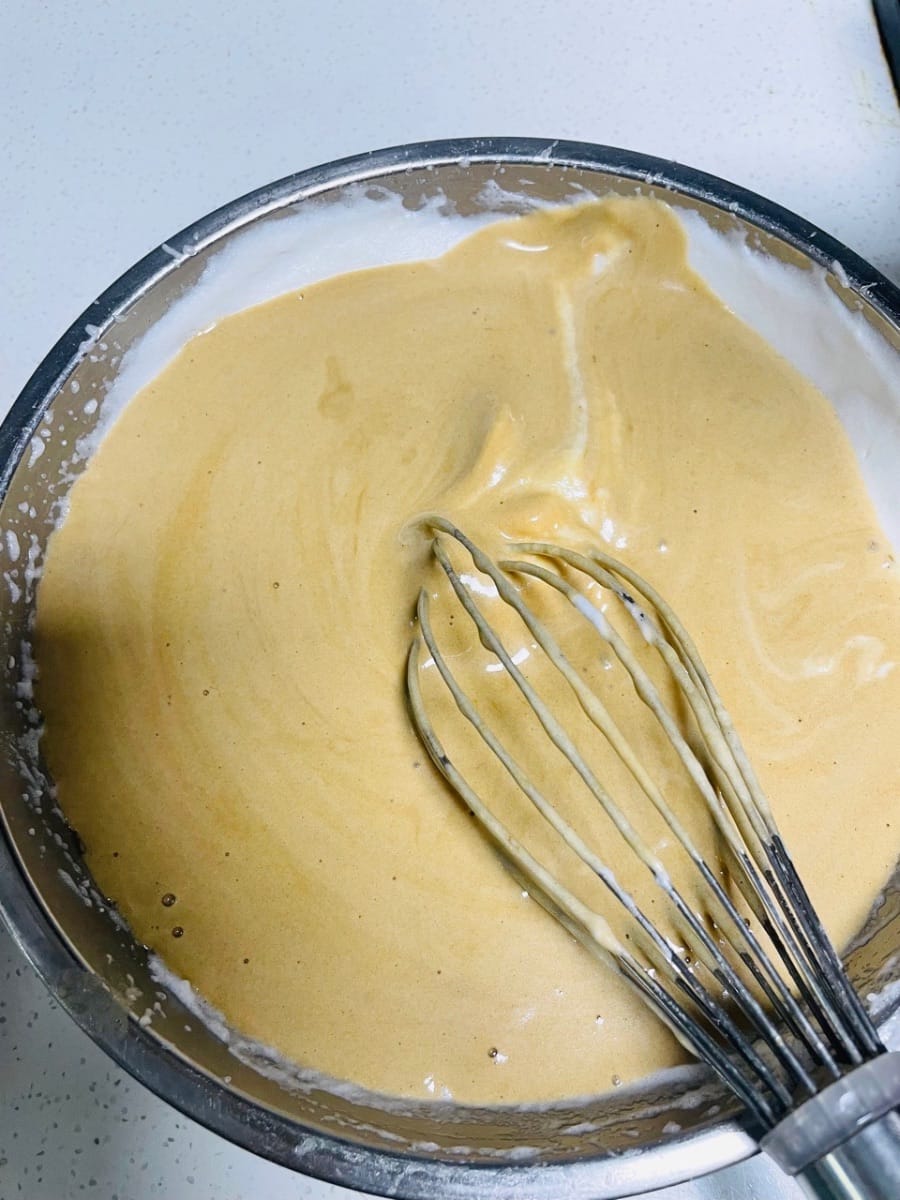
- Using the “N” shape folding technique, mix the egg yolks, coffee mixture and flour evenly until smooth and free of particles. Set aside for later use.
- Add 5 drops of lemon juice and 10g corn starch to the egg white bowl and stir manually to avoid splashing.

- Beat egg whites with an electric whisk, add 40g of white sugar in 3 times:
First time: egg whites are in the form of big fish-eye bubbles, add 1/3 sugar, beat at low speed
Second time: egg whites are fine, add 1/3 sugar, beat at medium speed
Third time: lines appear, add the remaining sugar. Adjust to low speed and beat until wet foam (lift the whisk, egg whites are in the form of an inverted triangle, chopsticks can be inserted without falling).
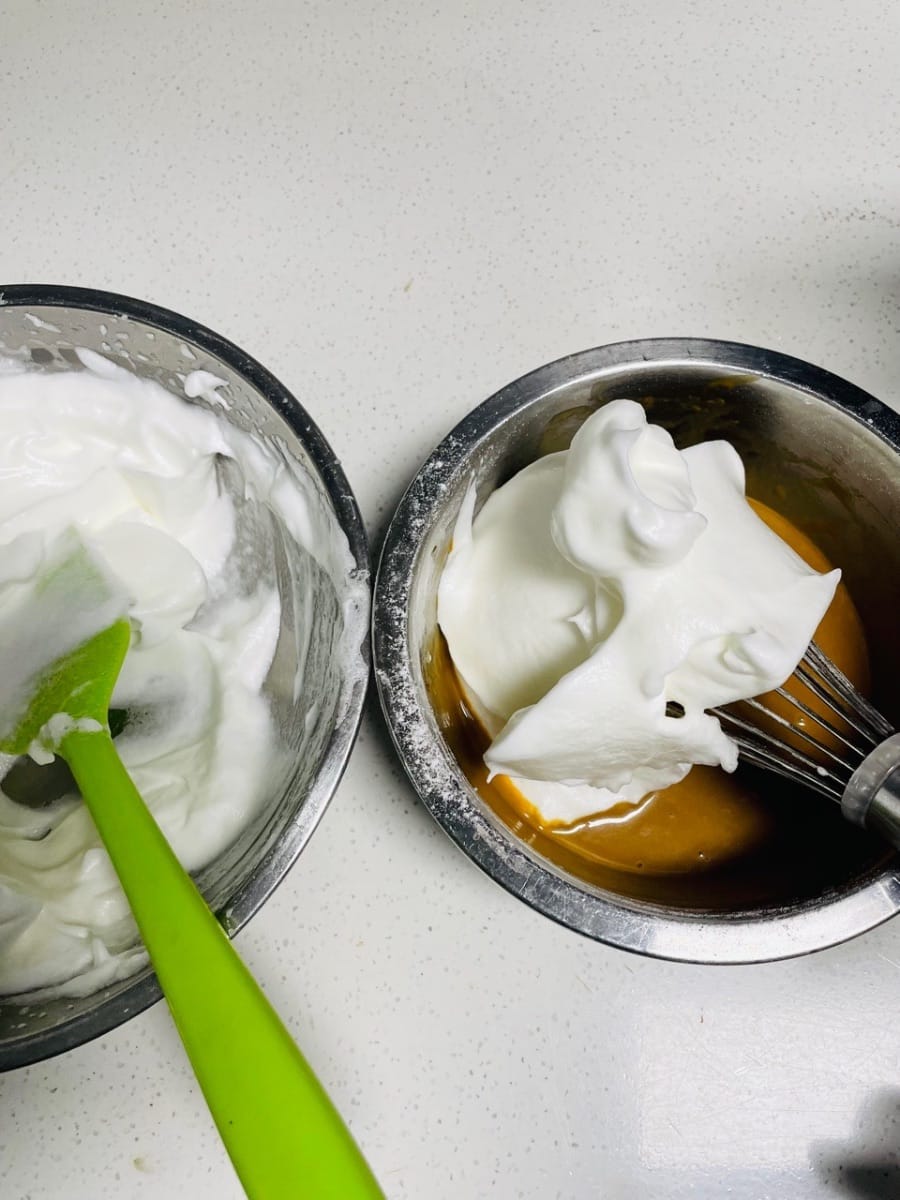
- Take 1/3 of the beaten egg whites and add the egg yolk paste, stir in an "N" shape to mix evenly.

- Pour the remaining egg whites into the batter and continue to stir in an "N" pattern. Keep your movements light and quick to avoid defoaming.
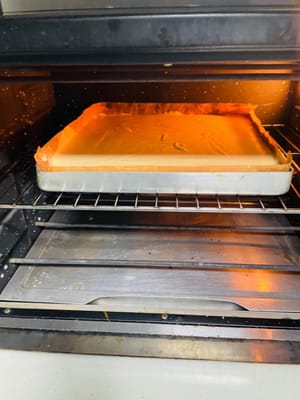
- Pour the batter from a height of 10 cm into a baking pan covered with a high-temperature oilcloth, scrape the surface with a spatula, and shake the baking pan a few times to remove bubbles.
- Preheat the oven in advance, put it in the middle layer, and bake at 160℃ for 20 minutes. Observe it at about 14 minutes. If it is over-colored, cover it with tin foil (because the oven temperament is different, it can be adjusted flexibly).
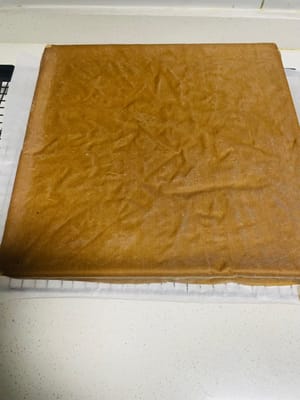
- Line the baking rack with high-temperature baking paper, take out the cake and shake it (to shake out the hot air), quickly turn it upside down on the baking paper, tear off the baking paper while it is still hot, cover it with baking paper and let it cool for later use.
- Making cream filling
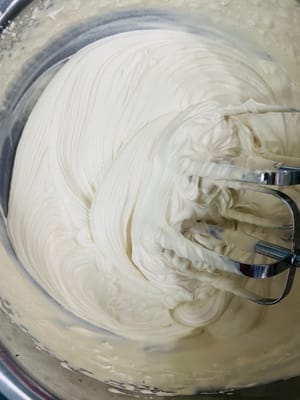
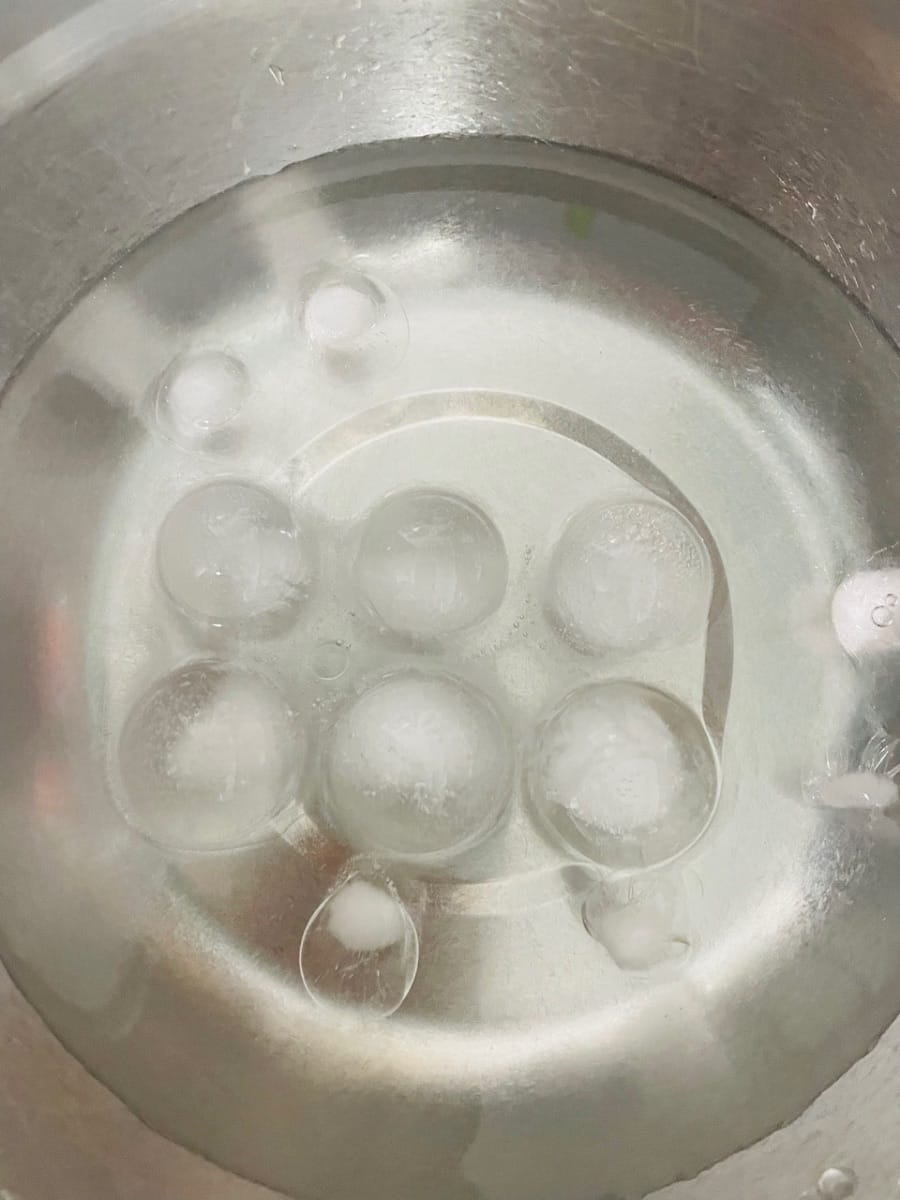
- Keep the room temperature at 15 - 20℃, prepare a basin of ice cubes and ice water (whipping cream requires a low temperature environment).

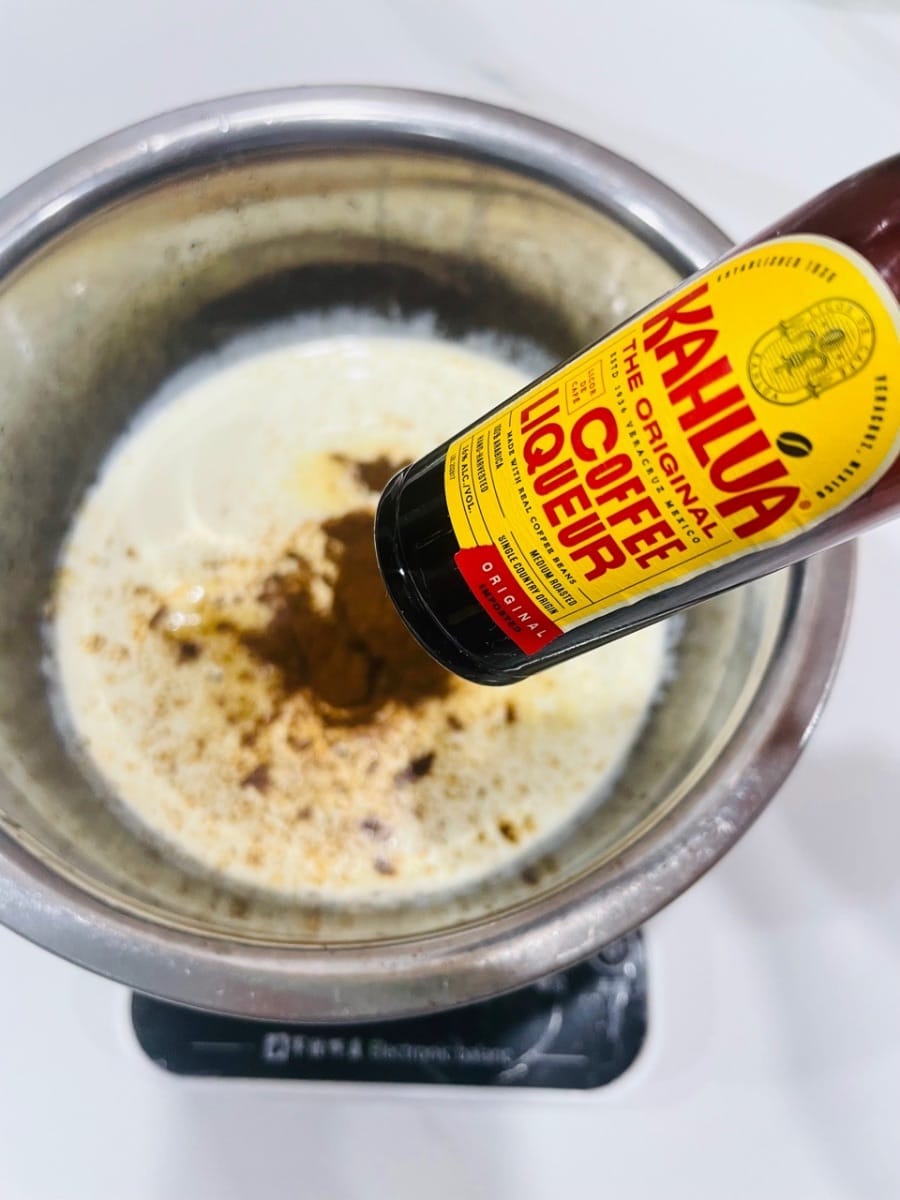
- Take a clean bowl, add 220g cream, 20 - 22g white sugar, 1 bag of coffee powder (adjust according to taste), coffee wine, place on ice water, mix the materials at low speed first, then beat at medium speed until there are textures, and finally beat at high speed until 90% (the whisk head can be inserted without falling, the texture is slightly hard, suitable for making sandwiches).


- cake assembly
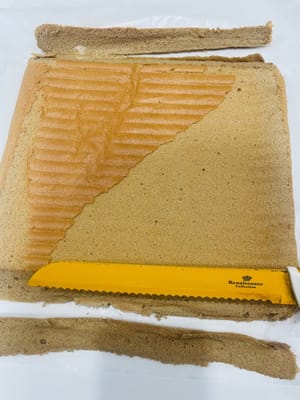
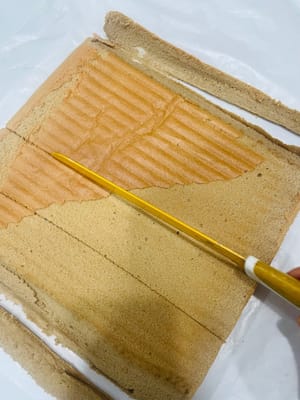
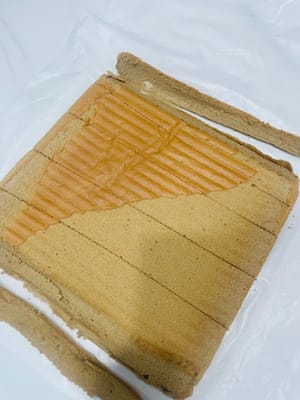
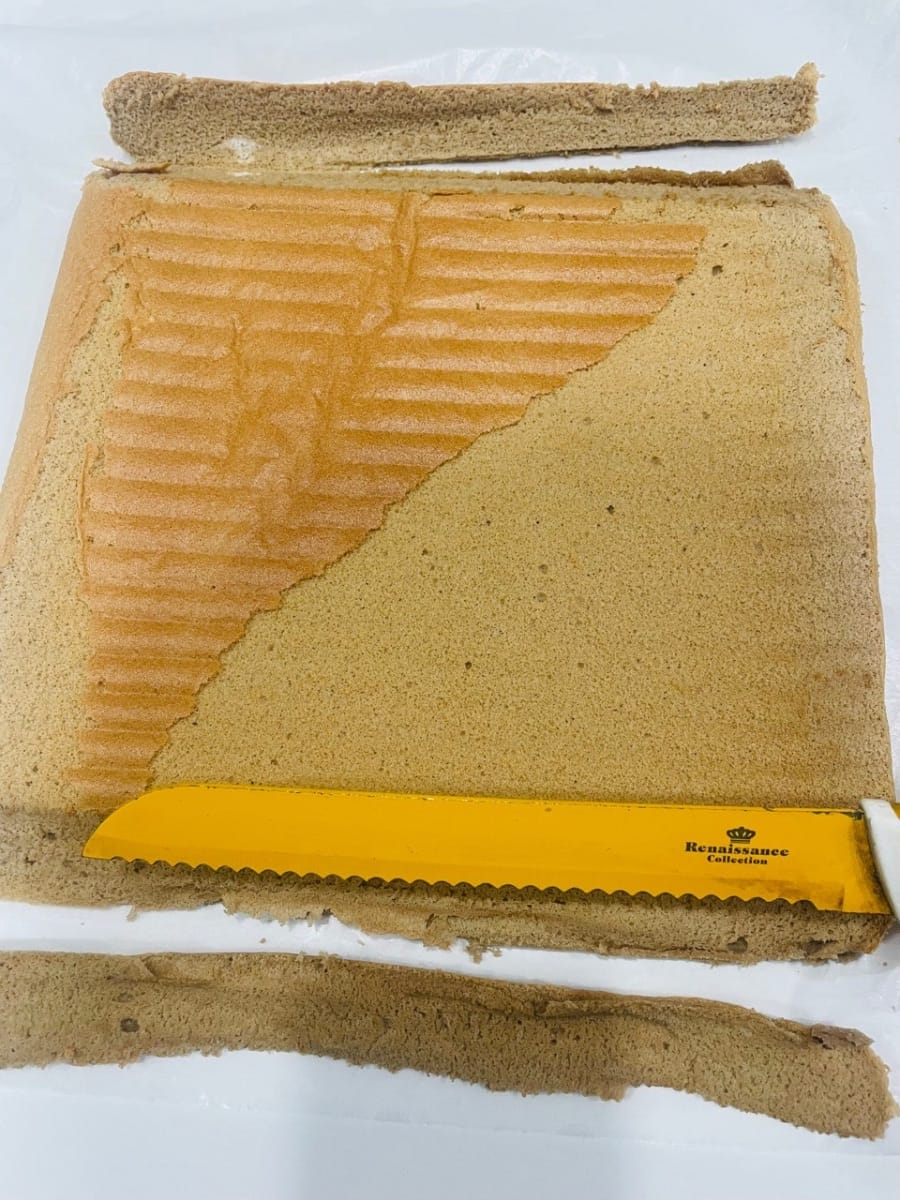
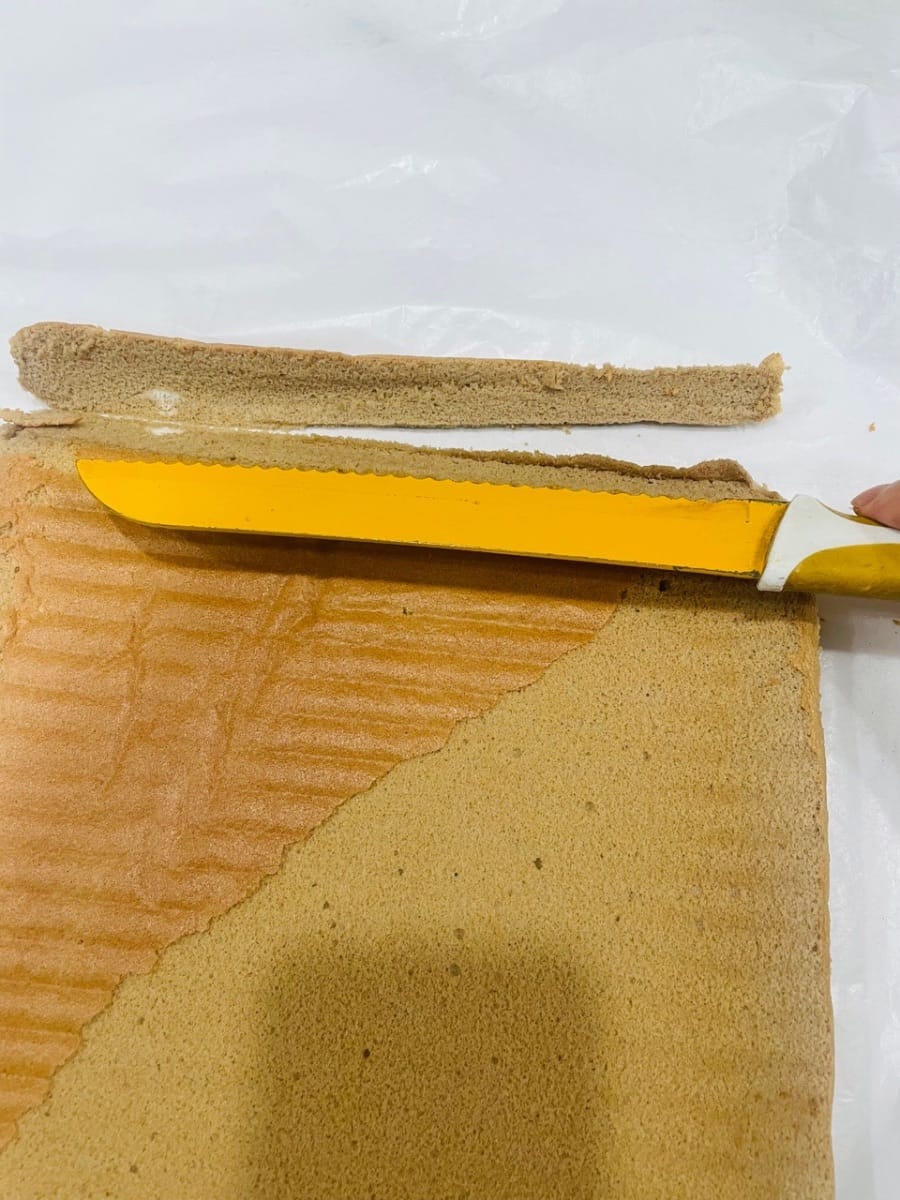
- Cool the cake slices, turn the front side up (to be rolled up later), and use a knife to make a few cuts (without cutting) to help shape them when rolling.
The surface of my cake fell off, and it was all my fault that I tore off the baking paper too hastily and rudely! And when baking, I covered it with tin foil before the time was enough, which also affected the state of the surface. Fortunately, it was rolled up backwards 😂
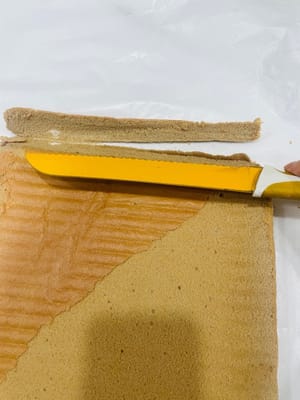
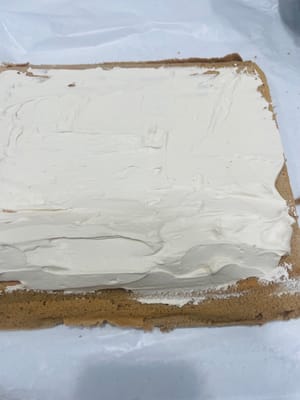
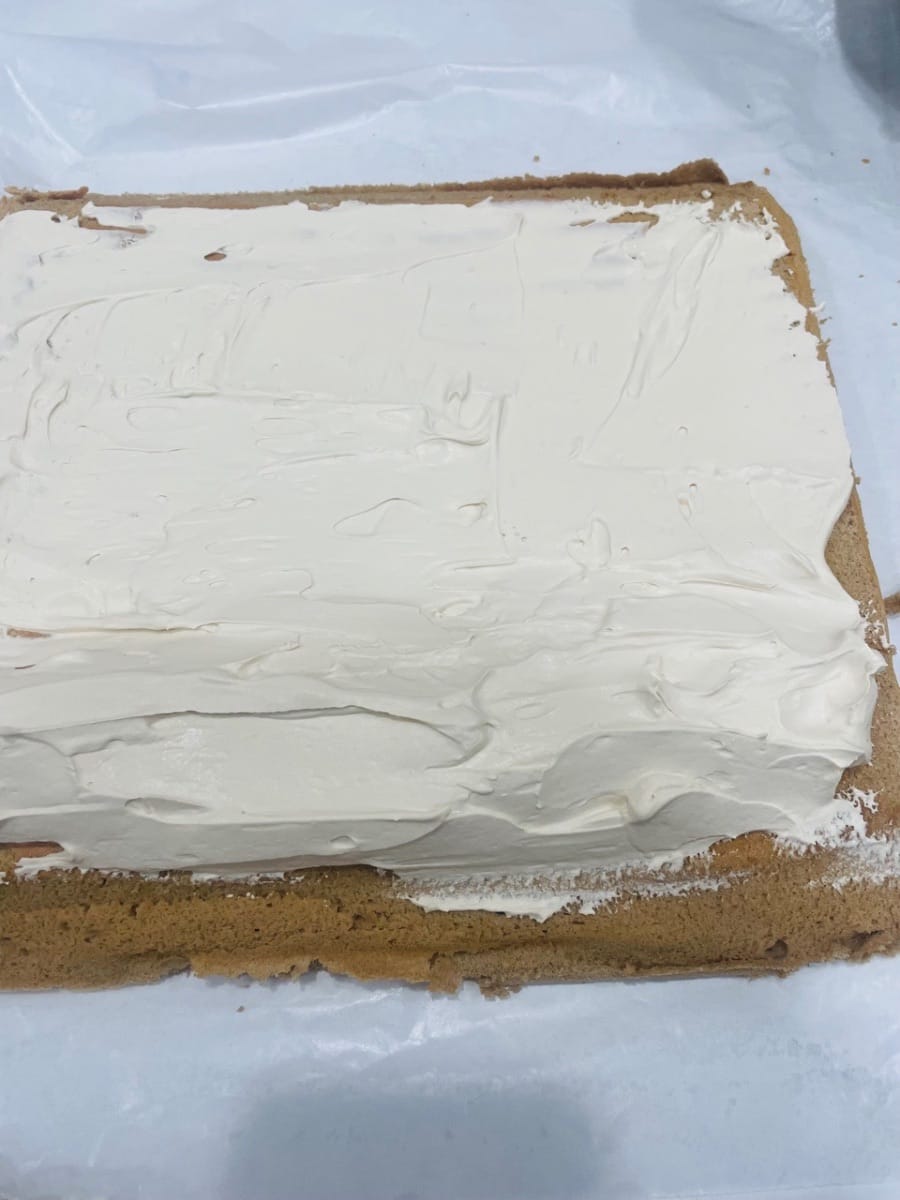
- Spread the coffee cream evenly on the side close to you, and make a small slope.
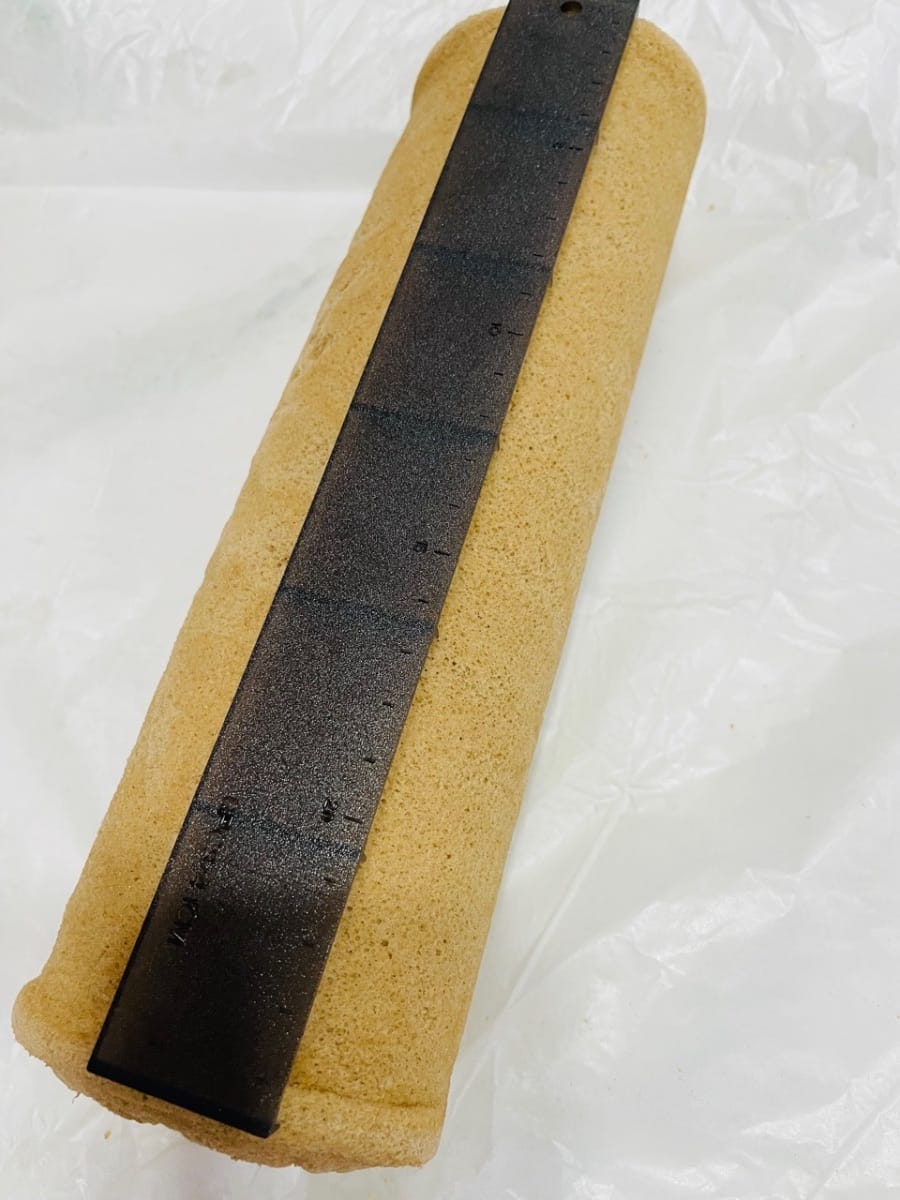
- Use wax paper or a rolling pin to quickly roll up the cake, pinch the sides (like wrapping candy), secure with clips, and refrigerate for more than 2 hours (overnight is better, so it will be more firmly shaped).
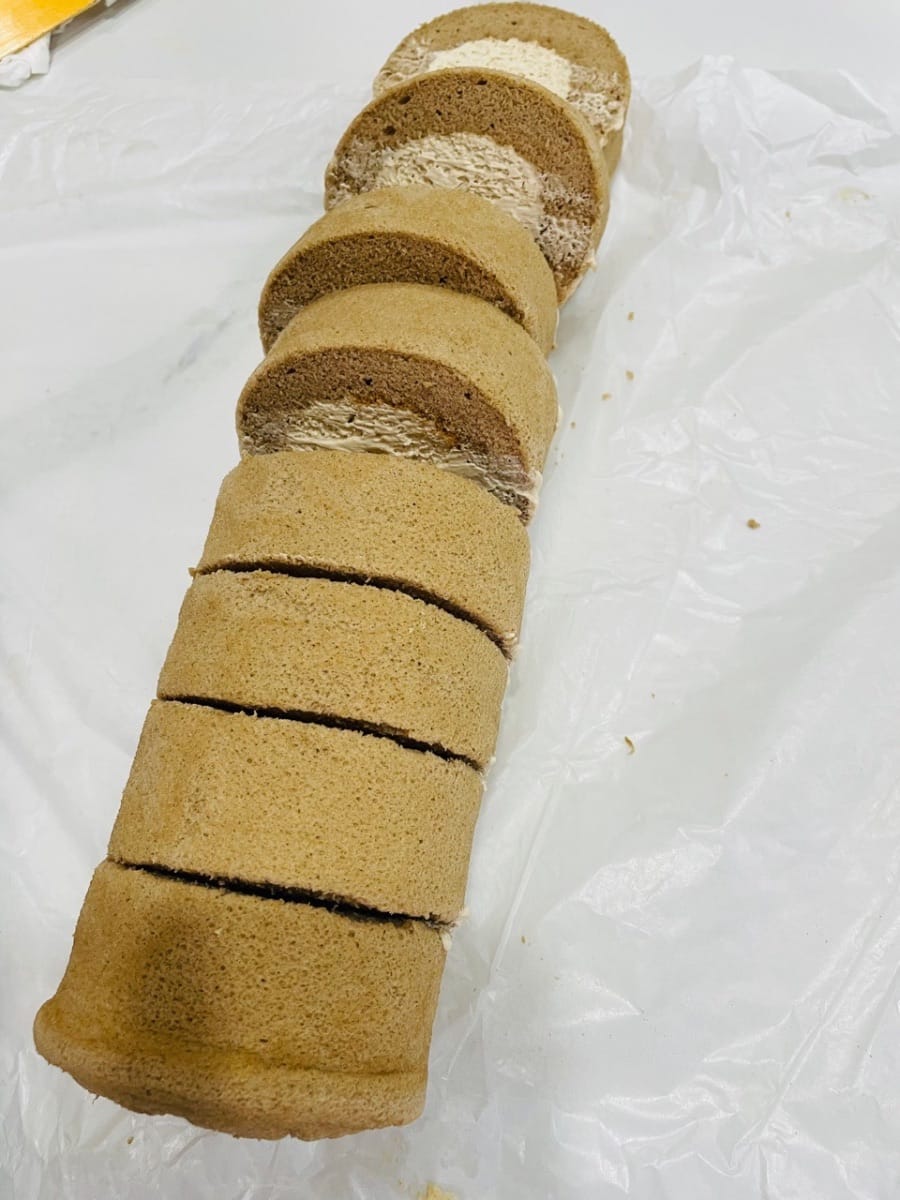
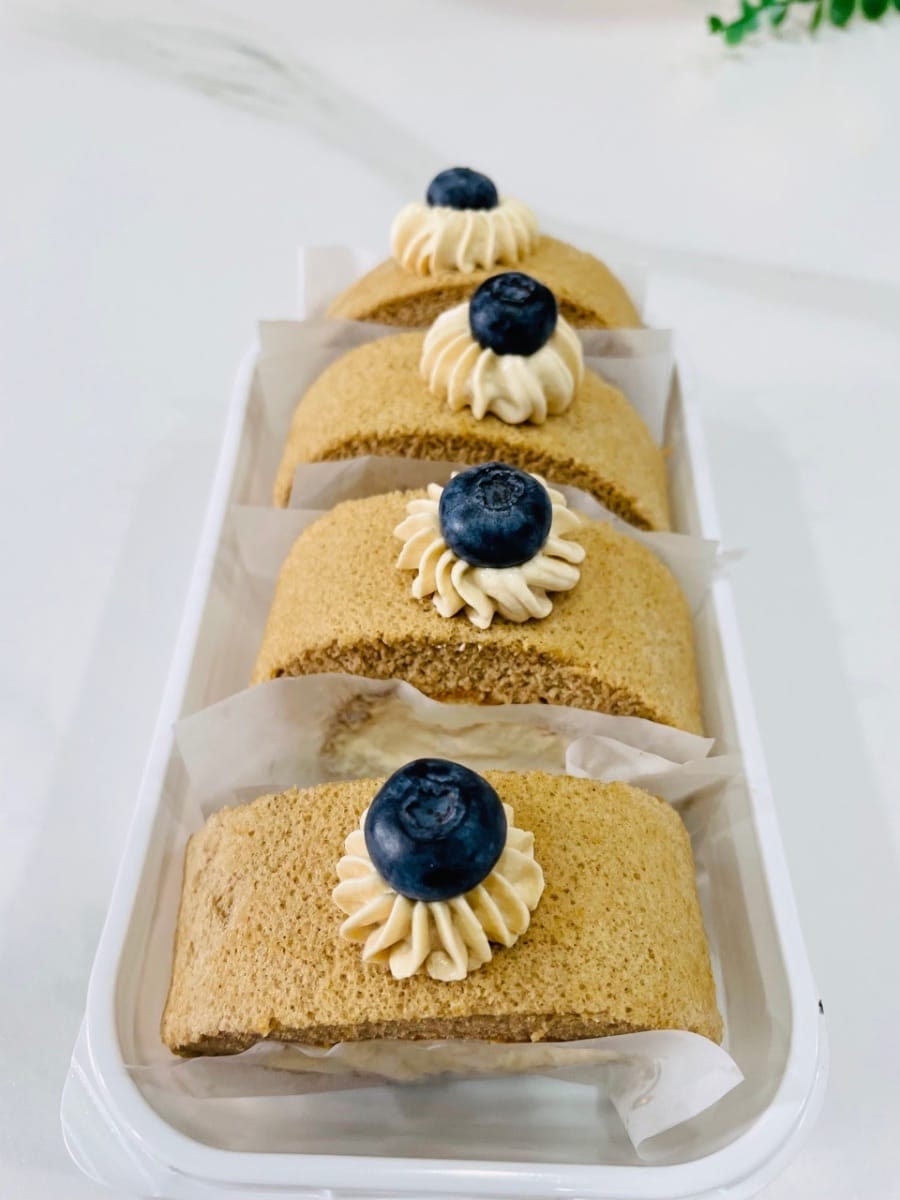
- Take out the refrigerated cake roll, remove the clips, and slice it evenly with a knife (you can use a cake slicer to help). You can also squeeze some cream on the surface for decoration, and then you can share it with your bestie!


- Precautions for preventing the cake roll from cracking: 1. Make a good base for the cake: Whip the meringue wetly, bake at 150-170℃ for enough time (the surface is golden and elastic), turn it upside down after taking it out of the oven to cool thoroughly before rolling it. 2. There are some skills in rolling: use wax paper to help, roll it slightly tight in the first circle, and then roll it smoothly with even force; don't put too much filling to avoid cracking.


Languages
Reichhaltige Kaffeecreme-Tortenrolle - Deutsch (German) versionRich coffee cream cake roll - English version
Rollo de pastel de crema de café rico - Español (Spanish) version
Gâteau roulé à la crème de café riche - Français (French) version
Kue Gulung Krim Kopi - Bahasa Indonesia (Indonesian) version
rotolo di torta con crema al caffè - Italiana (Italian) version
濃厚コーヒークリームケーキロール - 日本語 (Japanese) version
커피 크림 케이크 롤 - 한국인 (Korean) version
เค้กโรลครีมกาแฟ - แบบไทย (Thai) version
濃情咖啡牛油蛋糕卷 - 香港繁體中文 (Traditional Chinese - Hong Kong) version