Soft and fragrant black sesame toast (savory flavor)
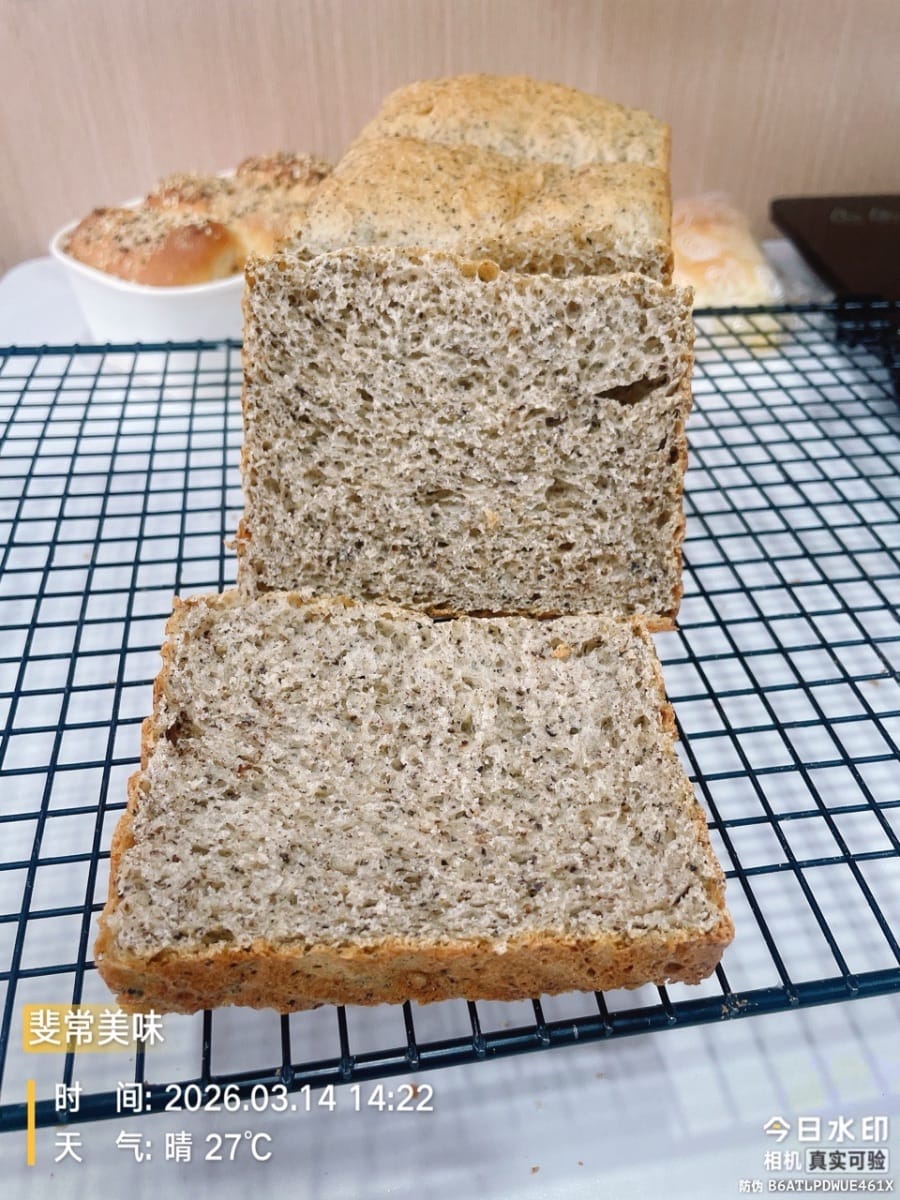
This black sesame toast is absolutely delicious! The moment you tear it open, a rich sesame aroma wafts out, mingling with the scent of wheat and filling your nostrils. The toast is soft and fluffy, springing back gently when squeezed. It's moist and not dry, with a delicate texture and a slight chewiness. Every bite reveals finely chopped sesame seeds, making it increasingly fragrant with each chew. It's also packed with nutrients: rich in calcium, iron, and vitamin E, it helps replenish blood and promotes bowel regularity. With no added ingredients, it's a healthy and satisfying choice, perfect for breakfast with yogurt or as an afternoon snack.
Ingredients
- 250g high-gluten flour (The recipe makes one 450g loaf of bread.)

- 20g butter

- 2.5 grams of dry yeast

- 150g frozen whole milk

- 20g sugar (If you prefer a sweeter taste, adjust the amount of sugar to 35 grams.)

- 2.5 grams of salt (If you like it salty, add 3 grams of salt; if you don't like it salty, add 1 gram of salt. Adjust the amount of sugar accordingly.)

- 50g of egg liquid

- 12 grams of milk powder

- 30g black sesame powder

Steps
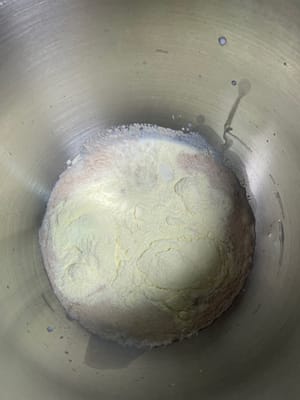
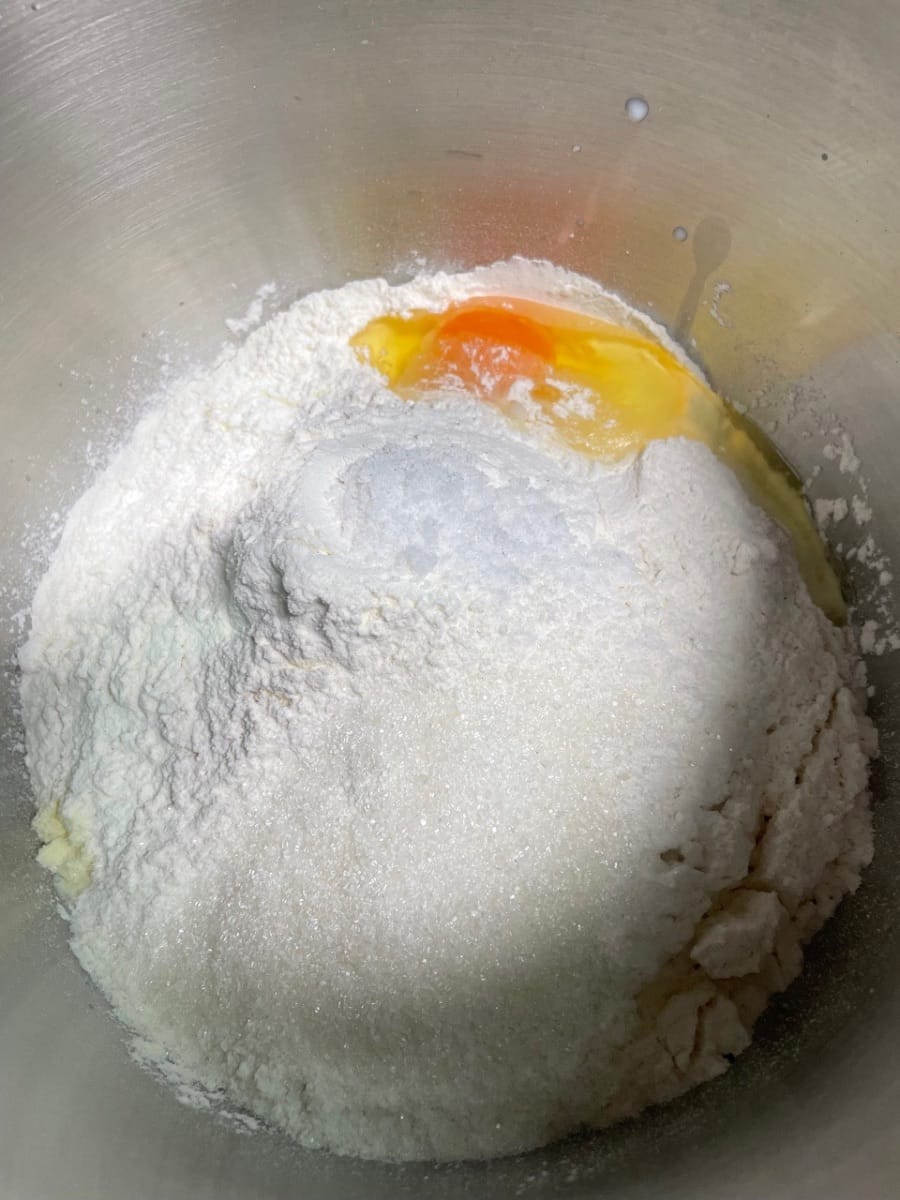
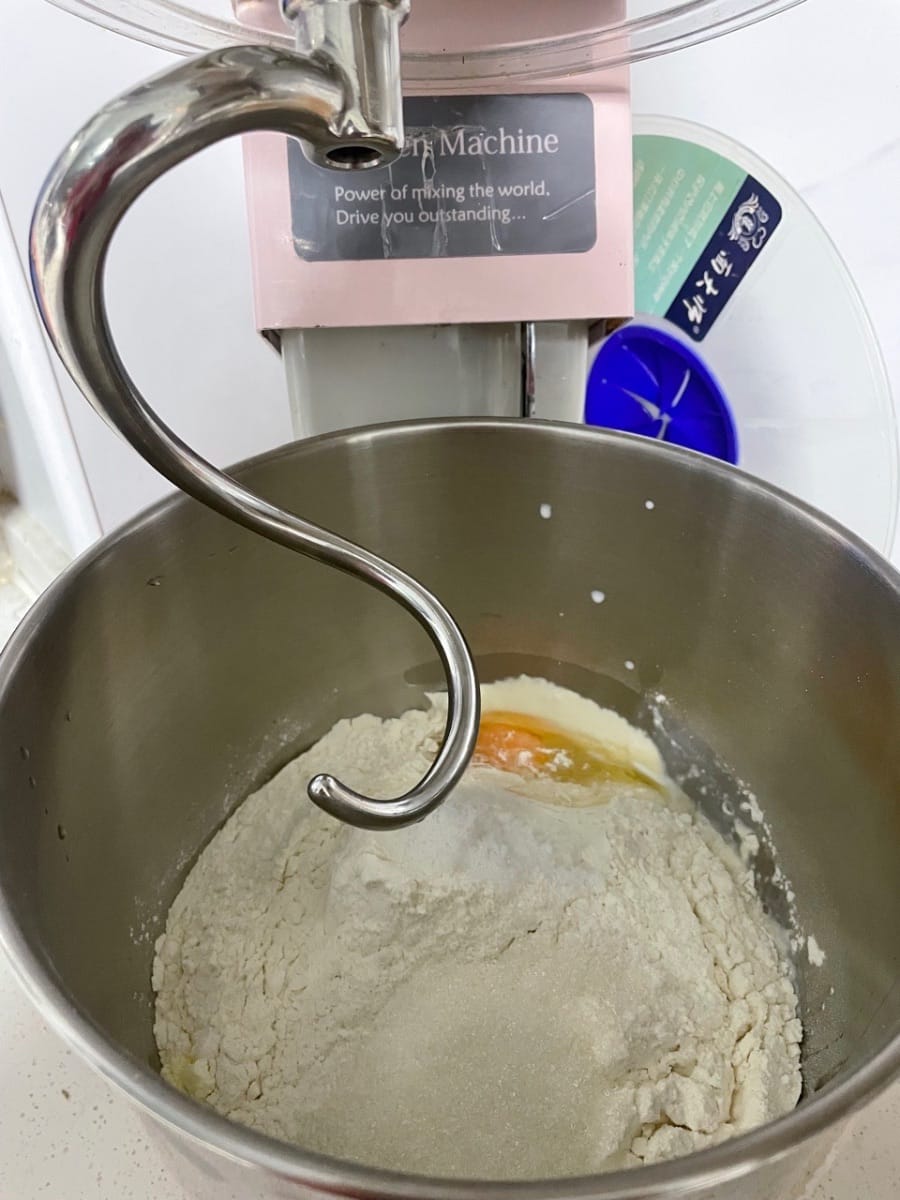
- Throw all ingredients except the butter into the mixing bowl at once~
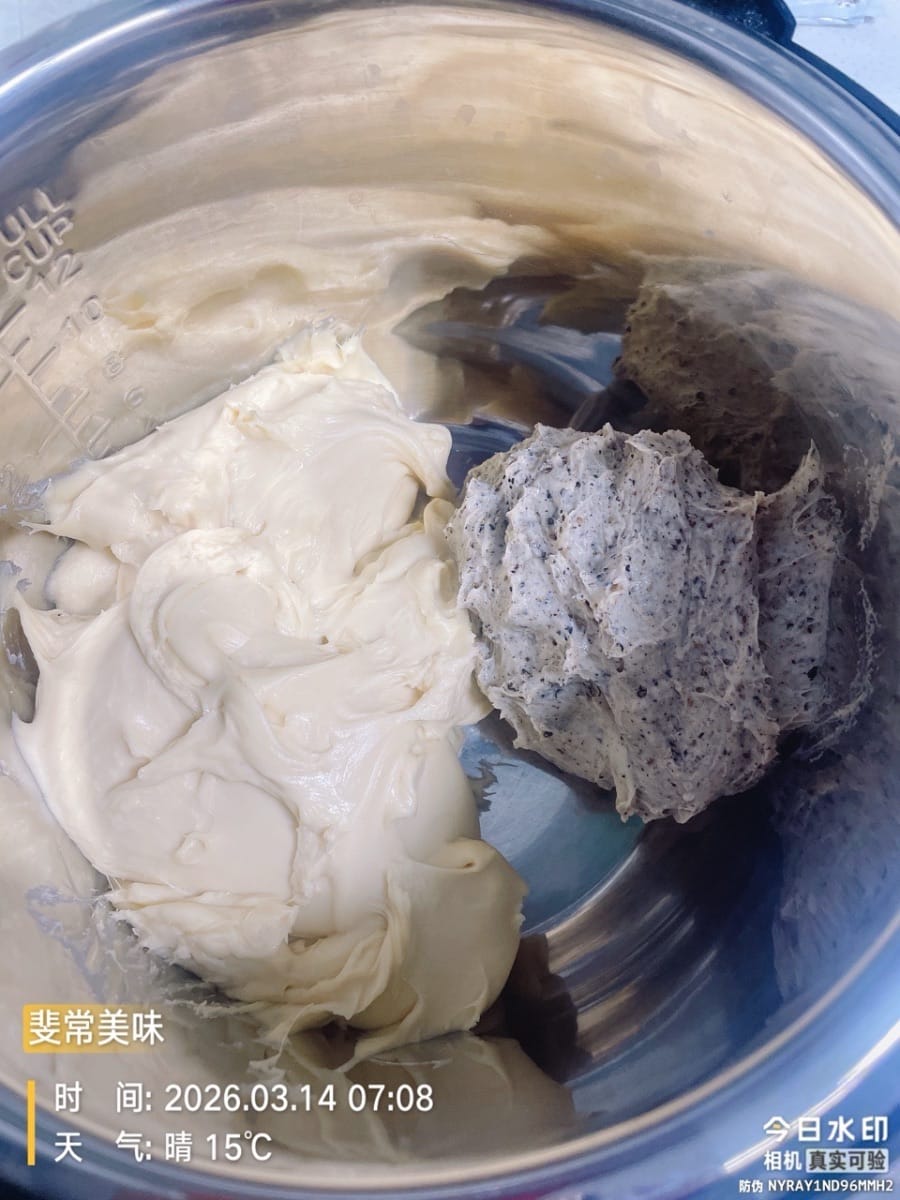
(If you're like me and want to make other flavors of bread, don't add the black sesame powder yet, add it later; if you're only making this one type, just add the black sesame powder now.)


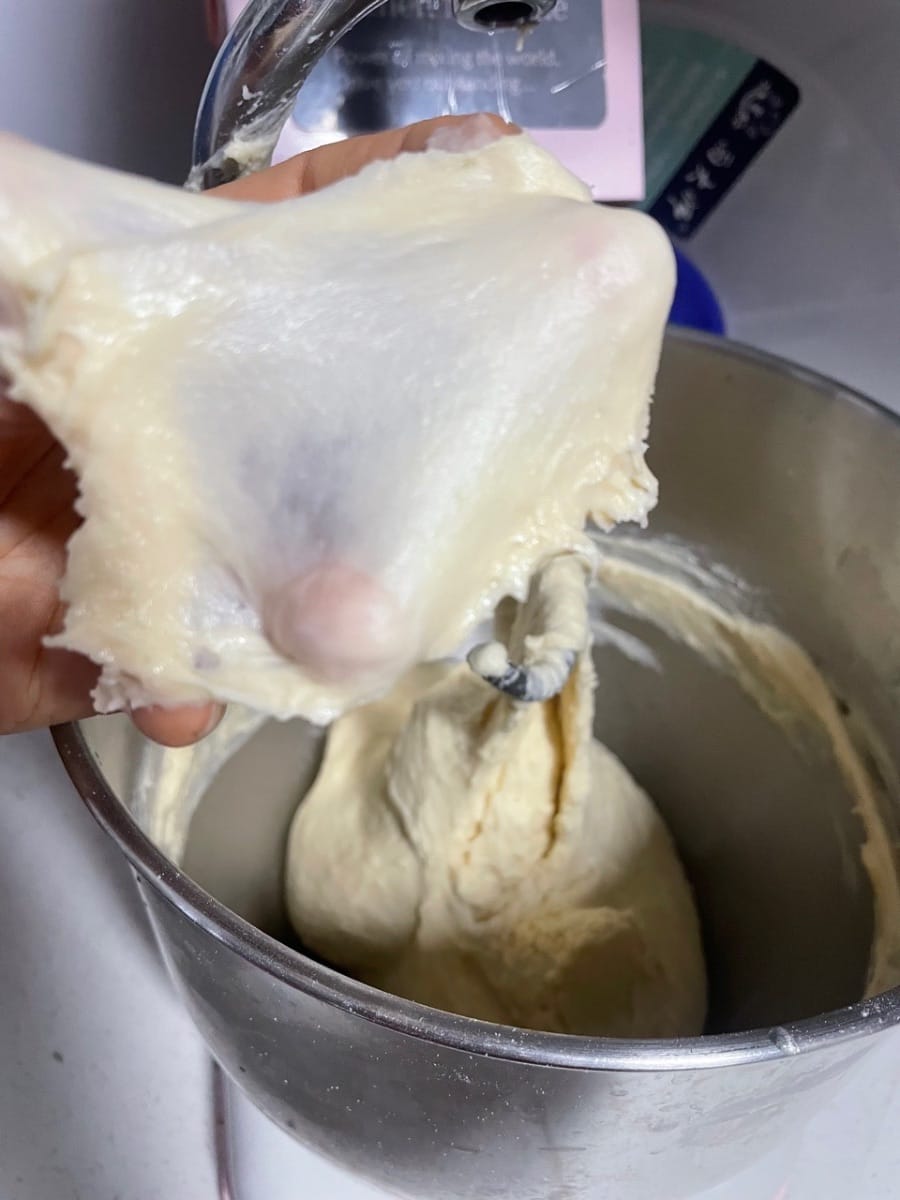
- First, knead the dough until it reaches 80% membrane consistency: it should be able to stretch into a thin film with slightly jagged edges, but it doesn't need to be perfect.


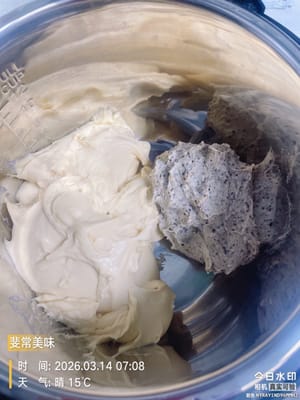
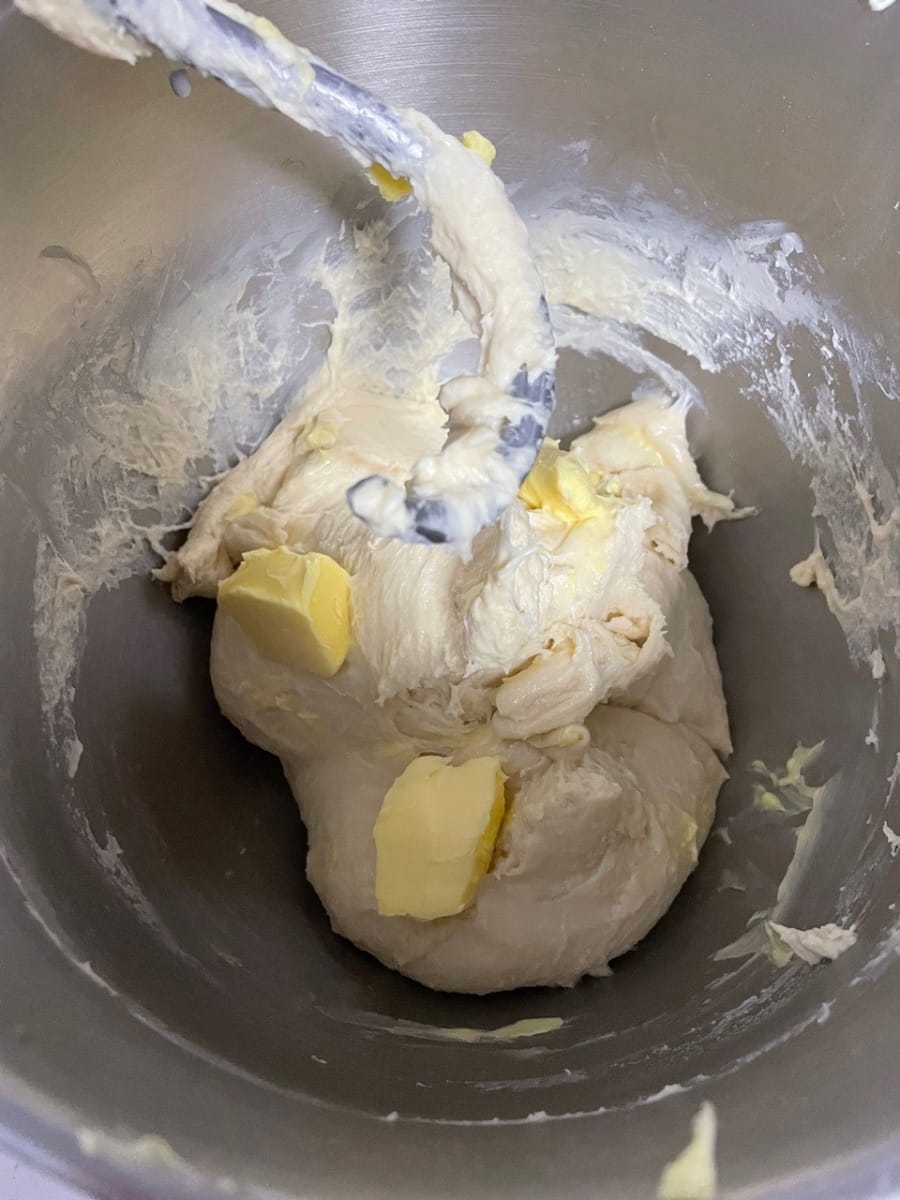
- Now add the butter and continue kneading until it forms a thin, elastic membrane (like a glove). The membrane should be thin and resilient, with smooth edges when torn.


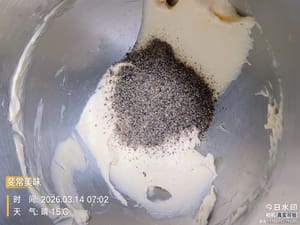
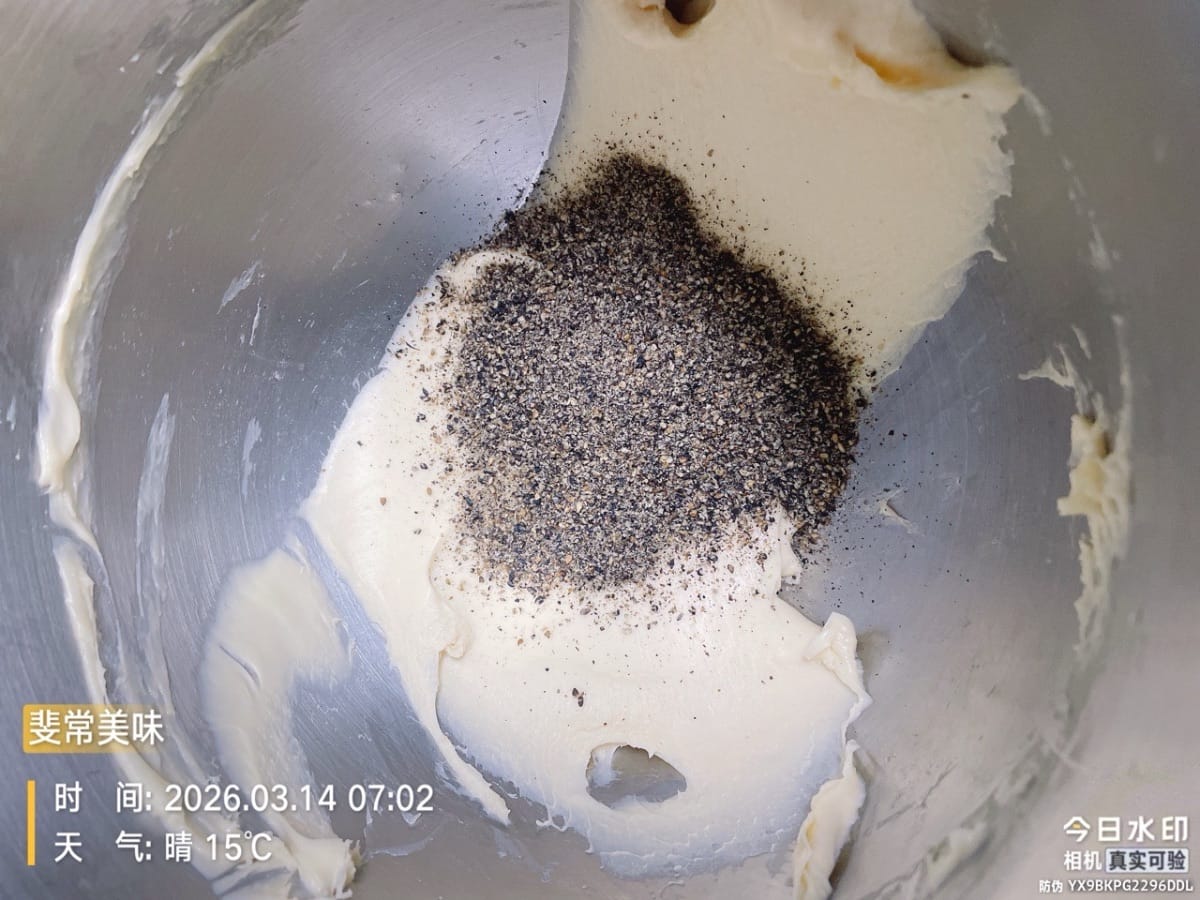
- If you didn't add black sesame powder before, add it now and knead until the dough is evenly colored and the black sesame seeds are all coated in it.

- Take out the kneaded dough and place it in a humid environment at around 35°C (such as placing a bowl of hot water in the oven) to ferment until it doubles in size. It's ready when you poke a hole with your finger and it doesn't shrink back or collapse.
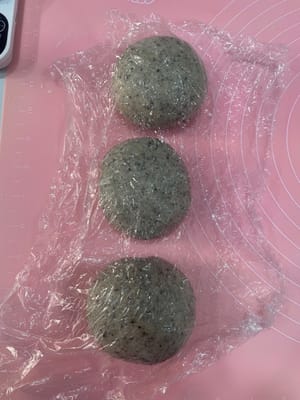
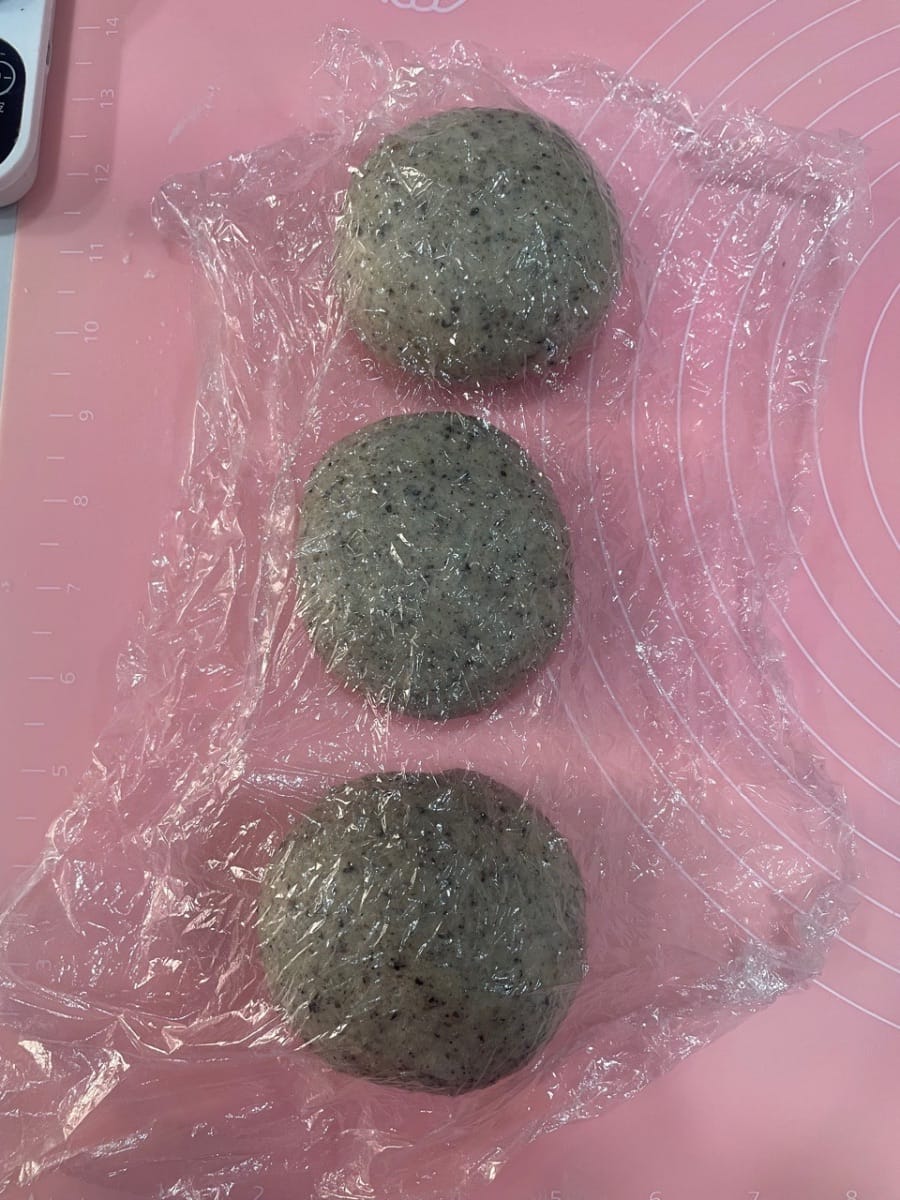
- Take out the risen dough, deflate it, divide it into 3 equal portions, roll each portion into a ball, cover with plastic wrap, and let it rest for 10 minutes to allow the dough to breathe, making it easier to roll out later.
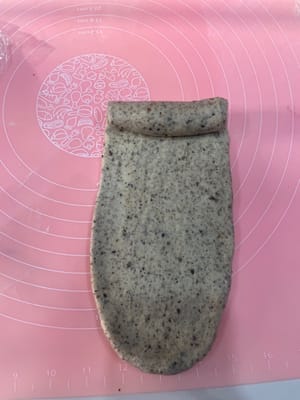
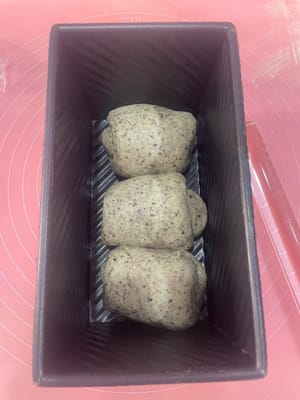
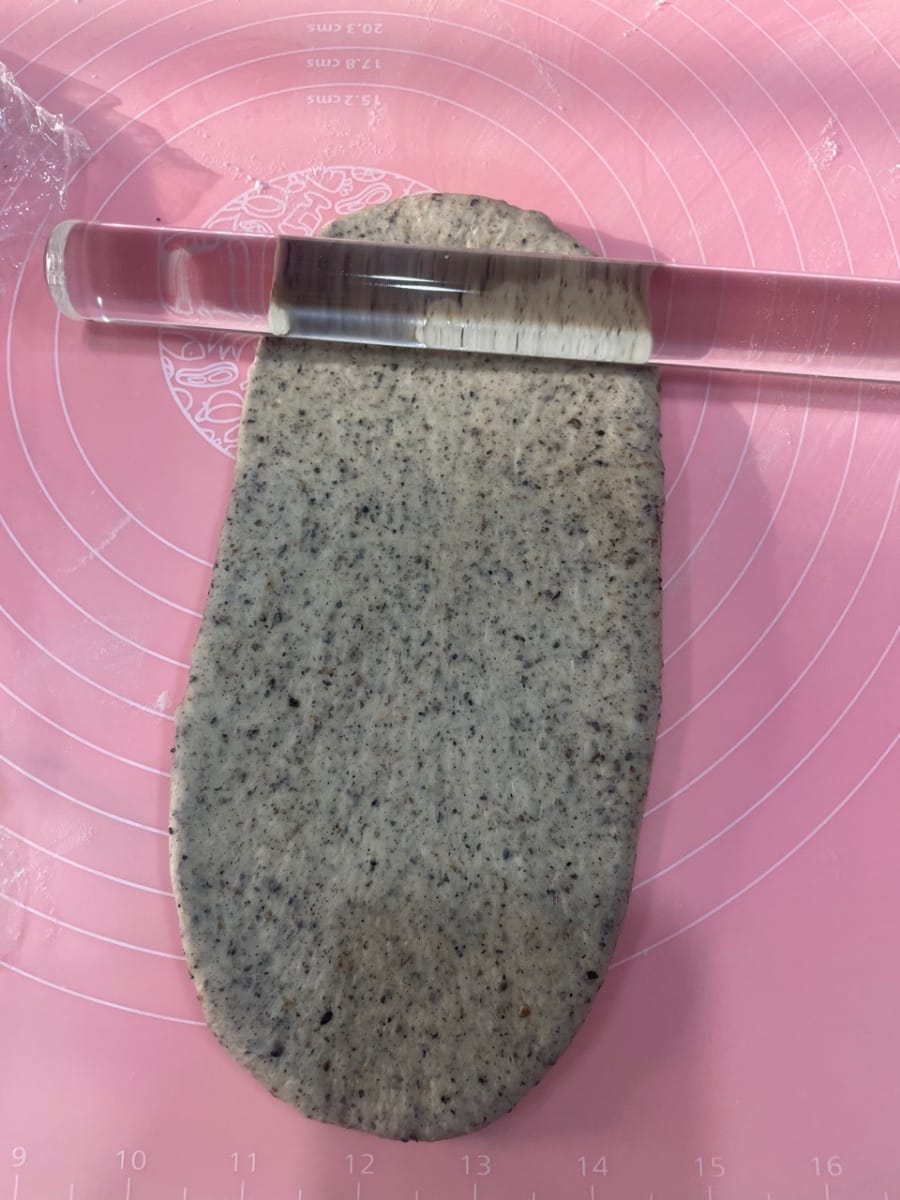
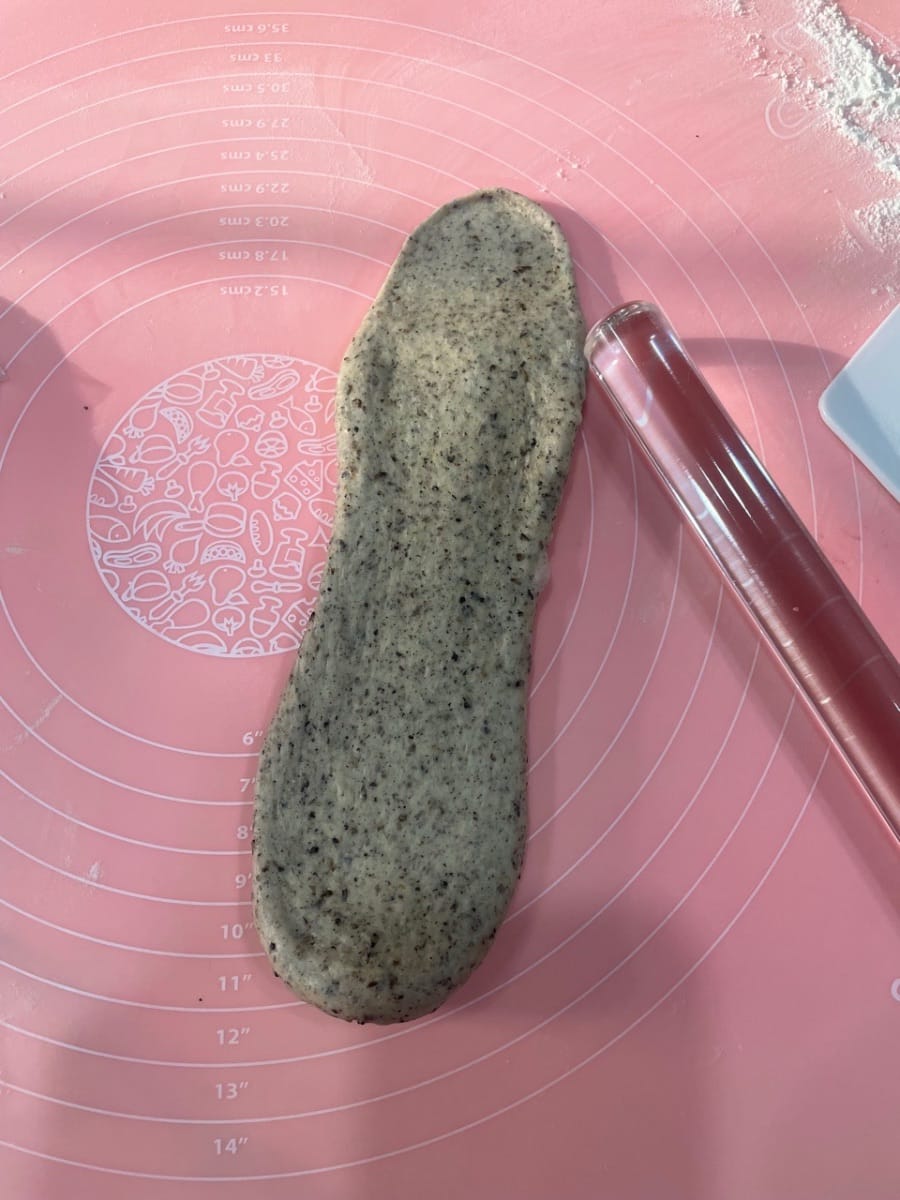
- Take a rested dough ball, gently flatten it to release the air, roll it out into a long strip with a rolling pin, and roll it up; roll it out again, roll it up again, and place it vertically into a loaf pan.
Repeat this process for all three loaves, placing them one by one into the loaf pan.


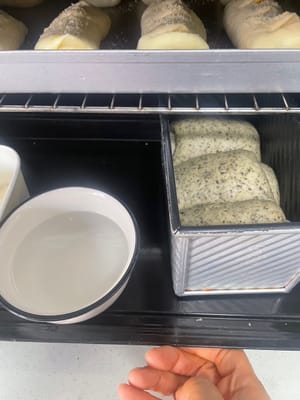
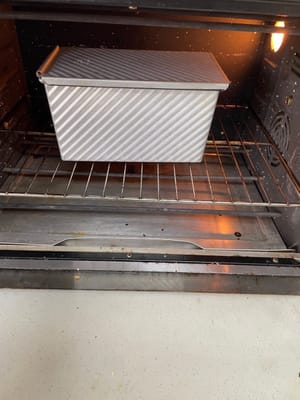
- Place the loaf pan in a humid environment at around 30°C and let it rise until it is 80% full (about the height of the edge of the loaf pan). Then you can prepare to bake it.
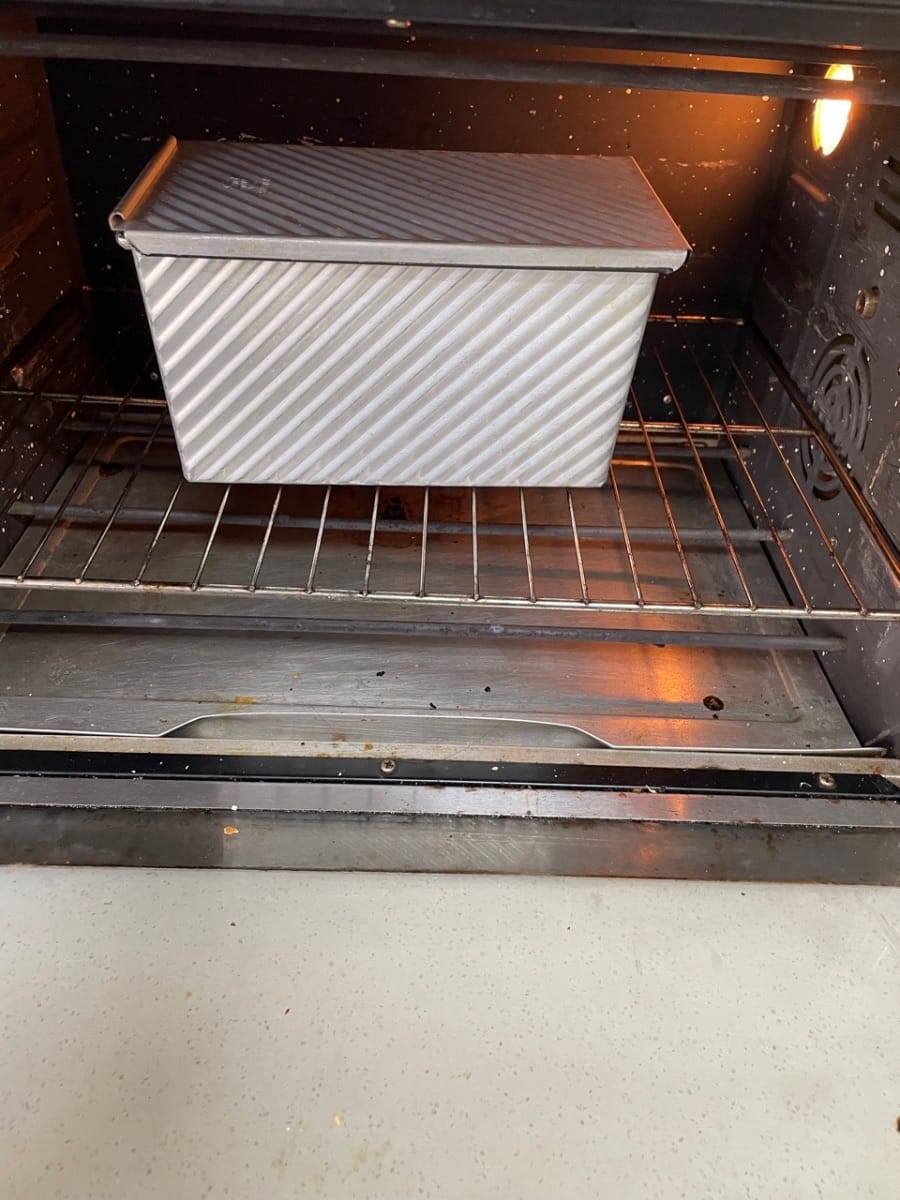
- For a loaf pan with a lid: Bake at 200°C (390°F) with both top and bottom heat for 30 minutes. The result will be perfectly square and beautiful.
For a loaf pan without a lid: To prevent burning, adjust the top heat to 110°C and the bottom heat to 230°C (440°F), and bake for the same amount of time. Remember to adjust the temperature slightly according to your oven's characteristics to avoid burning!

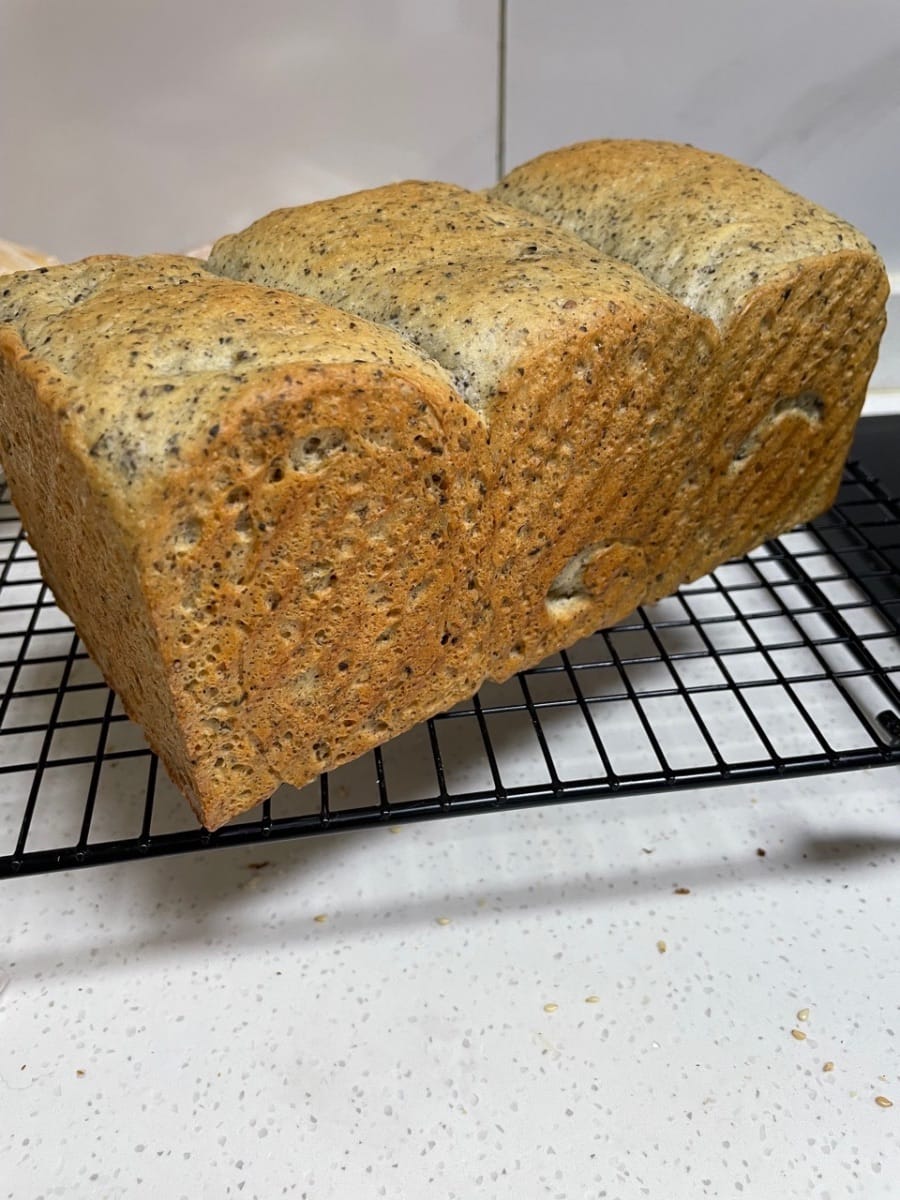
- Remove from the mold immediately after baking and let cool on a wire rack until room temperature before slicing; otherwise, it may collapse and crumble.


Languages
Weicher und duftender schwarzer Sesam-Toast (herzhafter Geschmack) - Deutsch (German) versionSoft and fragrant black sesame toast (savory flavor) - English version
Tostada de sésamo negro suave y aromática (sabor salado) - Español (Spanish) version
Toast au sésame noir moelleux et parfumé (saveur salée) - Français (French) version
Roti panggang wijen hitam yang lembut dan harum (rasa gurih) - Bahasa Indonesia (Indonesian) version
Toast morbidi e profumati al sesamo nero (sapore salato) - Italiana (Italian) version
柔らかく香ばしい黒ごまトースト(香ばしい風味) - 日本語 (Japanese) version
부드럽고 향긋한 검은깨 토스트 (짭짤한 맛) - 한국인 (Korean) version
ขนมปังปิ้งงาดำเนื้อนุ่มหอม (รสชาติอร่อย) - แบบไทย (Thai) version
軟香黑芝麻吐司(鹹香) - 香港繁體中文 (Traditional Chinese - Hong Kong) version