Rainbow Spiral Pastry
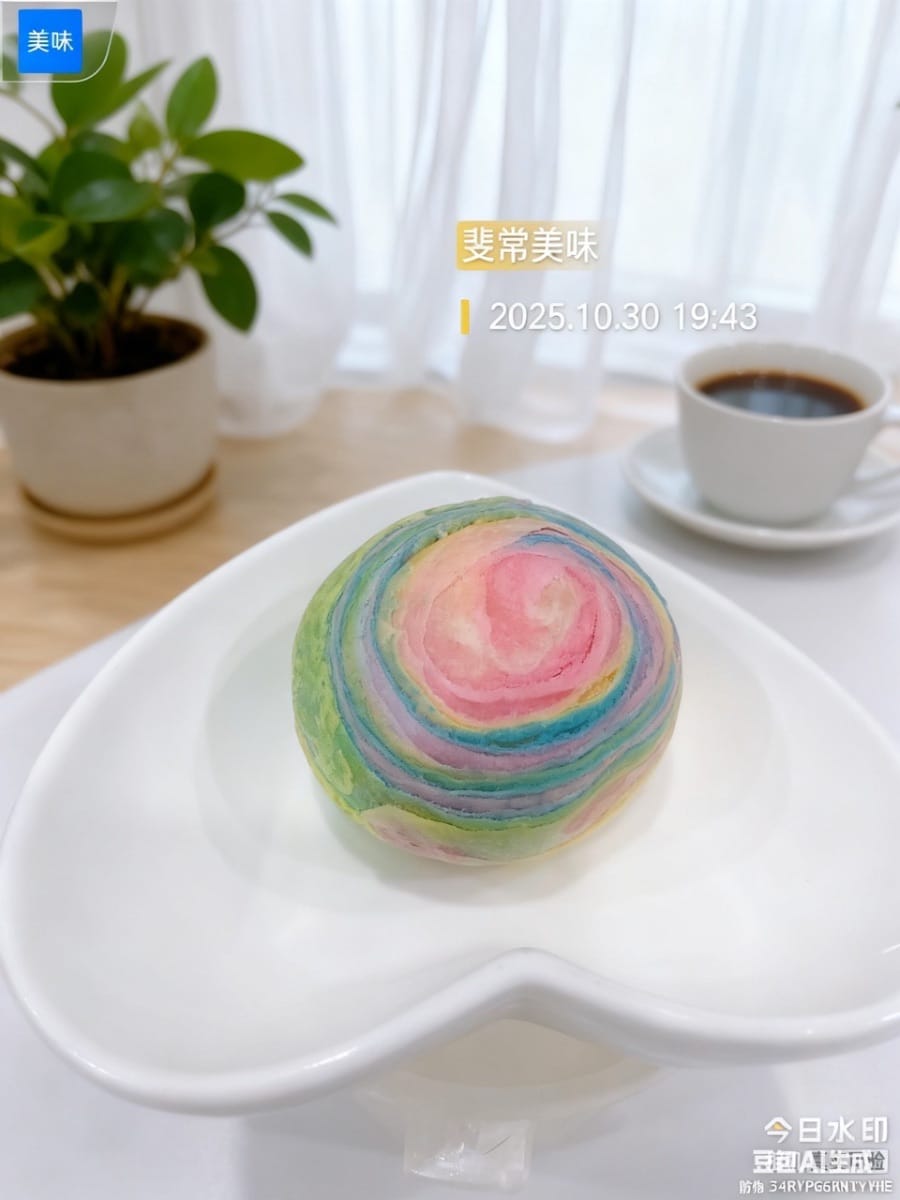


Check out these rainbow spiral pastries! They're absolutely gorgeous! They look like a rainbow twisted together, with layers of pink, green, and blue—you can't take your eyes off them! And the taste is even better! One bite and they crumble, filled with a delightful mix of pork floss, egg yolk, and red bean paste—a perfect blend of sweet and savory, the more you chew, the more fragrant they become. This is also a social staple! It makes a great gift for holidays, and relatives and friends will definitely praise your thoughtfulness. Post it on social media, and it'll get hundreds of likes in no time, making you the most stylish person on your feed. Perfect for personal enjoyment or as a presentable gift. They're easy to make, so get started—it'll definitely be a top choice for your dinner table and gift list!
Ingredients
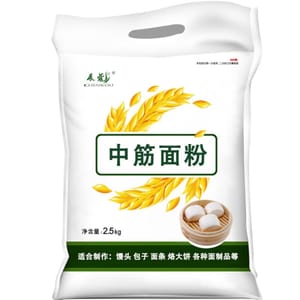
- 200g all-purpose flour
- 70g solid lard

- 80g water

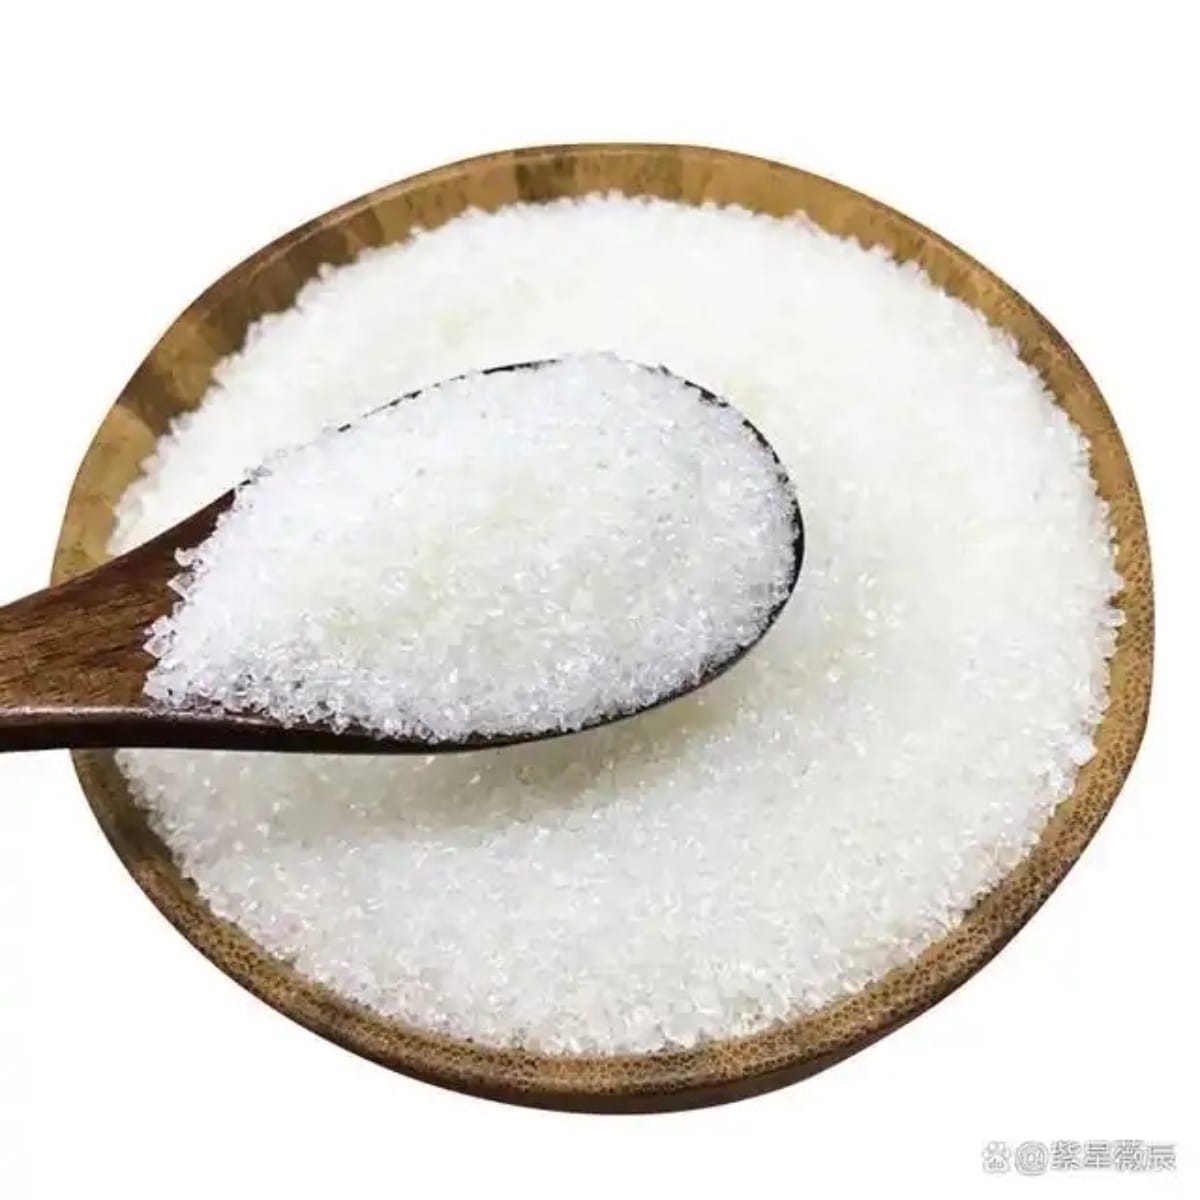
- 35 grams of white sugar

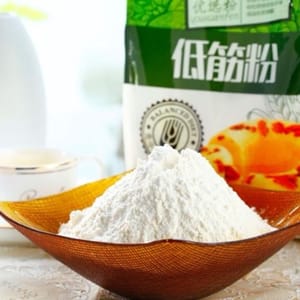
- 185g low-gluten flour
- 85g solid lard

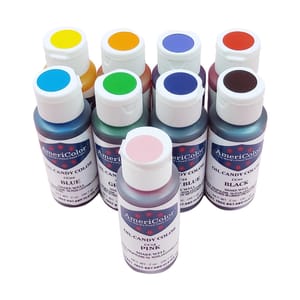
- 3 drops of yellow food coloring

- 3 drops of blue food coloring

- 3 drops of light purple food coloring
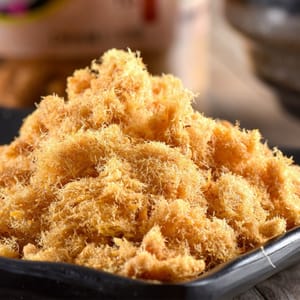
- 25g pork floss
- Approximately 20 salted egg yolks (I used salted egg yolks, which makes it more fragrant.)

- 20g unsalted butter

- 600g low-sugar red bean paste

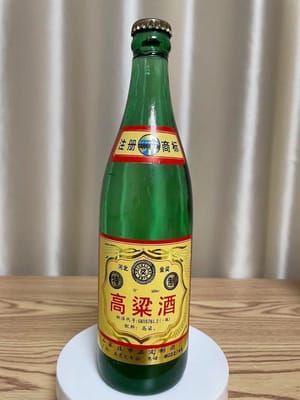
- 50 10ml of high-proof liquor (above 50 degrees)


Steps
- 1. Filling preparation (This step requires careful attention; the deliciousness of the filling is the soul of the dish!) Keep the filling moist throughout the process, covered with plastic wrap.
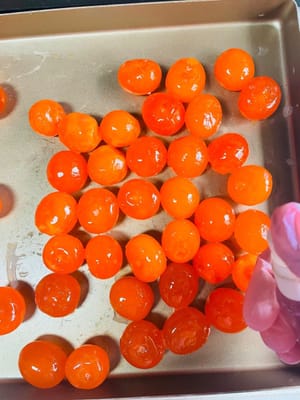
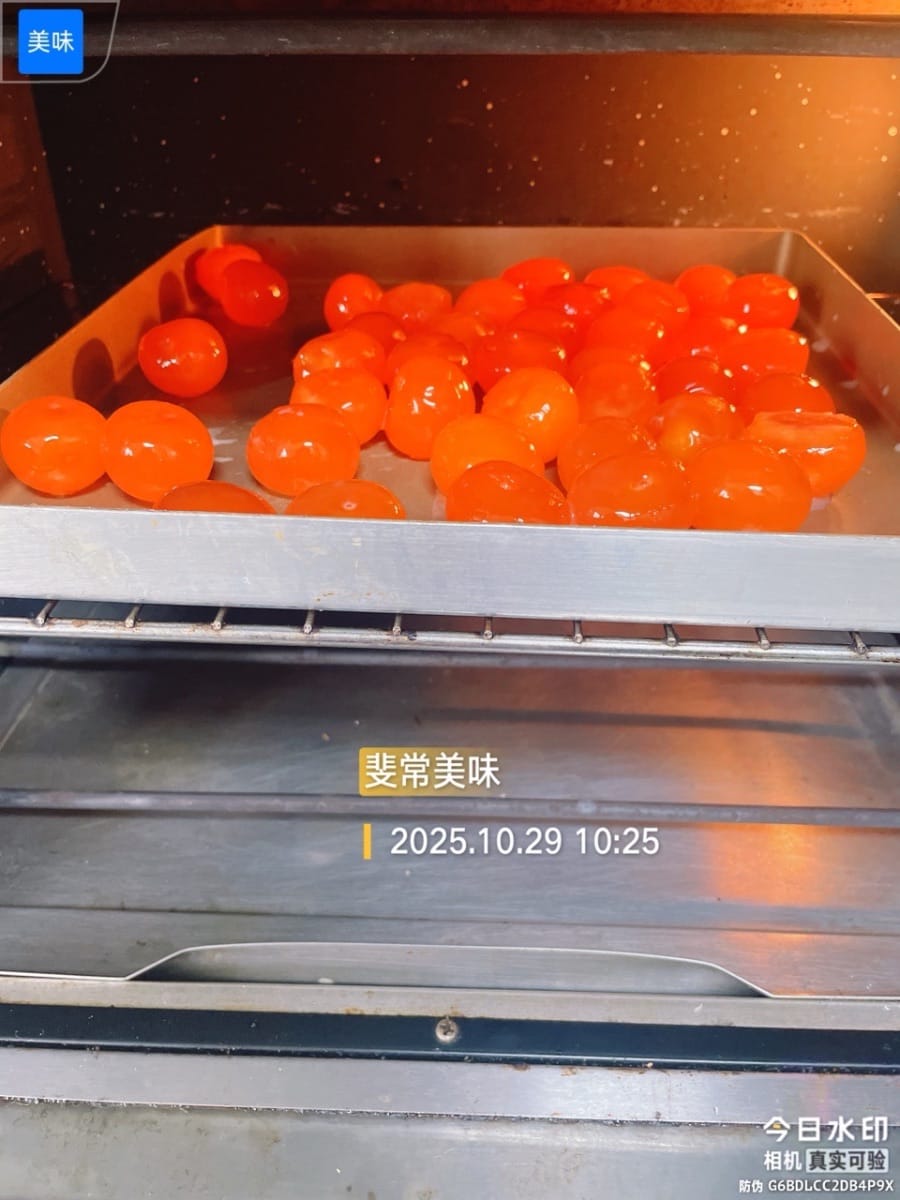
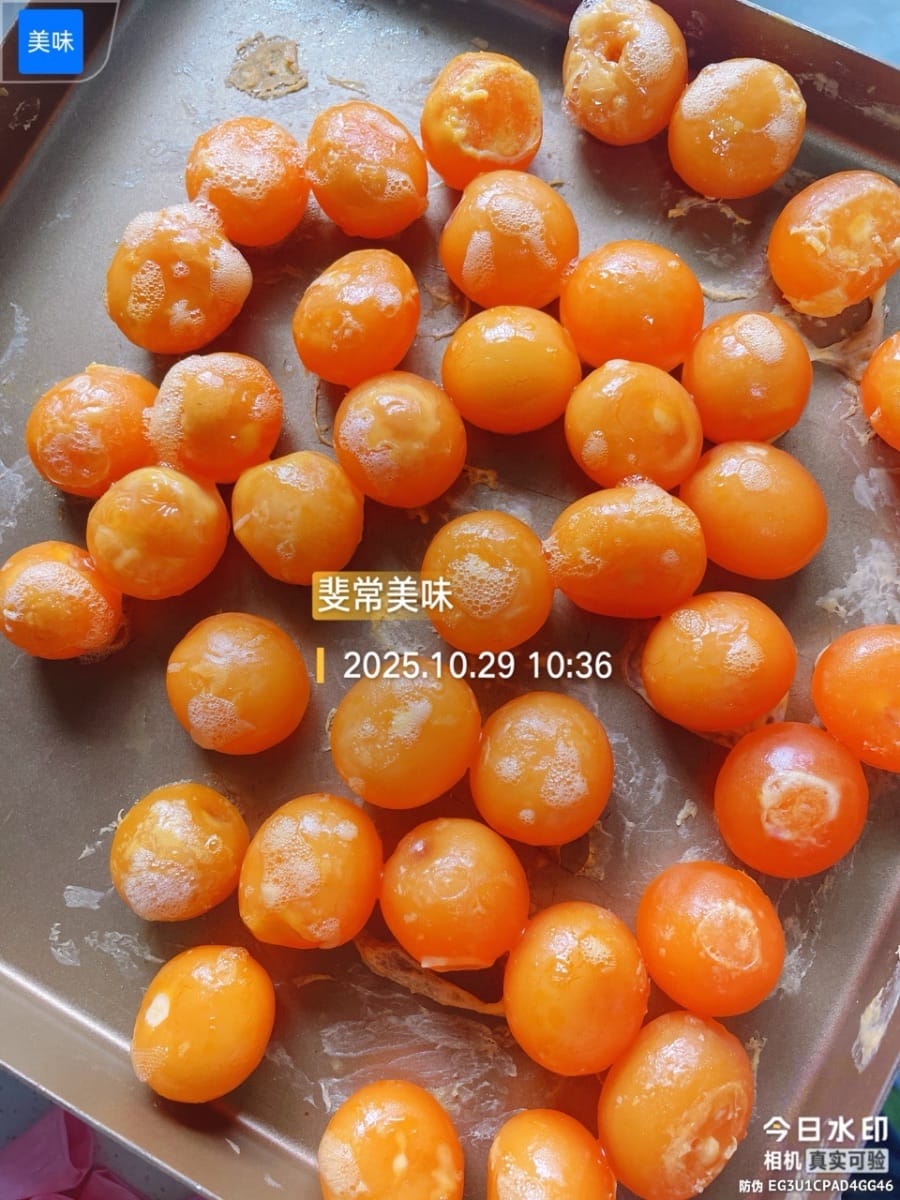
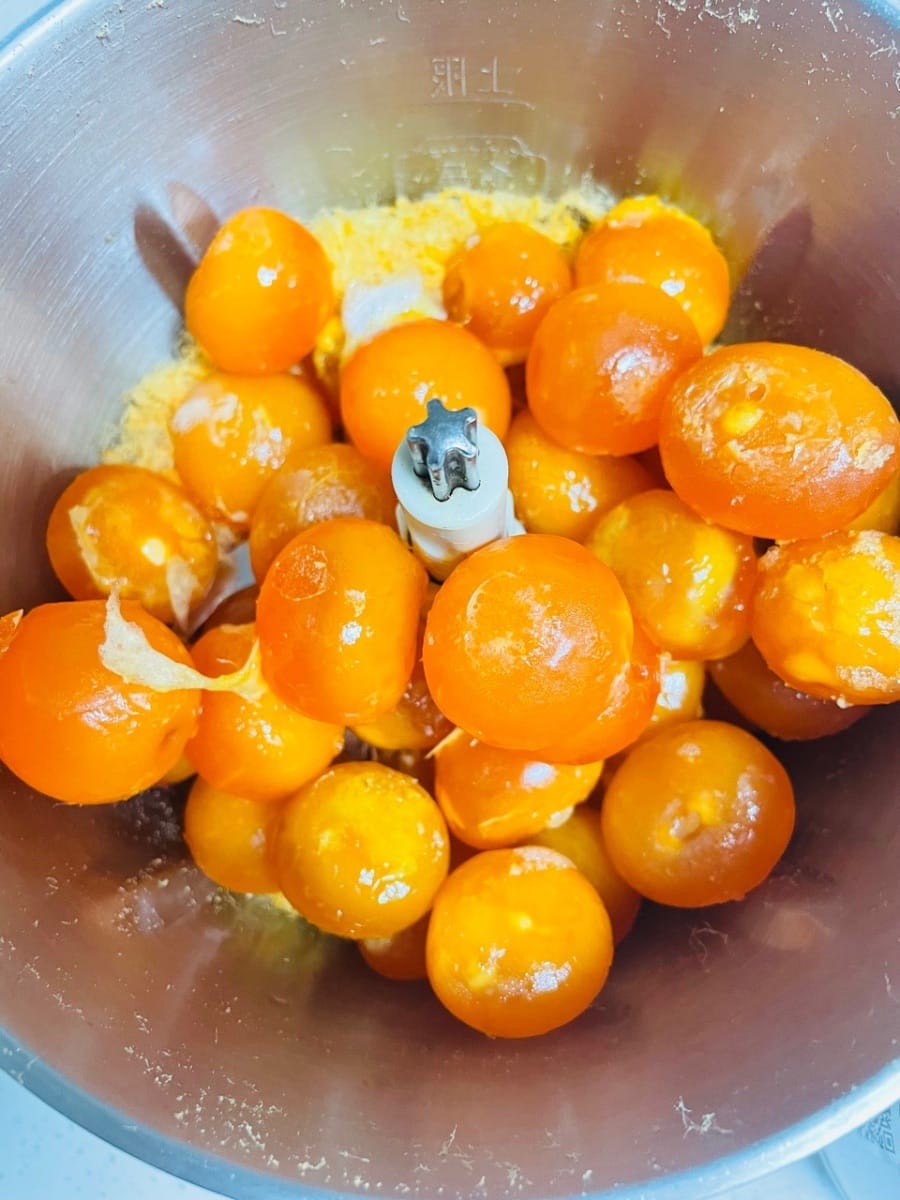
- Salted Egg Yolk Preparation
Remove the salted egg yolks from the eggs and carefully wash off the white membrane on the outside, otherwise it will have a fishy smell and affect the taste. Then spray some high-proof liquor (above 50 degrees) to remove the fishy smell and make the yolks more fragrant. Next, put them in a 180°C oven, no need to preheat, and bake for 8 minutes. After baking, take them out and set aside.


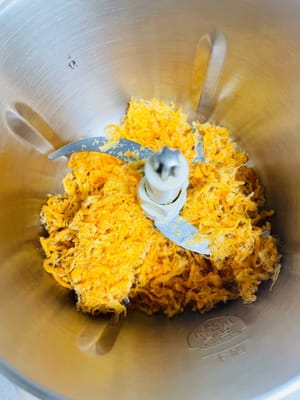
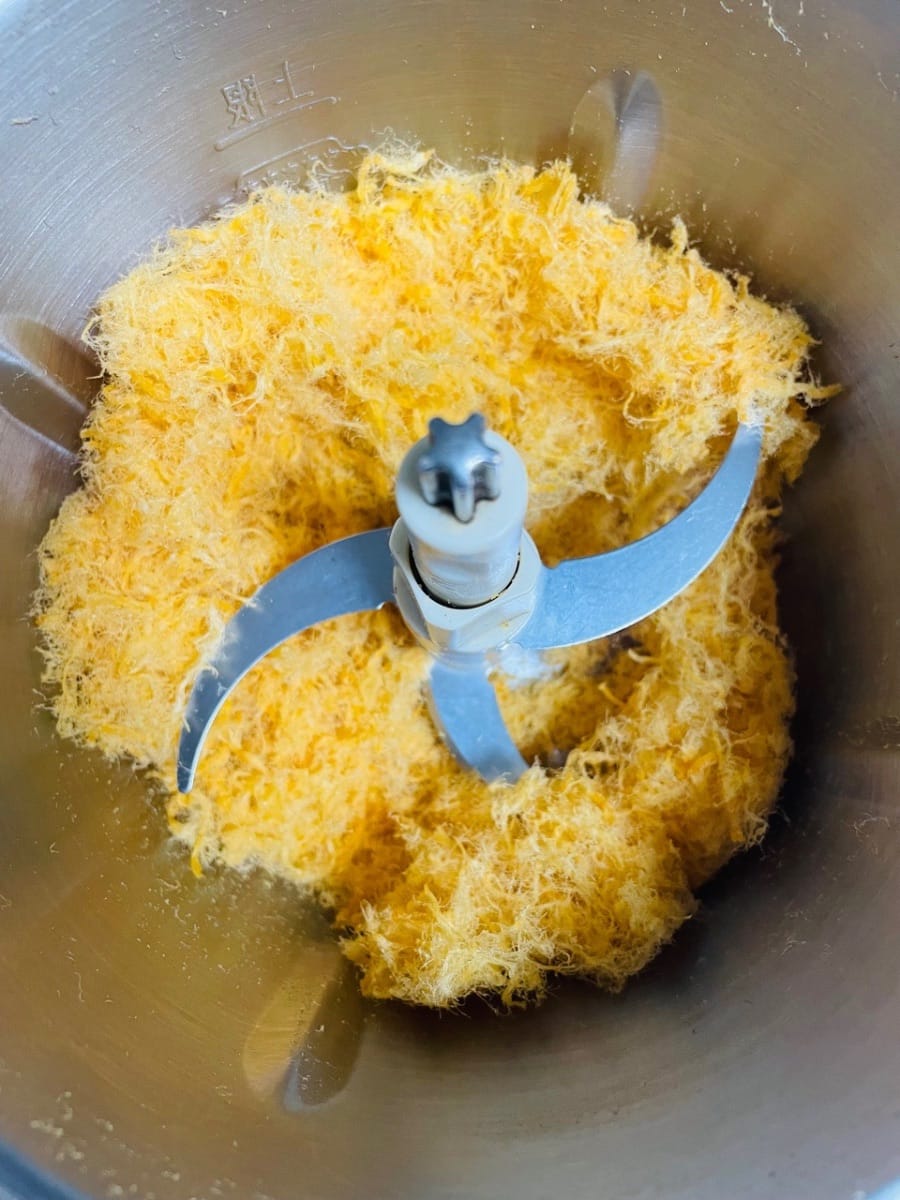
- Blend the pork floss. Put the pork floss into a blender and blend until it becomes velvety. This process makes the pork floss more delicate and gives it a smoother texture when mixed with the egg yolk. Otherwise, the large particles will make it taste rough.

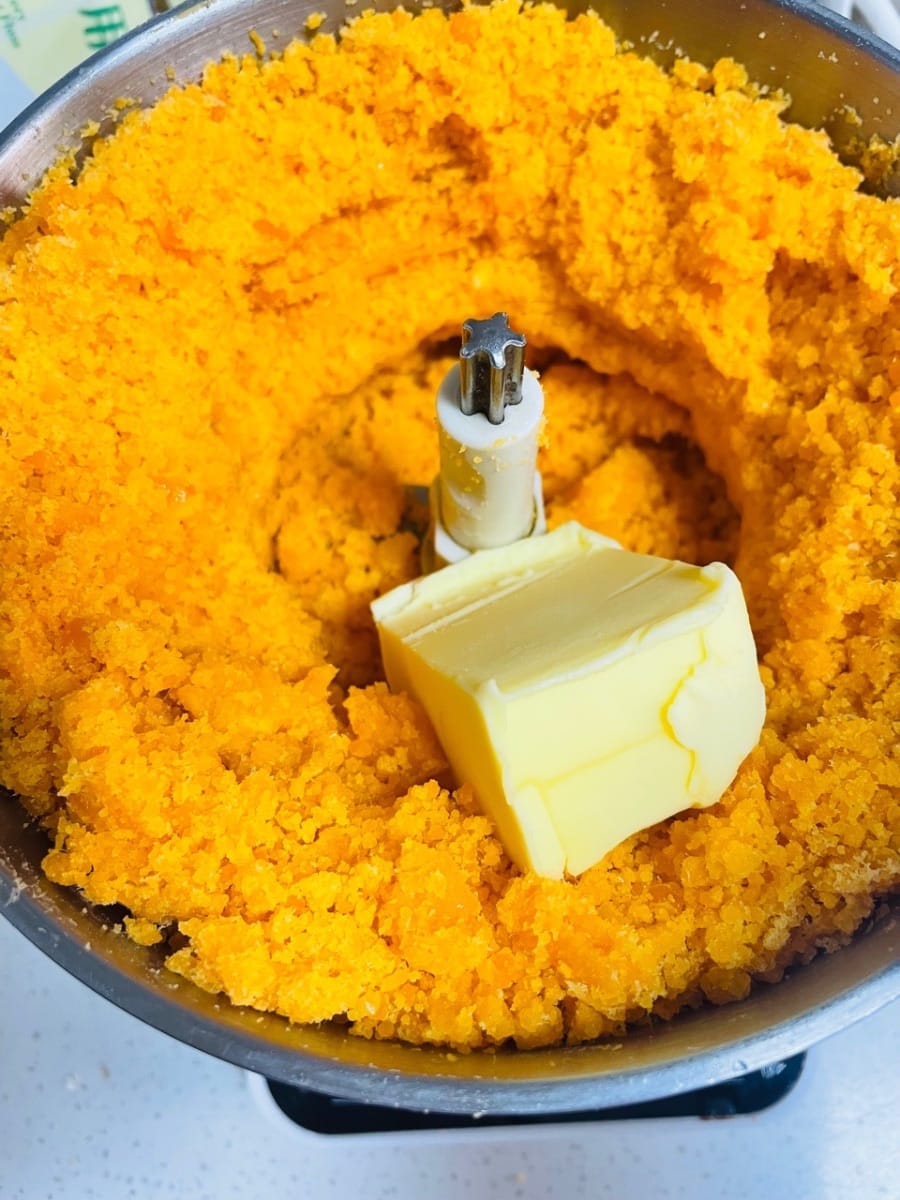
- Egg Yolk and Pork Floss Mixing Add the baked salted egg yolks to the beaten pork floss and mix together. This step is to fully combine the egg yolks and pork floss, so that you can taste the aroma of egg yolks and pork floss in every bite.


- Add butter. Add room temperature melted butter and mix well. Adding butter makes the pork floss and egg yolk filling more sticky and easier to form into a ball; otherwise, it will easily leak when wrapping.

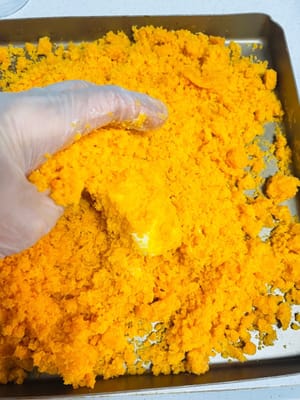
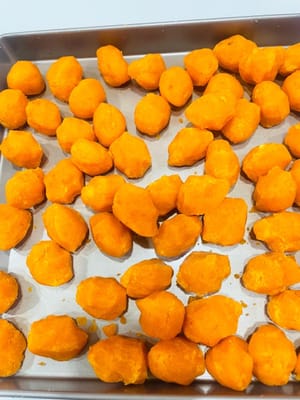
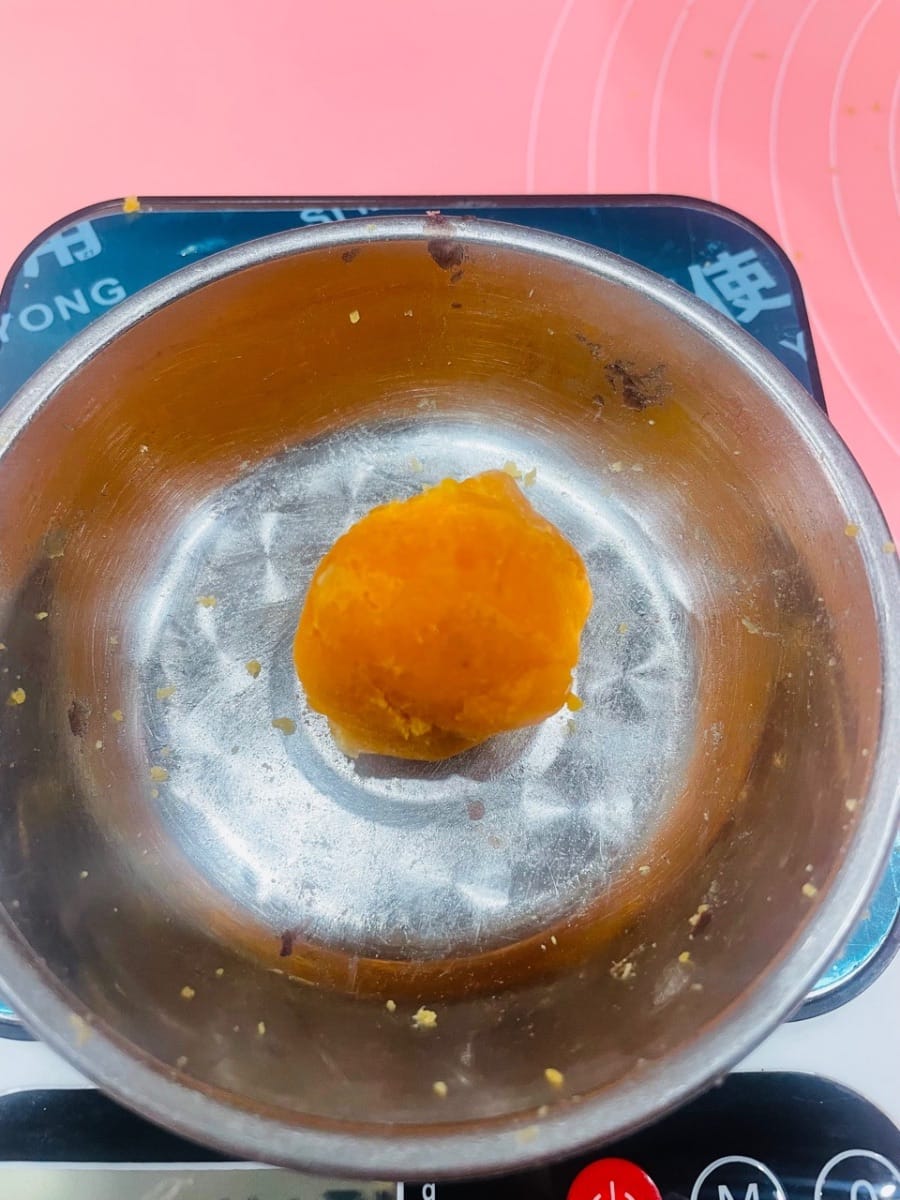
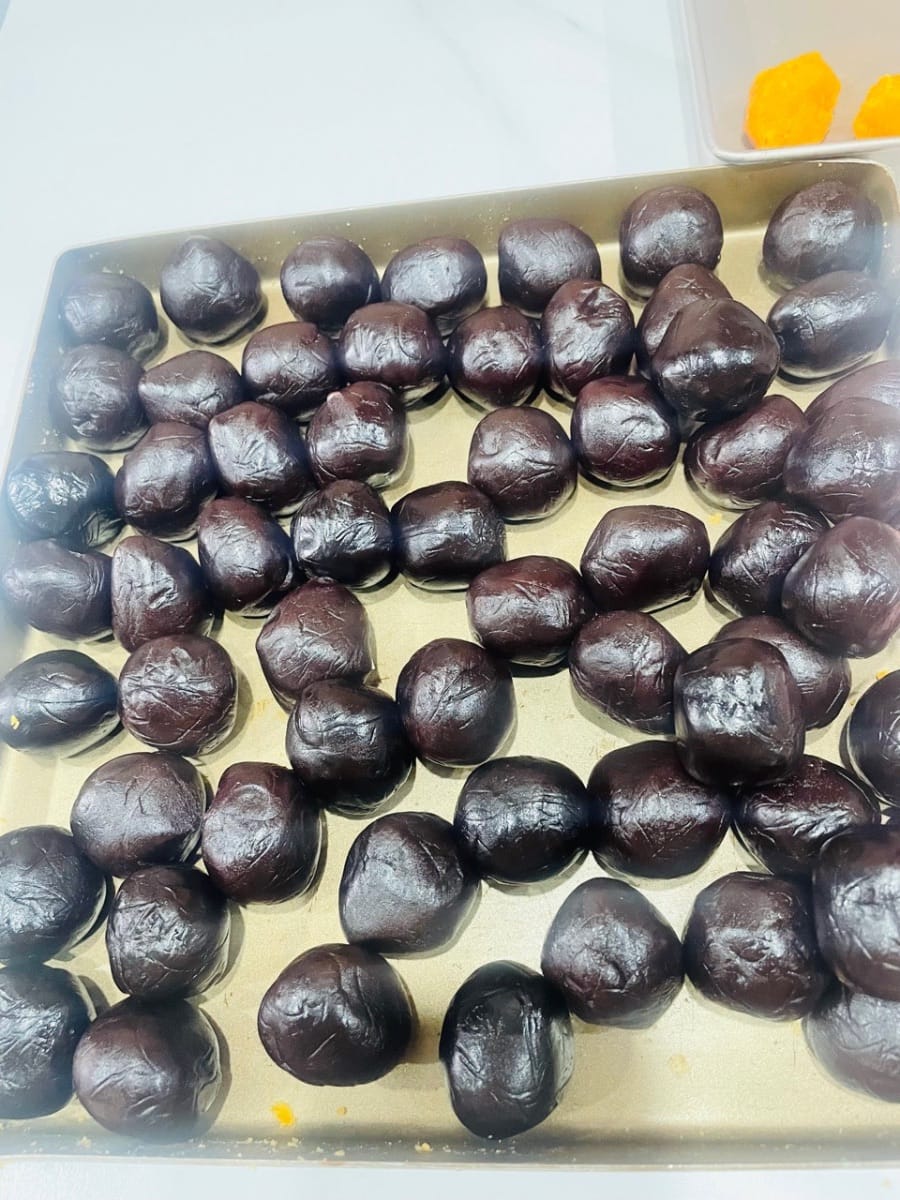
- Divide the pork floss and egg yolk filling into portions. Divide the prepared pork floss and egg yolk filling into 15g portions, roll them into balls and set aside. Dividing them evenly ensures that the balls are the same size when wrapping them later, and that they look better after baking.

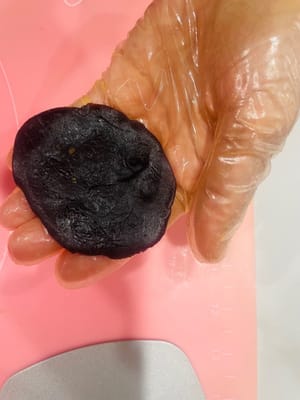
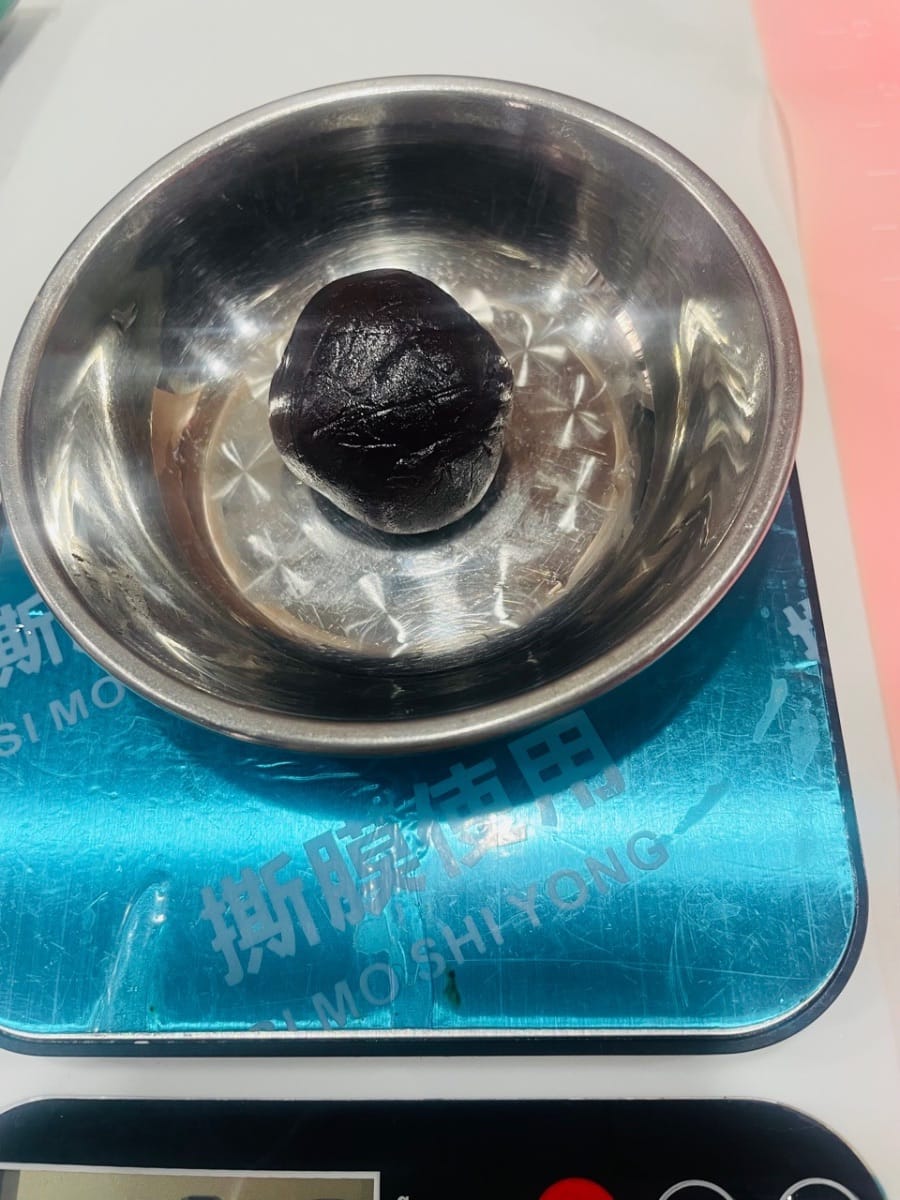
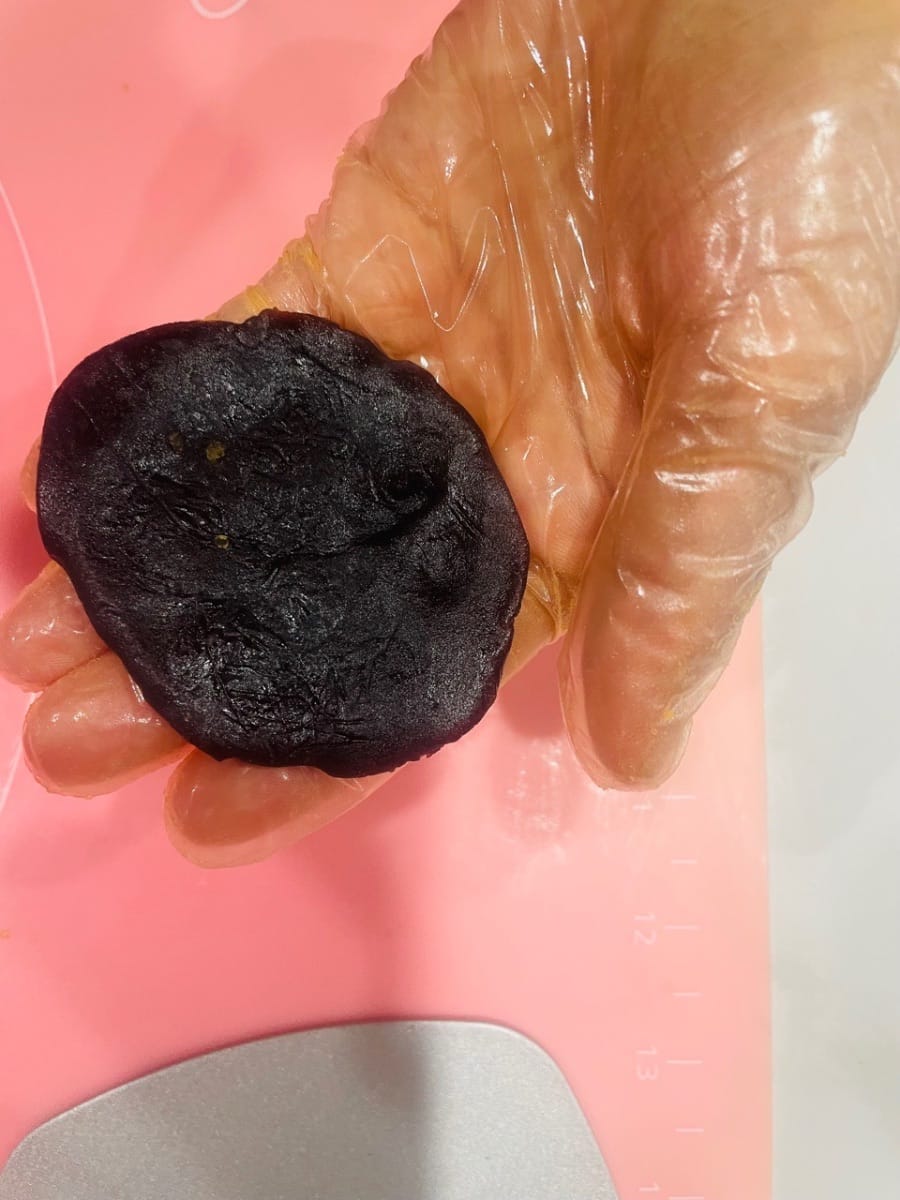
- Divide the red bean paste into 30g portions and roll them into balls. The red bean paste is key to neutralizing the saltiness of the pork floss and egg yolk filling; divide it into portions and match them with the pork floss and egg yolk filling.


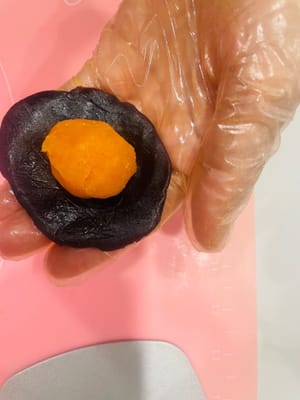
- Filling. Slightly flatten the red bean paste filling, wrap it around the prepared pork floss and egg yolk filling, and roll it into a ball. This way, layering red bean paste with pork floss and egg yolk creates a layered texture.
- Part Two - Dough Preparation (The key to flaky pastry, the layers of puff pastry all depend on it!)
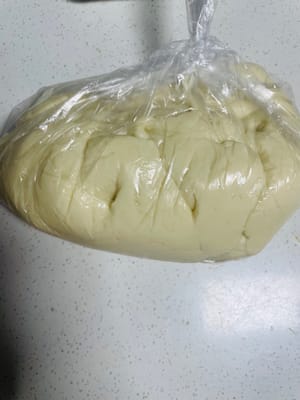
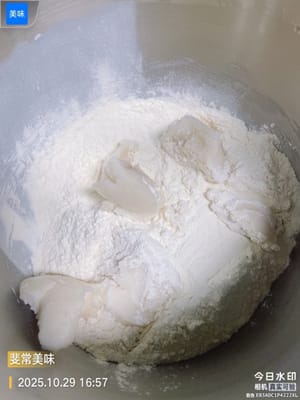
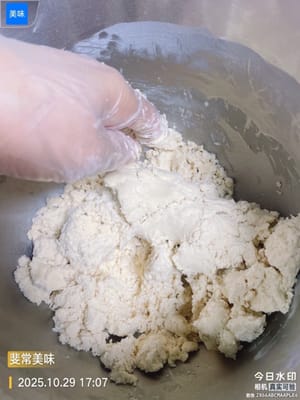
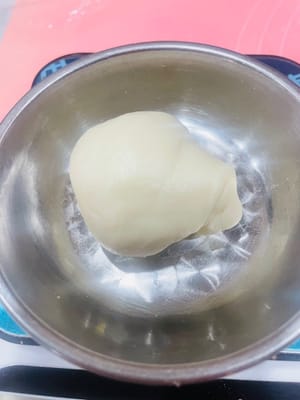
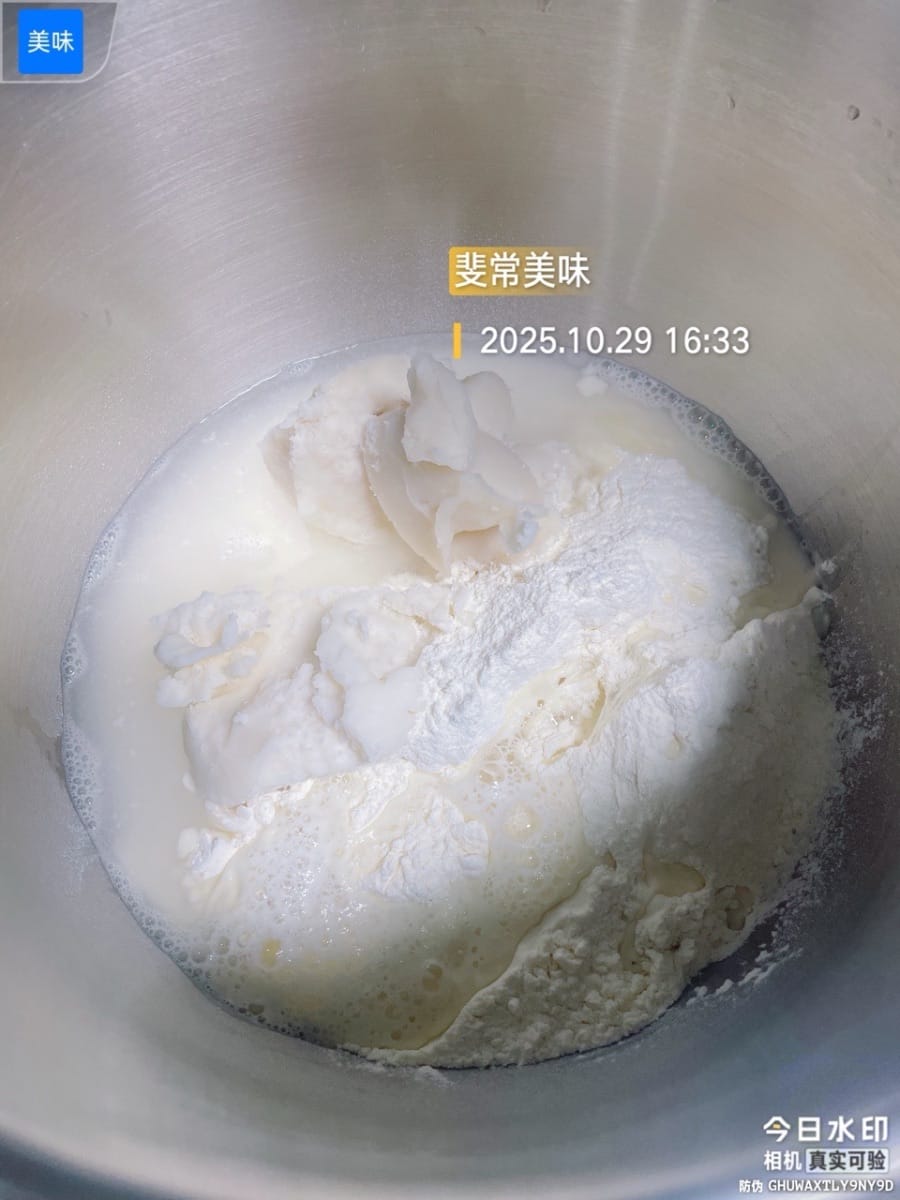
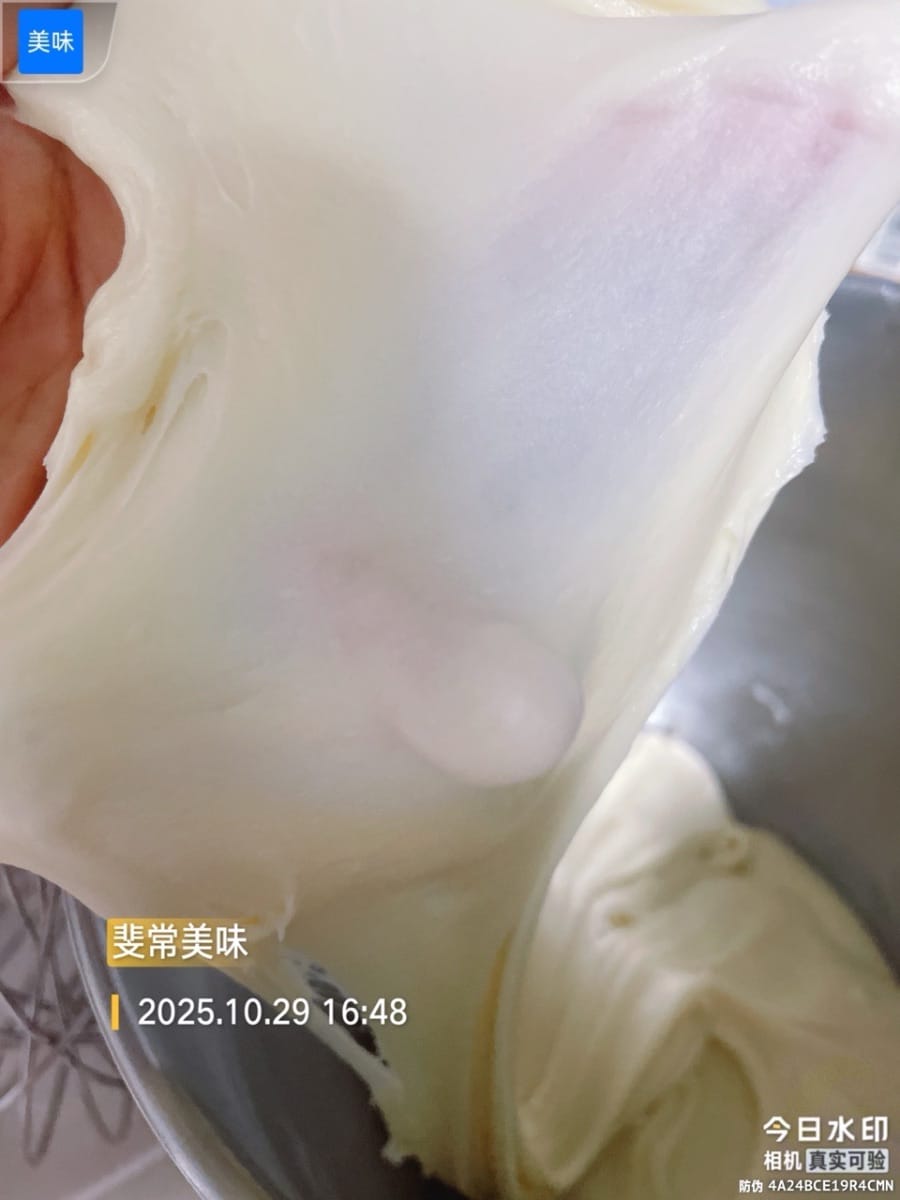
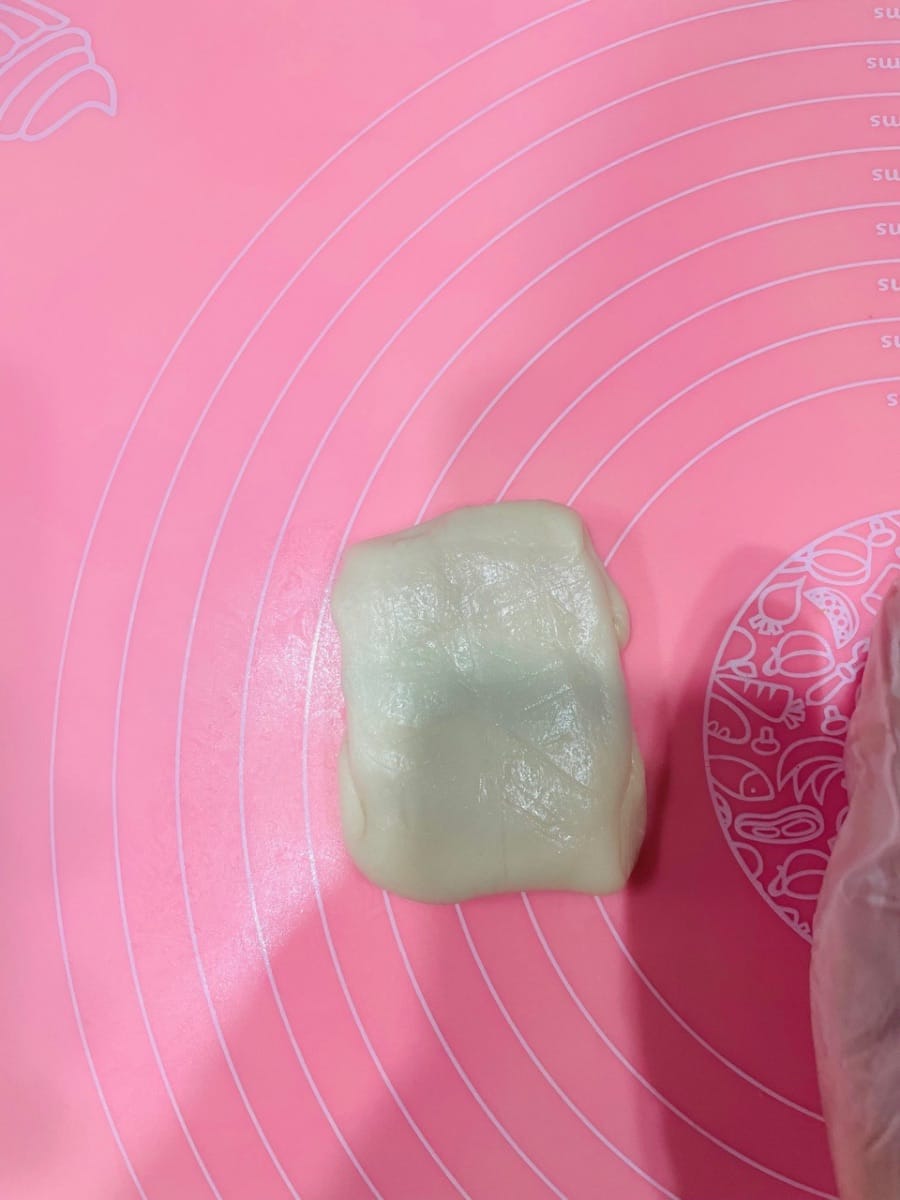
- Making the Oil Dough Place all the ingredients for the oil dough into the mixing bowl and knead until it forms a thin membrane (9 layers). If you cannot knead it to a 90% membrane, you can refrigerate it (in the crisper drawer) overnight before using it. After refrigeration, it will form a stretchy membrane. The oil dough needs to be elastic to wrap the oil-based filling. Kneading it until it forms a membrane ensures that the oil dough has sufficient extensibility and will not easily break when rolling it out later.


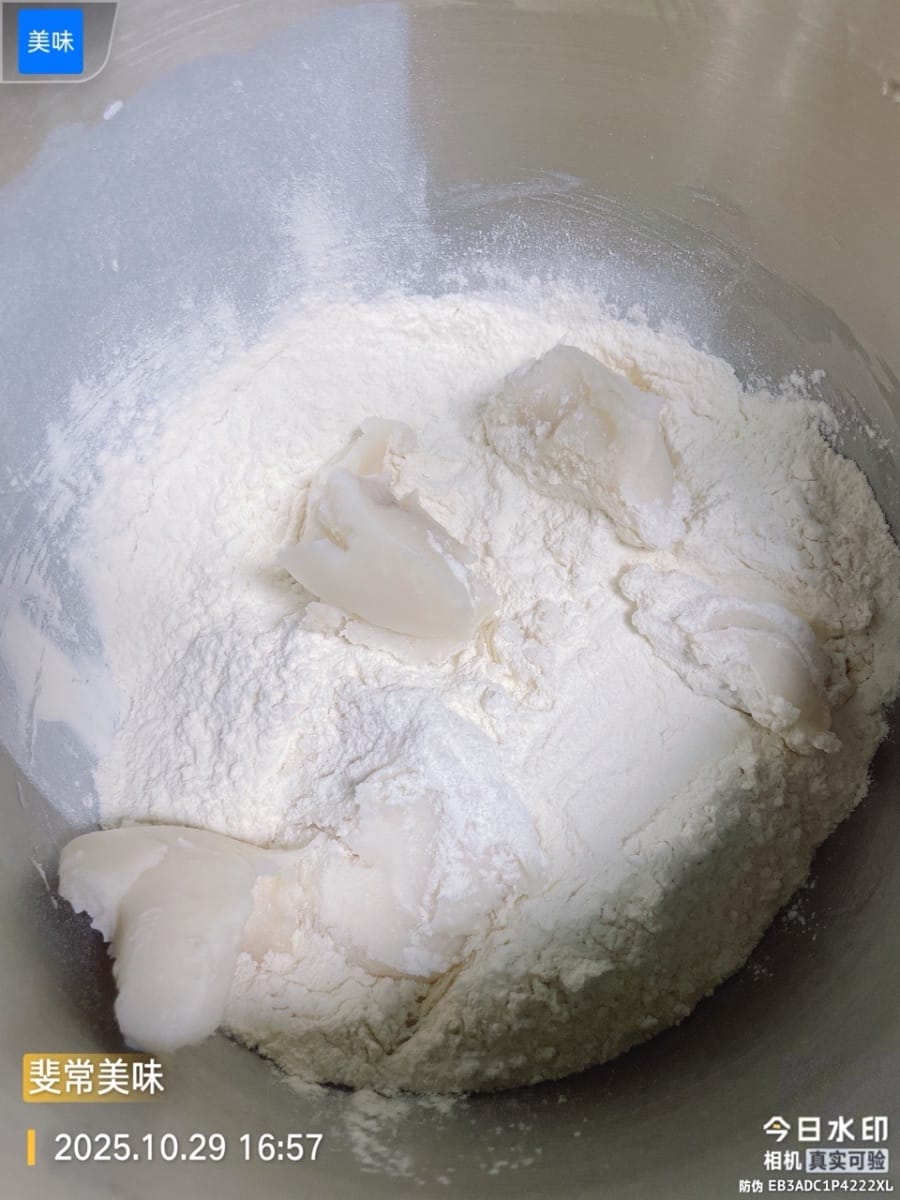
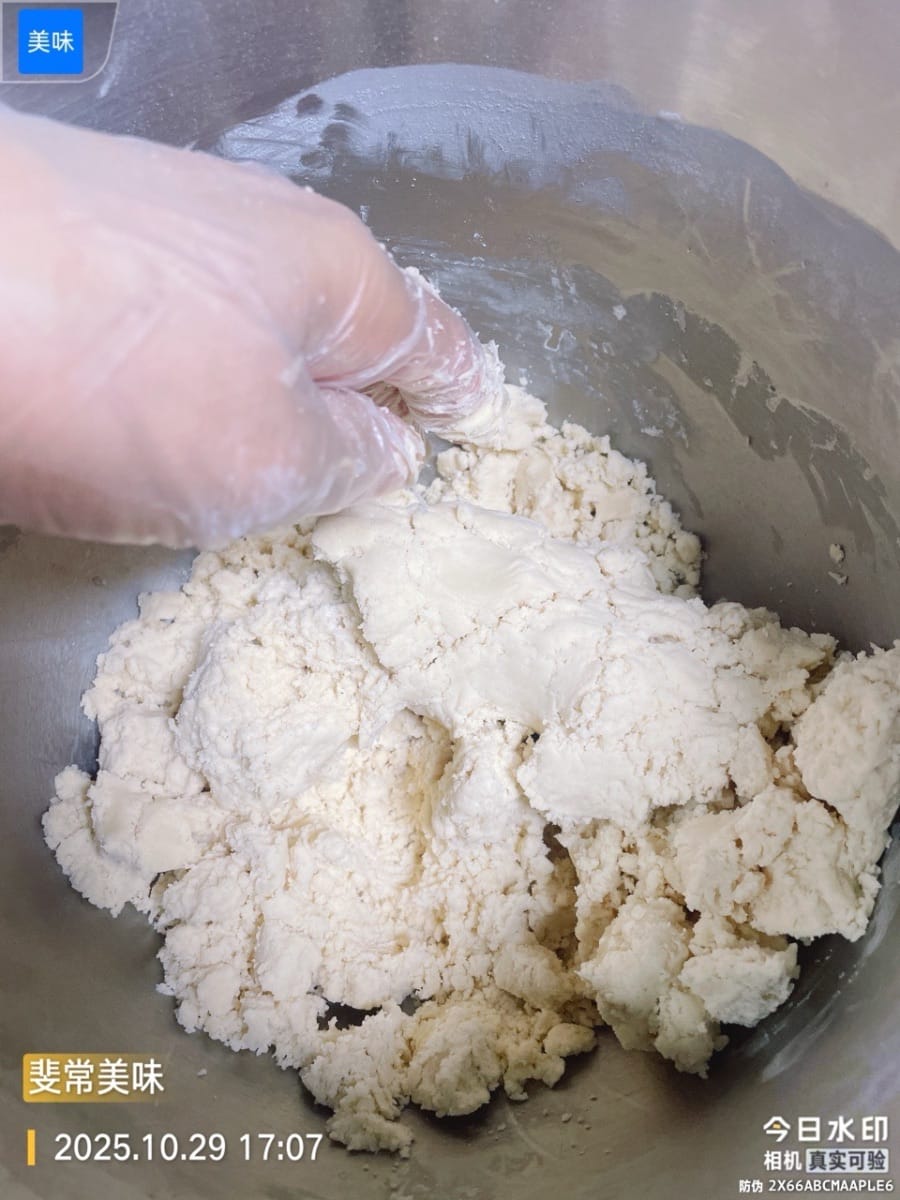
- Making the oil-based dough. Mix the oil-based dough ingredients together until there is no dry flour left. The oil-based dough is key to achieving a flaky texture; separating it from the water-based dough will result in layers that are crispy during baking.
- Dividing the Shortcrust Pastry (Key Step for Rainbow)
Important Note: The total amount of shortcrust pastry dough in this recipe is approximately 270g.
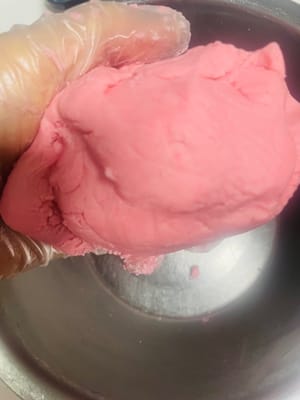
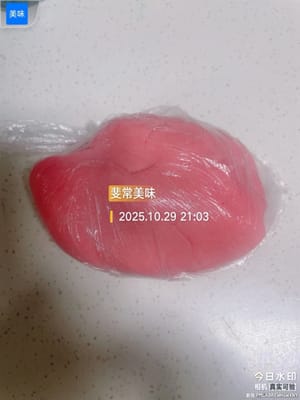
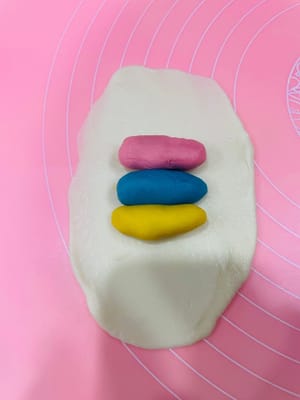
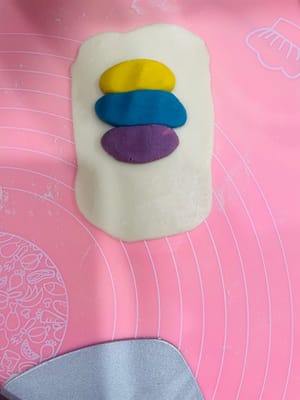
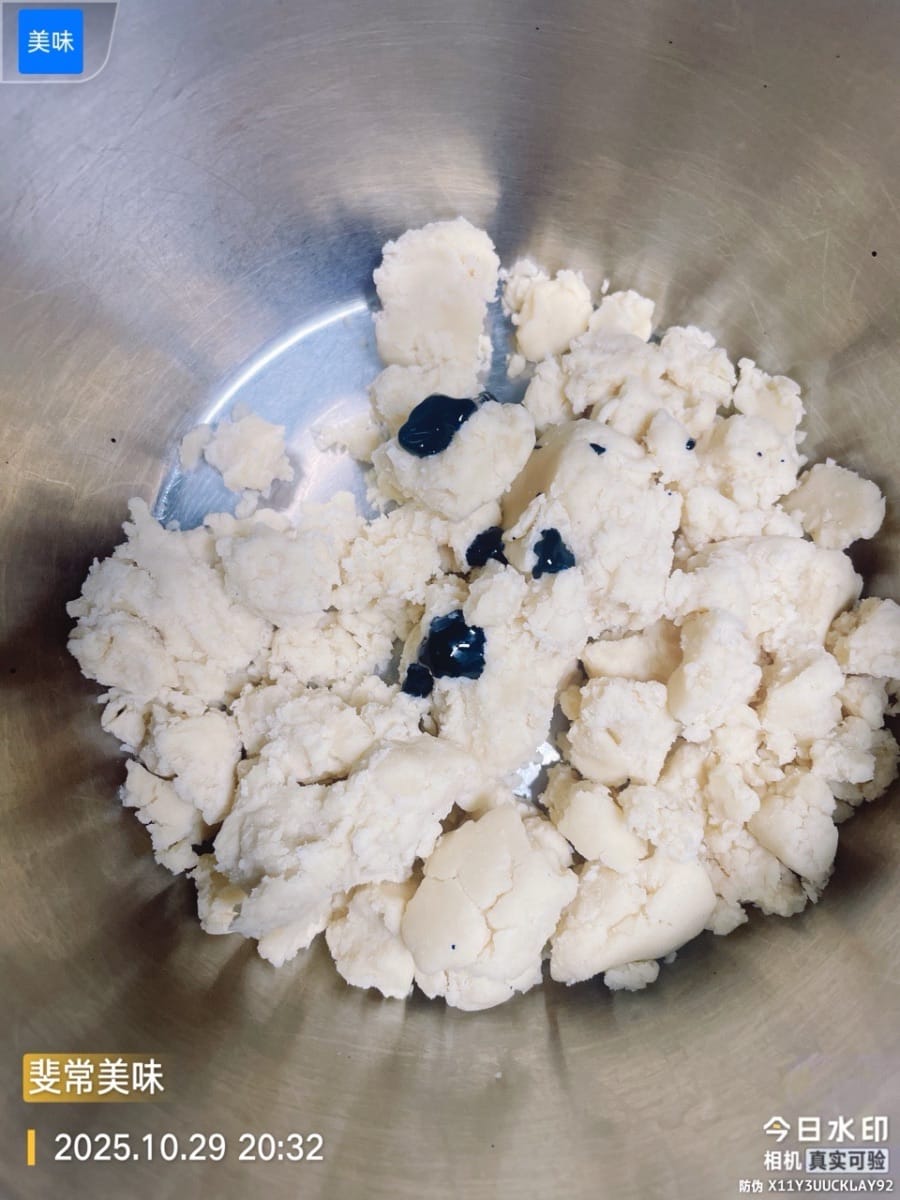
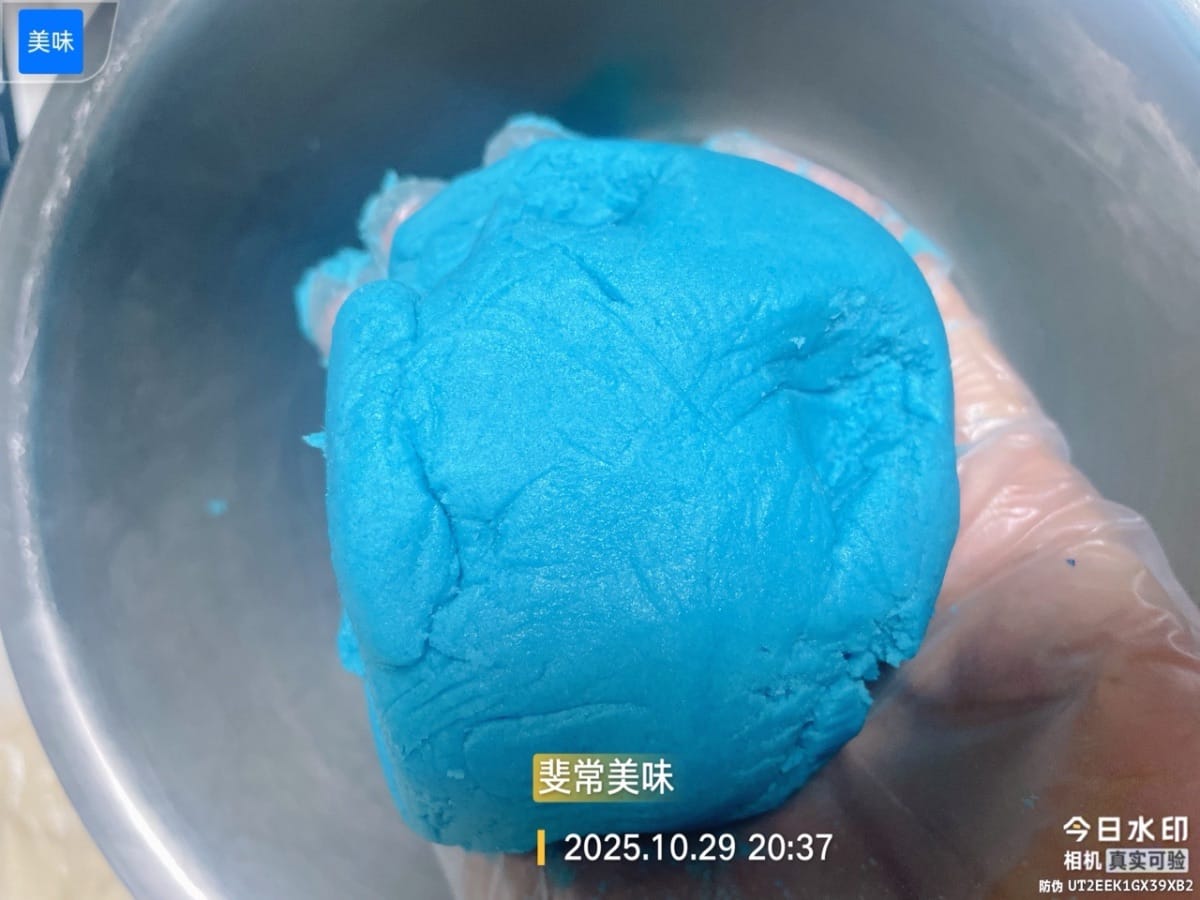
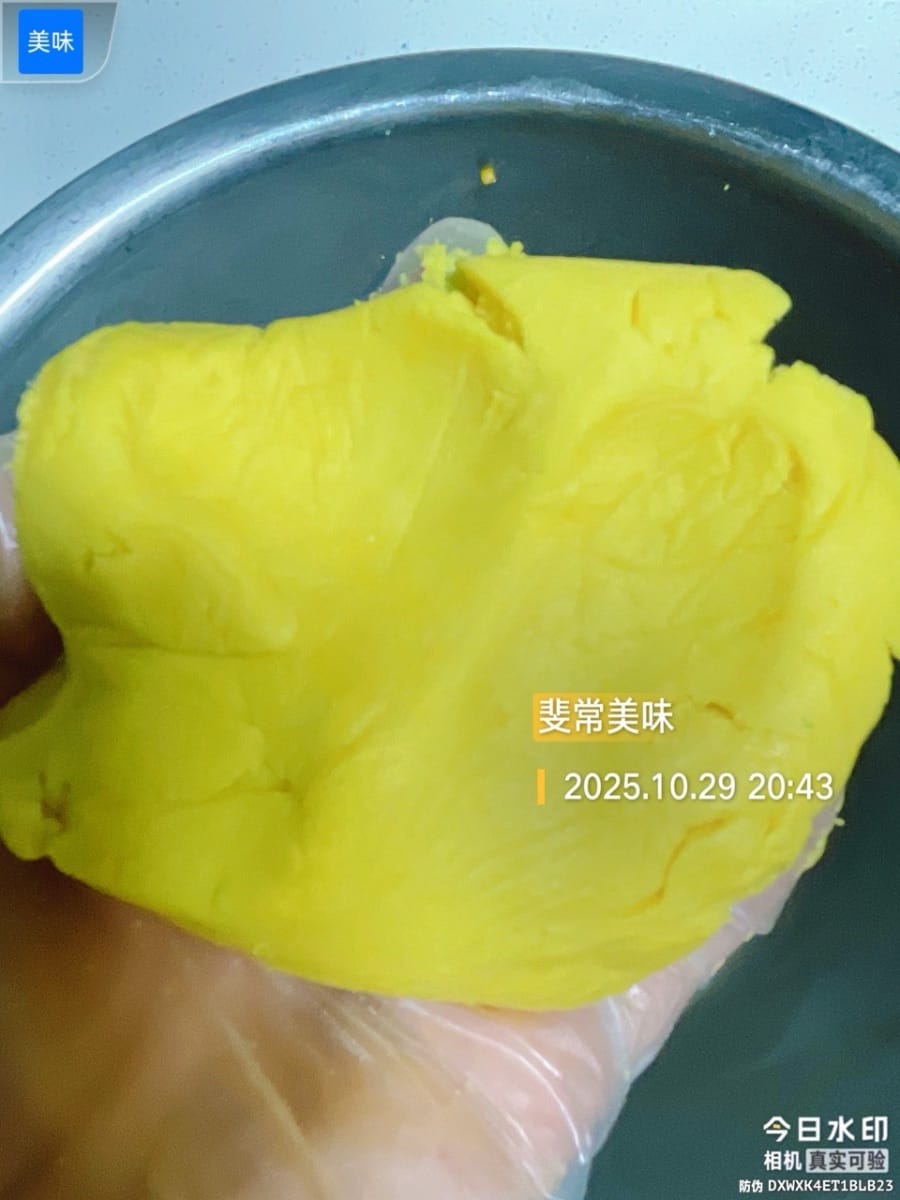
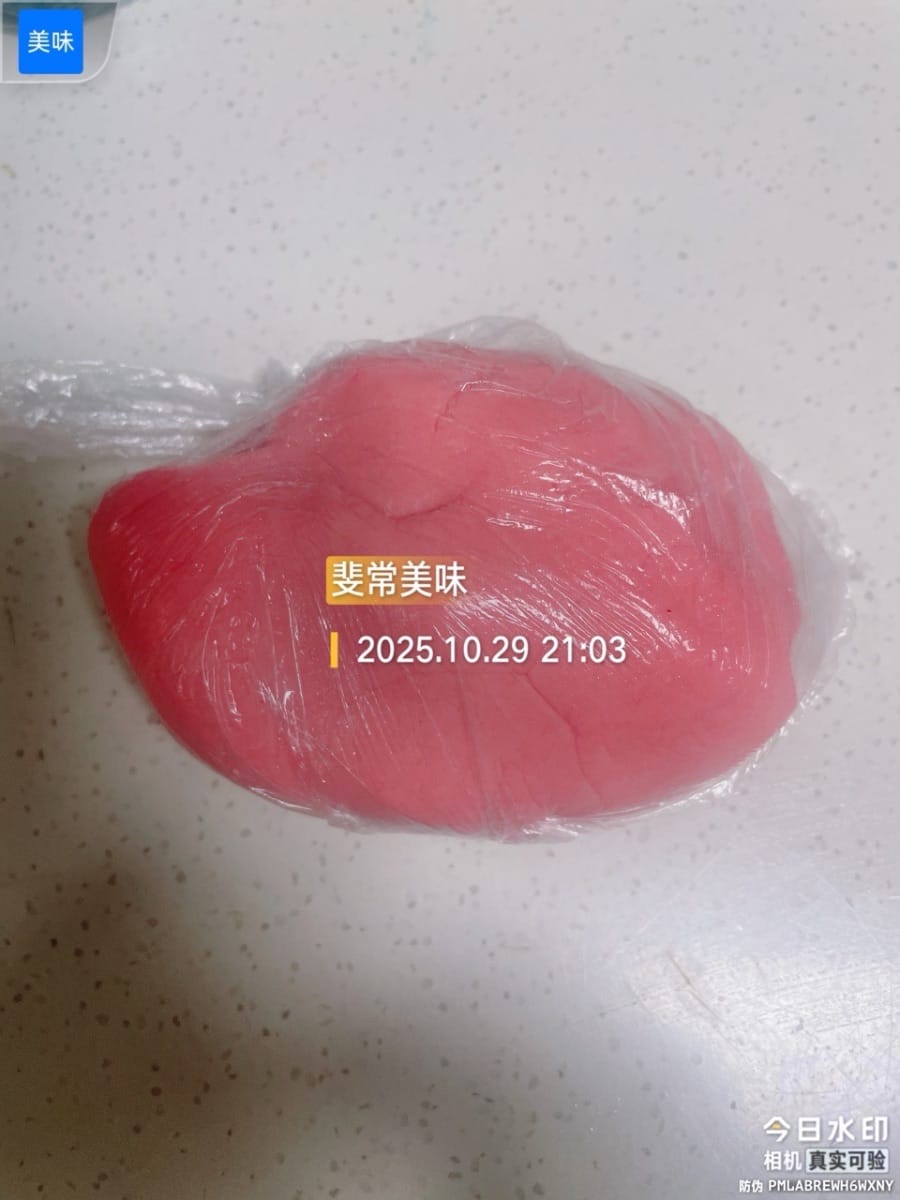
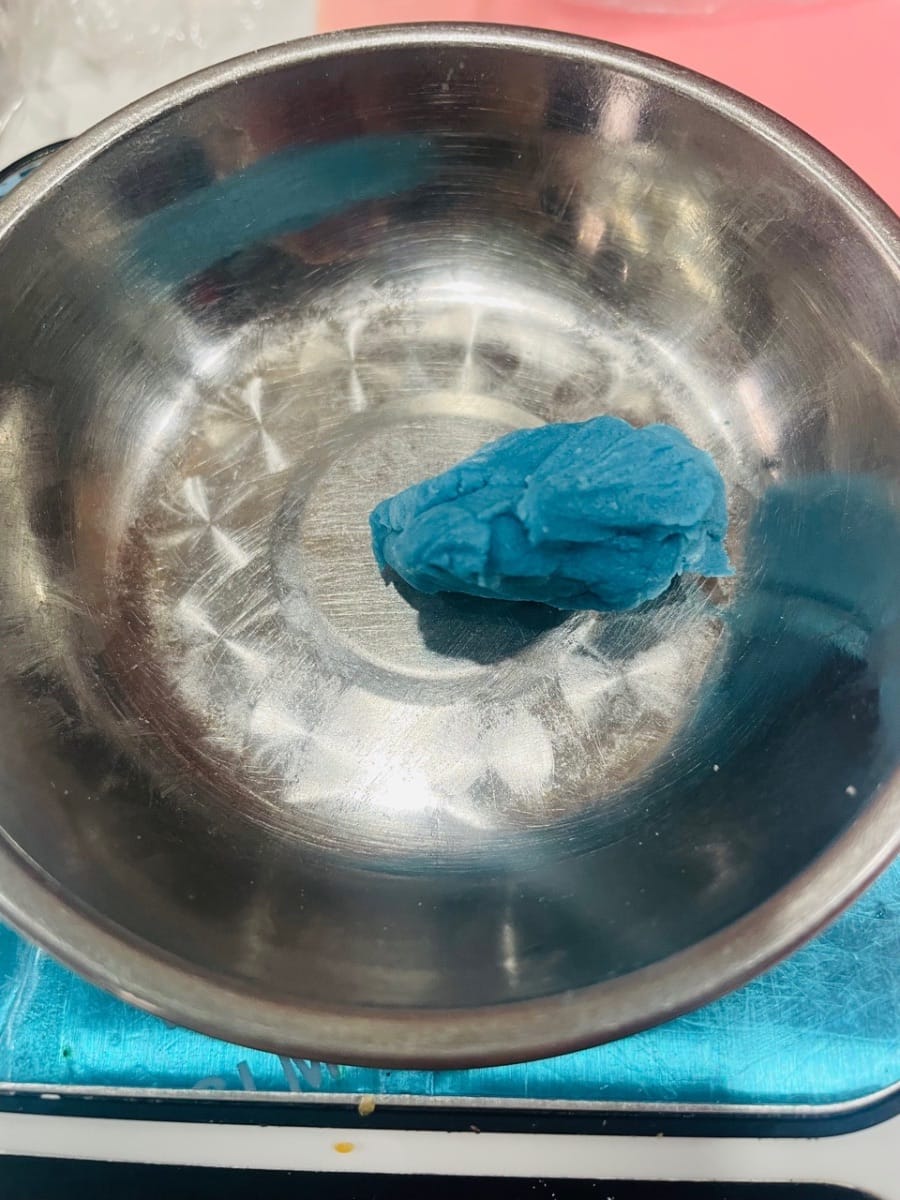
1. To make three colors of rainbow spiral pastry, divide the shortcrust pastry dough into 3 equal portions, each weighing 90g. Add 2-3 drops of food coloring to each 90g portion of dough and knead until smooth.


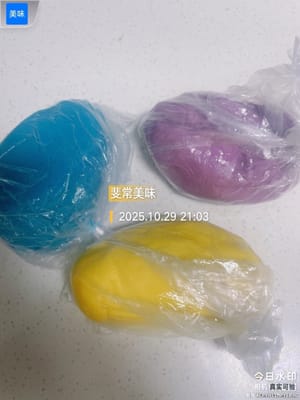
- 2. If you are only making spiral pastries of one color, there is no need to divide them. Just add 5 drops of your favorite food coloring and knead until evenly mixed. Dividing them into colors is to create a rainbow effect, which is both beautiful and delicious. Dividing them into even portions will make each layer of color distinct.
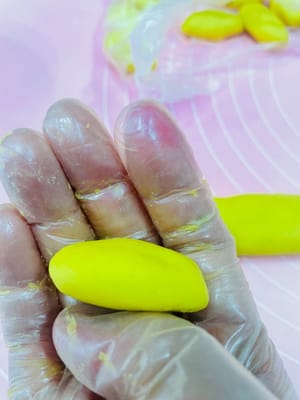
- 1. To make three-color pastries: Divide the dough into 9g portions and roll them into small balls.
2. To make one-color pastries: Divide each pastry into 27g portions.

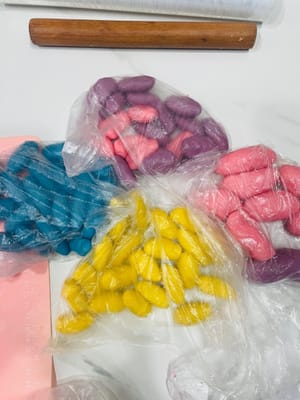
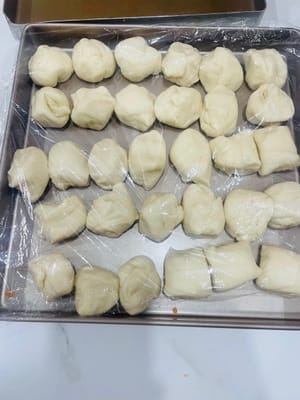
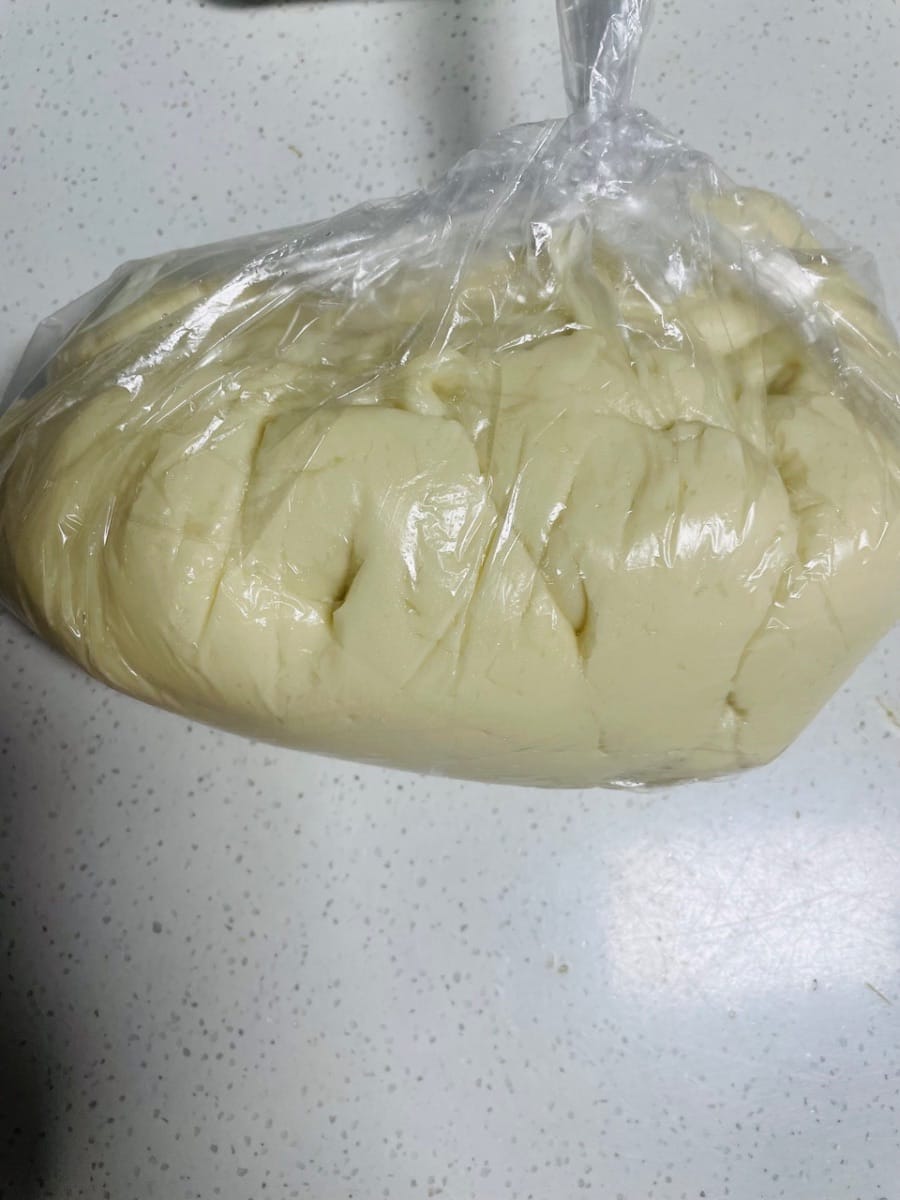
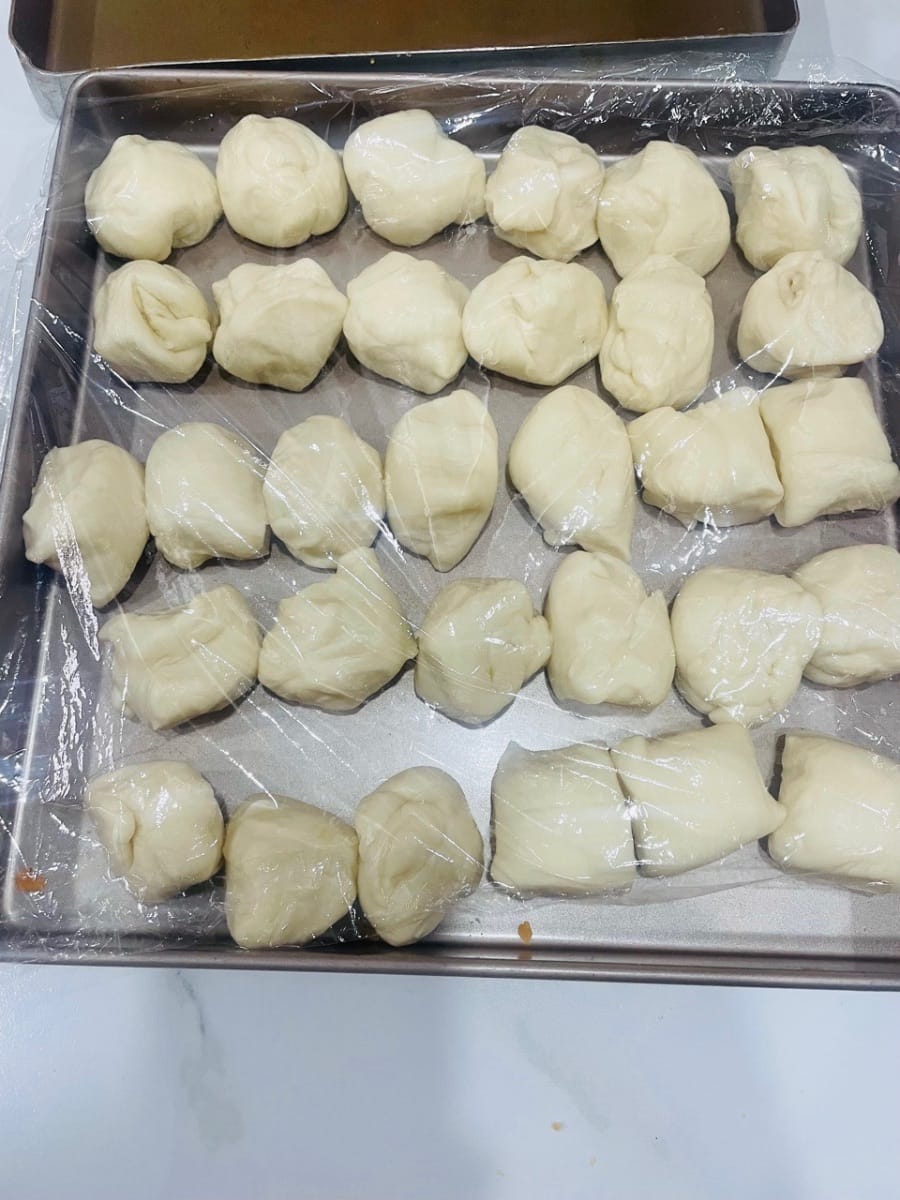
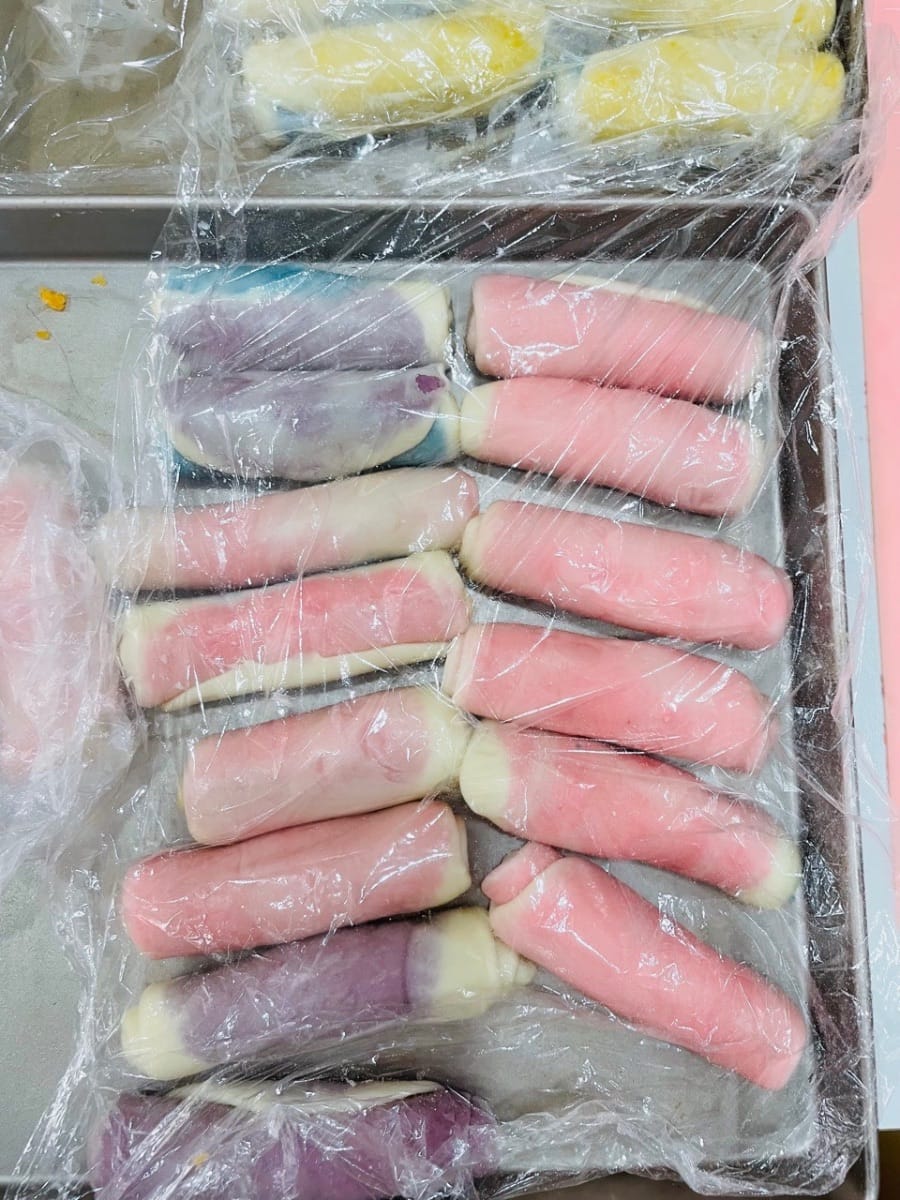
- Dividing the Oily Dough Important Notes for Oily Dough: This recipe yields approximately 380g of oily dough. Divide the dough into 38g portions and roll them into balls. Keep the dough moist by covering it with plastic wrap or a plastic bag throughout the process; otherwise, it will dry out and crack, making it prone to tearing when wrapping.
- Part 3, Assembly Steps (Be patient, the rainbow spiral's beauty depends on this step!)
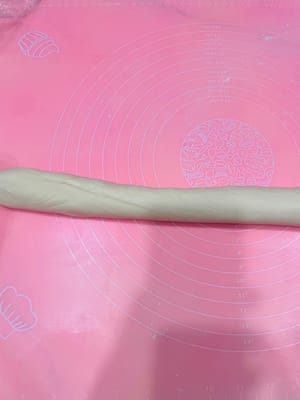
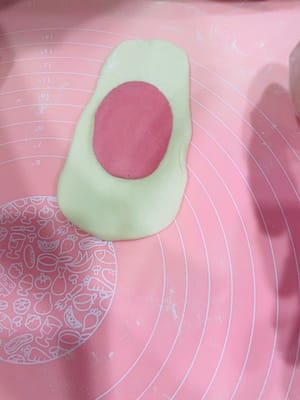
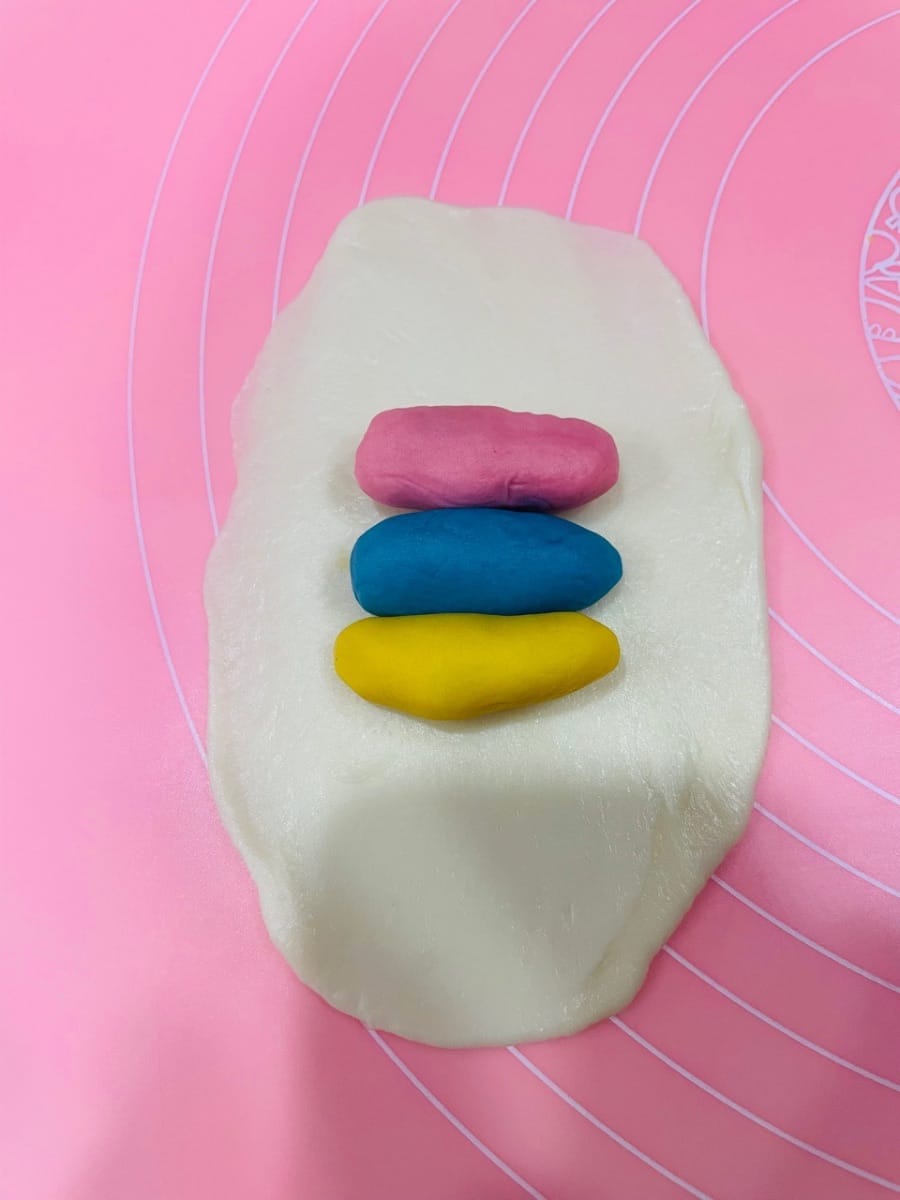
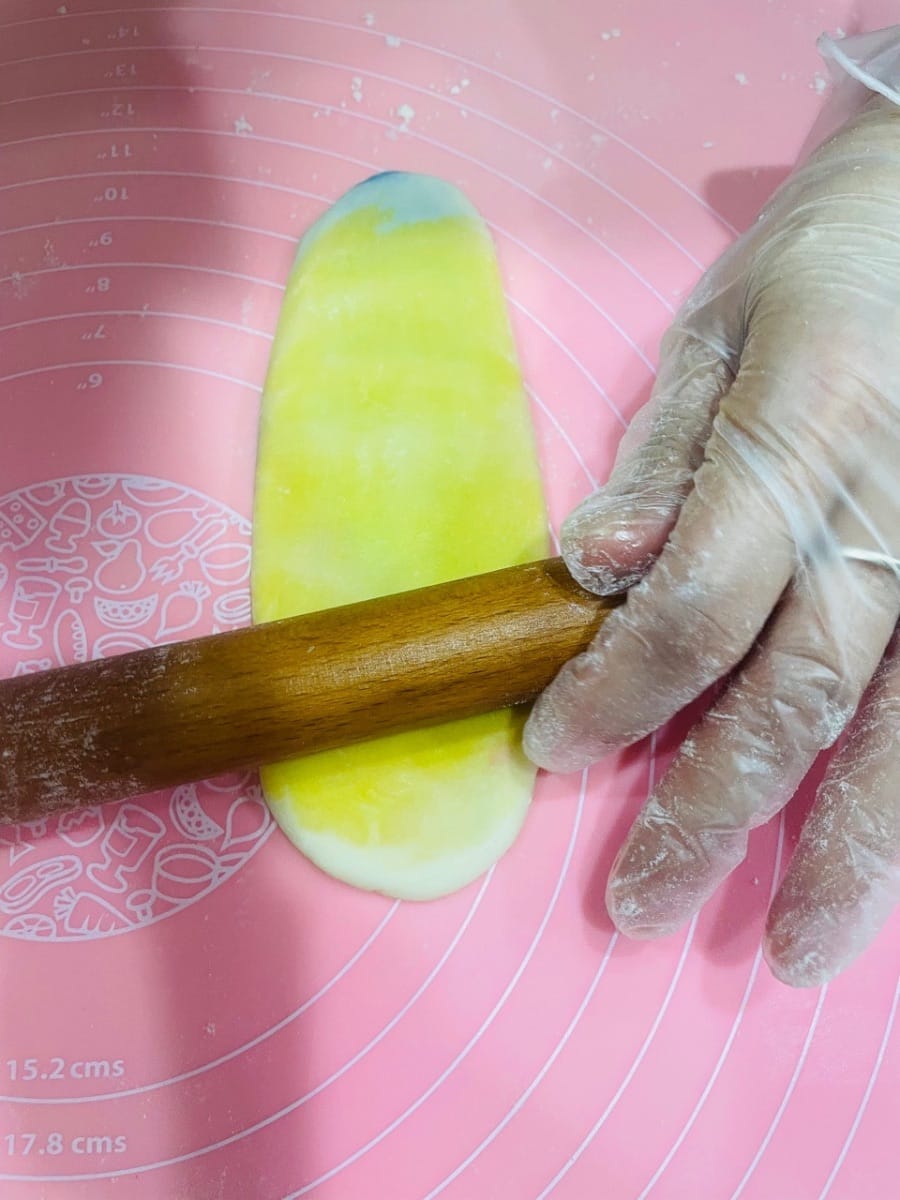
- Rolling out the dough. Take a piece of dough, flatten it slightly, and roll it out once upwards and downwards, then once to the left and once to the right, to about the width of your palm. Rolling it out like this makes the dough even and easier to wrap the oil-based filling.
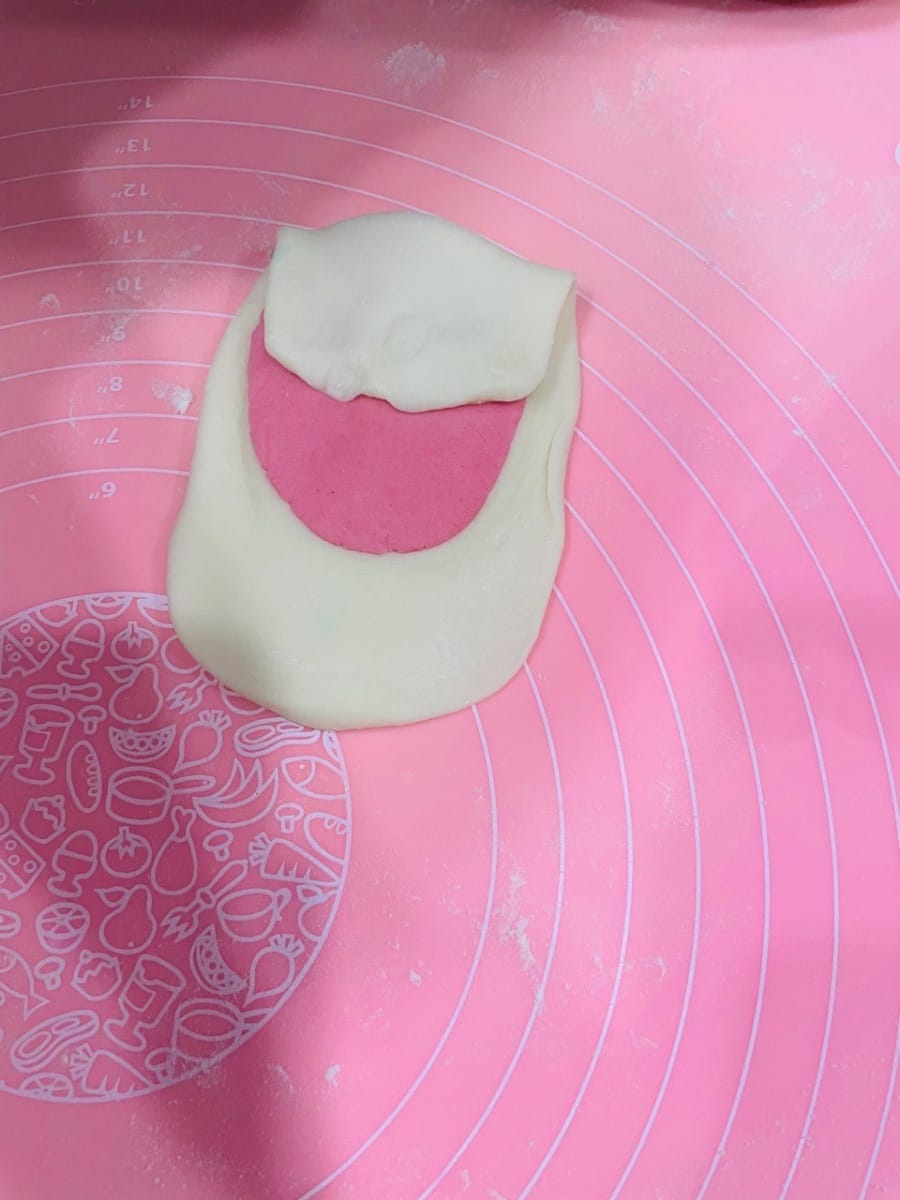
- Wrapping the Oil-Based Paste, First Rolling and Resting
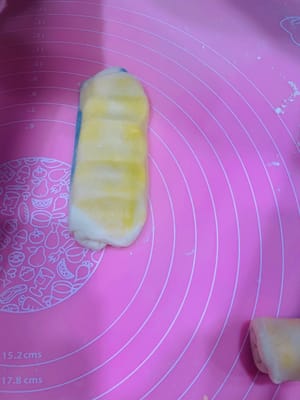
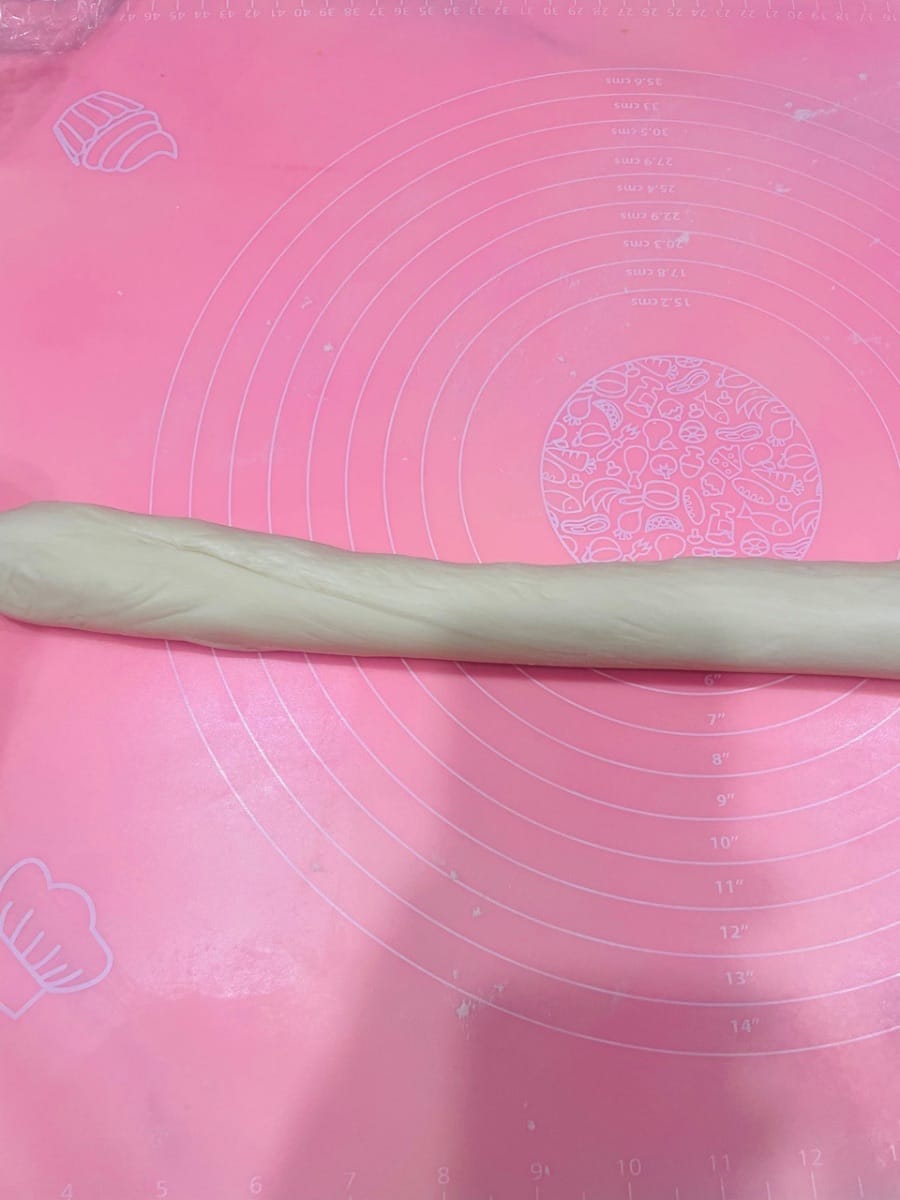
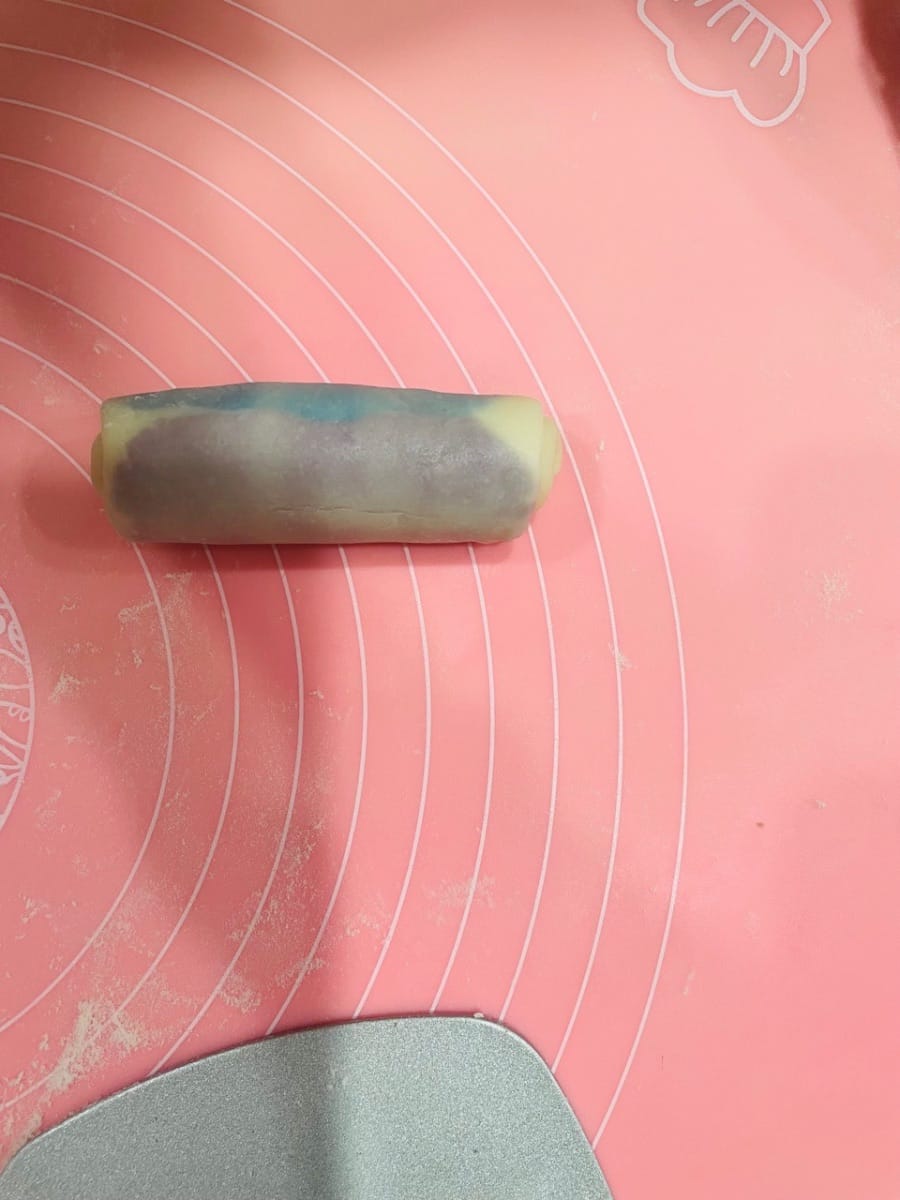
Place three 9g portions of oil-based paste (or one 27g portion) in the center of the water dough, press lightly with your palm, then fold it over from top to bottom and left to right. Turn it over and gently flatten it with a rolling pin, then pat it flat with your hand to make the oil-based paste more even and aesthetically pleasing. Then, like rolling out the water dough, roll it upwards, downwards, and left and right, being careful not to roll it back and forth. Then turn it over again and roll it up. Rolling it up makes the layers of the water dough and oil-based paste more distinct, resulting in a more beautiful flaky texture during baking.
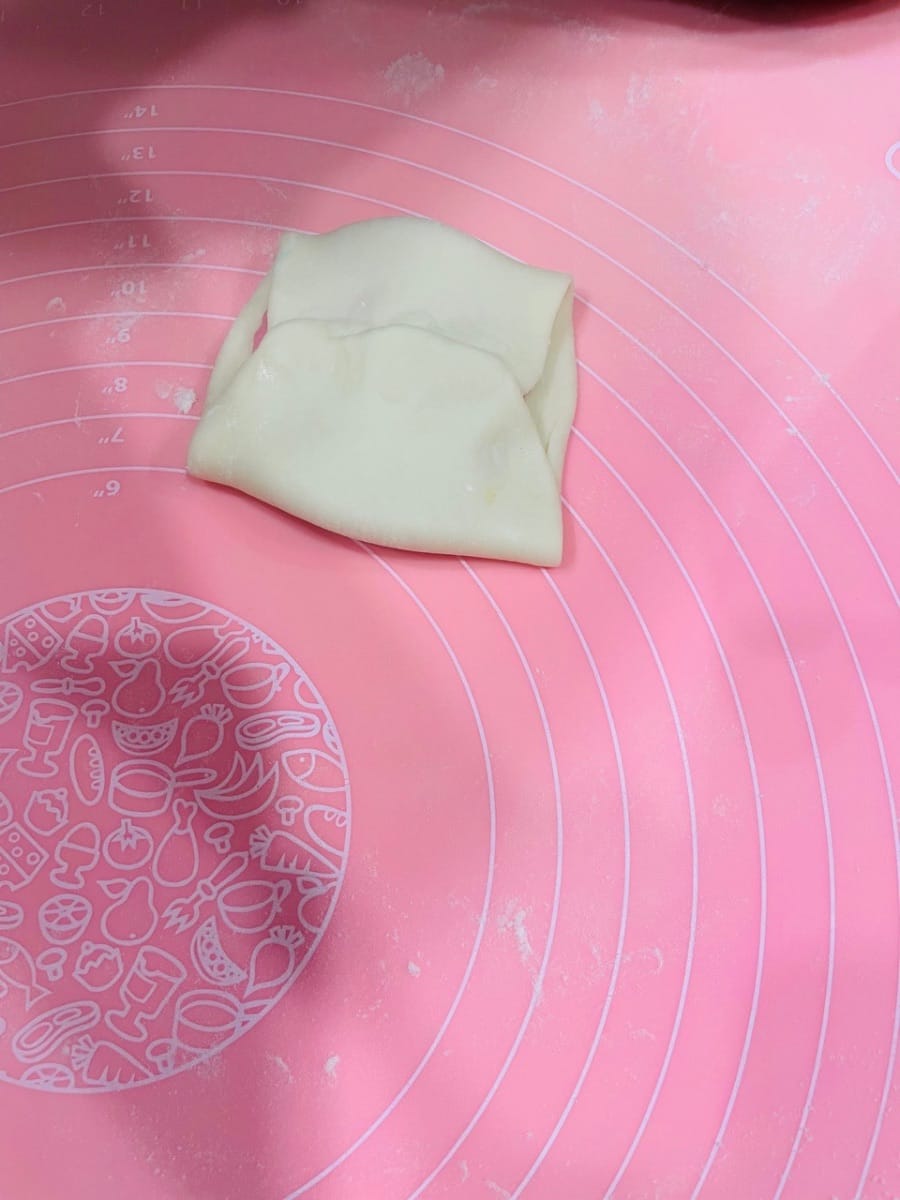
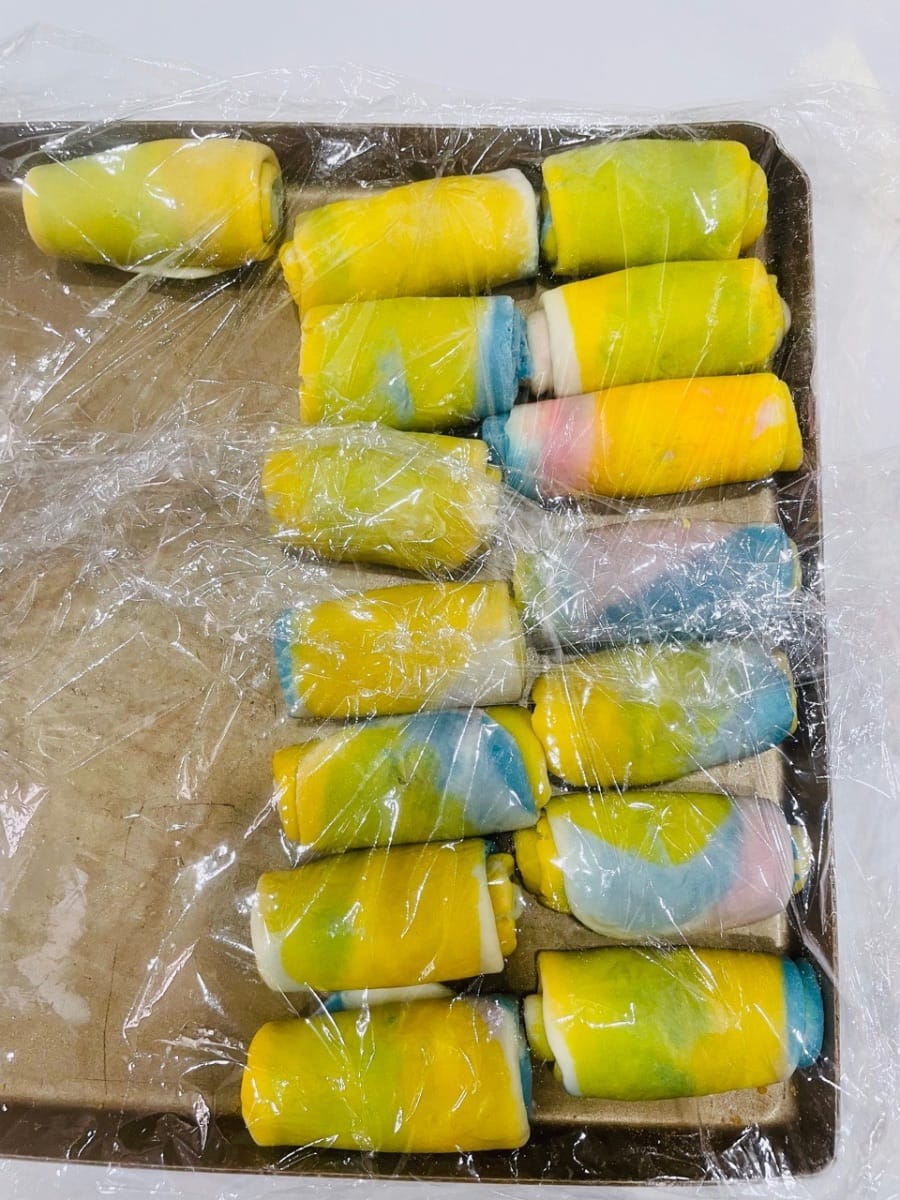
After wrapping all the oil-based paste with the water dough and rolling it up, let it rest for 15 minutes. Resting allows the dough to rest; otherwise, it will easily tear if rolled continuously. This step is essential.


- The rolling steps for the pink single-color shortbread and the three-color shortbread are the same as step 15.


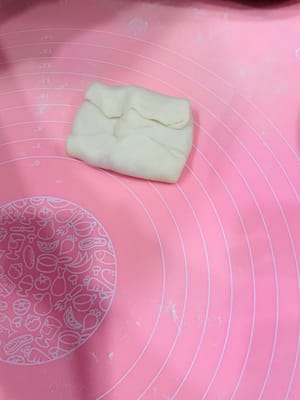

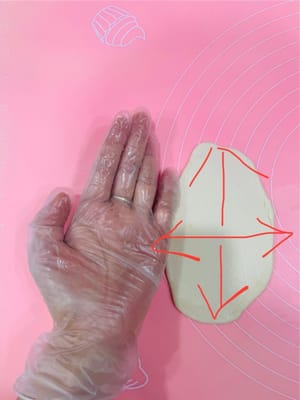
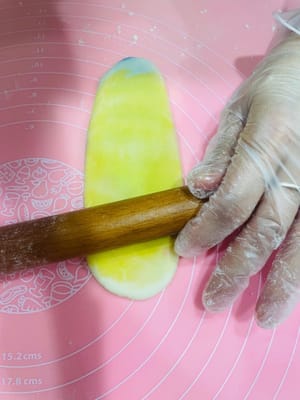
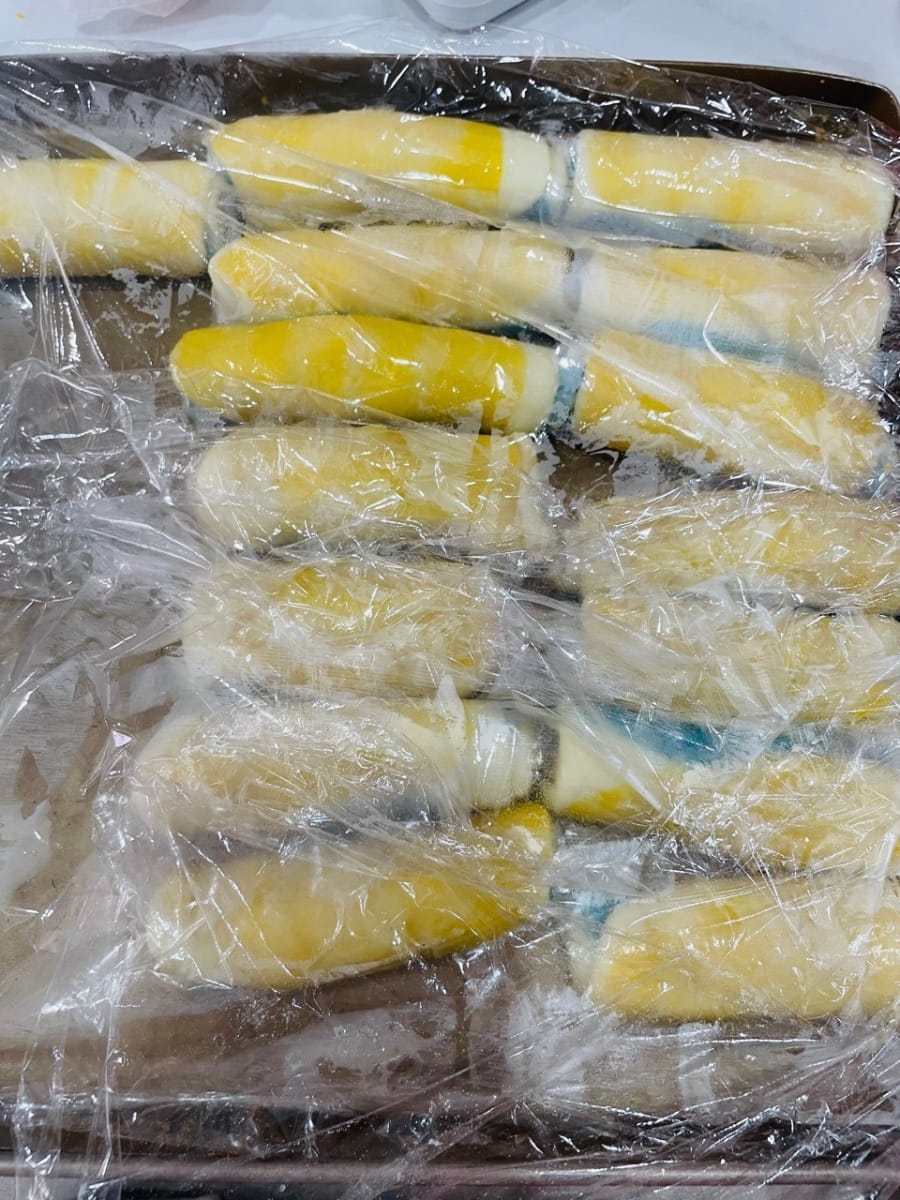
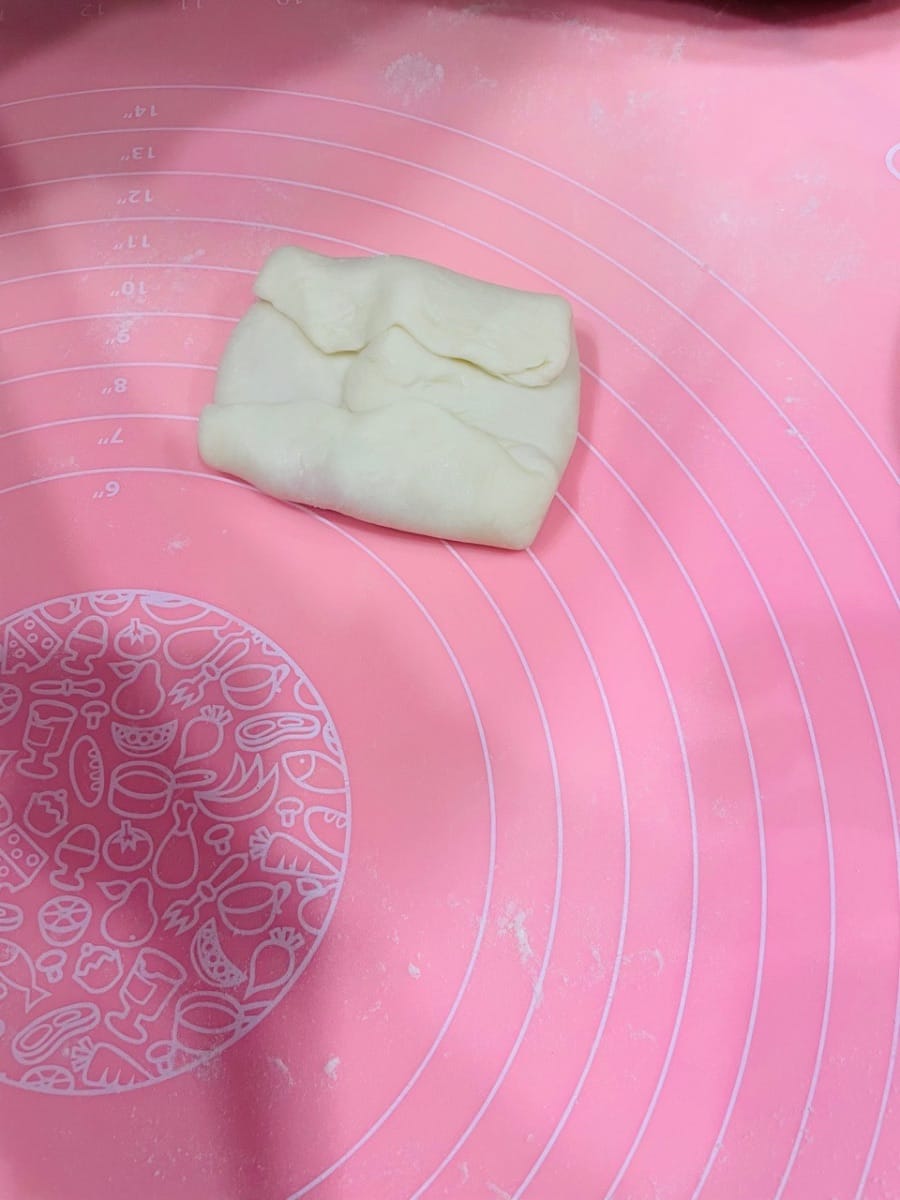
- Second Rolling and Shaping. Take the dough that was rolled and shaped the first time, flatten it slightly with your hands, and roll it up and down (do not roll it back and forth), just like rolling out oil dough. Then turn it over and roll it up again, cover it with plastic wrap and set aside. Try to flatten it with a rolling pin first, then roll it out. This will make the oil paste more even and the color of the wrapped dough will be more beautiful. The second rolling and shaping is to create more layers and make the puff pastry more obvious.


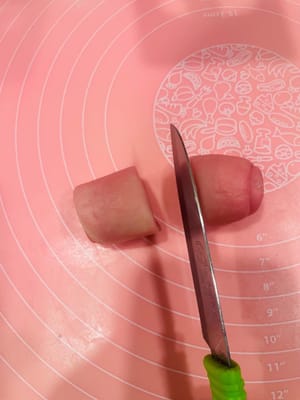
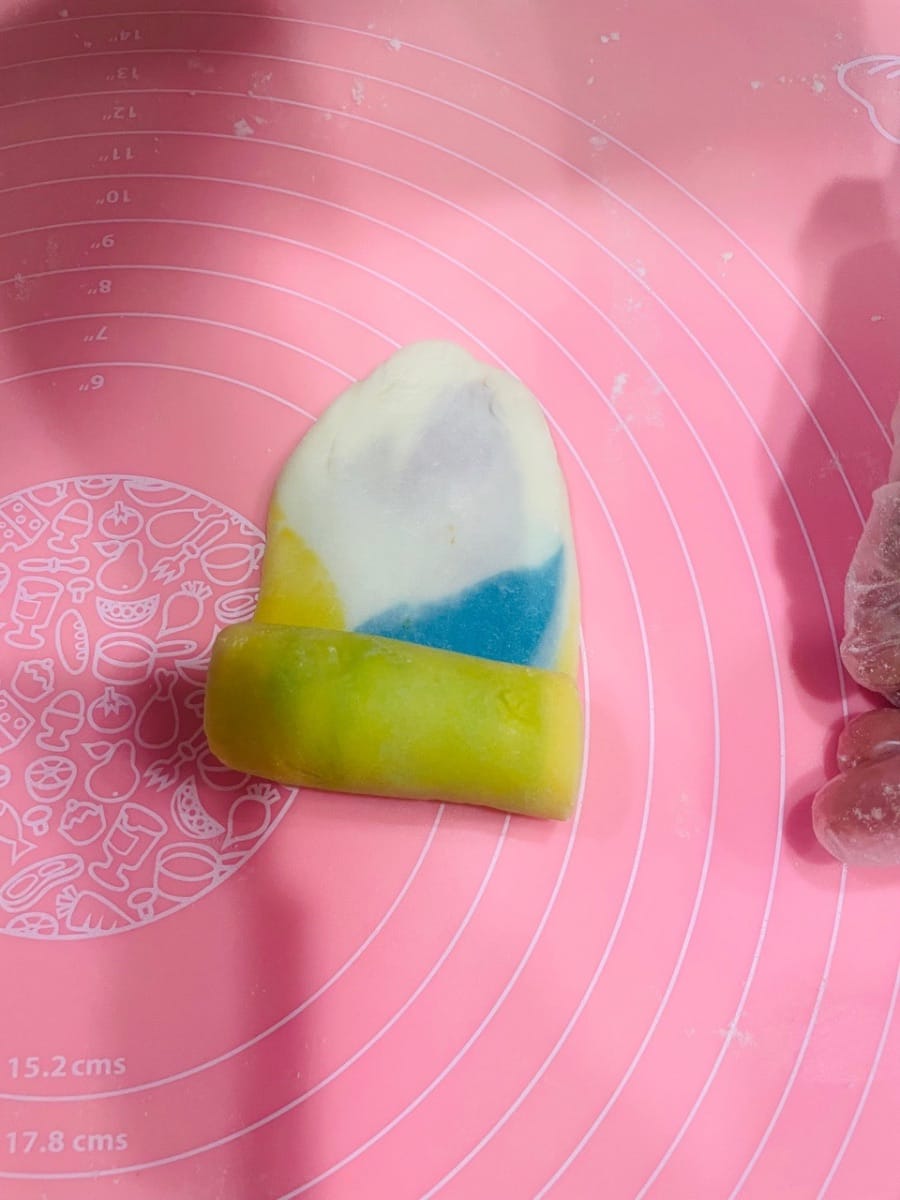
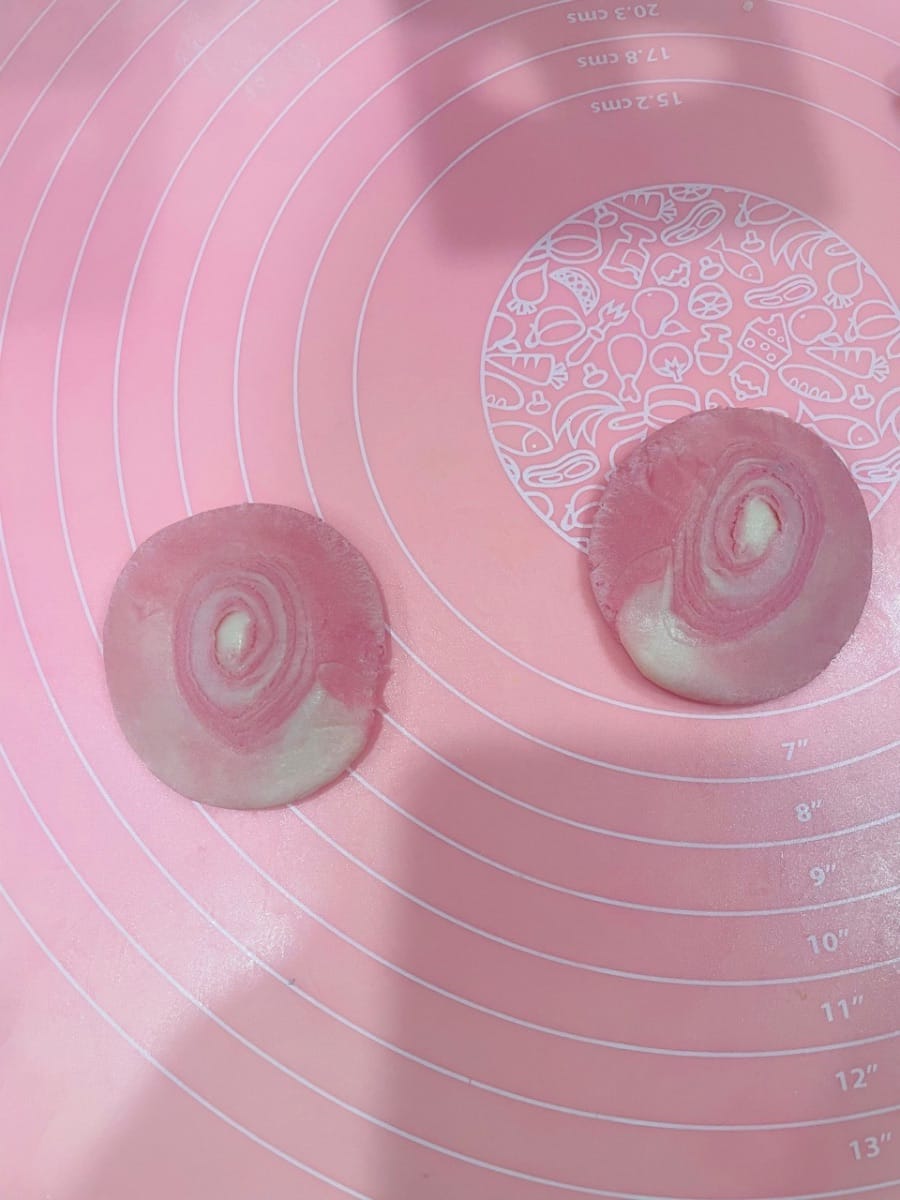
- Cutting
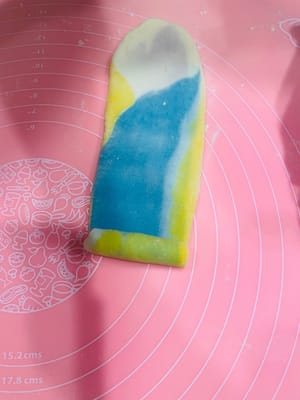
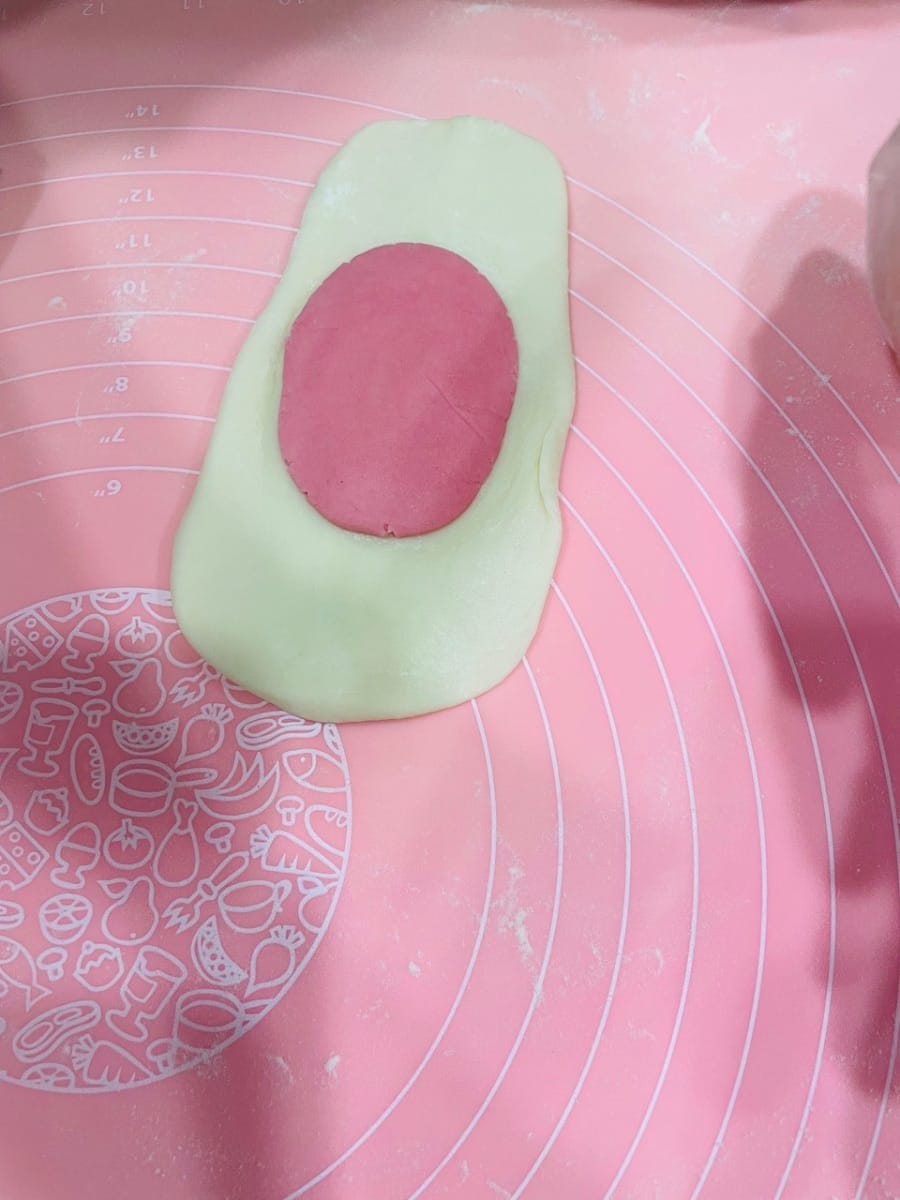
After all the dough pieces are prepared, take one piece of dough and quickly cut it in half lengthwise. Then, with the cut side facing up (towards you), flatten it slightly with your palm. The knife must be sharp, otherwise the cut will be uneven and affect the final shape.
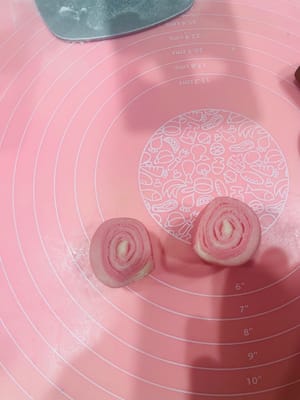
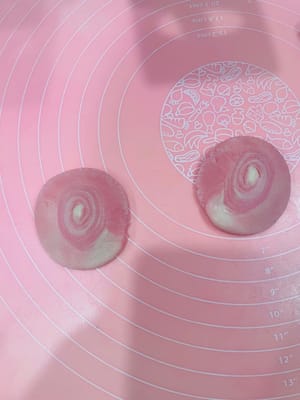
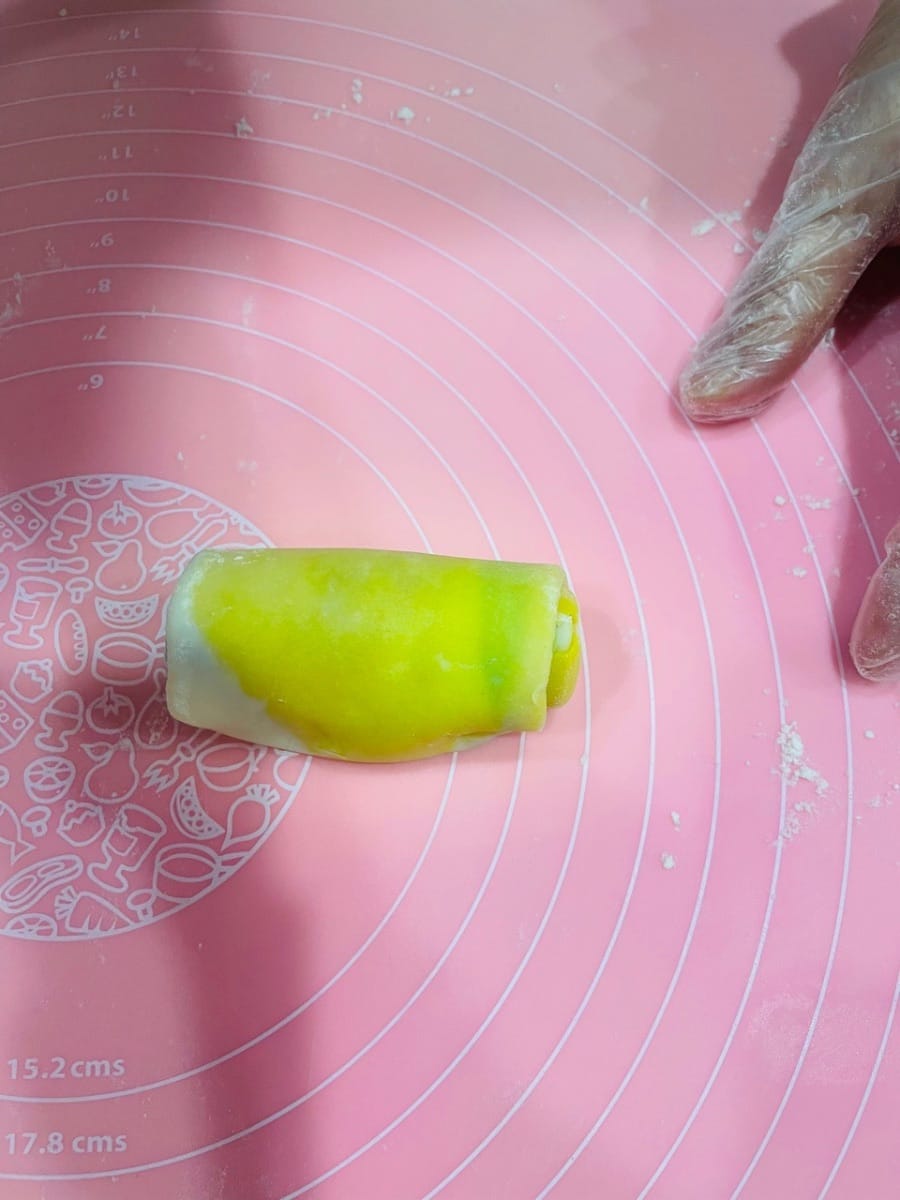
- Rolling out and filling. With the cut side up, press down with your palm, then flip it over and roll it up and down, then left and right with a rolling pin. Lift it up and rotate it to thin the edges. Wrap the red bean paste and salted egg yolk filling inside, using your thumb and forefinger to seal it. Be careful not to let the center of the spiral get too close to your palm when sealing, to avoid deforming the dough. Pinch the opening tightly. Rotating while rolling ensures the dough is even, and pinching the filling tightly prevents it from leaking out during baking.
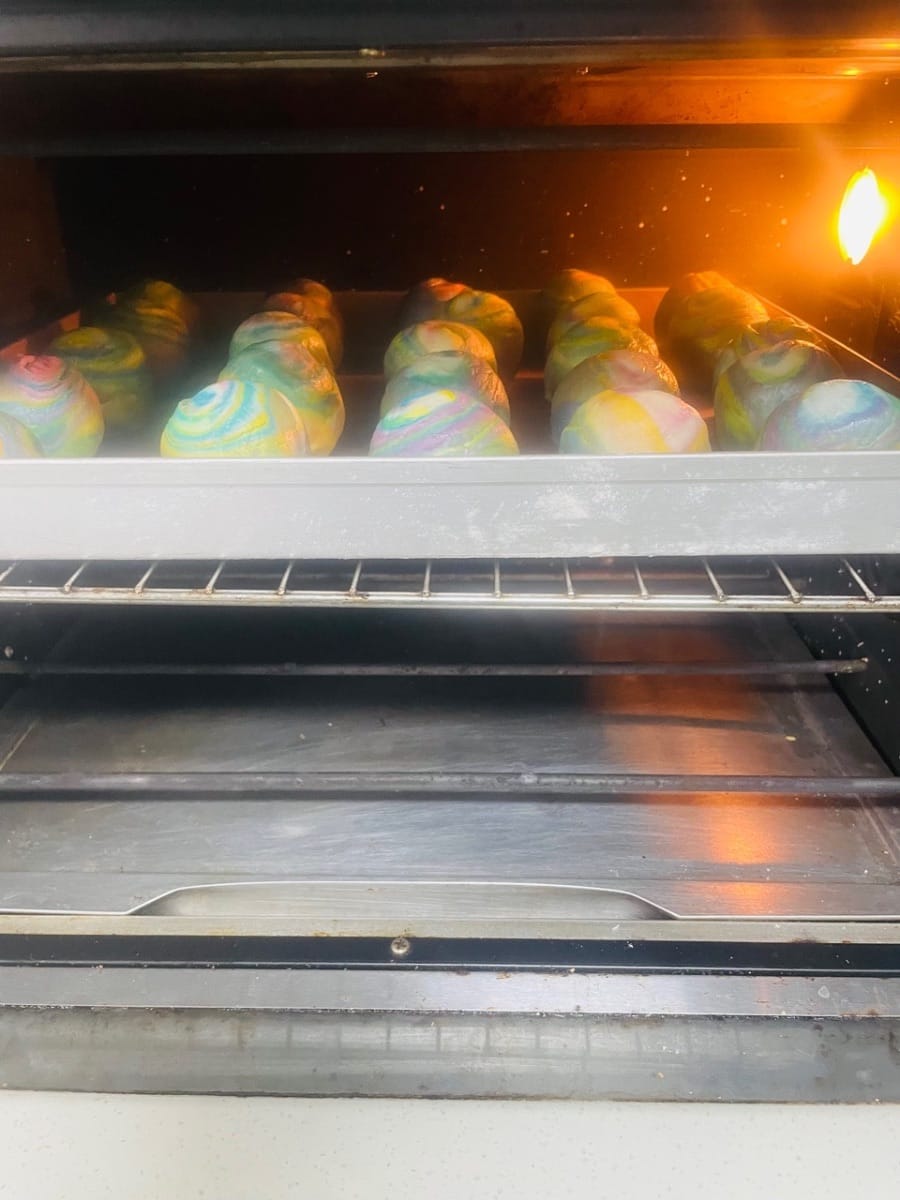
- 4. Baking (The final step; it's what makes it crispy and delicious!)
- Oven Baking
Preheat the oven. Place the wrapped spiral pastries in a 180°C oven on the middle rack and bake for 30 minutes. Cover with aluminum foil after about 12 minutes to prevent over-browning. Preheating the oven ensures even heating, and covering with foil prevents the surface from burning, which would affect the appearance and taste.

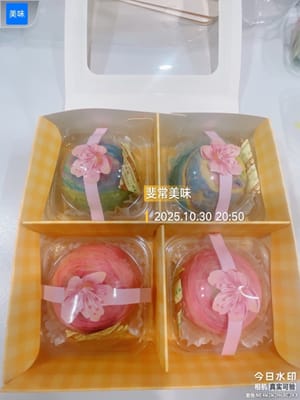
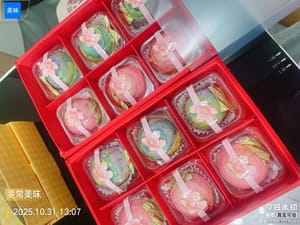
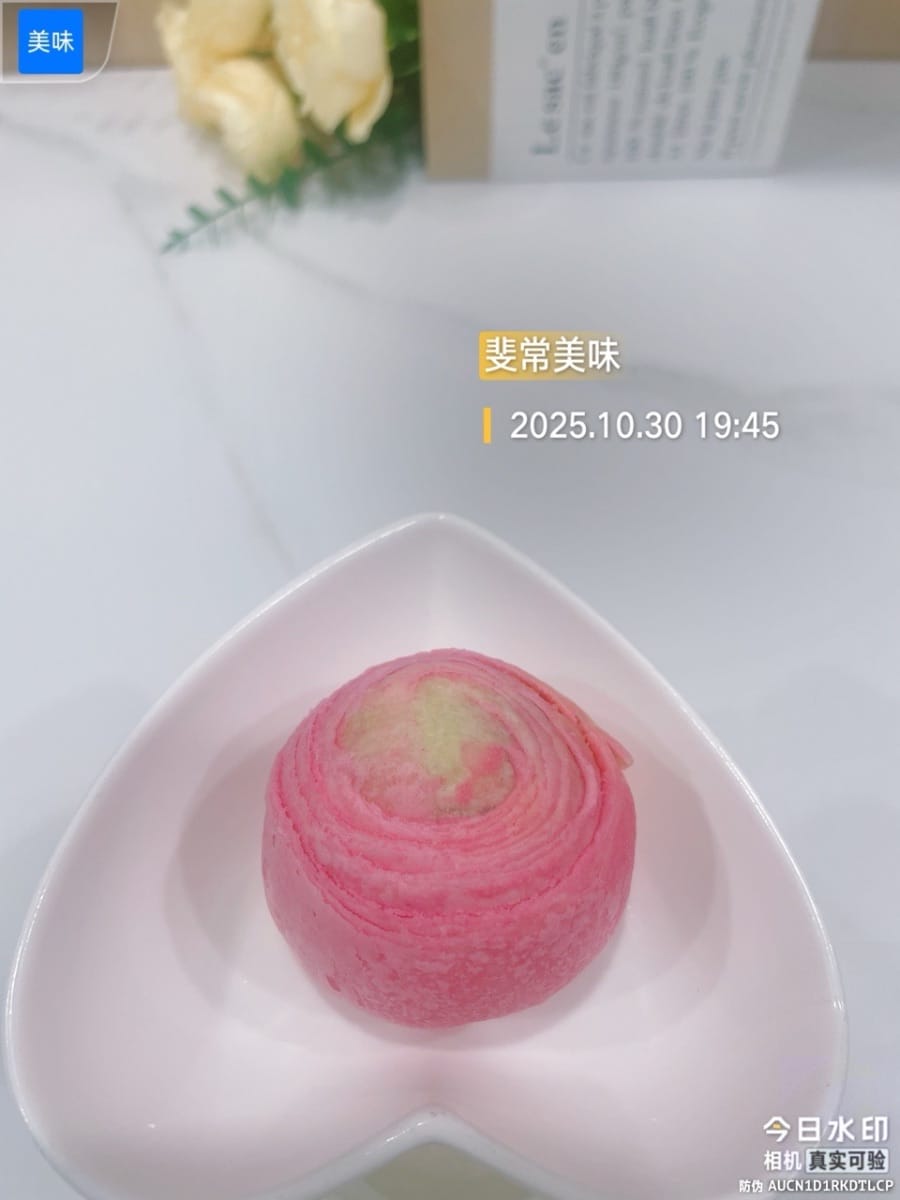
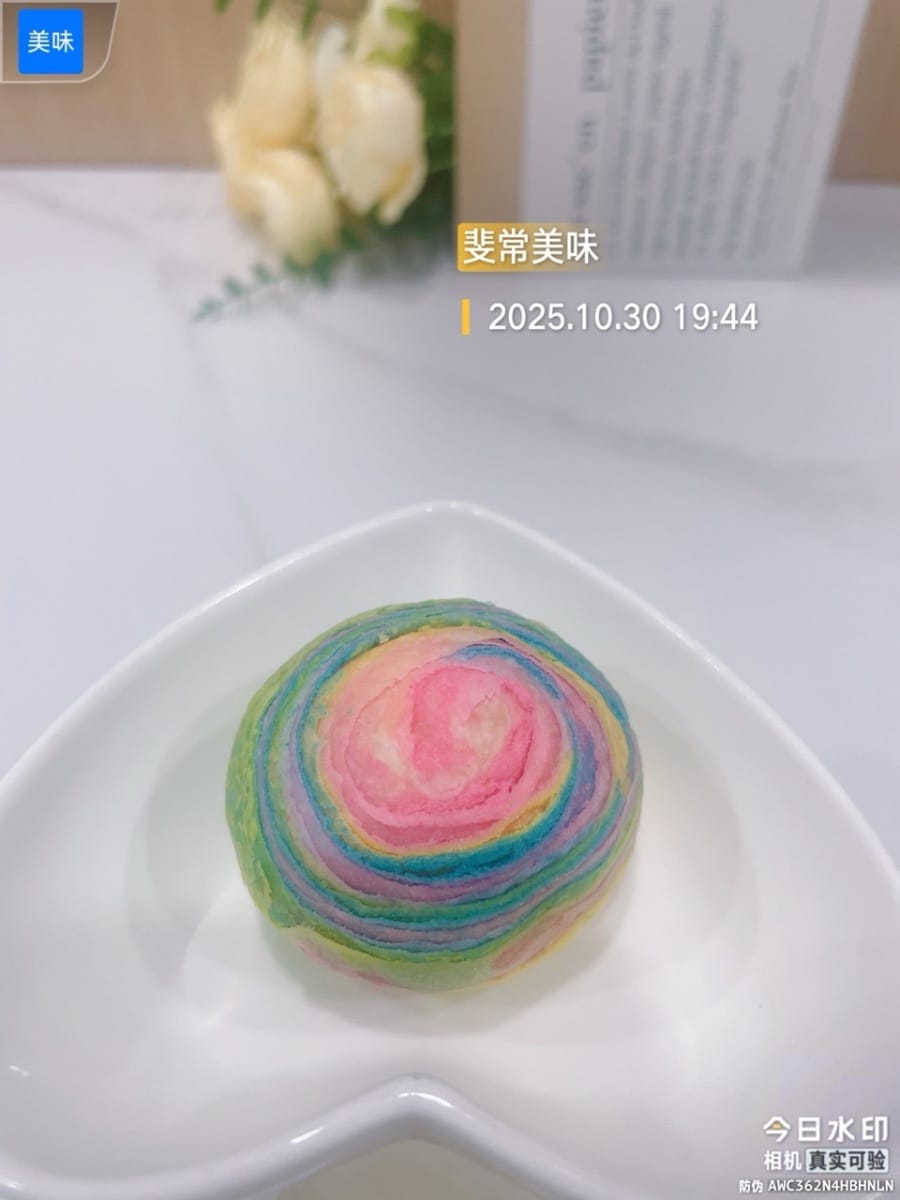
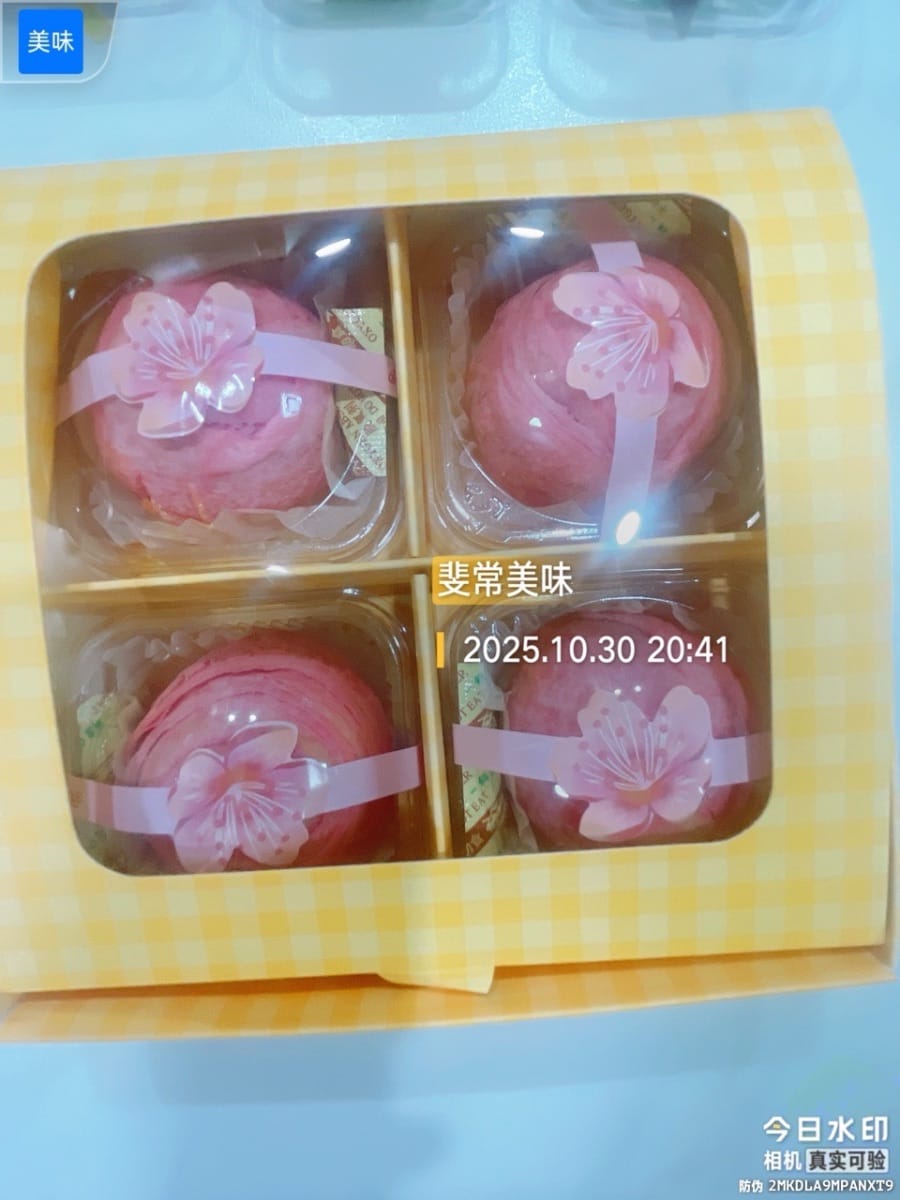
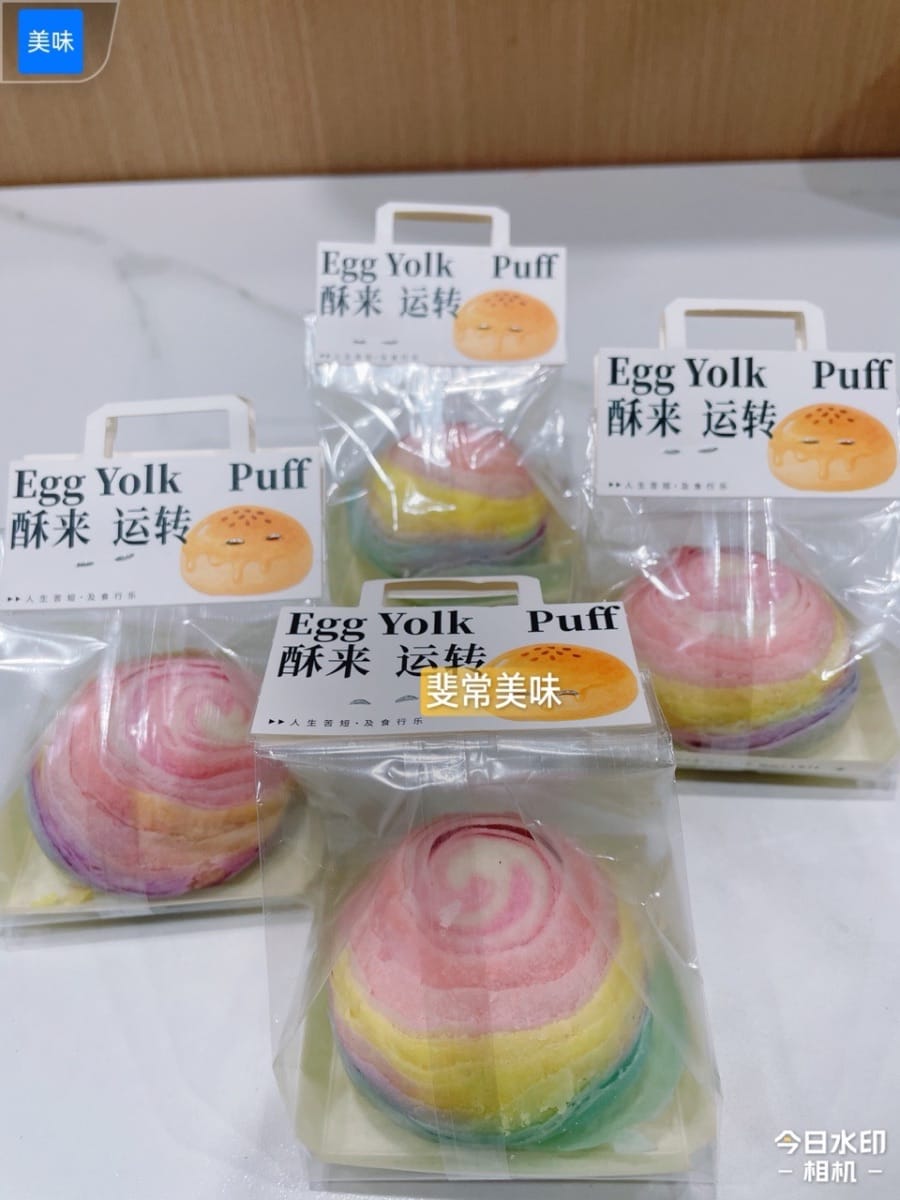
- Look at these baked spiral pastries, aren't they absolutely amazing? The layers are crisp and distinct, bursting open like a rainbow. One bite and they crumble so easily, both the appearance and the taste are top-notch!


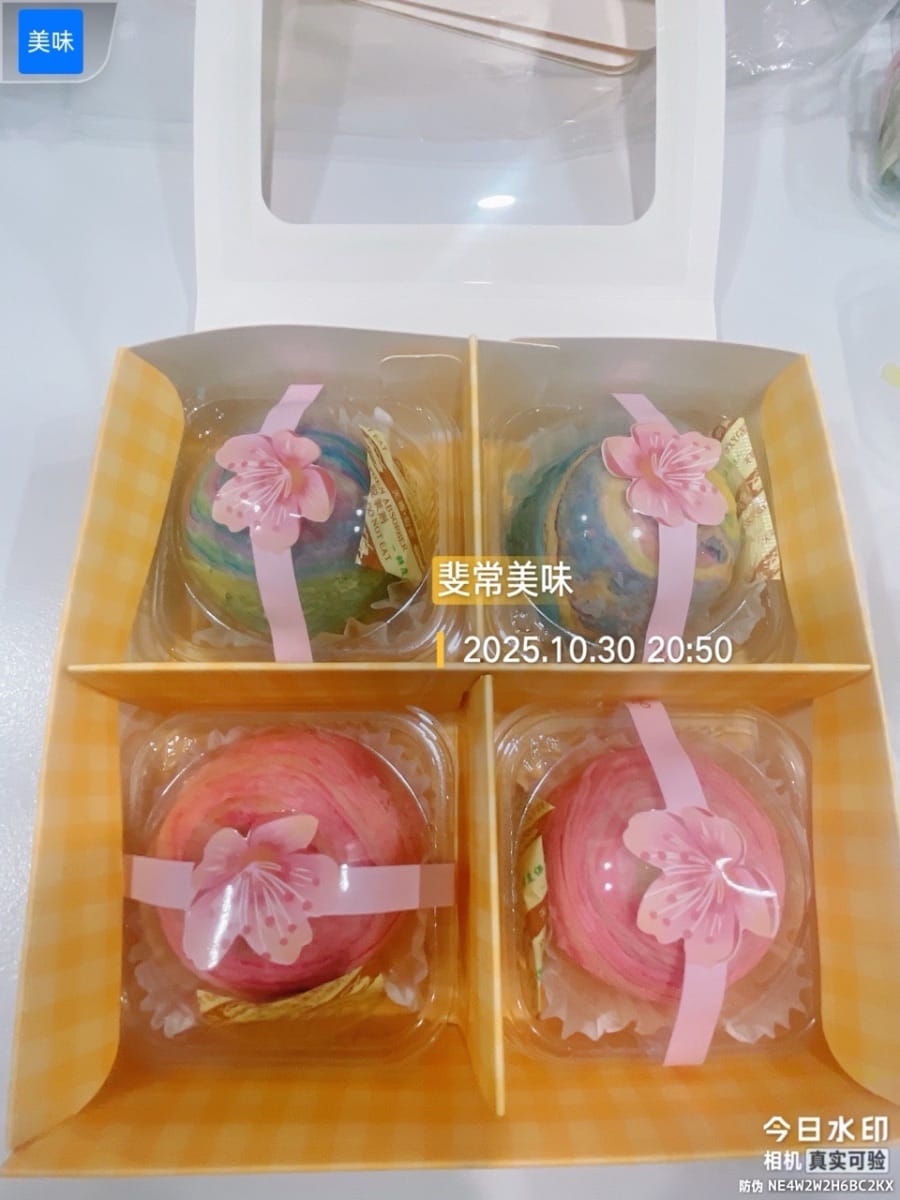
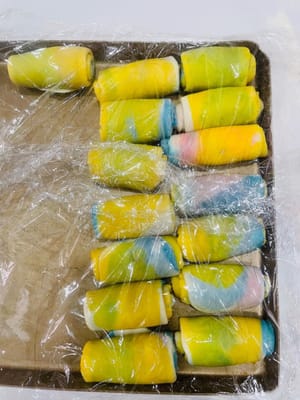
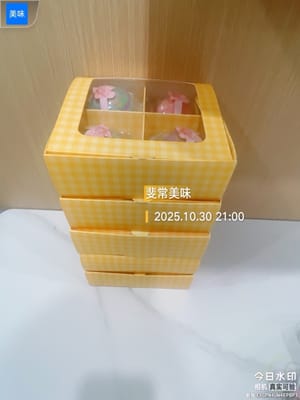
- Packing and Storage
After completely cooling, put on gloves to pack. It looks beautiful and makes a great gift for friends during holidays or a delicious treat for yourself.
Storage method: Refrigerate for 1 week, freeze for 3 months. To eat, remove from the refrigerator and let it thaw slightly, then bake in an oven or air fryer at 180°C for 5 minutes for the same taste as freshly baked.


Languages
Regenbogen-Spiralgebäck - Deutsch (German) versionRainbow Spiral Pastry - English version
Pastel espiral arcoíris - Español (Spanish) version
Pâtisserie spirale arc-en-ciel - Français (French) version
Kue Spiral Pelangi - Bahasa Indonesia (Indonesian) version
Pasta frolla a spirale arcobaleno - Italiana (Italian) version
レインボースパイラルペストリー - 日本語 (Japanese) version
레인보우 스파이럴 페이스트리 - 한국인 (Korean) version
ขนมอบเกลียวสีรุ้ง - แบบไทย (Thai) version
彩虹螺旋酥 - 香港繁體中文 (Traditional Chinese - Hong Kong) version