Red Bean Paste Layered Rolls
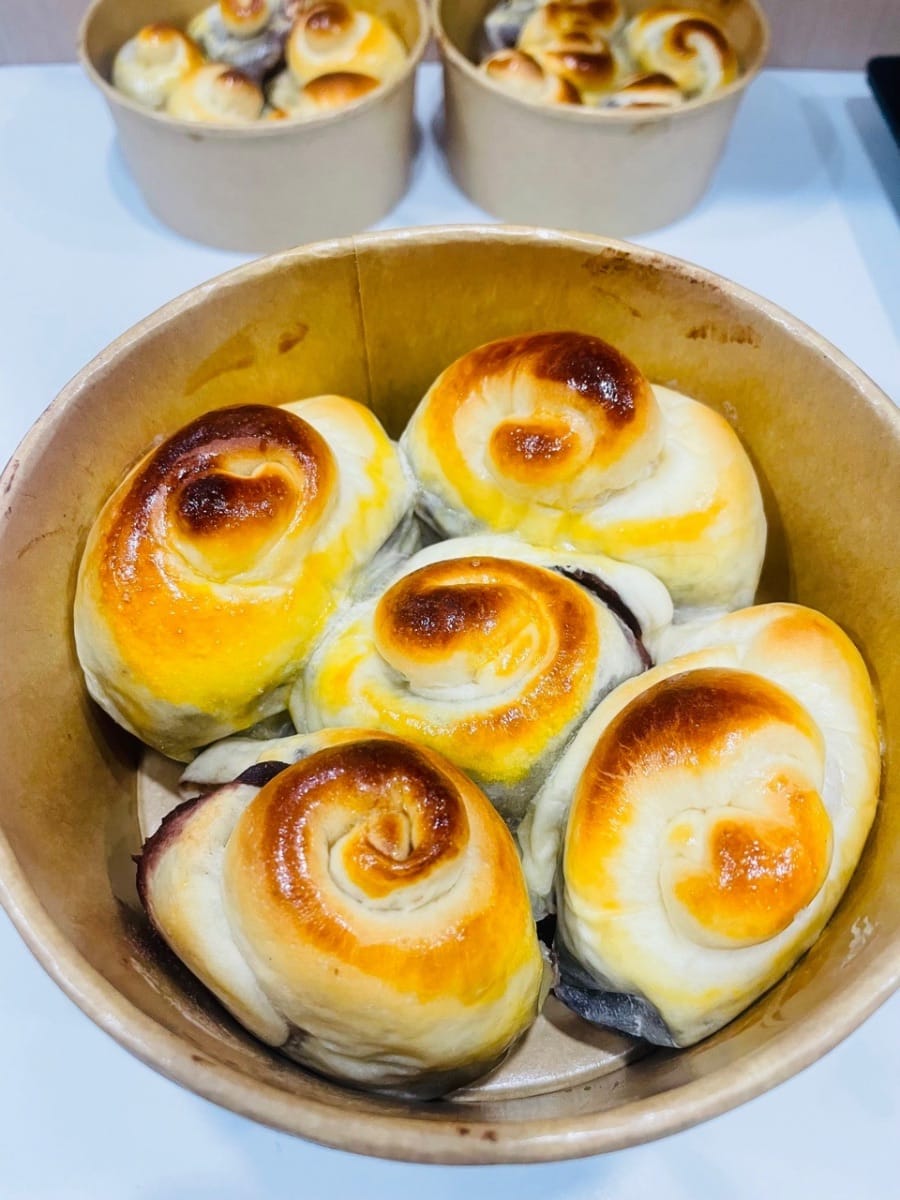
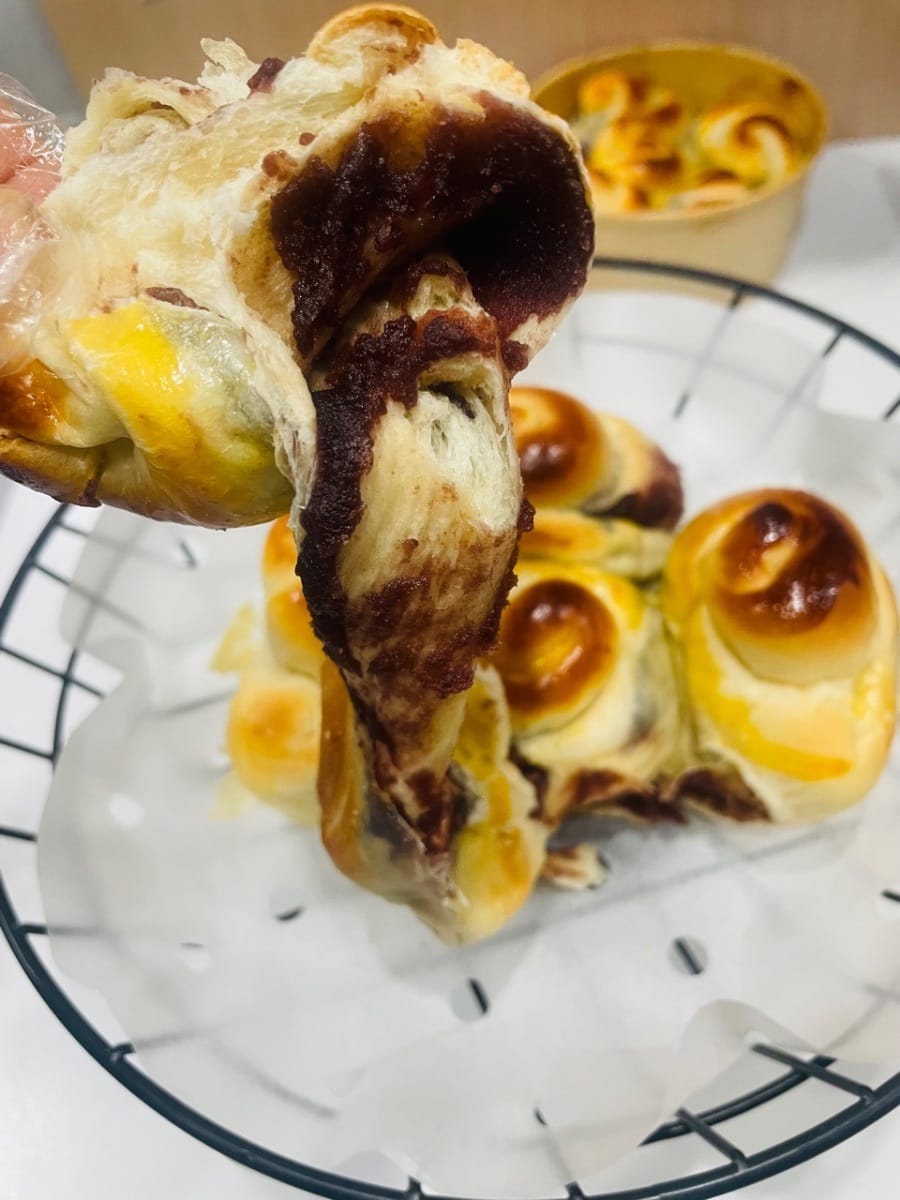
When making this red bean paste bread, I deliberately avoided cutting or braiding it, mainly to prevent the red bean paste from drying out after baking in the oven, which would greatly affect the texture. Instead, I layered the red bean paste into the dough, creating a flaky, layered texture similar to puff pastry. This avoided the problem of biting into a mouthful of filling that was cloyingly sweet, and allowed the sweetness of the red bean paste to blend perfectly with the softness of the bread. Every bite offers a delightful combination of creamy red bean paste and fluffy dough, with rich layers that make it incredibly satisfying to eat.
Ingredients
- 270g high-gluten flour

- 3 grams of dry yeast

- 120g iced milk

- 30 grams of sugar

- 3 grams of salt

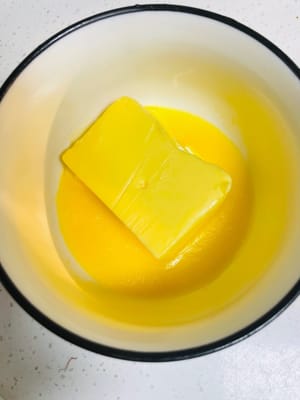
- 30g butter

- 50g of egg liquid

- 20g milk powder

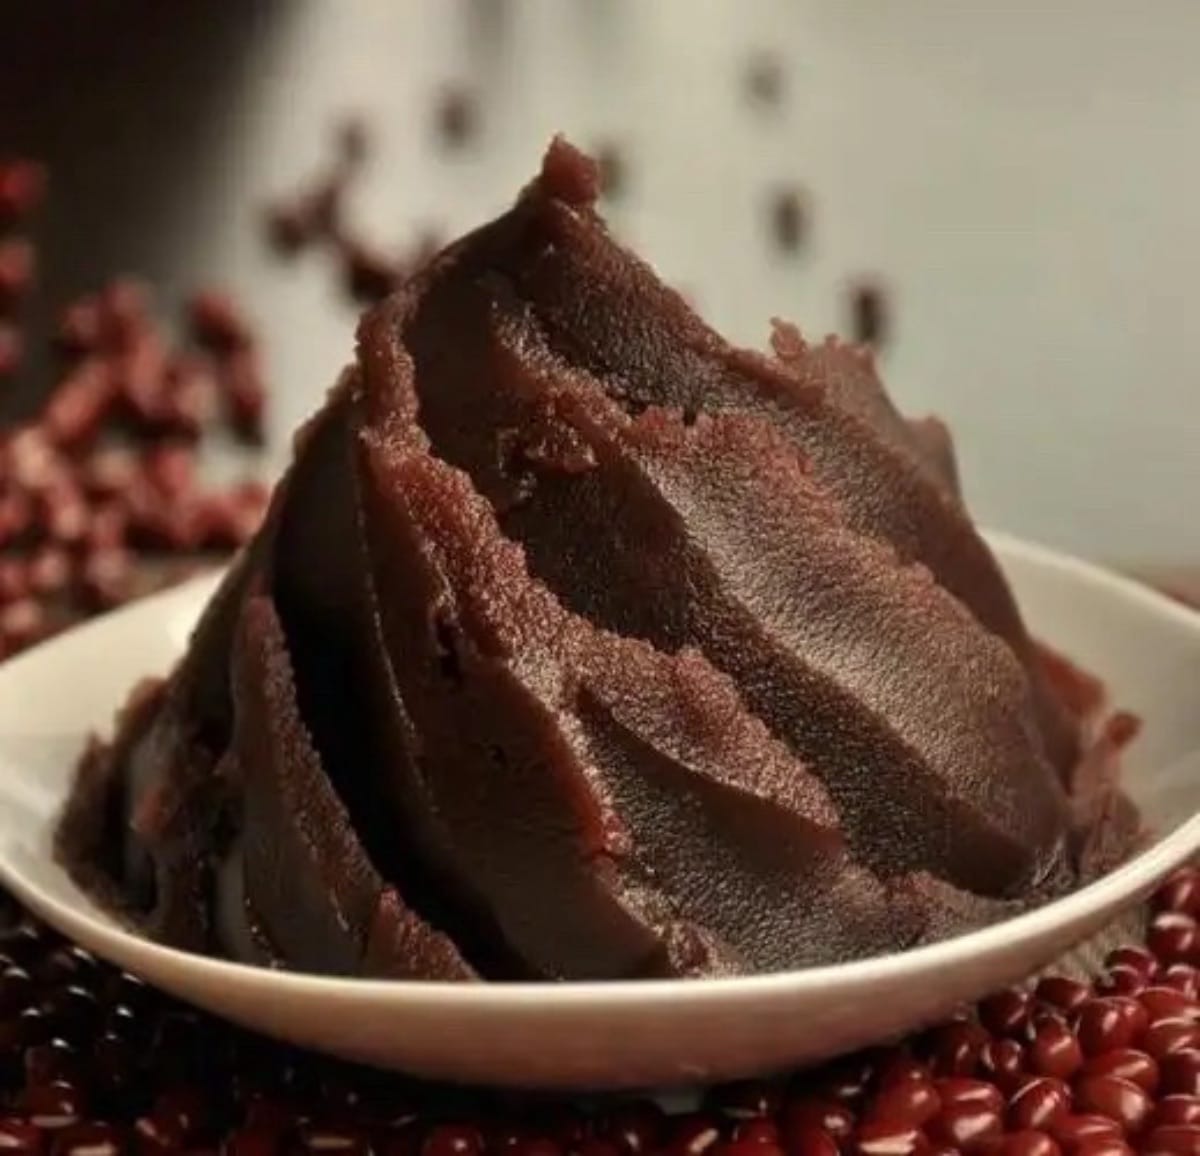
- 250g low-sugar red bean paste


Steps
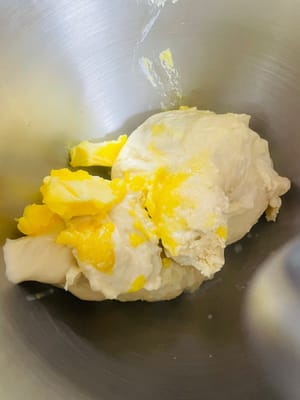
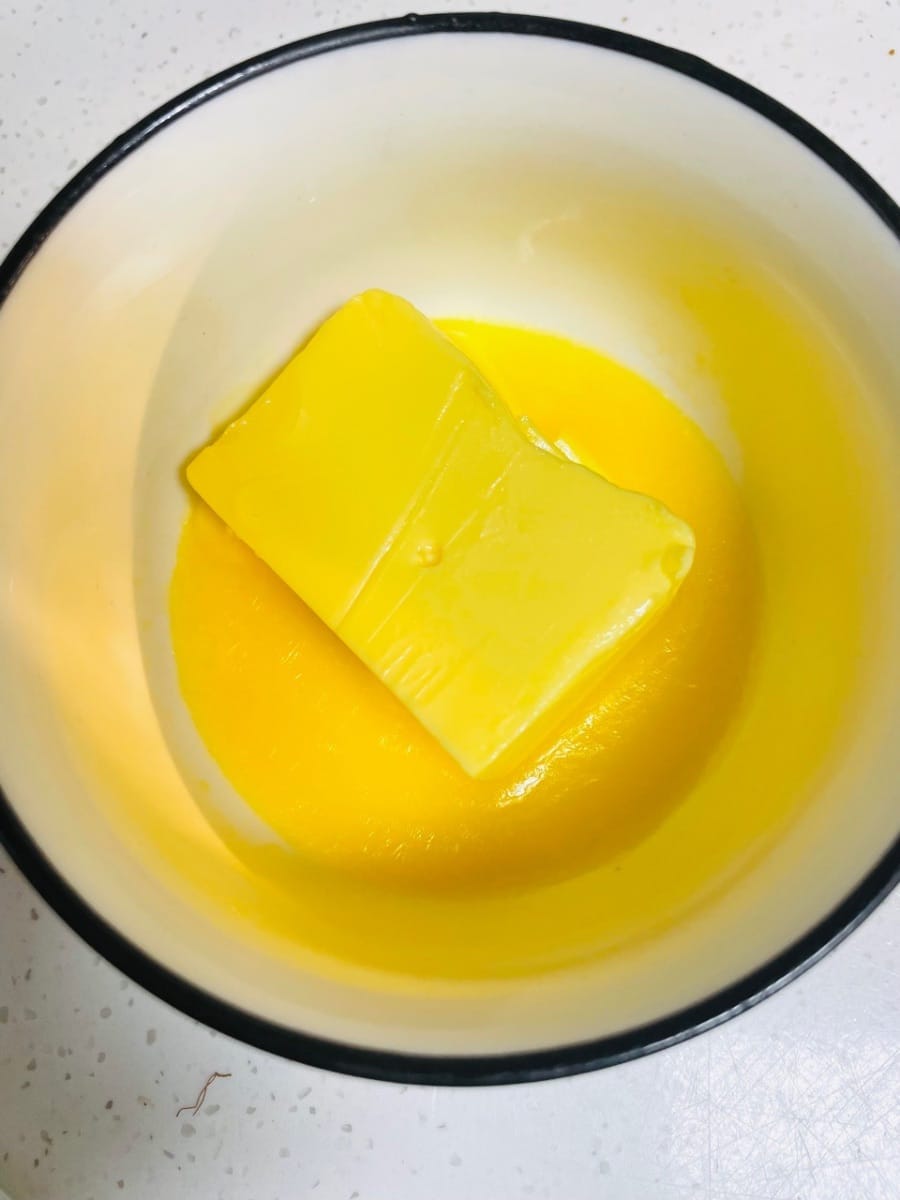
- Let the butter soften at room temperature until it is soft enough that chopsticks can easily pierce it, but don't let it melt into water.
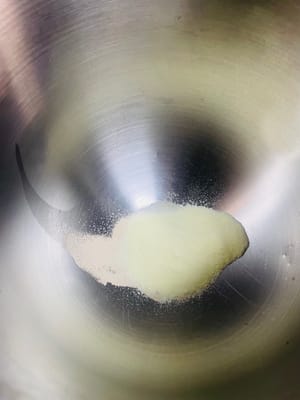
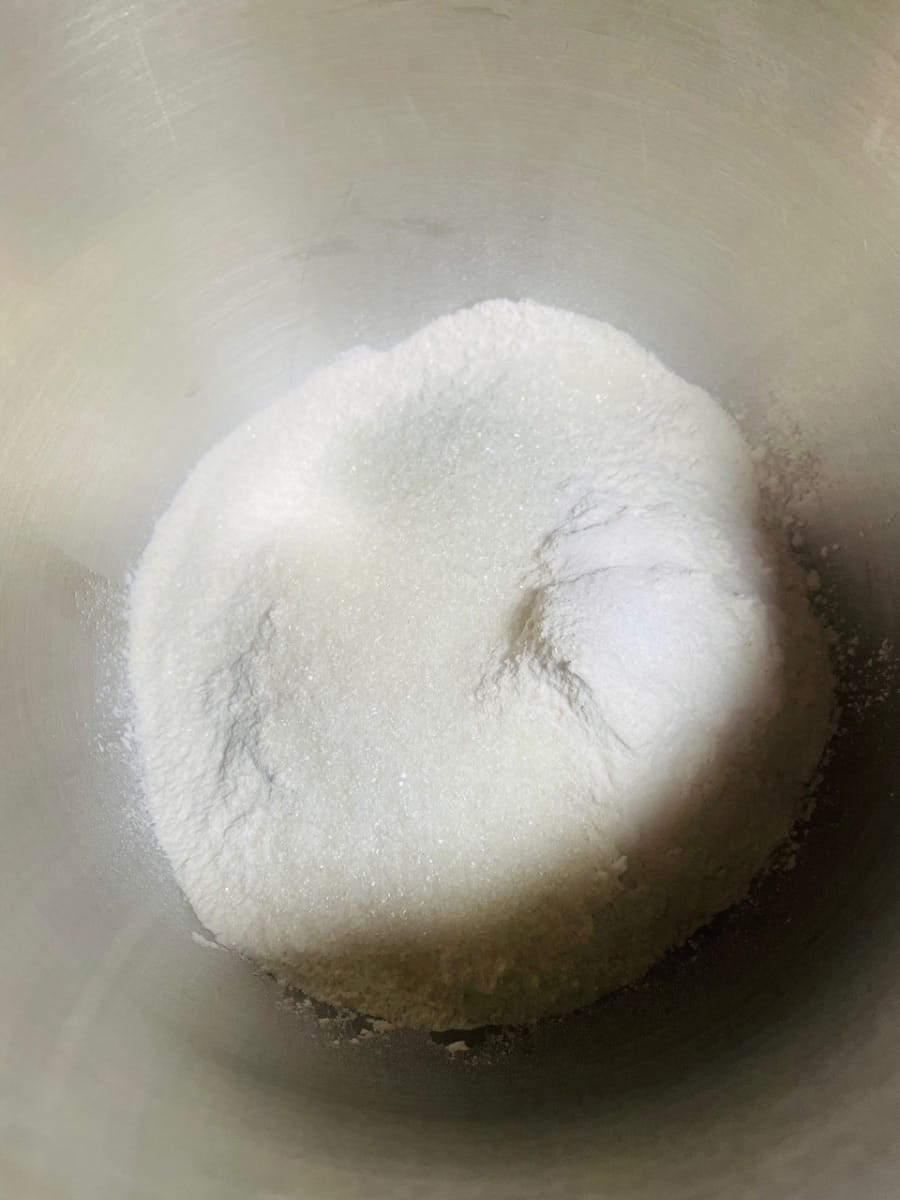
- Pour dry yeast, milk powder, high-gluten flour, salt, and white sugar into the mixing bowl all at once, and stir well.


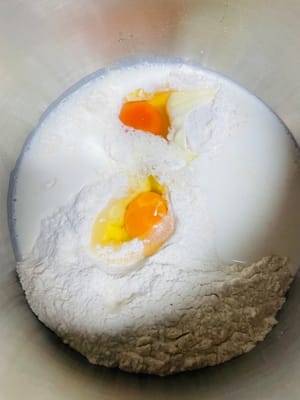
- Add egg liquid and milk, then put them into the mixing bowl.
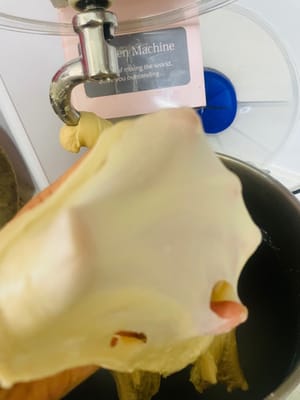
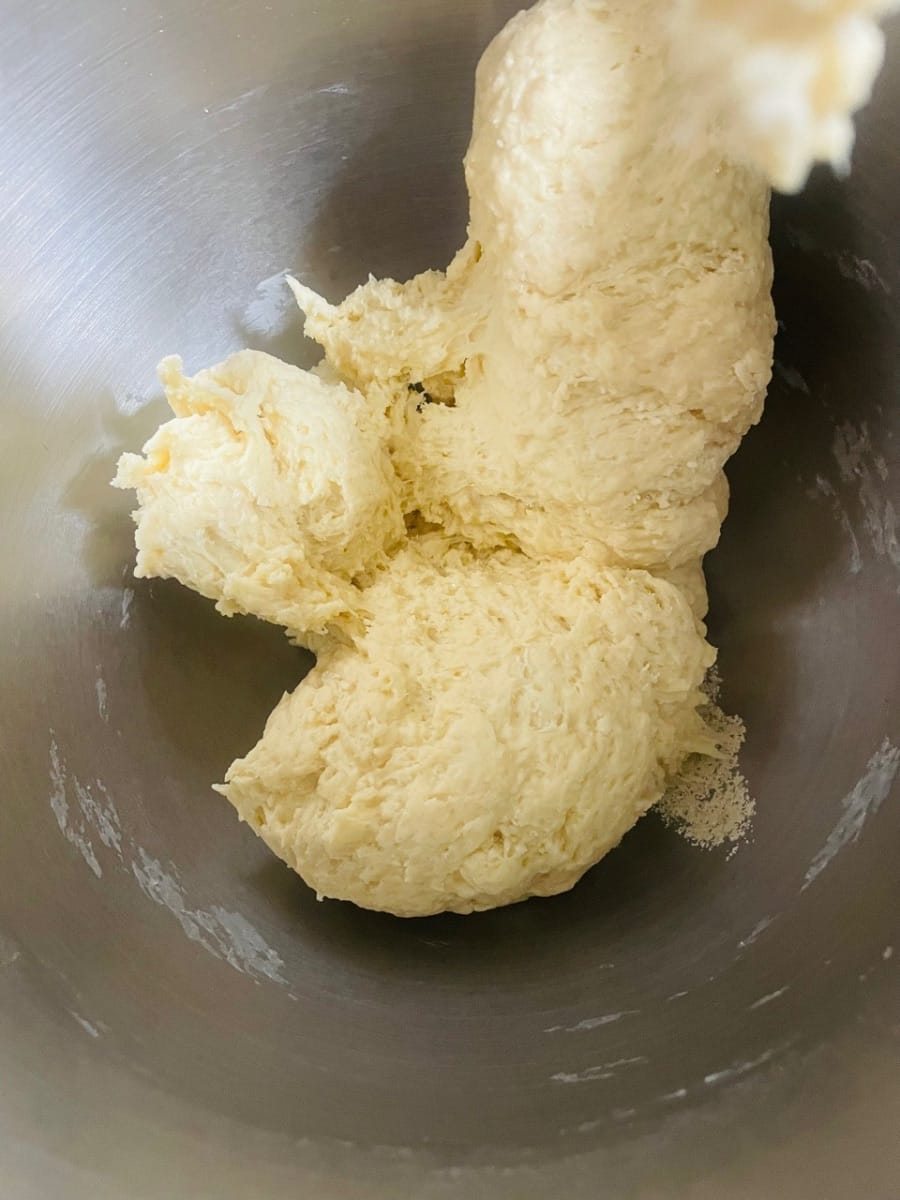
- Knead until it reaches the 80% membrane stage, which means it can be stretched into a thin film but doesn't crumble into pieces.
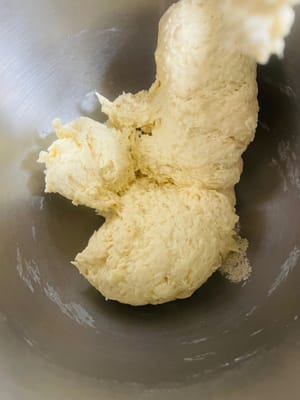

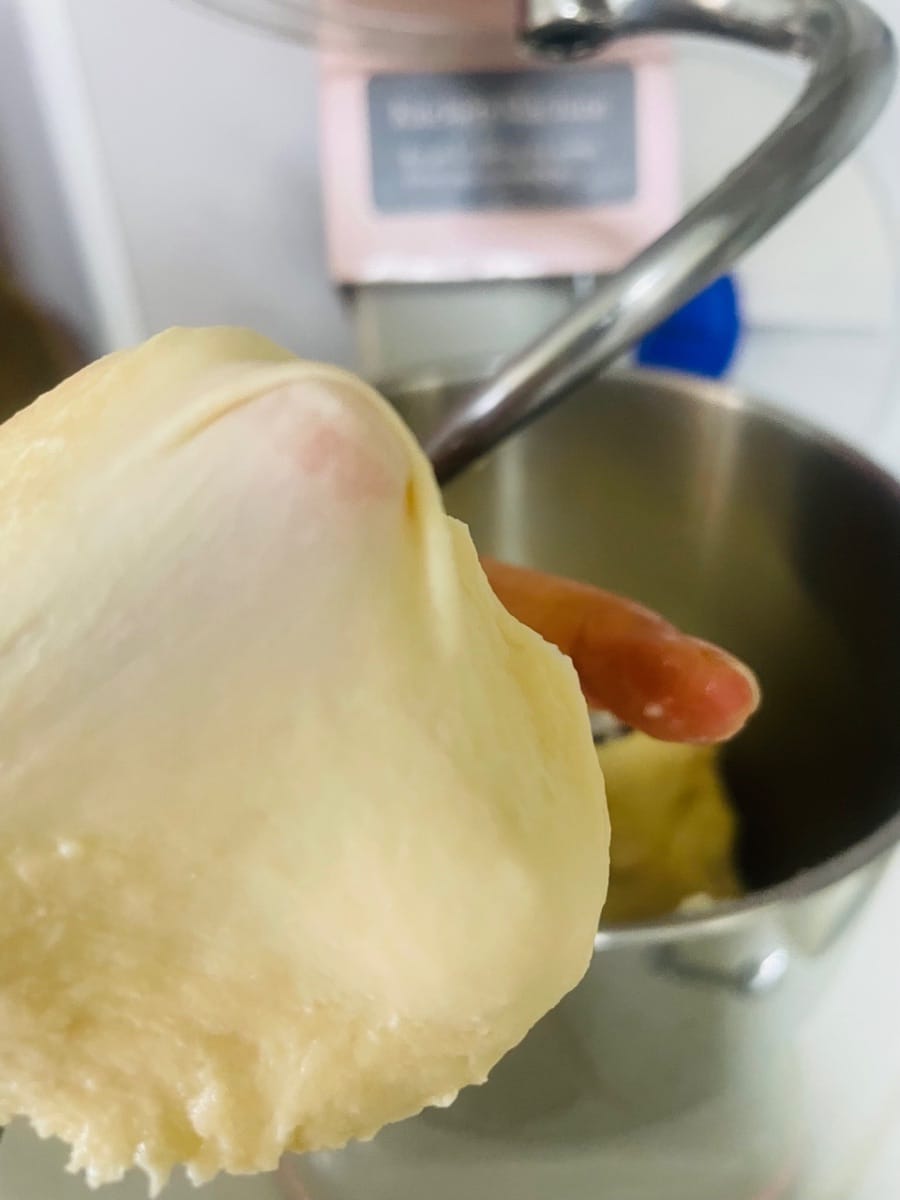
- Add the softened butter and knead until the dough can be stretched into a thin, translucent membrane (a perfect membrane). If kneading by hand, use the folding method and water bath method. Important reminder: The dough temperature should not exceed 23°C after being removed from the mixing bowl. If it's hot, use ice-cold milk, and you can also tie a cooling bag around the mixing bowl to prevent the dough from getting "heatstroke".
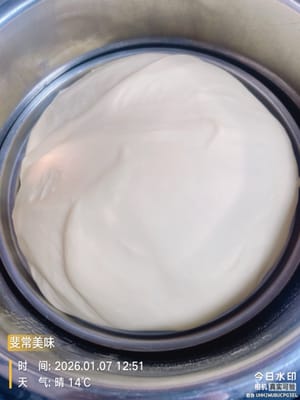
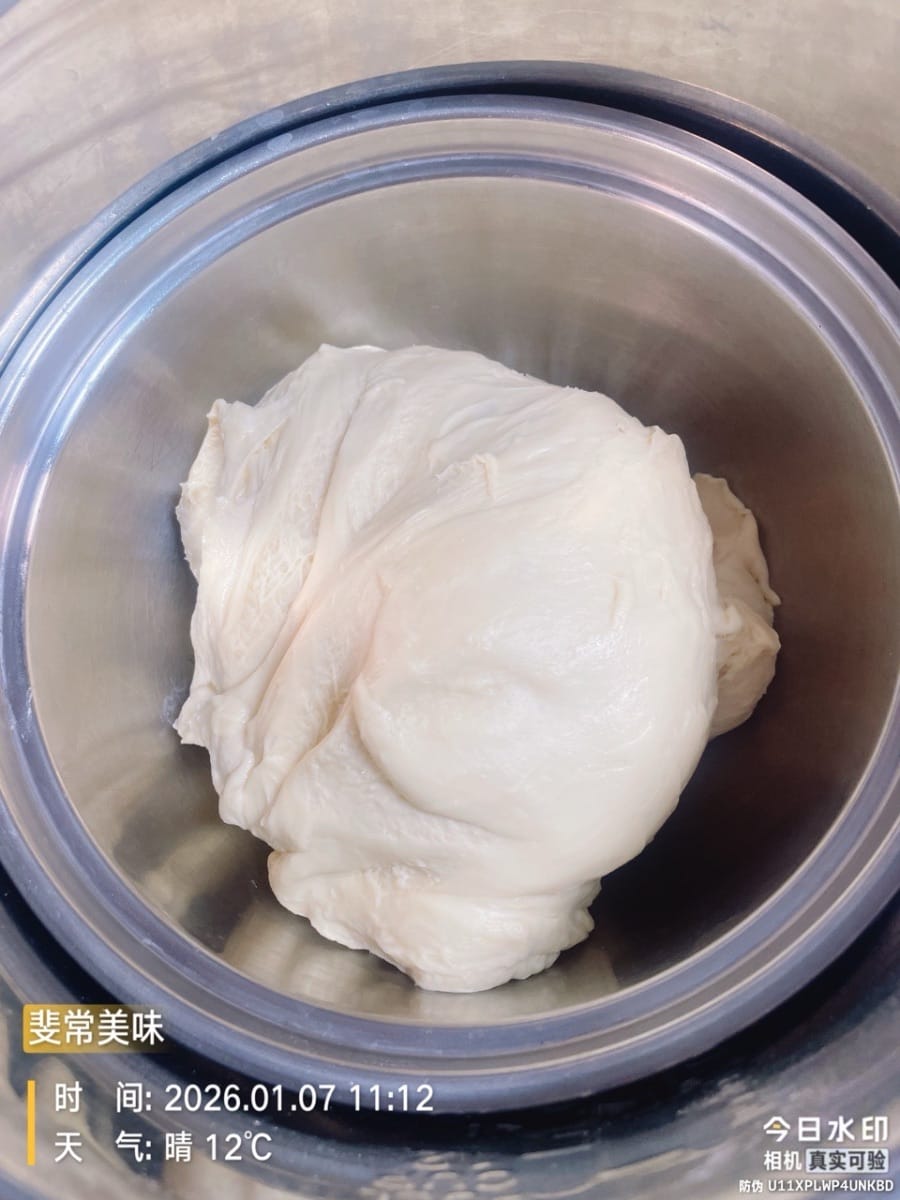
- Place the kneaded dough in a place around 30°C, cover with plastic wrap to keep it moist, and let it rise until it doubles in size. It's done when it doesn't spring back when pressed.
Making bread in 12°C weather, the hardest part isn't kneading, but getting the yeast to wake up (fermentation) – it's more sensitive to the cold than I am! 😄

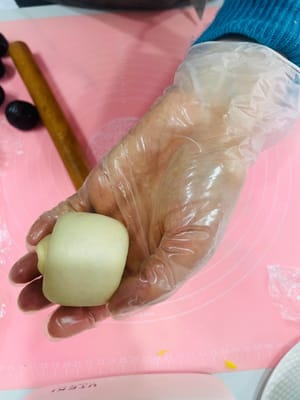
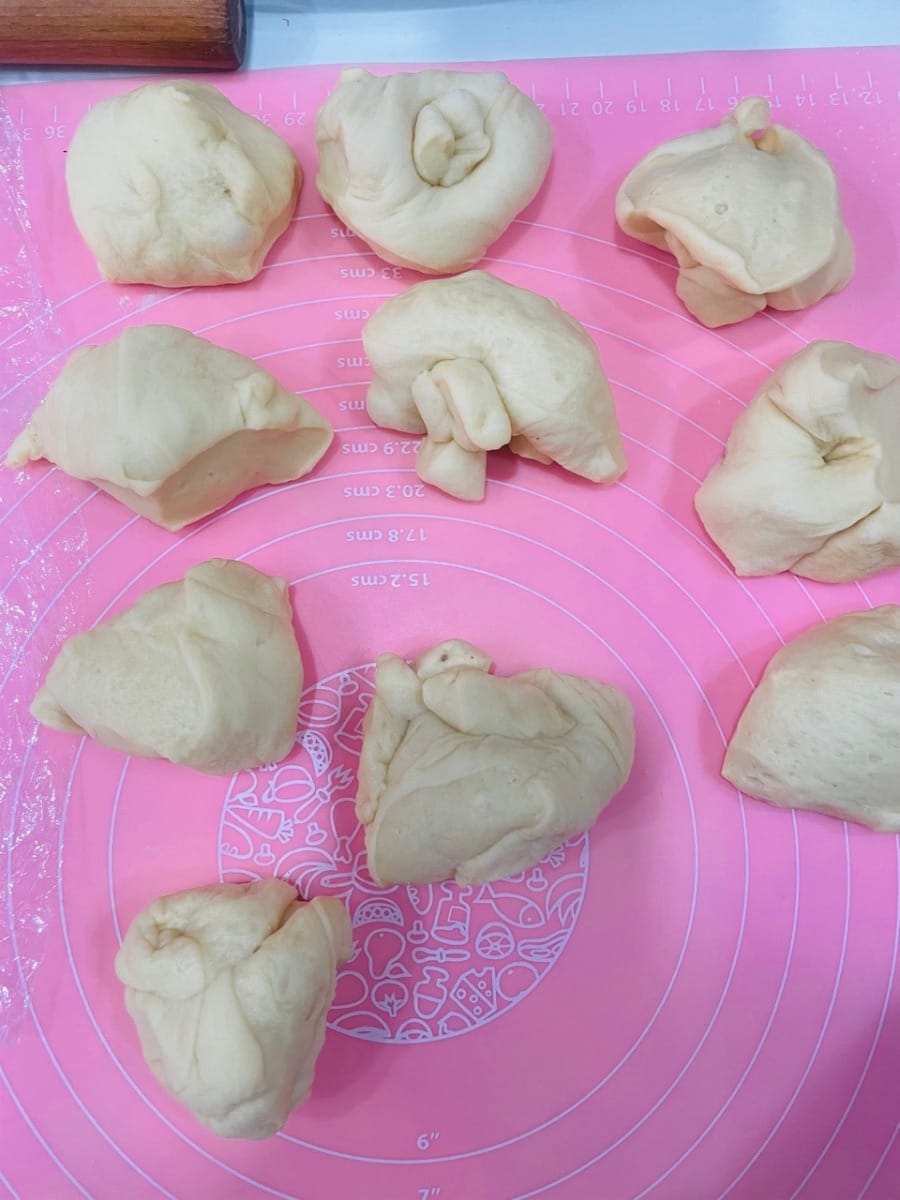
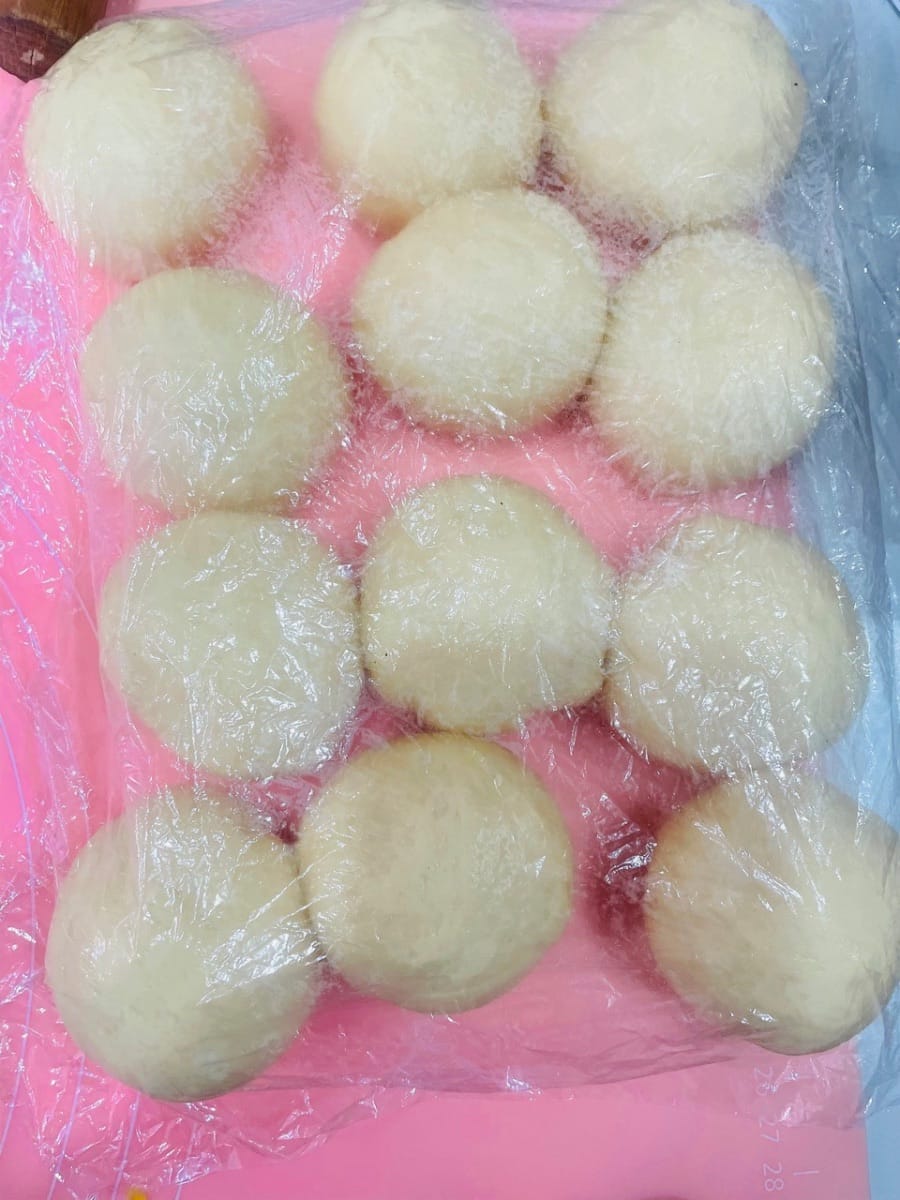
- Place the risen dough on the work surface, divide it into 15 small portions of about 50 grams each, roll them into balls, cover with plastic wrap and let them rest for 15 minutes.


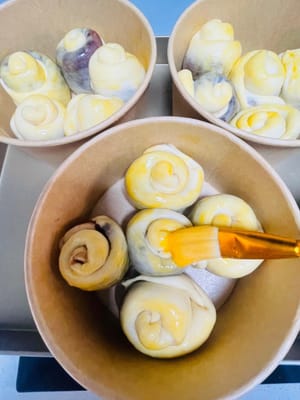
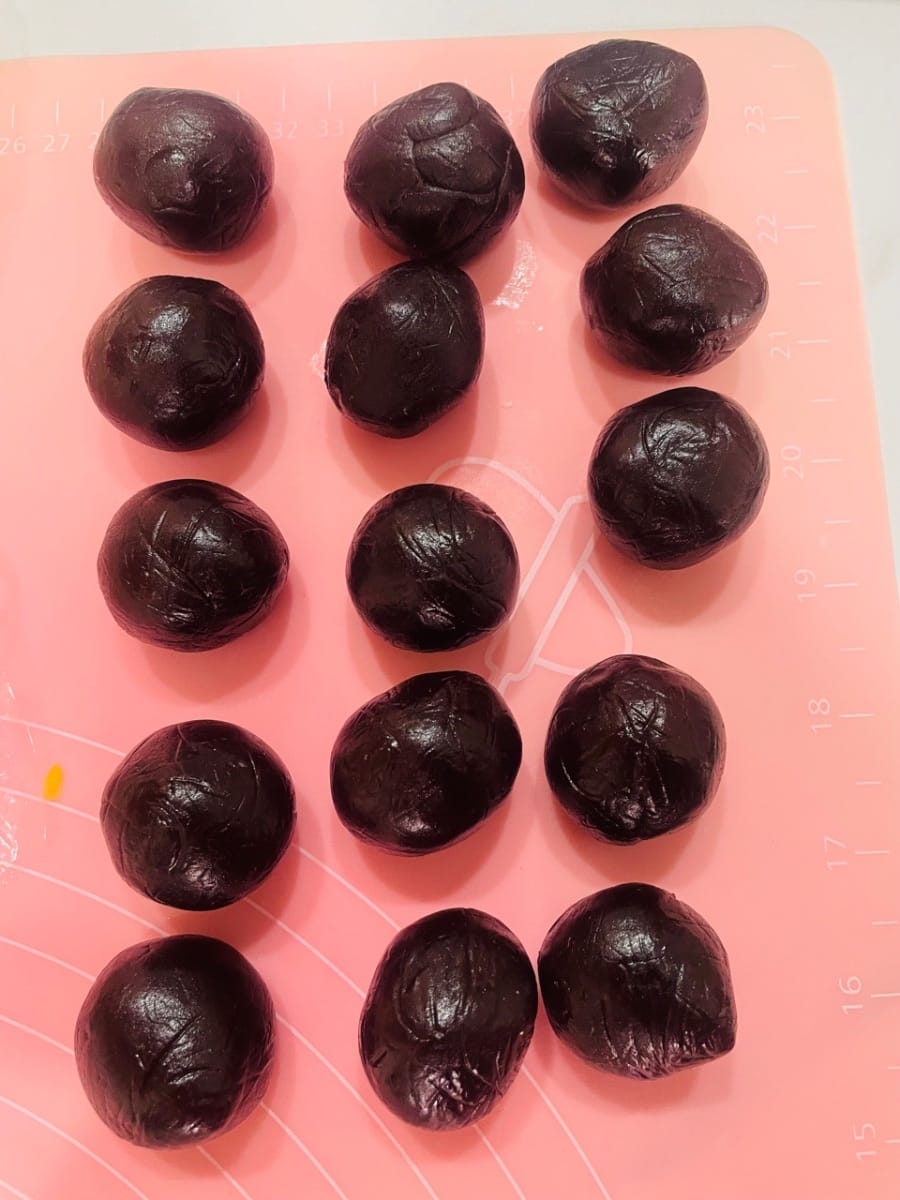
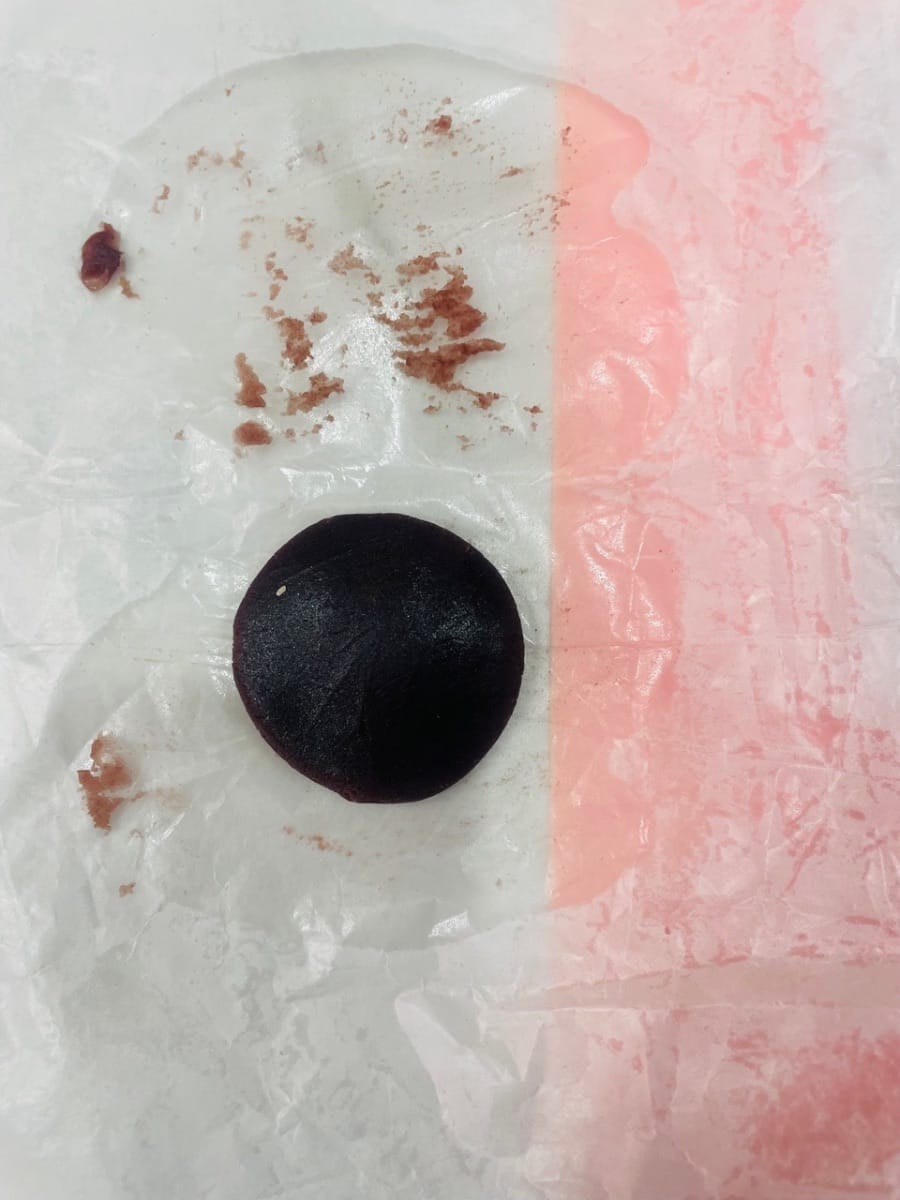
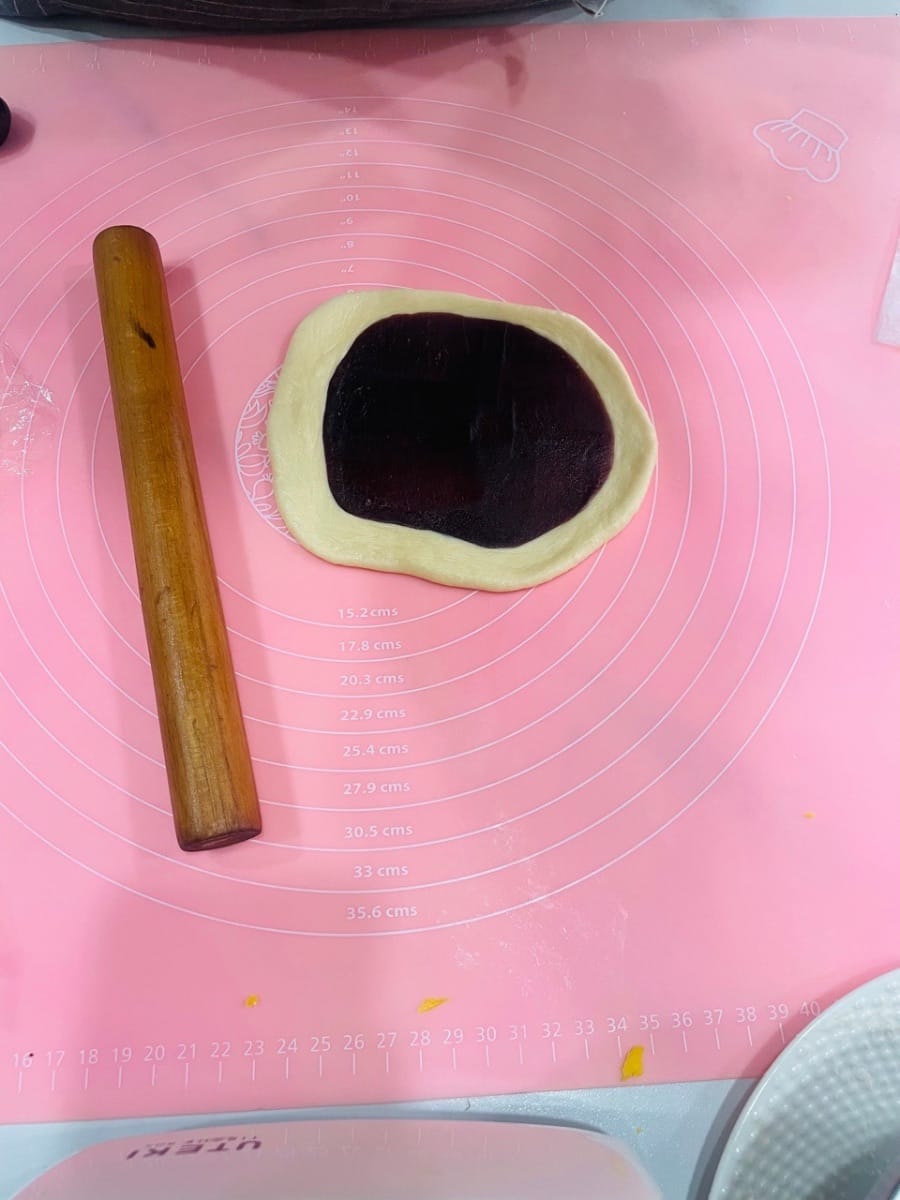
- Divide the red bean paste filling into the same number of small portions as the dough balls. Roll them into balls, cover them with baking paper, and flatten them into thin sheets about the same size as the bread dough. Set aside.


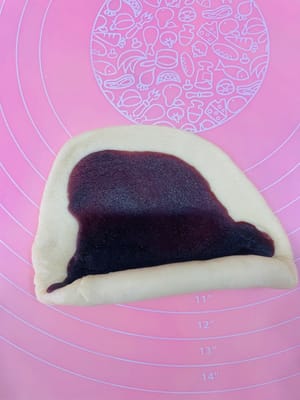
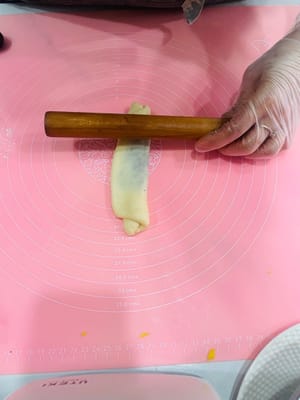
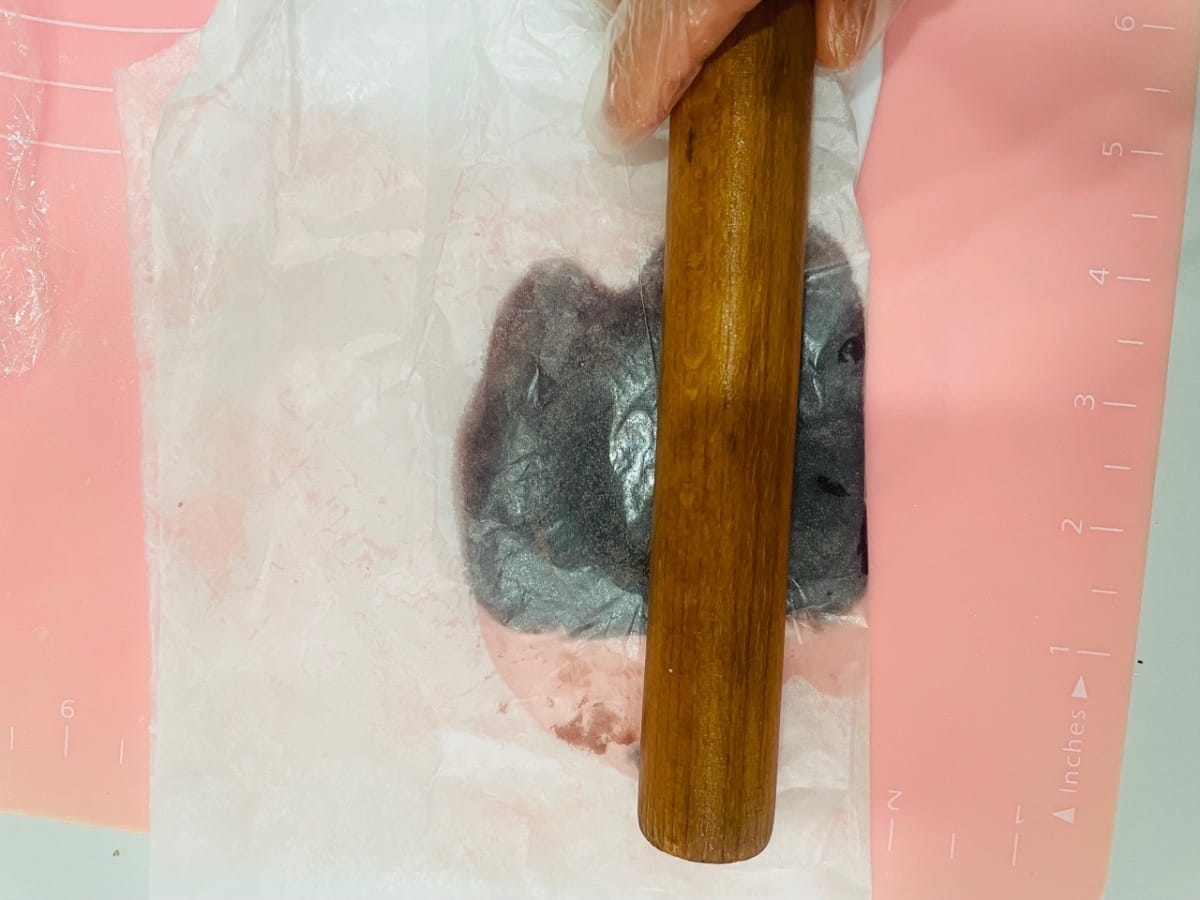
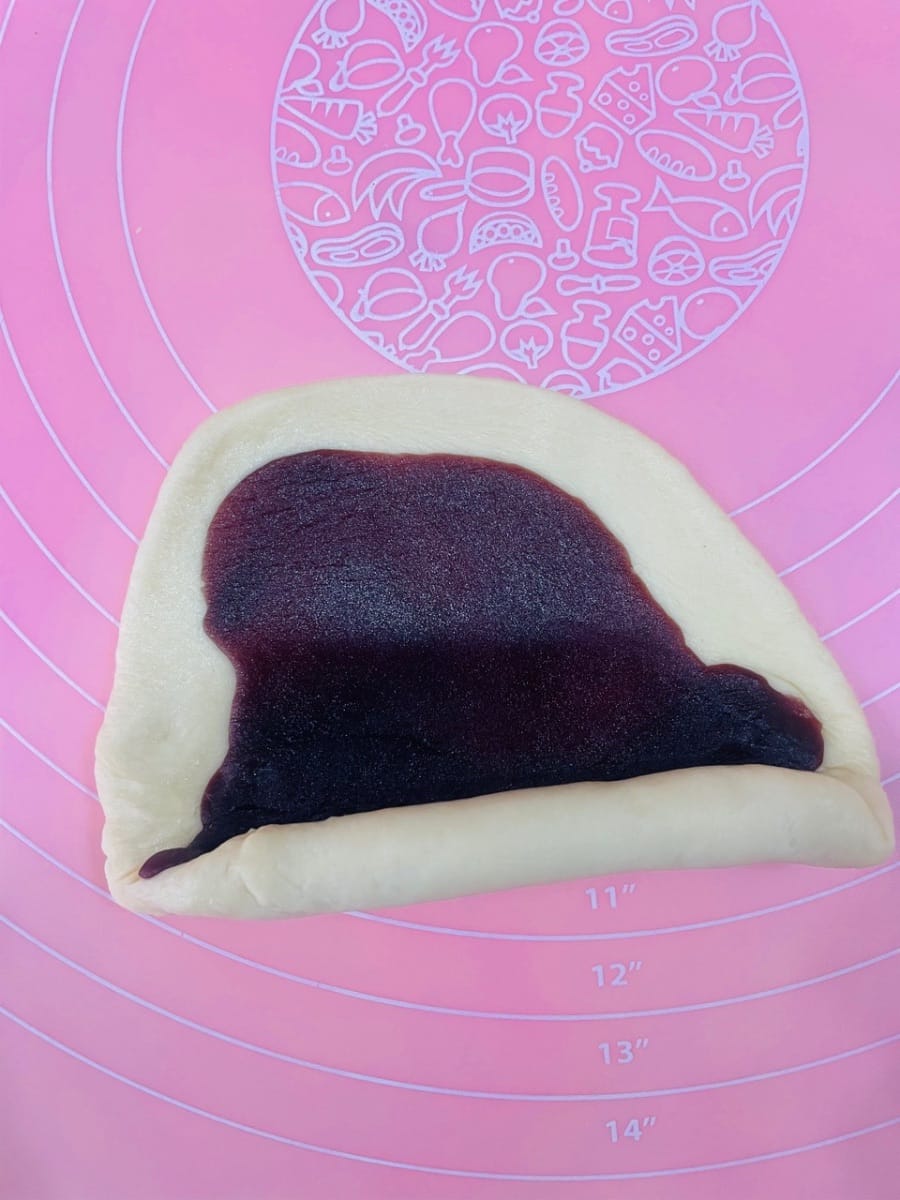
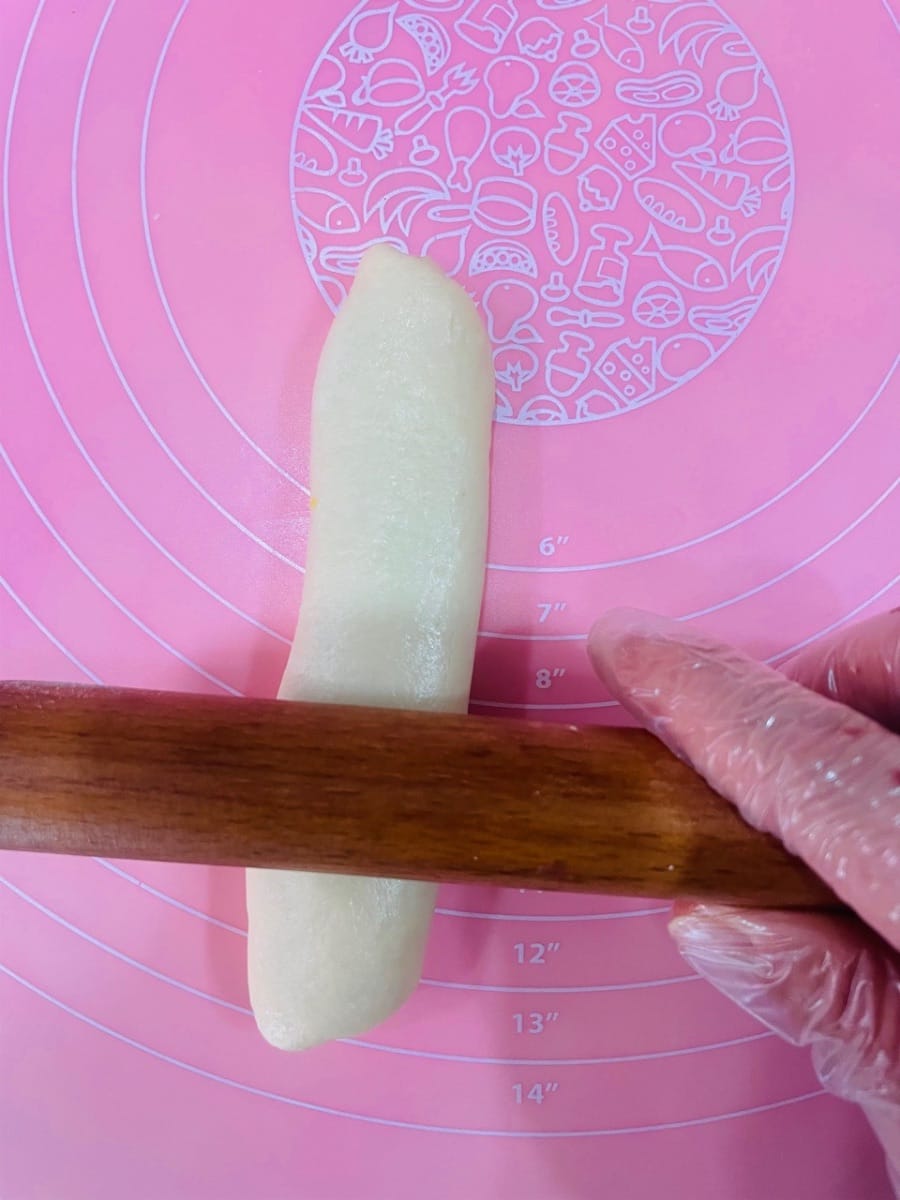
- Take a relaxed dough ball, roll it into a round sheet, spread a thin sheet of red bean paste on it, roll it up, roll it out a little thinner, and roll it up again. This way, the red bean paste filling can be spread more evenly, instead of being a lump of filling in the middle like when making a bun, which is too sweet when you take a bite.


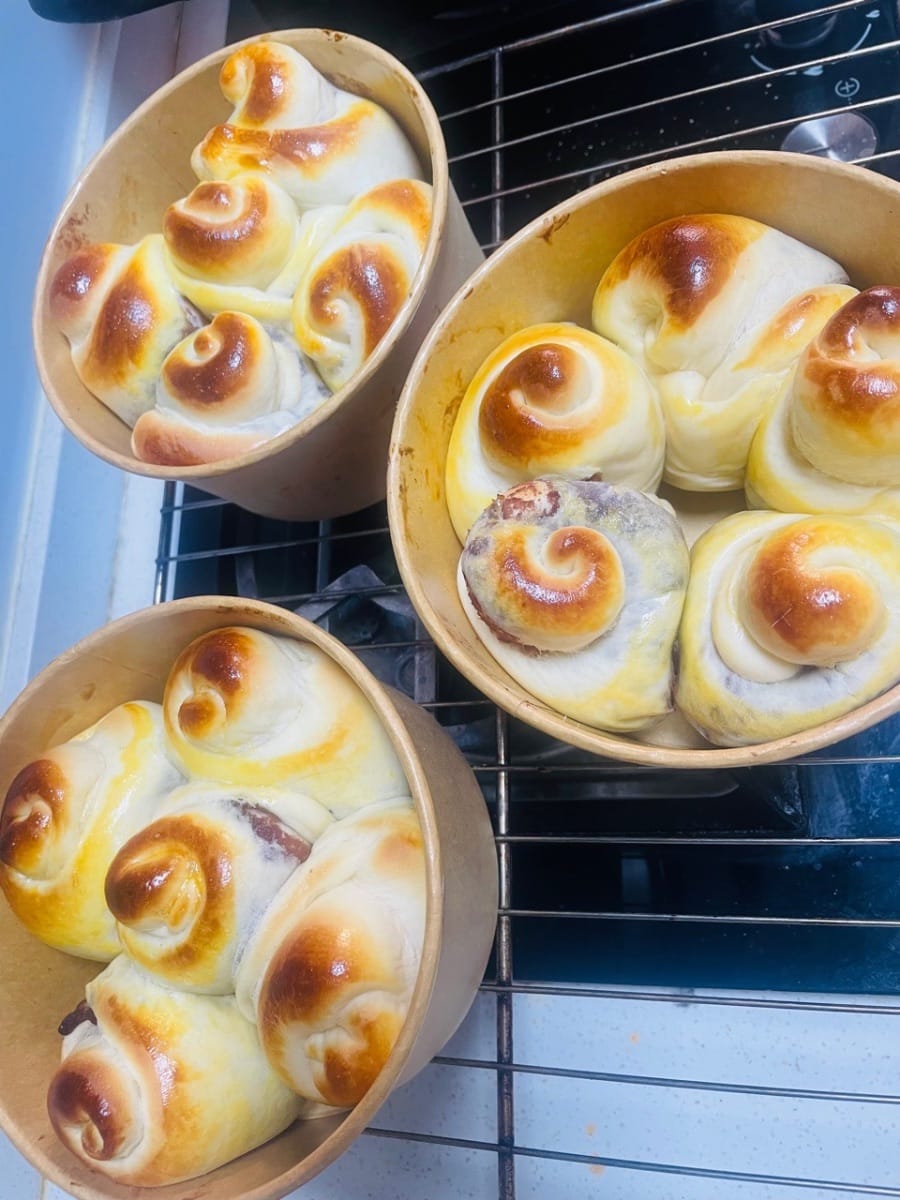
- Place the shaped bread dough into your favorite mold (I used a round high-temperature cake box, which can hold 5), and put it in the oven for a second proofing at 35°C until it is 1.5 times its original size. Remember to put a bowl of hot water in the oven to keep it moist.
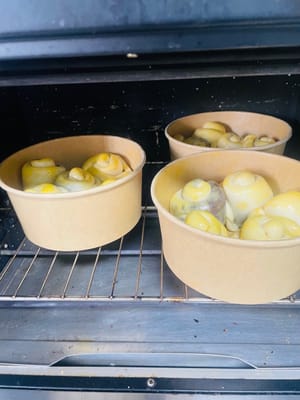
- Brush the fermented bread dough with egg yolk, and preheat the oven.
- I bake it in a conventional oven at 170°C (340°F) for 12 minutes for a low-calorie texture. For a softer and more tender texture, bake at 160°C (320°F) for 13 minutes. I usually place it on the lower rack of the oven so the bottom is fully cooked while the top doesn't brown too much. Adjust the time according to your own oven's characteristics to avoid burning it, or your delicious duck will be gone!


Languages
Schichtrollen mit roter Bohnenpaste - Deutsch (German) versionRed Bean Paste Layered Rolls - English version
Rollitos de pasta de frijoles rojos en capas - Español (Spanish) version
Rouleaux feuilletés à la pâte de haricots rouges - Français (French) version
Lumpia Lapis Isi Pasta Kacang Merah - Bahasa Indonesia (Indonesian) version
Involtini a strati di pasta di fagioli rossi - Italiana (Italian) version
あんこ層ロール - 日本語 (Japanese) version
팥앙금 겹말이 - 한국인 (Korean) version
ปอเปี๊ยะไส้ถั่วแดง - แบบไทย (Thai) version
紅豆沙千層小捲包 - 香港繁體中文 (Traditional Chinese - Hong Kong) version