Japanese Salt Bread(日式鹽麵包)

Redefining Recipes for the Digital Age
Ingredients
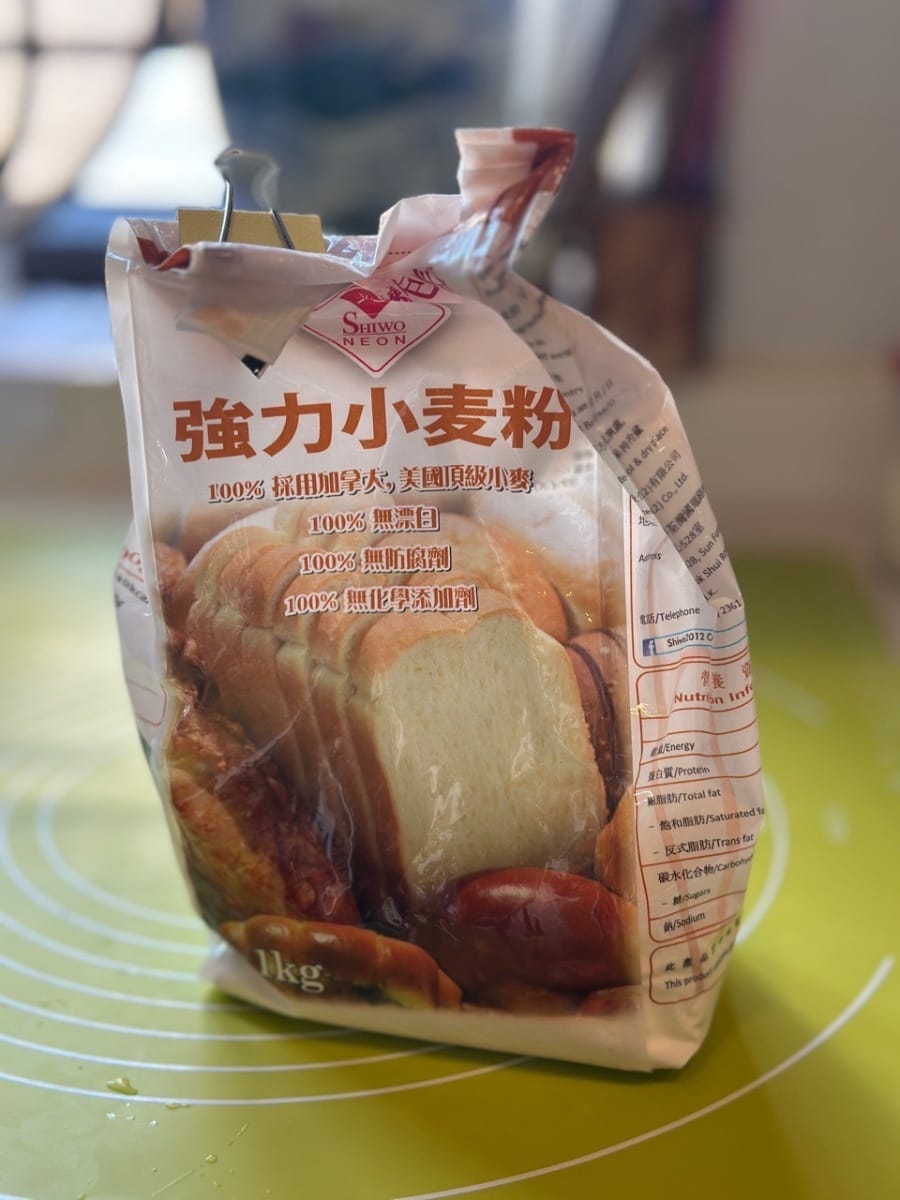
- 210 g bread flour

- 20 g cake flour

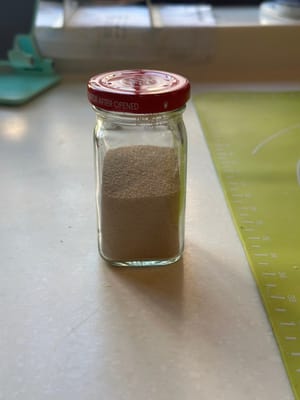
- 3 g instant yeast
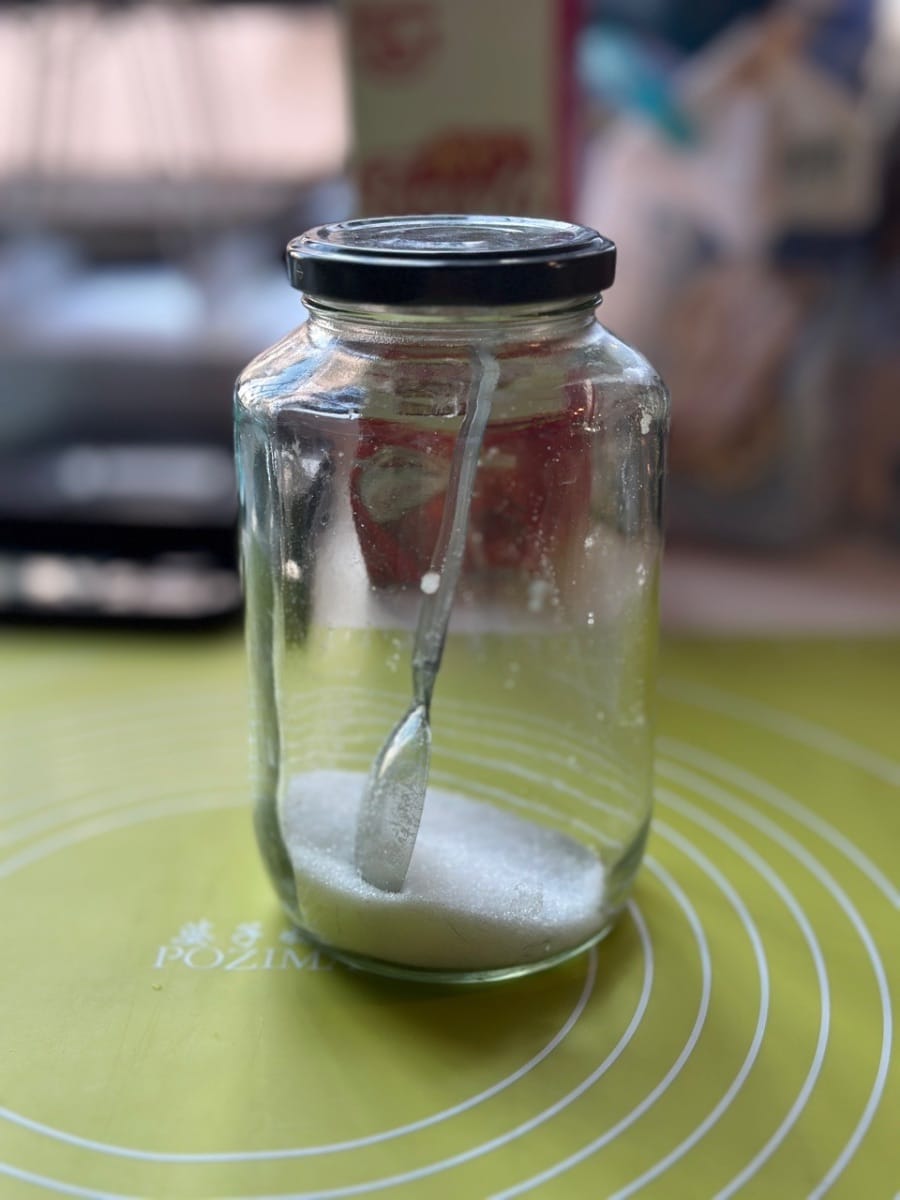
- 5 g sugar
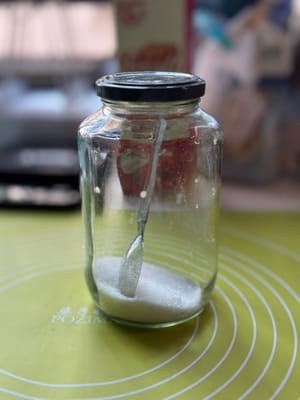
- 5 g salt

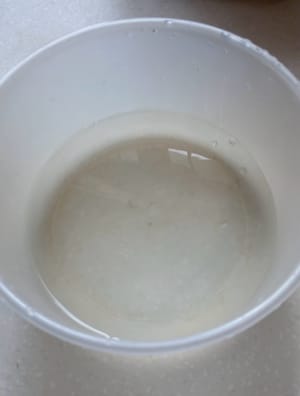
- 150 g cold water
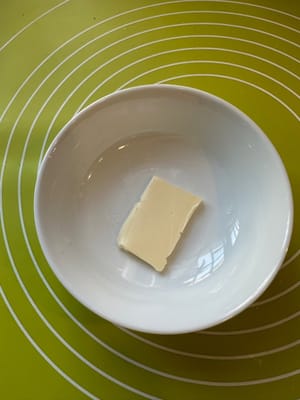
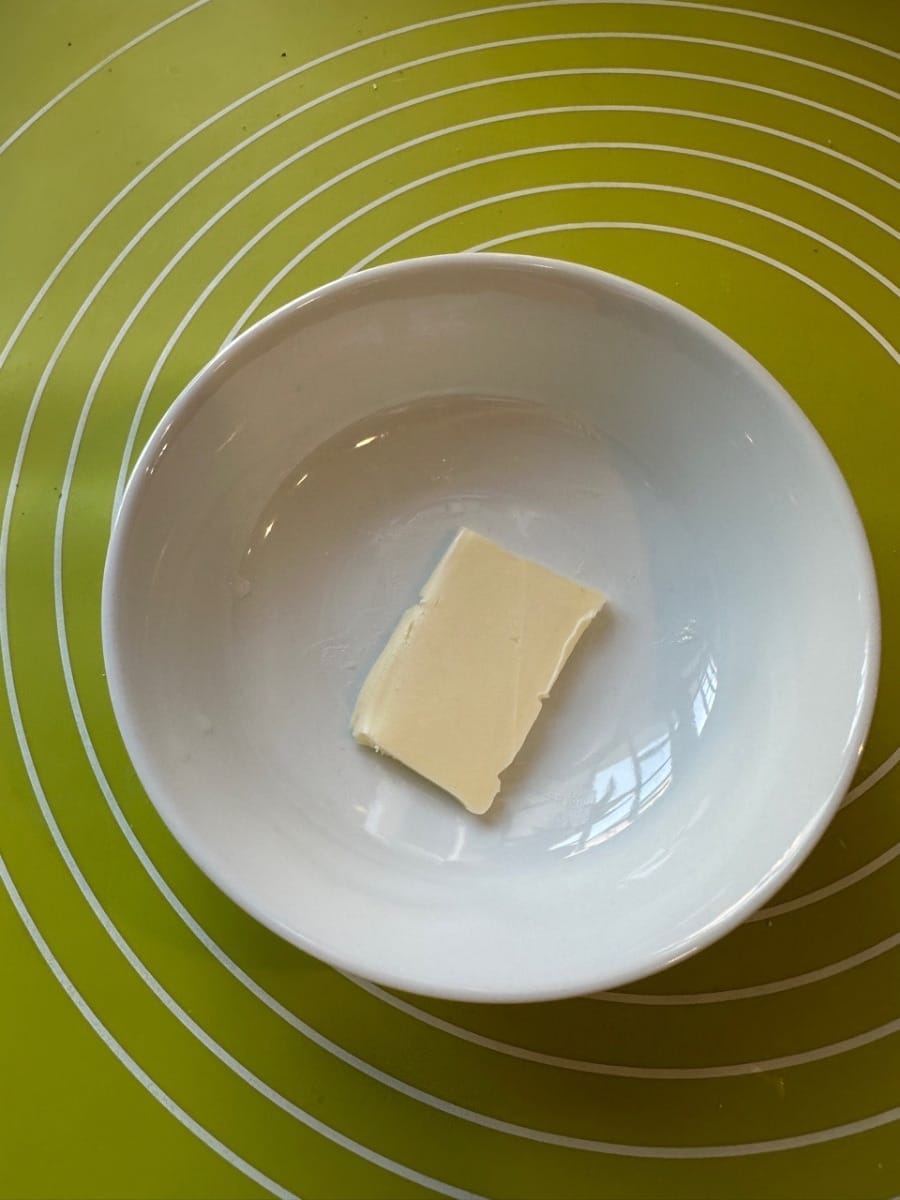
- 6 g partially melted unsalted butter
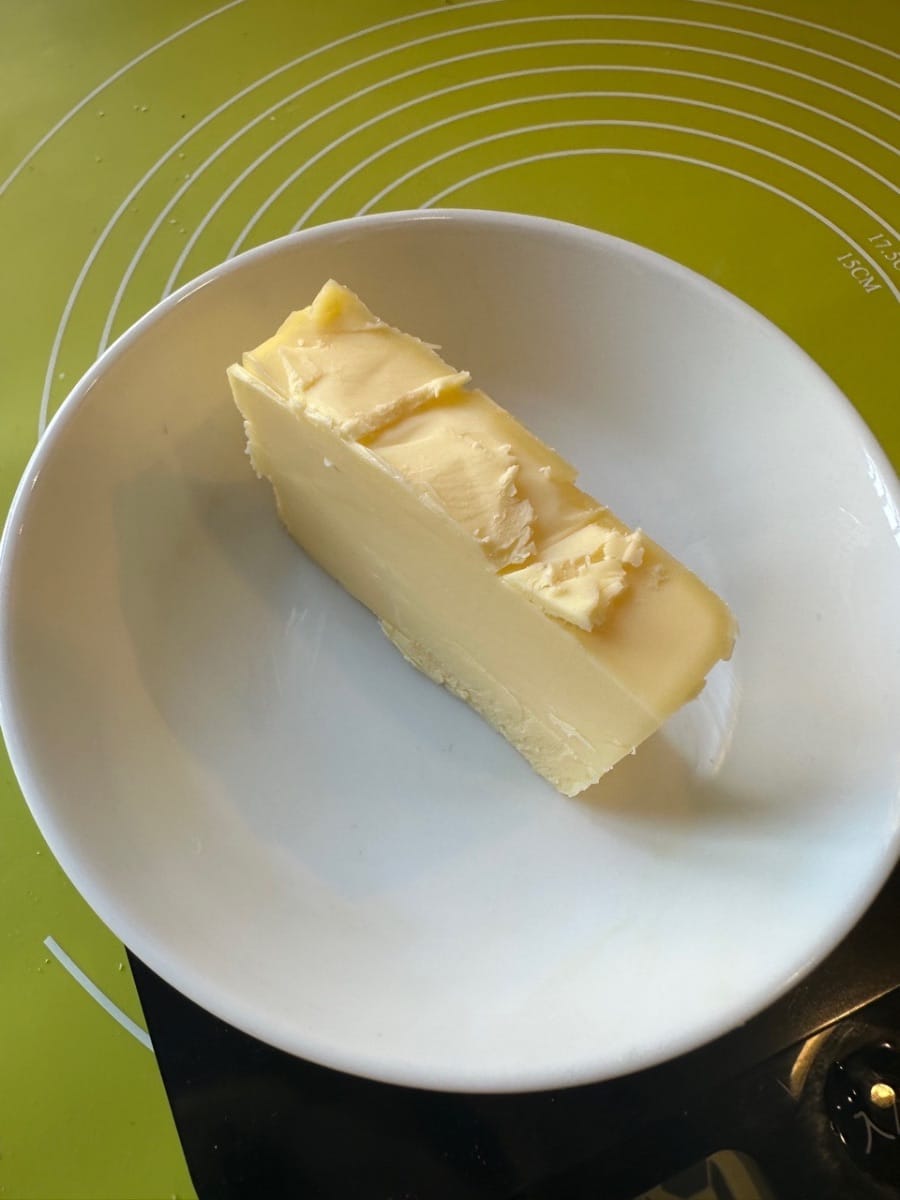
- 60 g salted butter

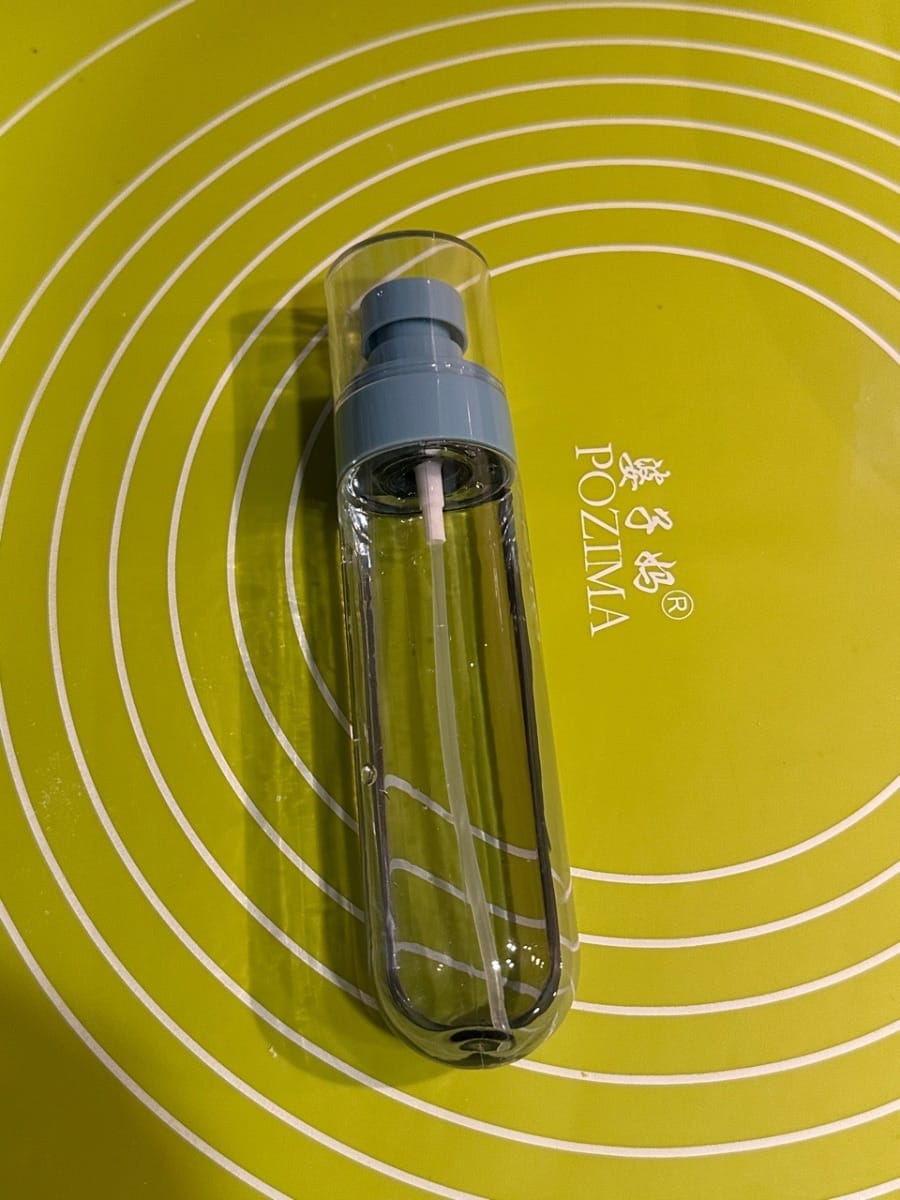
- Water spray

- 5 g melted unsalted butter
- Coarse salt


Steps
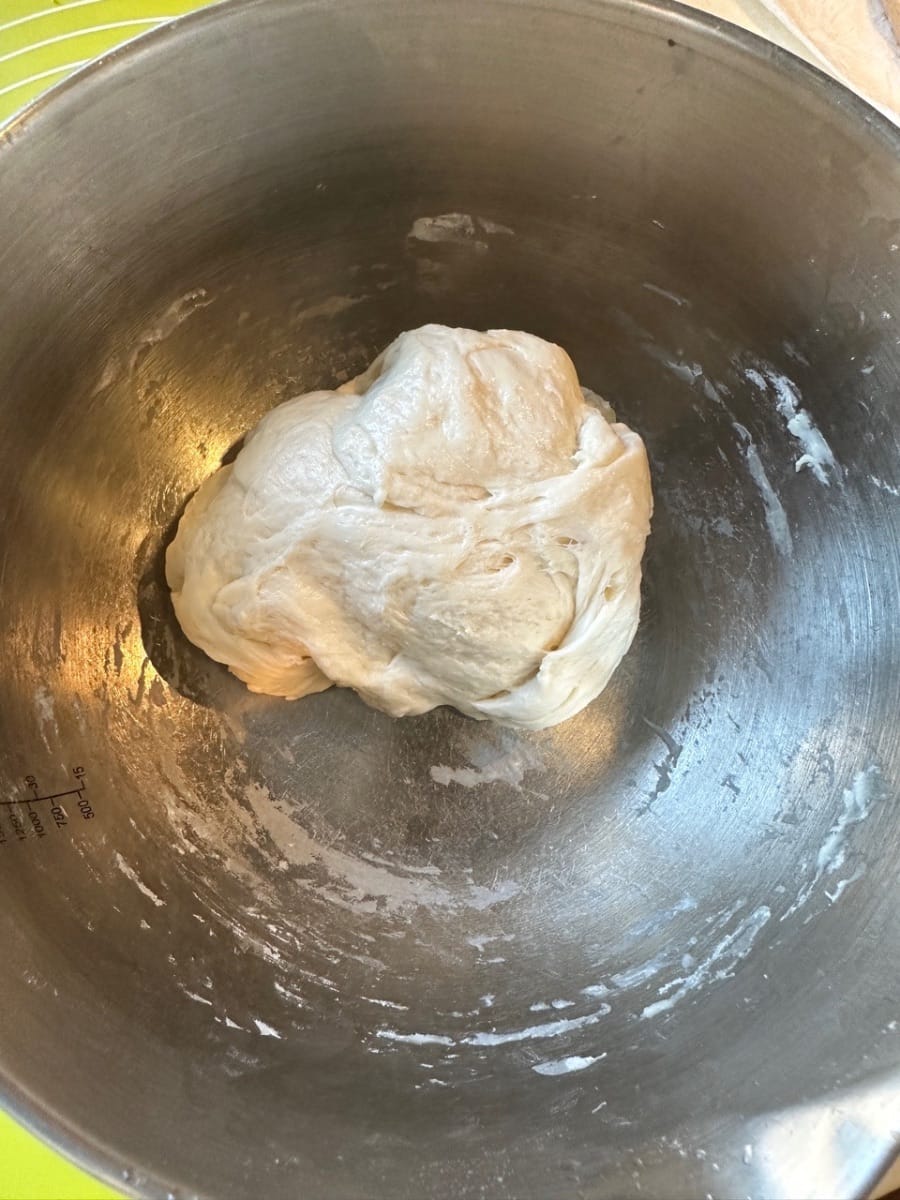
- 1st 25 minutes (initial dough formation)
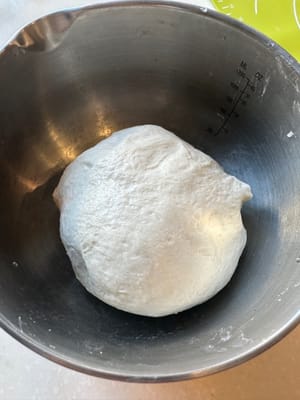
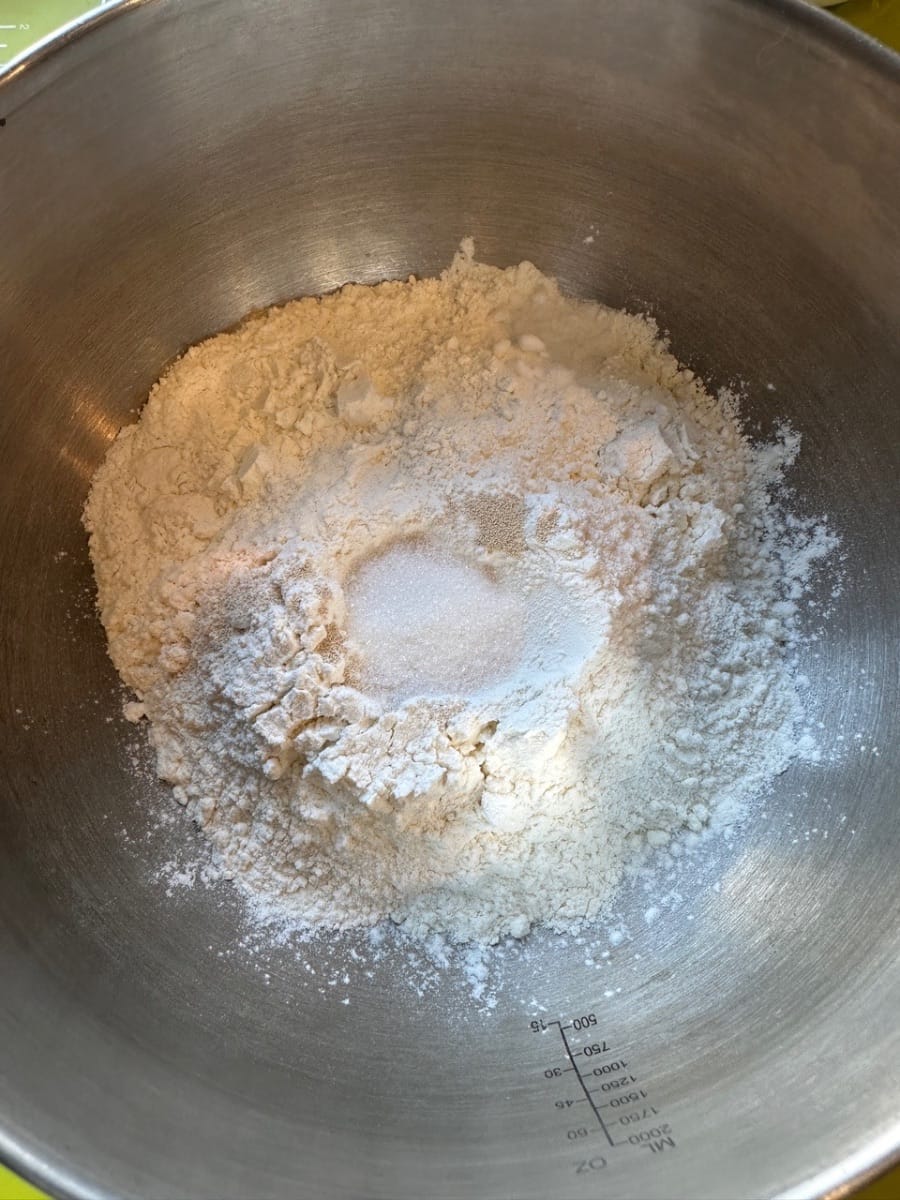
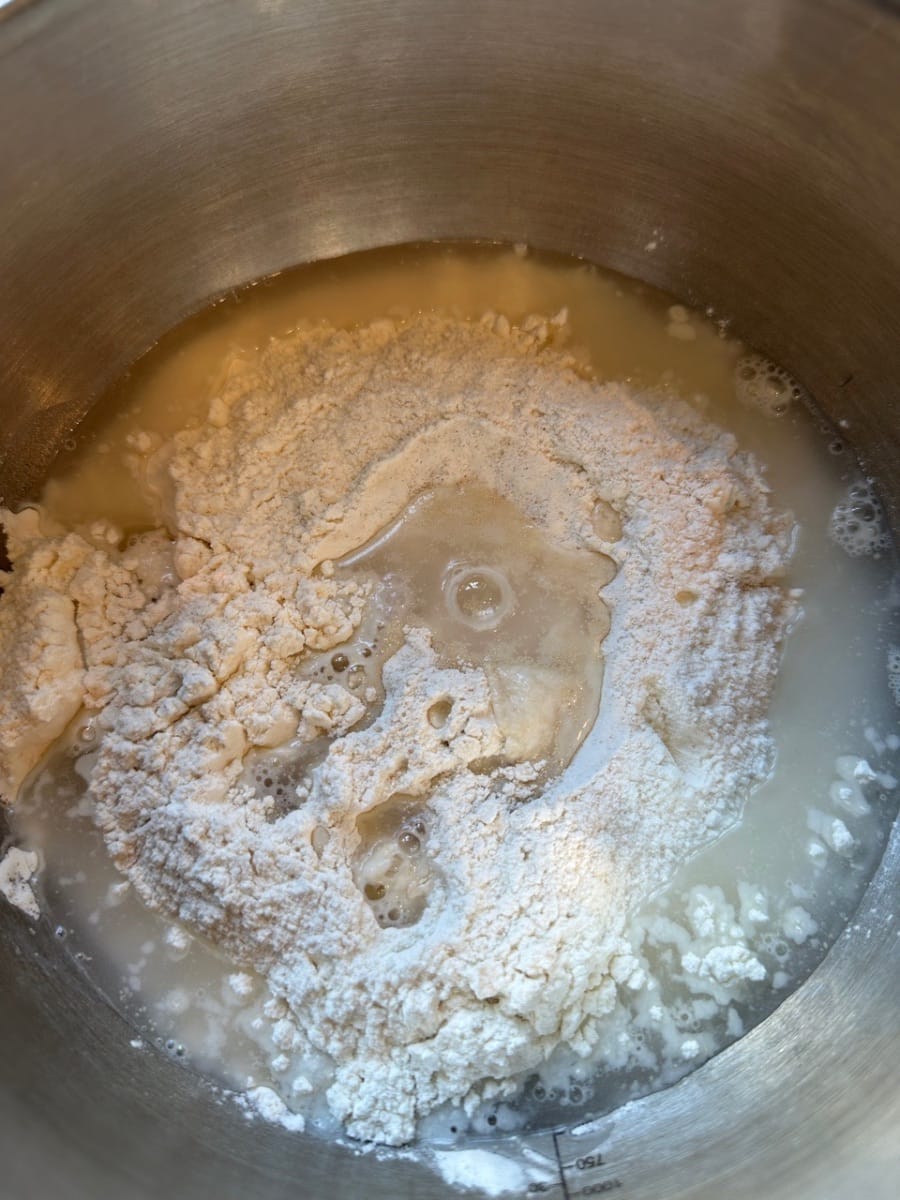
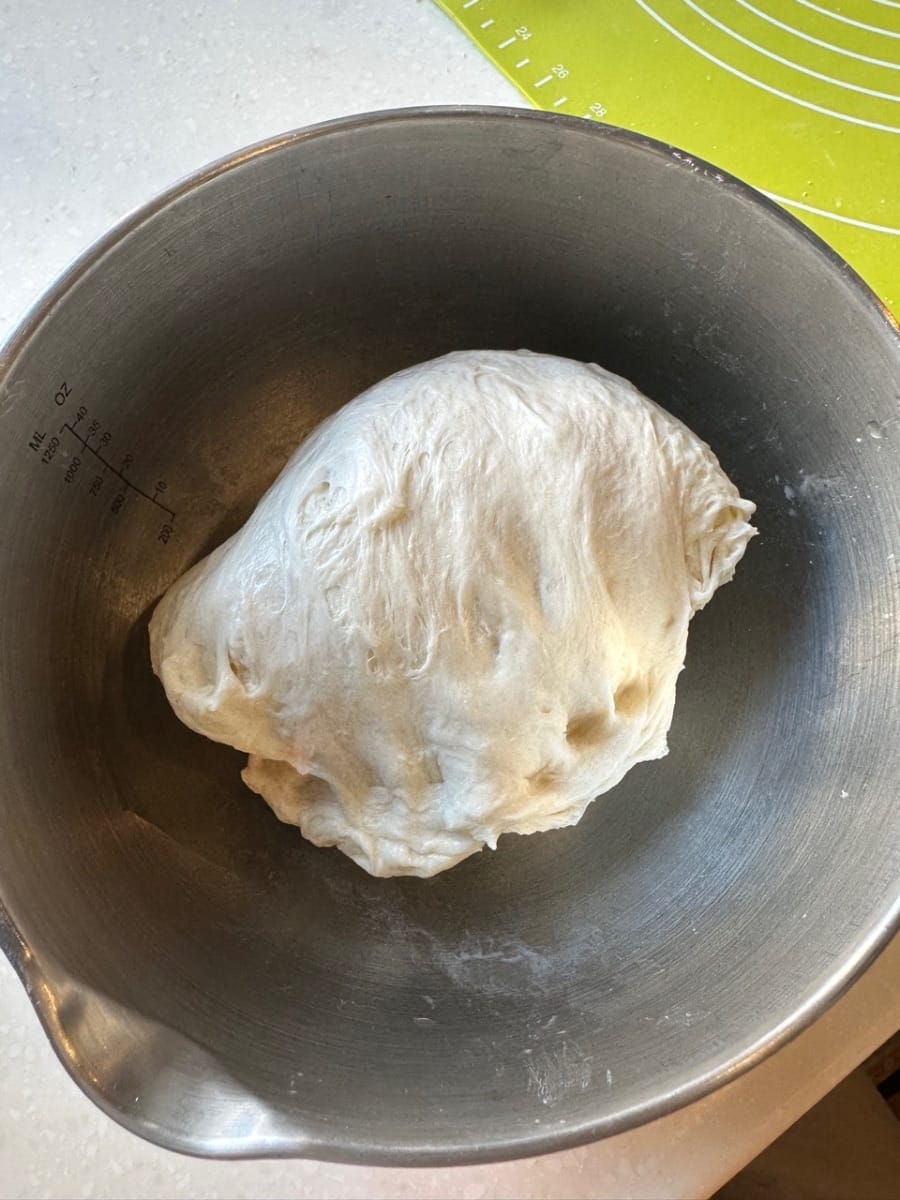
- Start by adding all ingredients except for butter to a clean mixing bowl
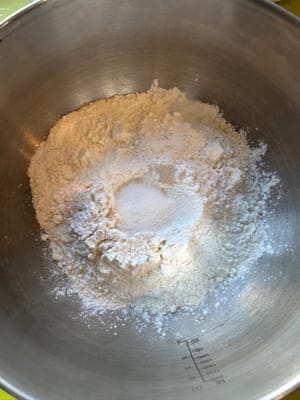

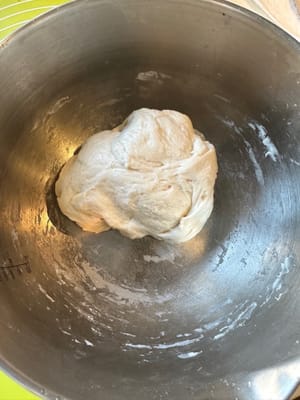
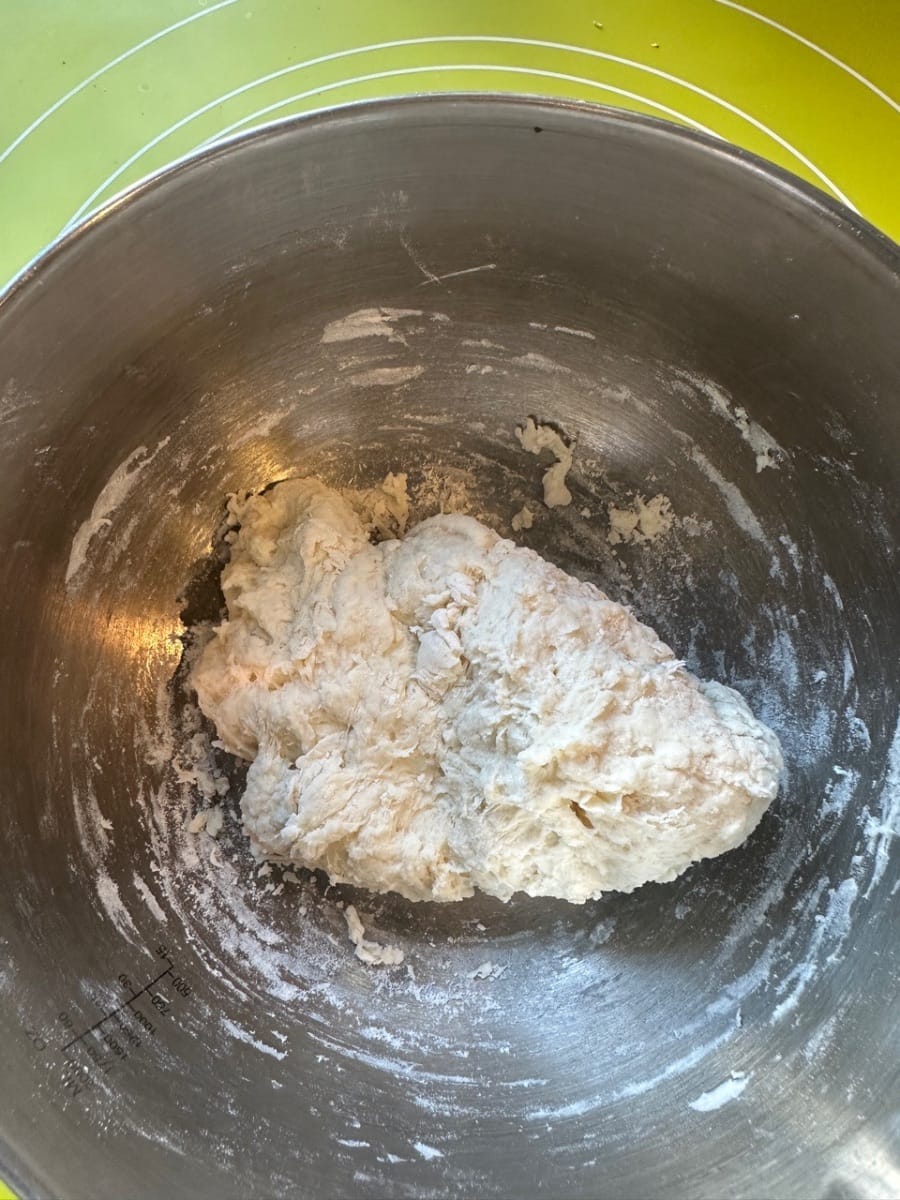
- Mix until there is no dry ingredient, and knead for about a minute so that a rough dough is formed
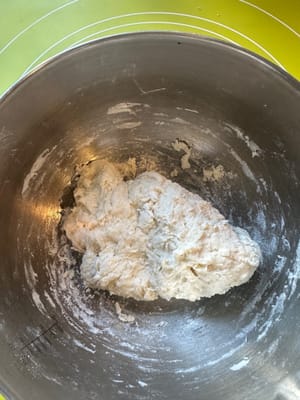

- Let rest aside for 25 minutes

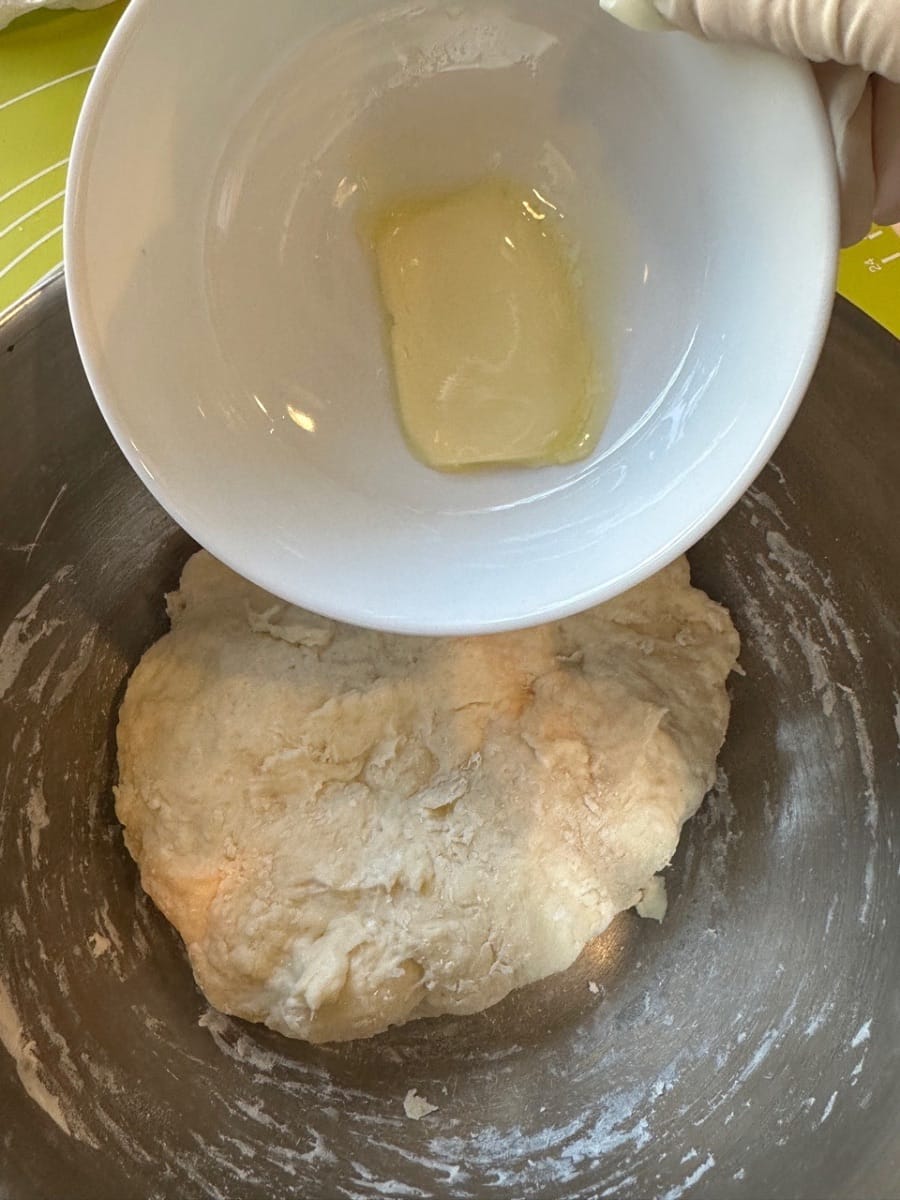
- 2nd 25 minutes (knead with butter)
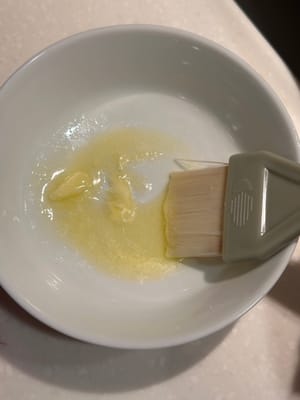
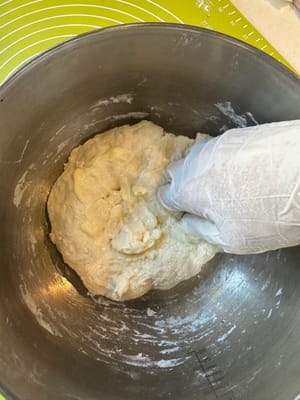
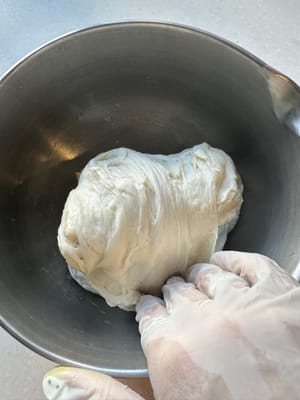
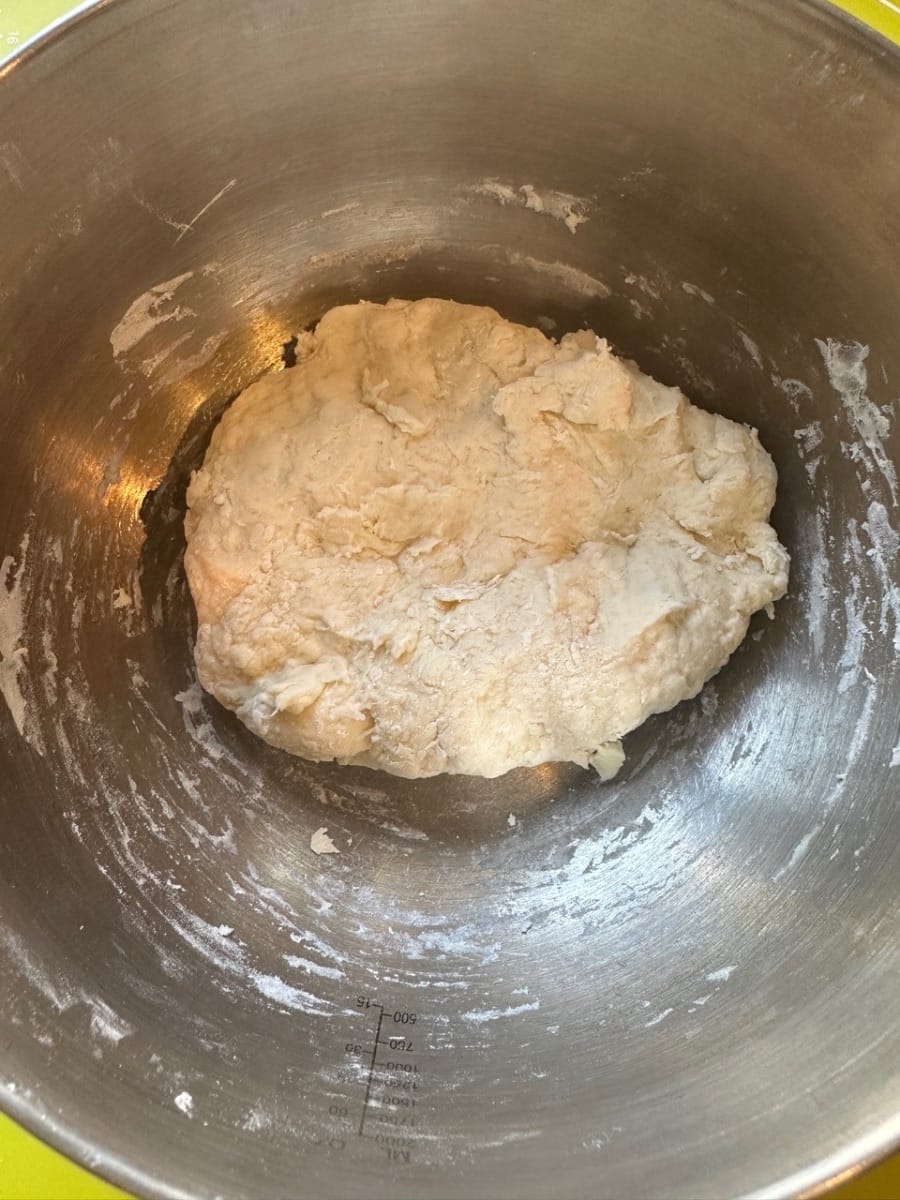
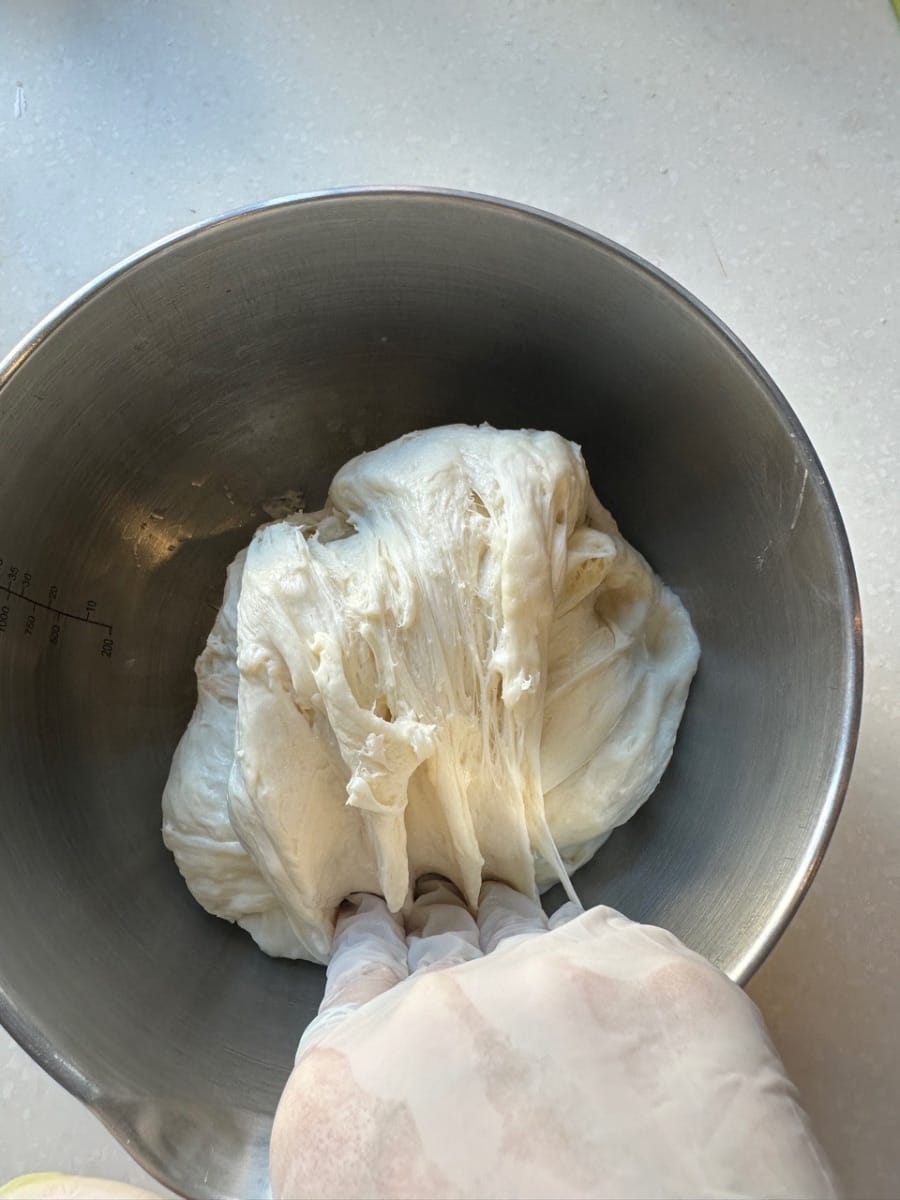
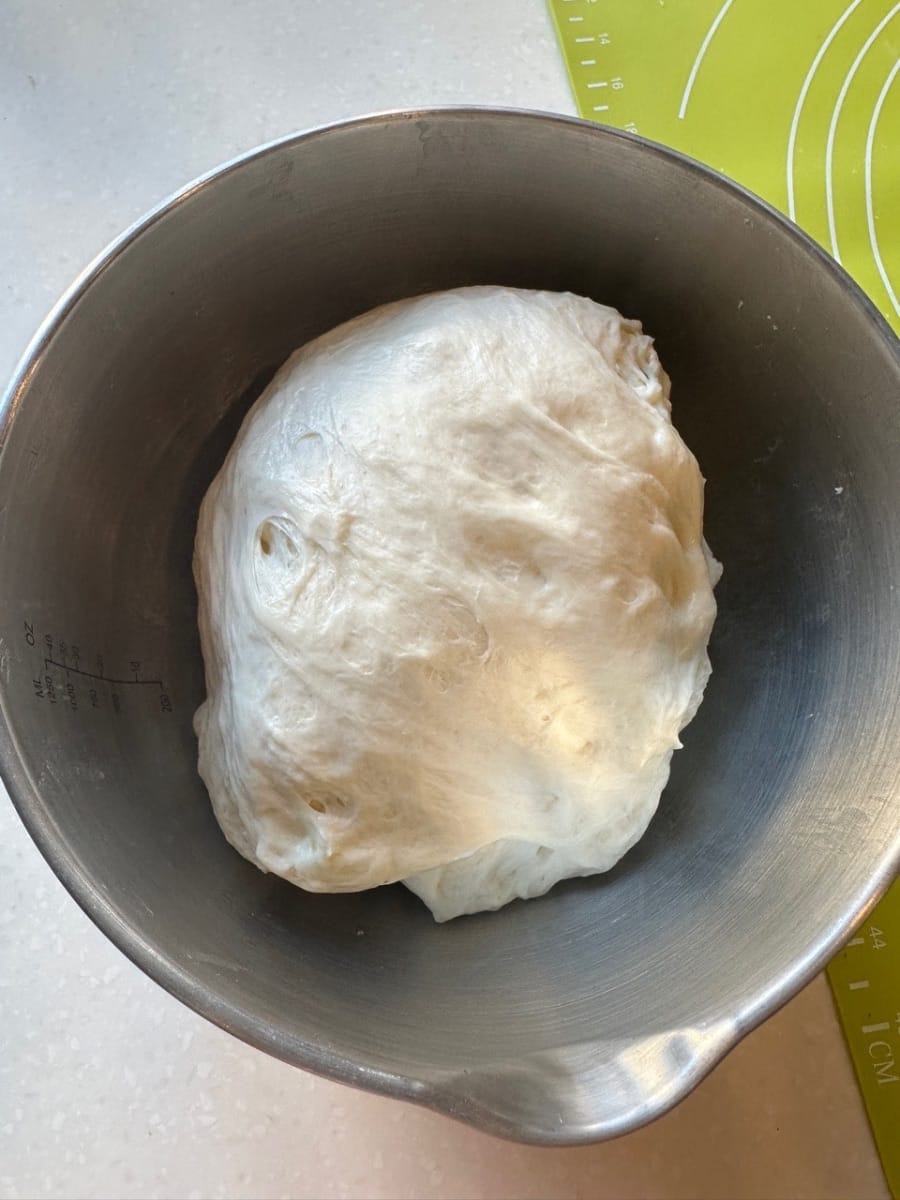
- Once 25 minutes is up, add the partially melted butter into the dough

- Mix until butter is fully absorbed into the dough and there’s no greasiness on your hands
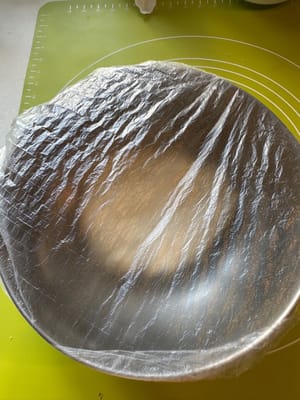
- Cover up and let rest for 25 minutes

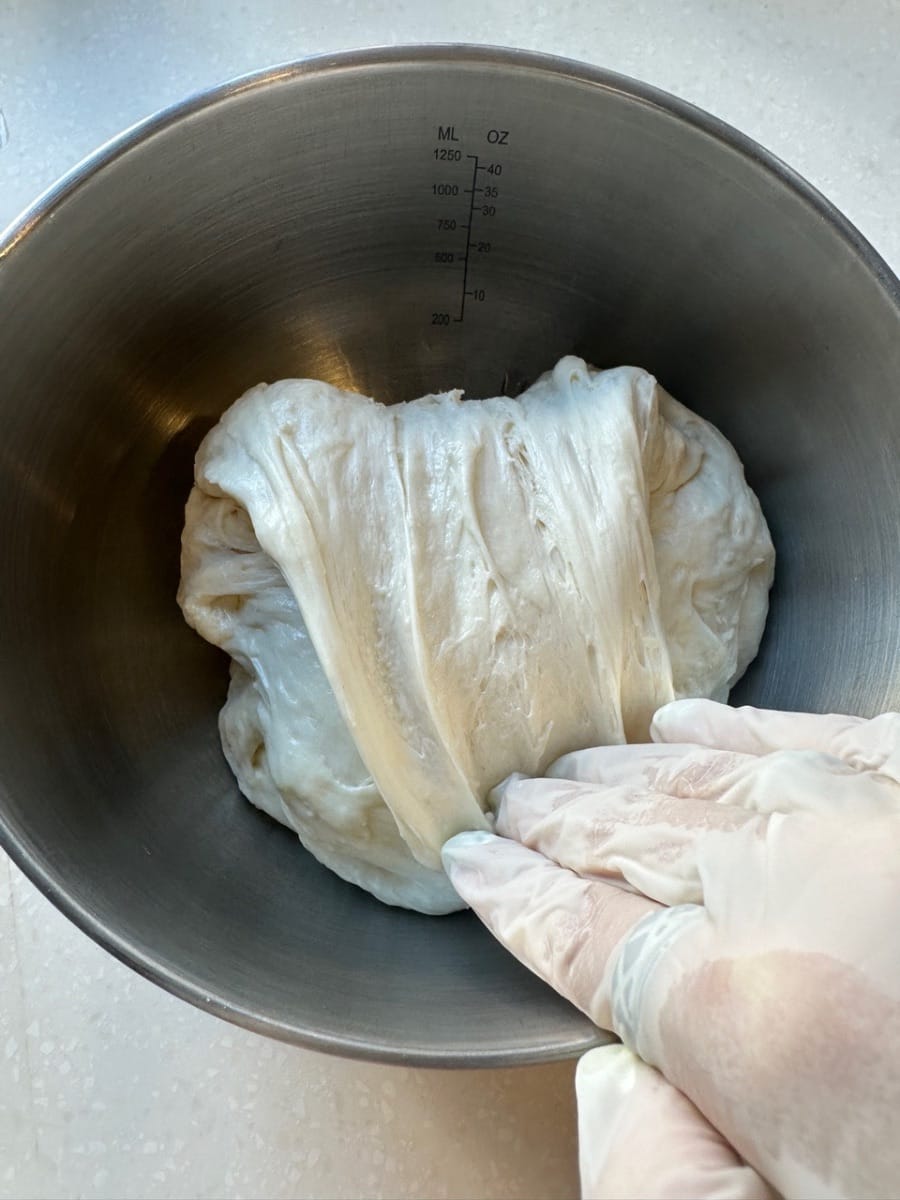
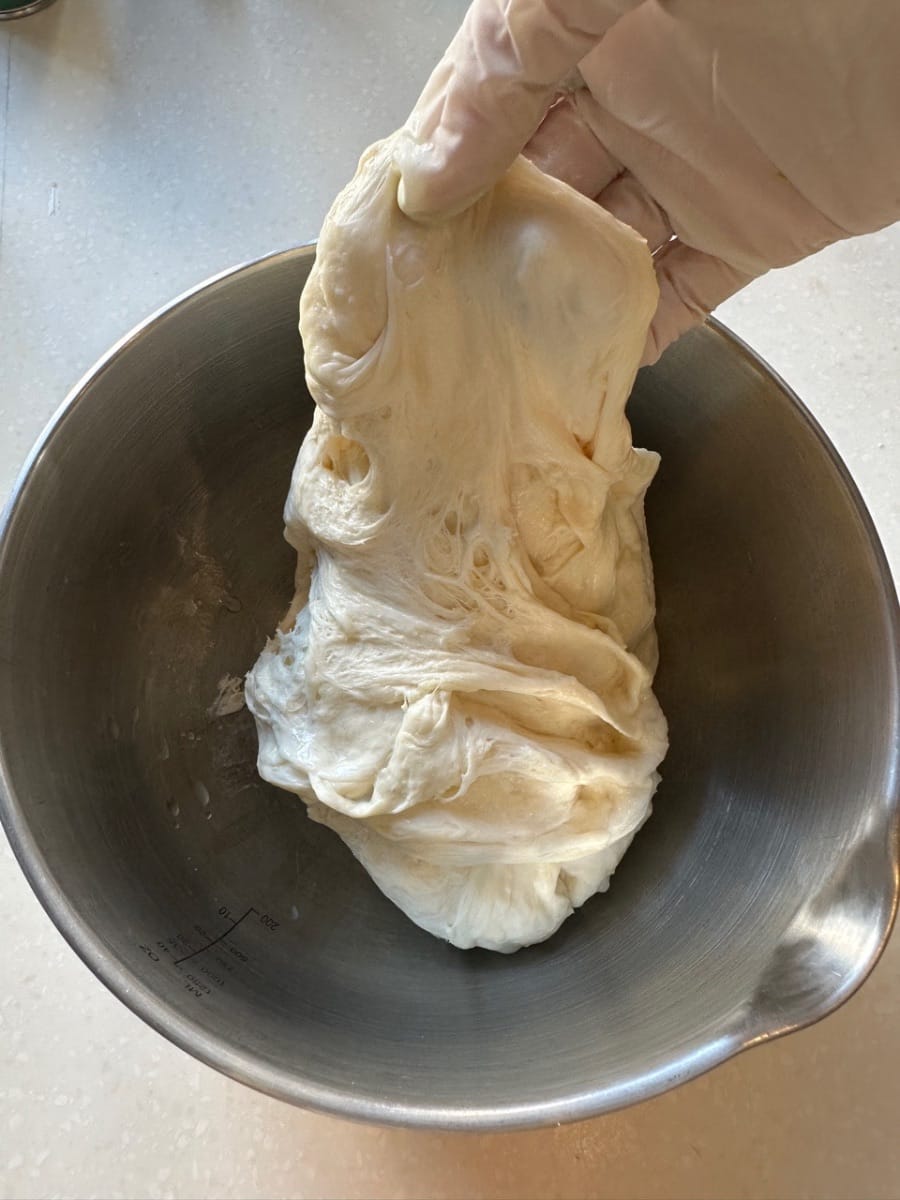
- Set 1 (stretch & fold)
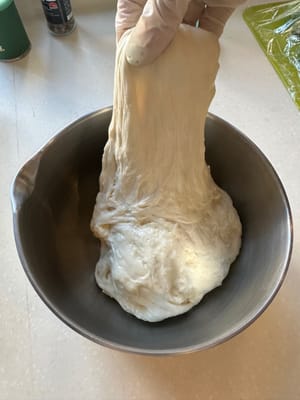
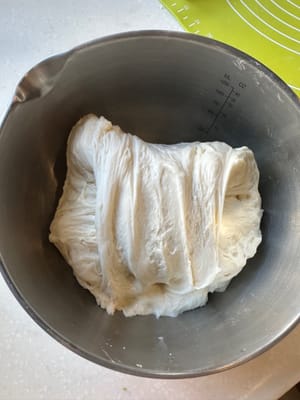
- Let’s prepare for the first stretch and fold. Start by dampen your fingertips so that the dough doesn’t stick onto your fingers

- First, stretch out the edge of the dough at 12 o’clock direction and fold it down to 6 o’clock
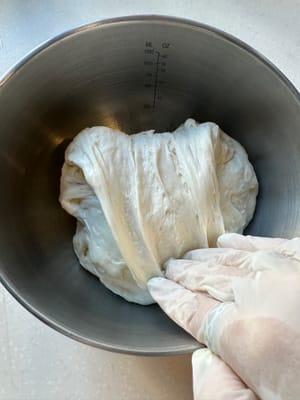
- Then, rotate by 90 degrees and do the same thing: stretch out the edge of the dough at 12 o’clock direction and fold it down to 6 o’clock


- Then again on the 3rd edge

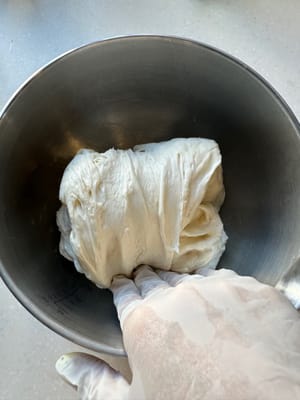
- And finally the last side

- Once that done, let rest aside for 25 minutes. That is 1 set, and you need to do this 3 sets in total and 25 minutes resting in between

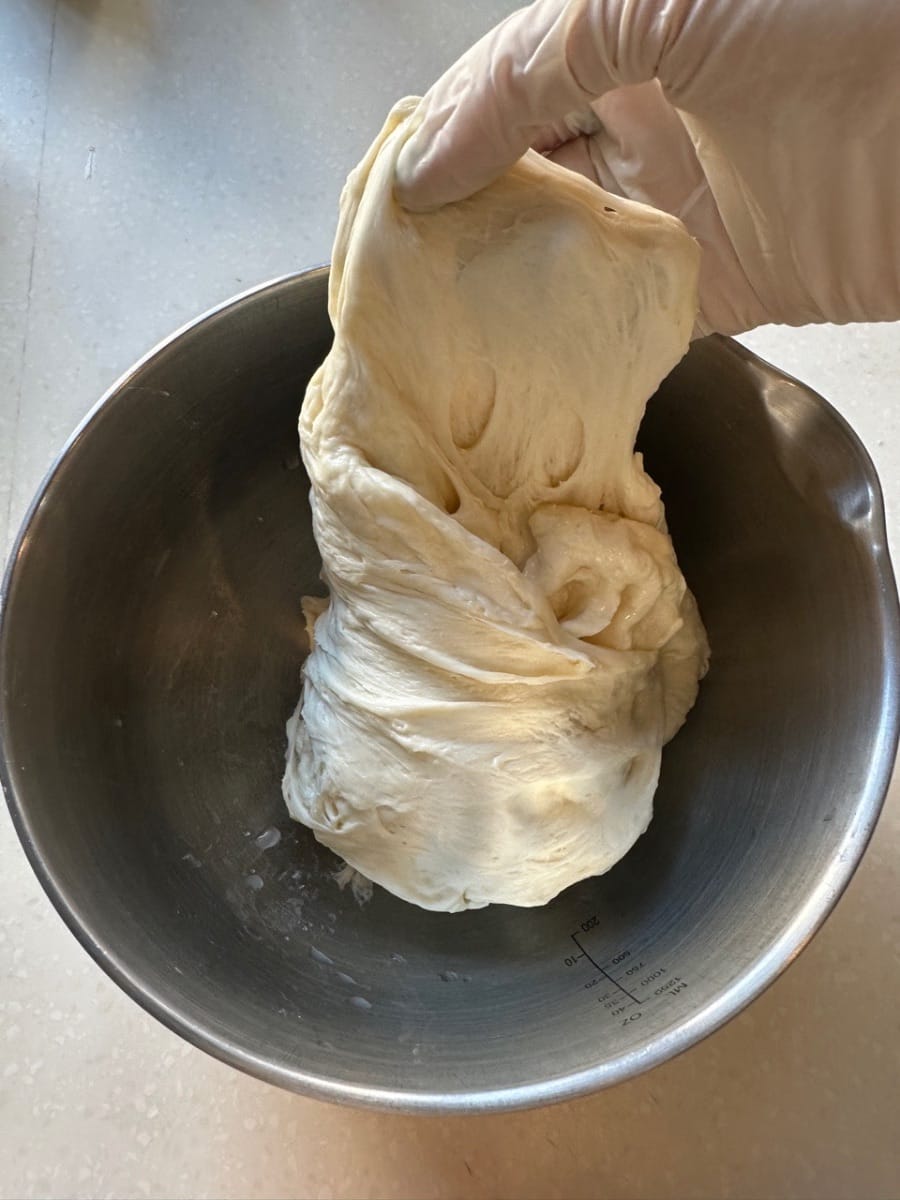
- Set 2 (stretch & fold)
- 25 minutes later:
- 2nd set of stretch
- And fold for all sides. Let rest aside for 25 minutes

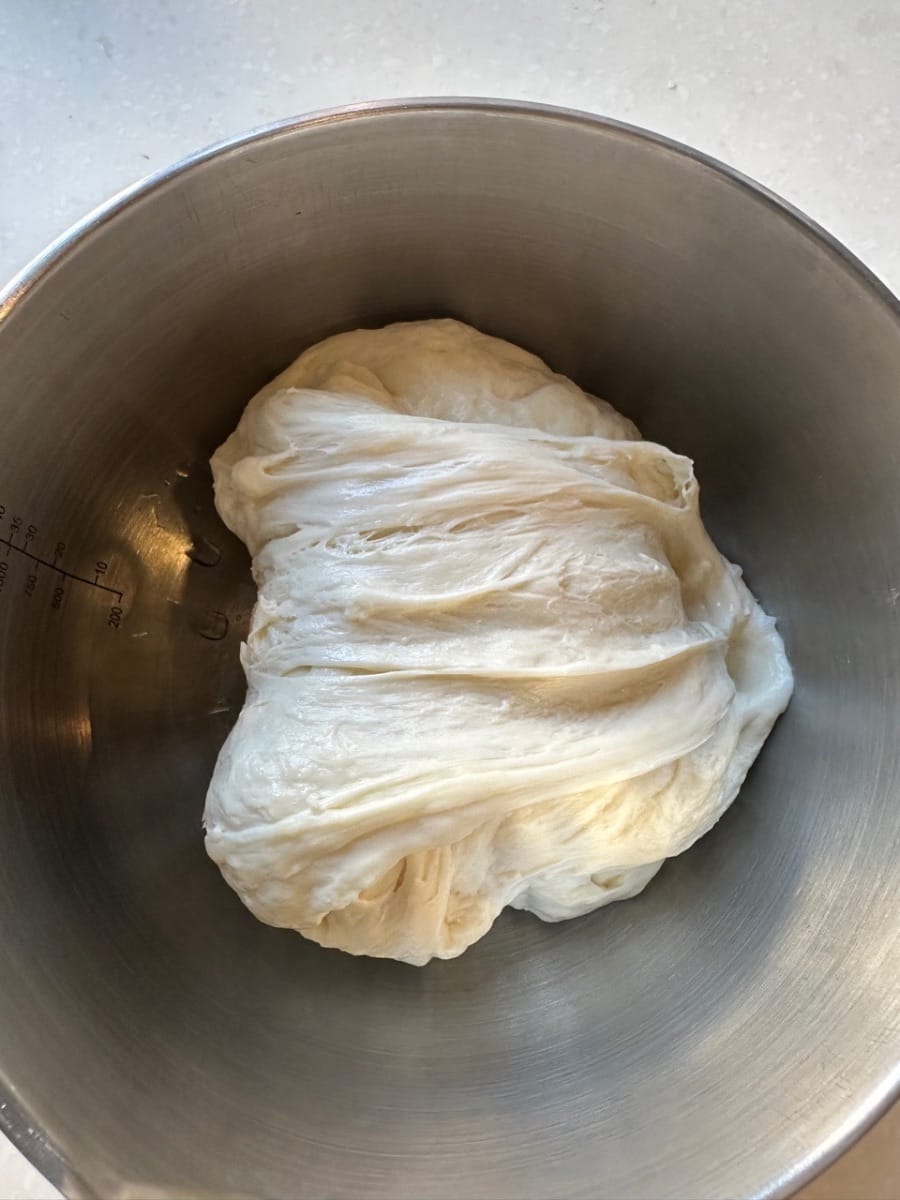
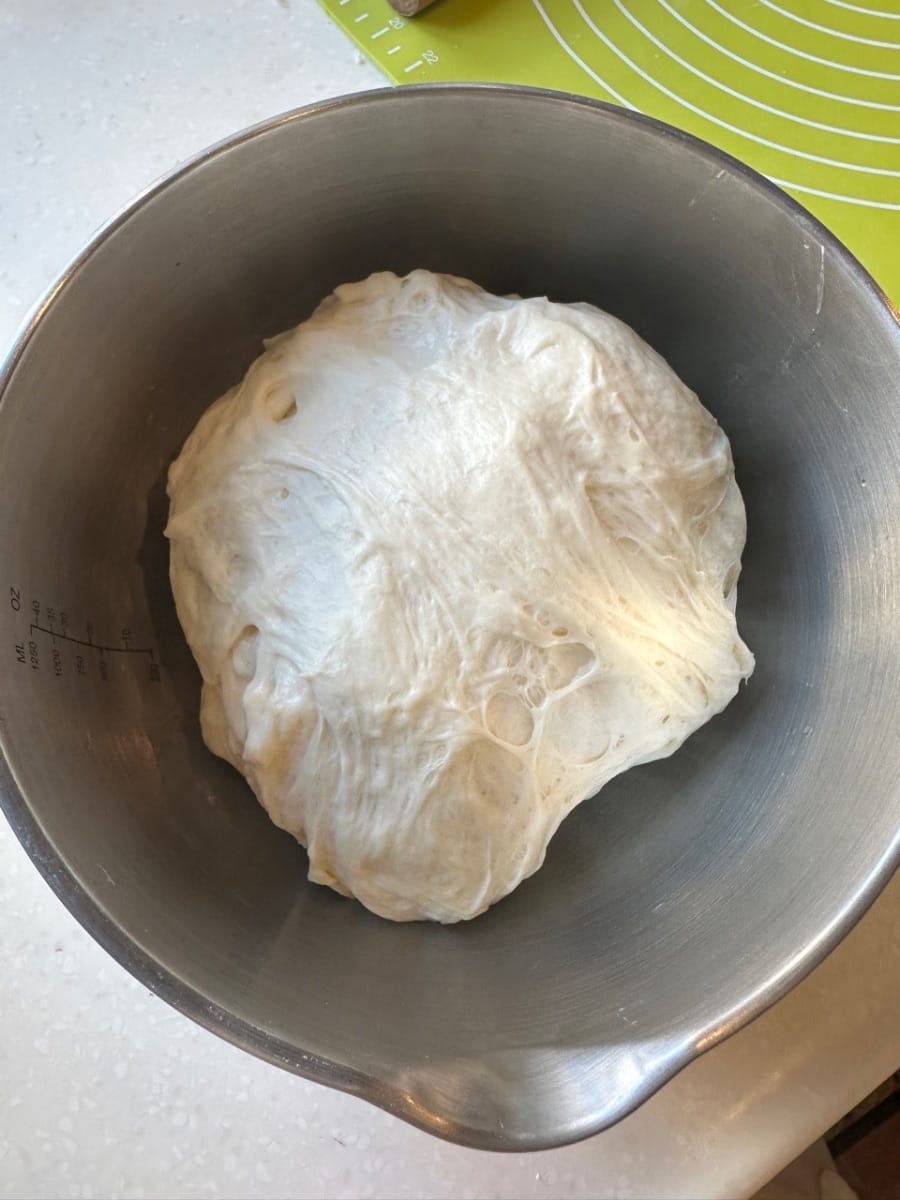
- Set 3 (stretch & fold)
- Last set of stretch and fold
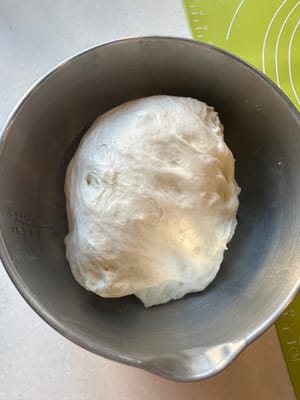
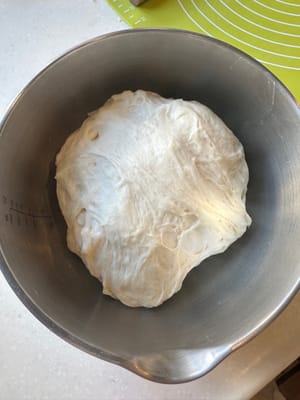
- And this time you should see a dough with smooth surface
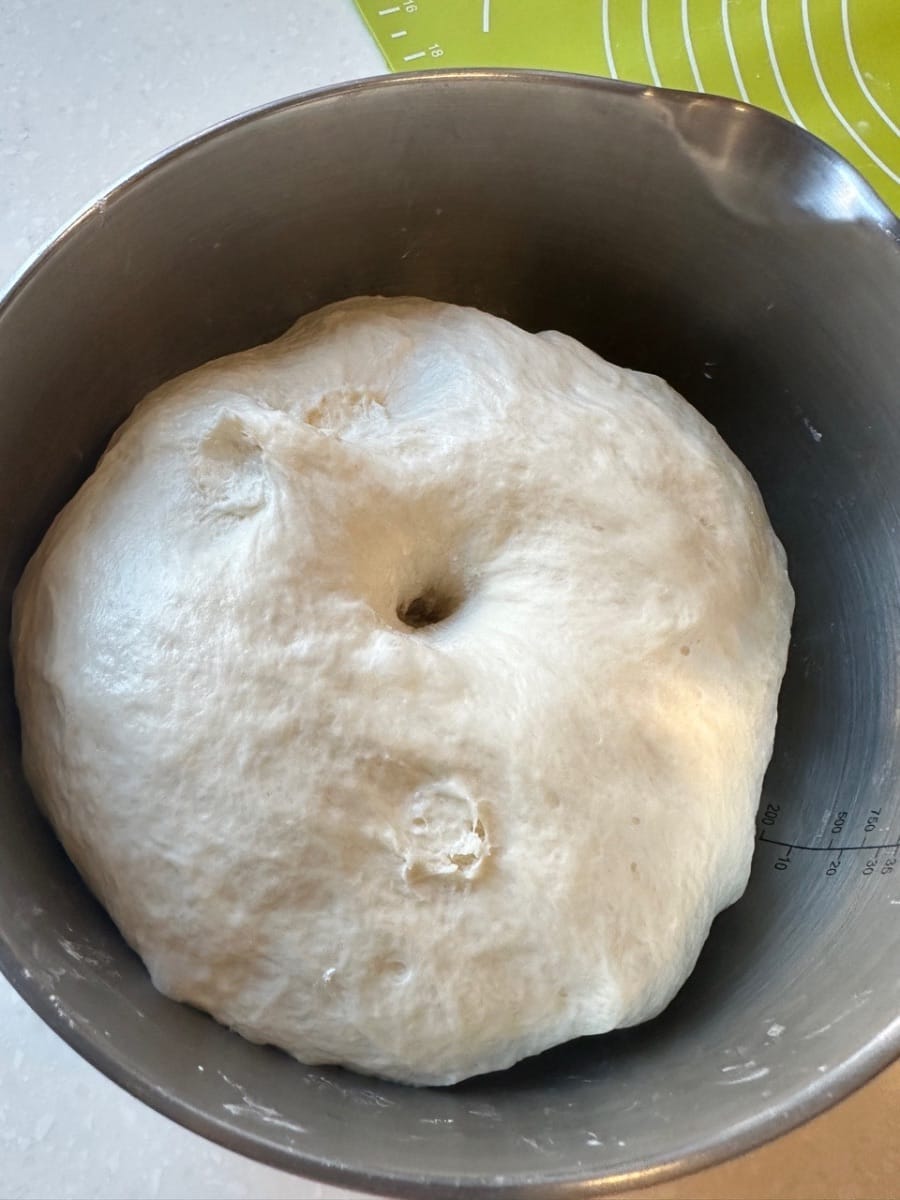
- Let proof in a warm place until it has grown 1.5x in size (took about 1 hour)
- Shaping
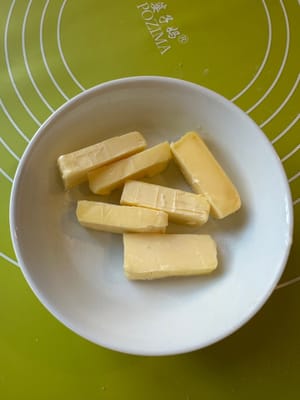
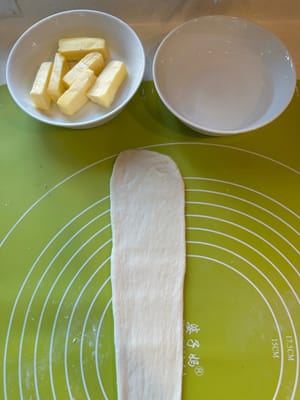
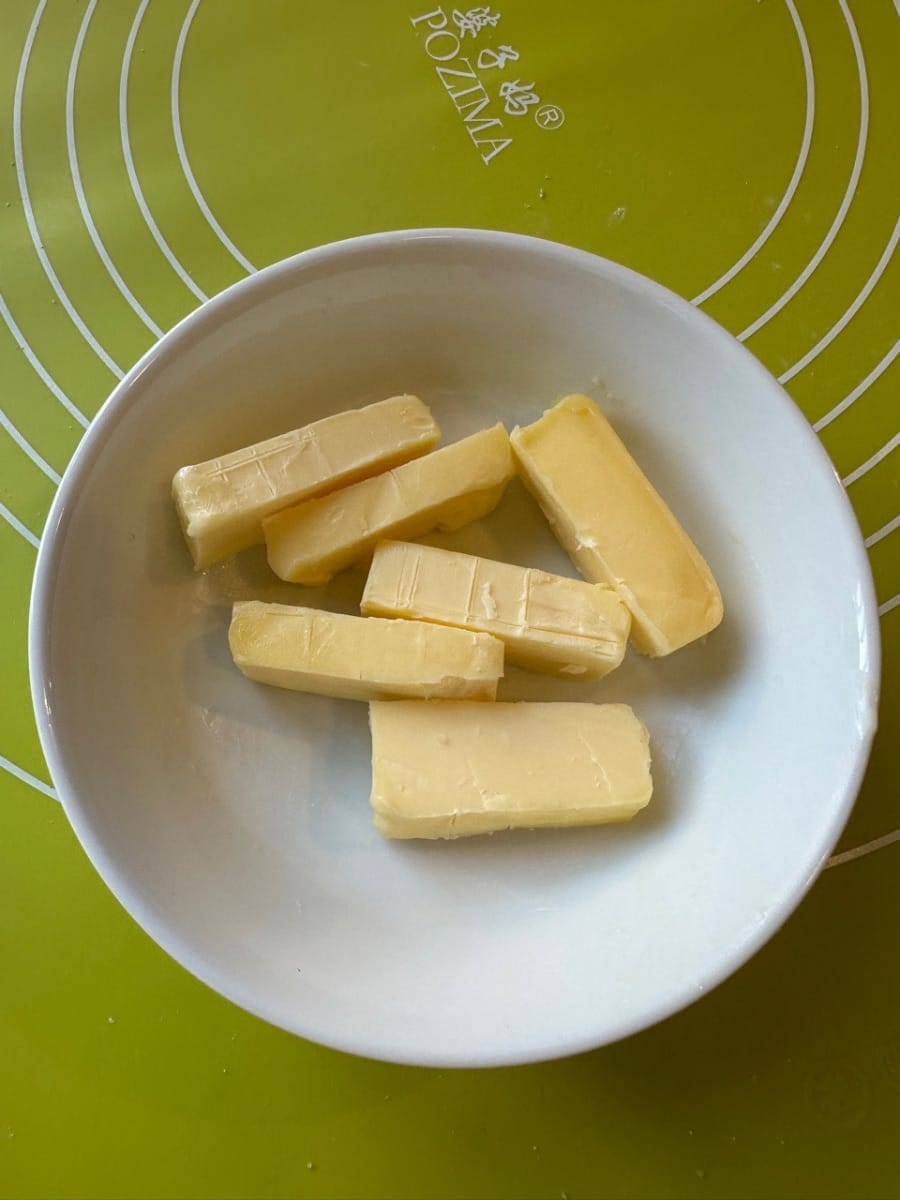
- While waiting for the dough to proof, you can prepare the butter filling by cutting the 60 g of butter into 6 small pieces of 10 g each. Remember to put it back to the fridge so it doesn’t melt

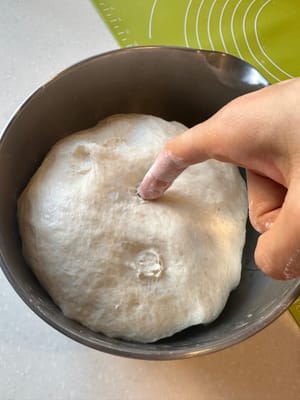
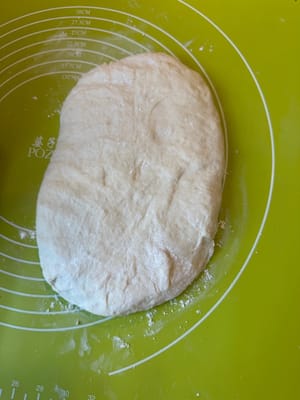
- Once proofing is done, poke your finger with flour into the dough. The dough should be bouncing back up very slowly

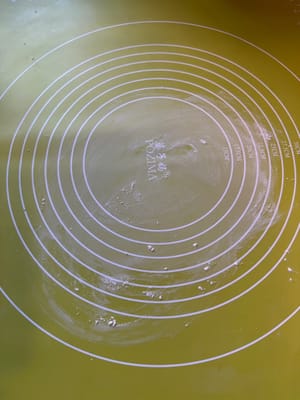
- Transfer the dough onto a rolling mat with flour

- Roll out the dough to remove air bubbles, and cut it into 6 even smaller doughs
- You should shape and form a sphere as shown
- After that, you need to form a cone shape as demonstrated
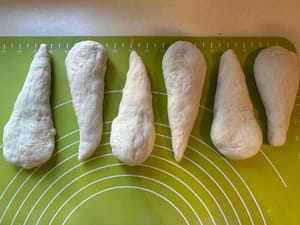
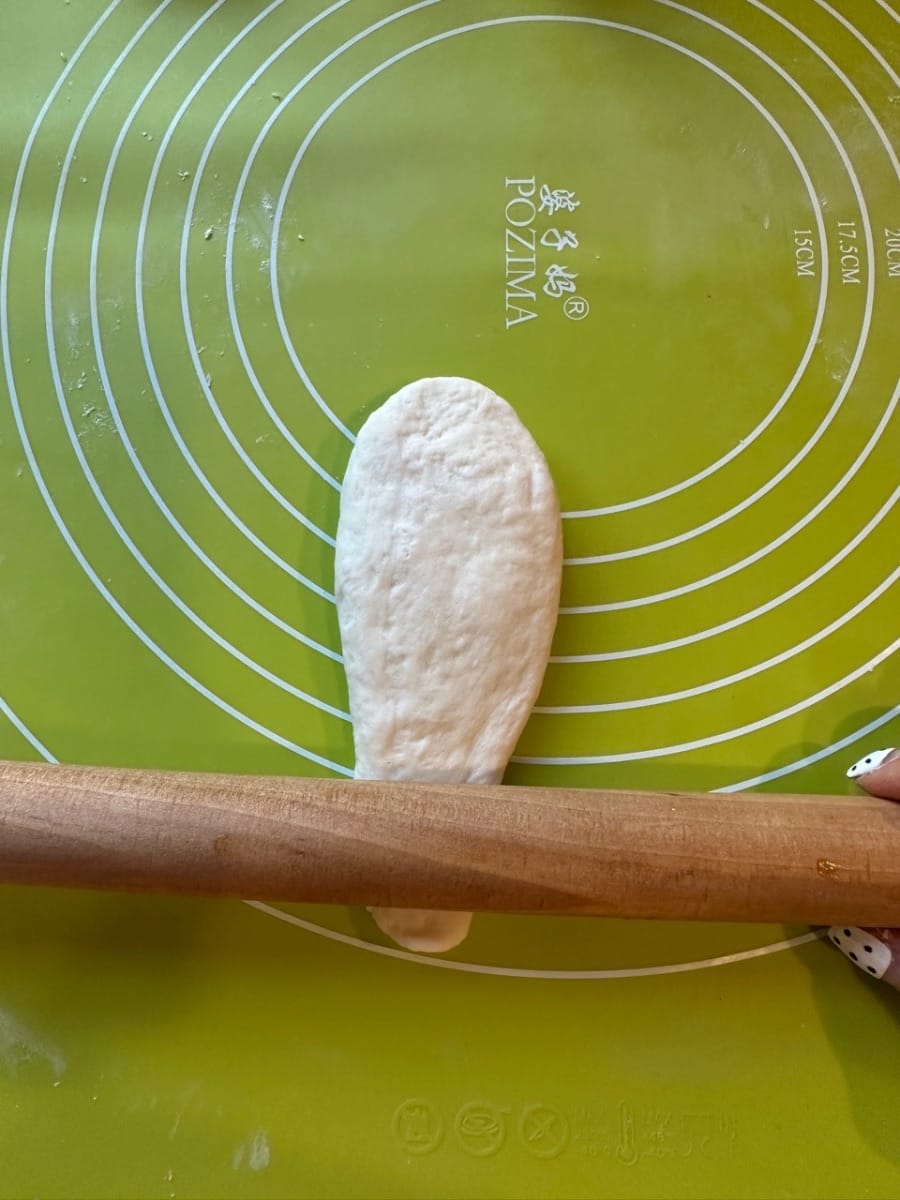
- Then, slightly flatten the dough by rolling the top and bottom part

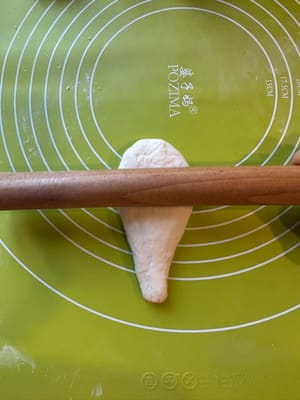
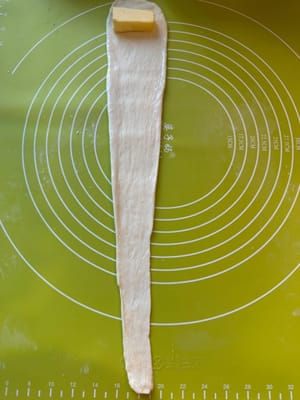
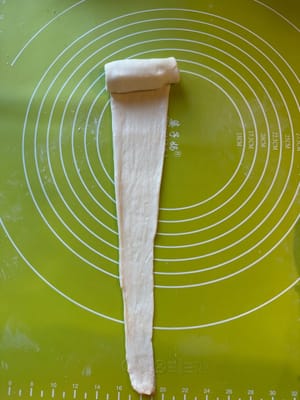
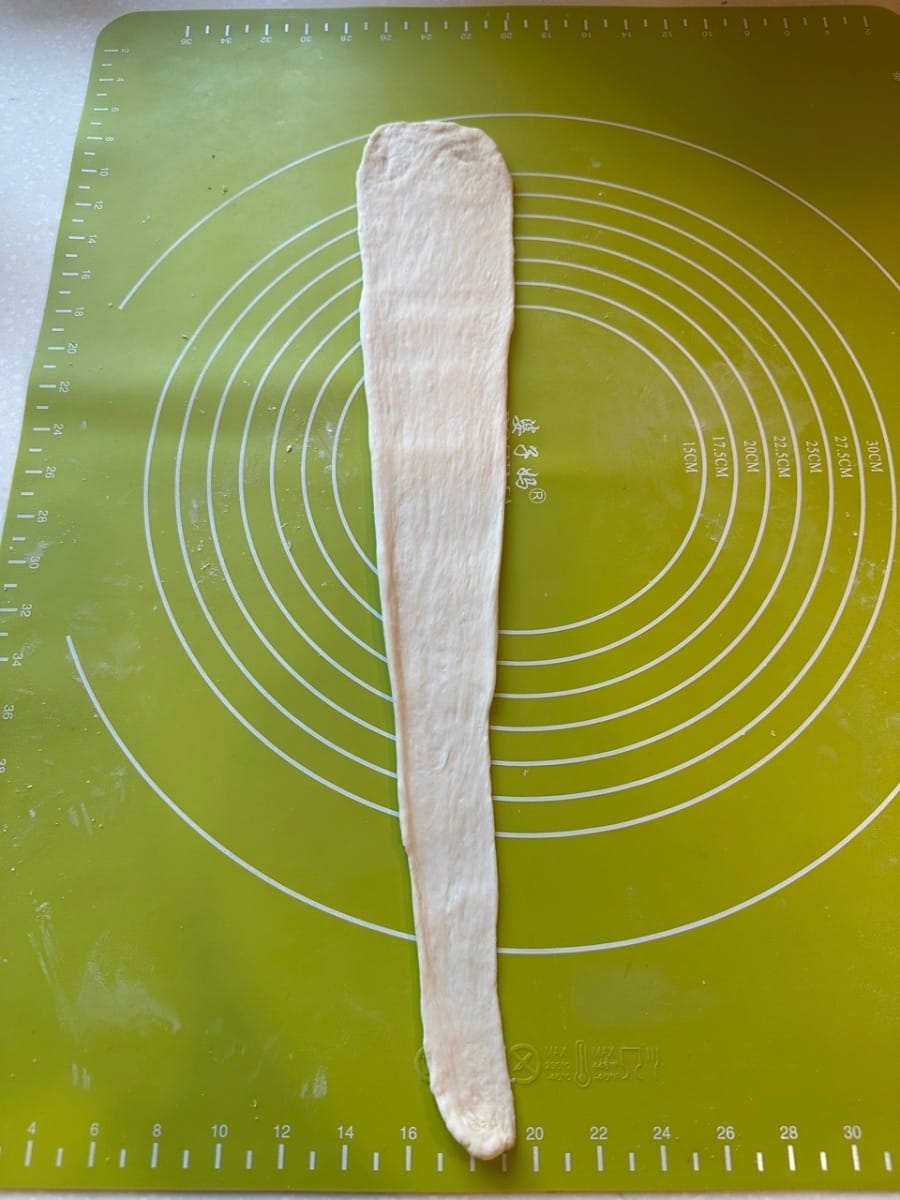
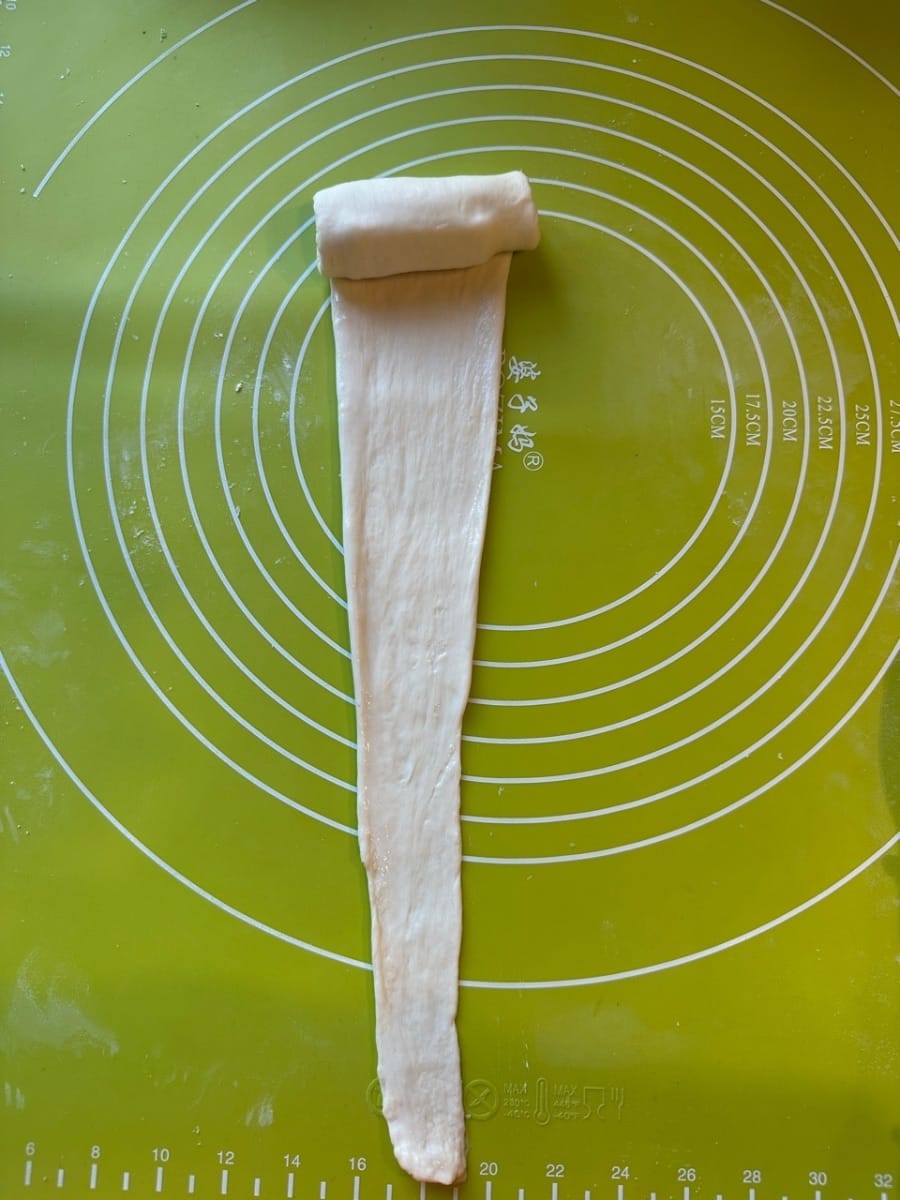
- And elongate the whole dough as shown
- Continue to repeat step 26 until you get a long thin dough

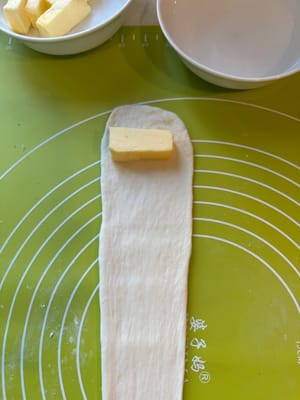
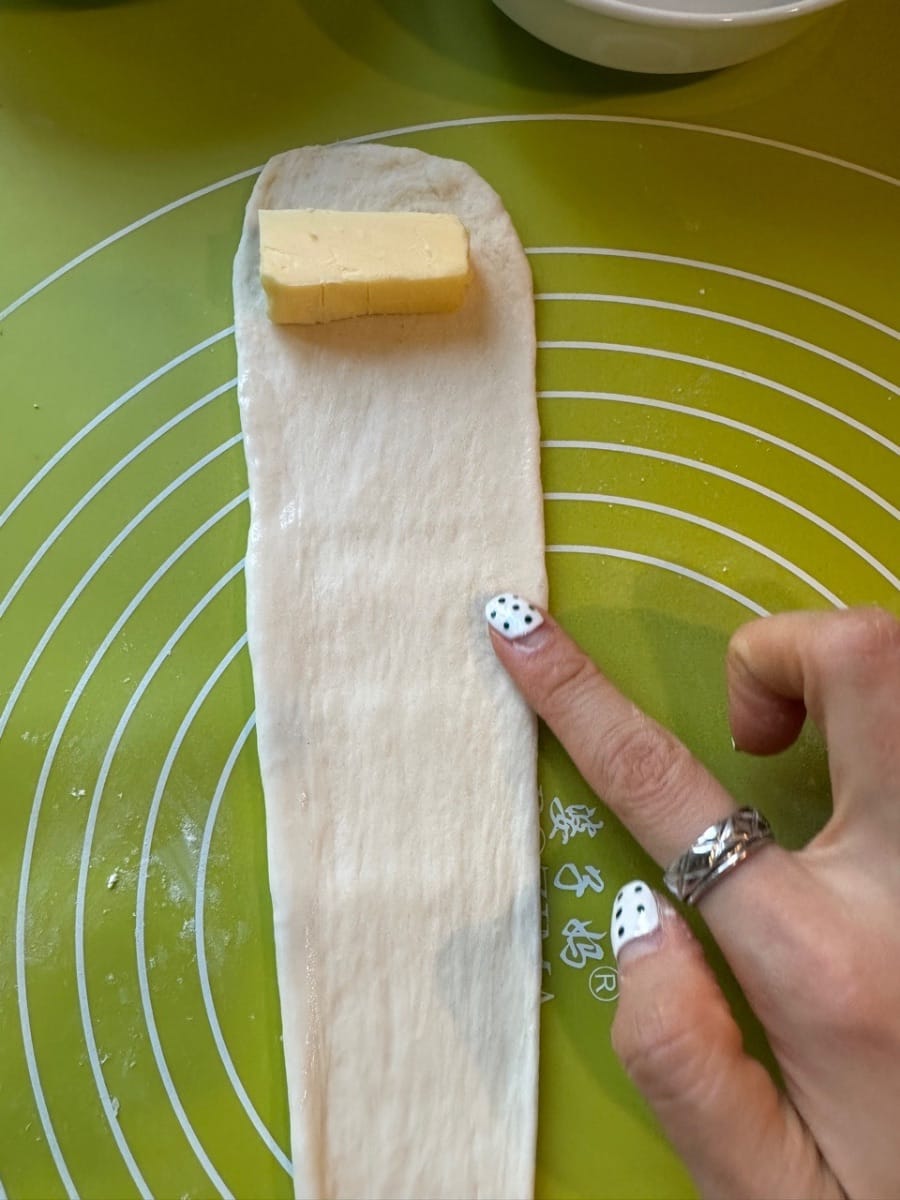
- Then you can take out the prepared butter and a small bowl of water
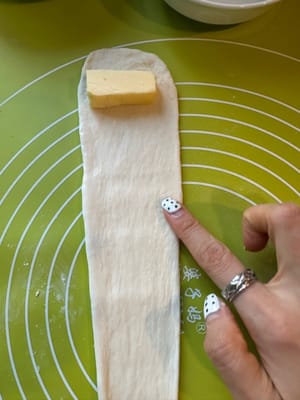
- Put a piece of butter about 2cm down the top
- Dampen the edge of the dough with water
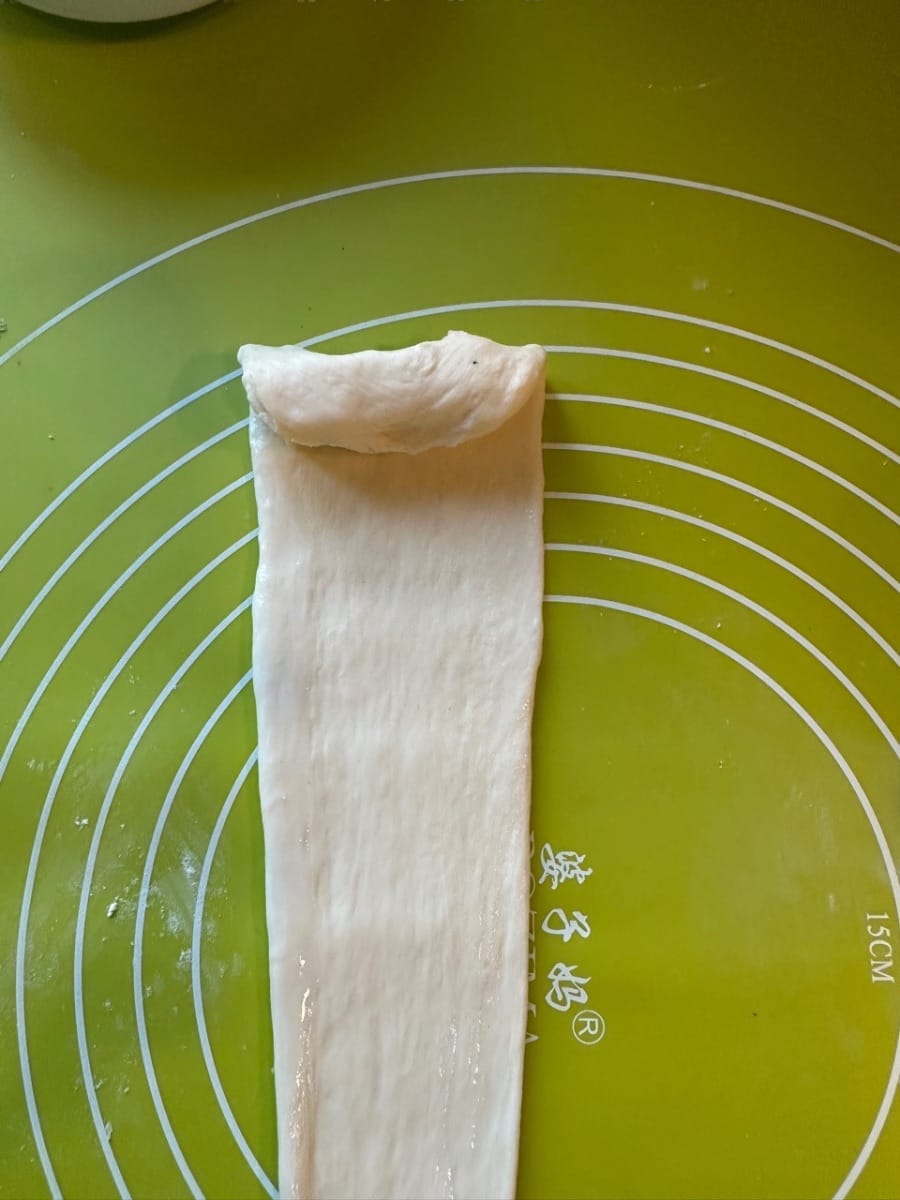
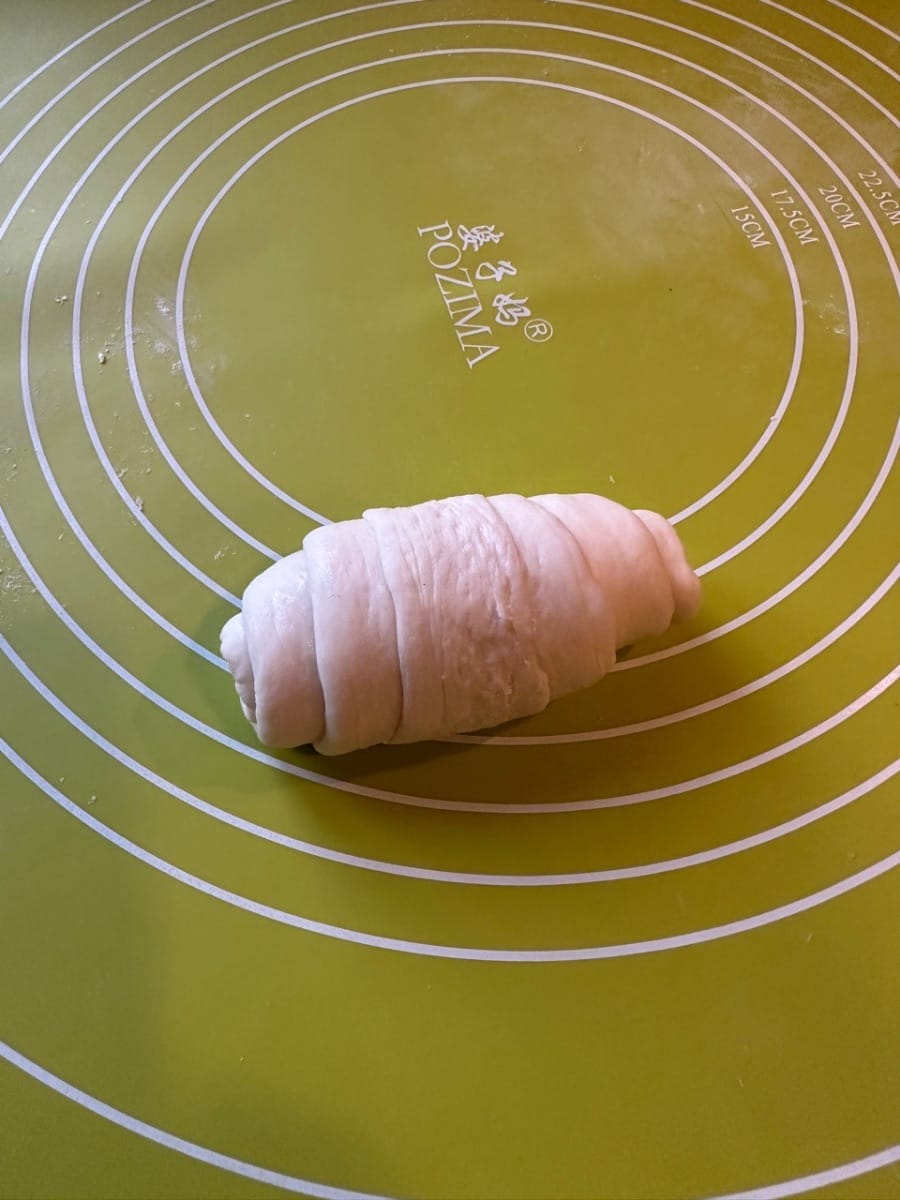
- Start to roll down the dough gently

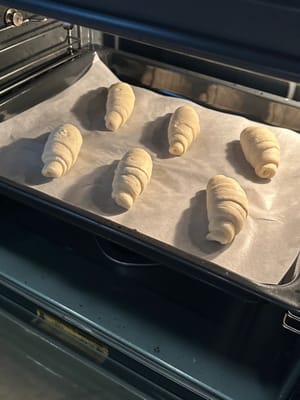
- Until something like this. Remember to let the end tip facing downwards

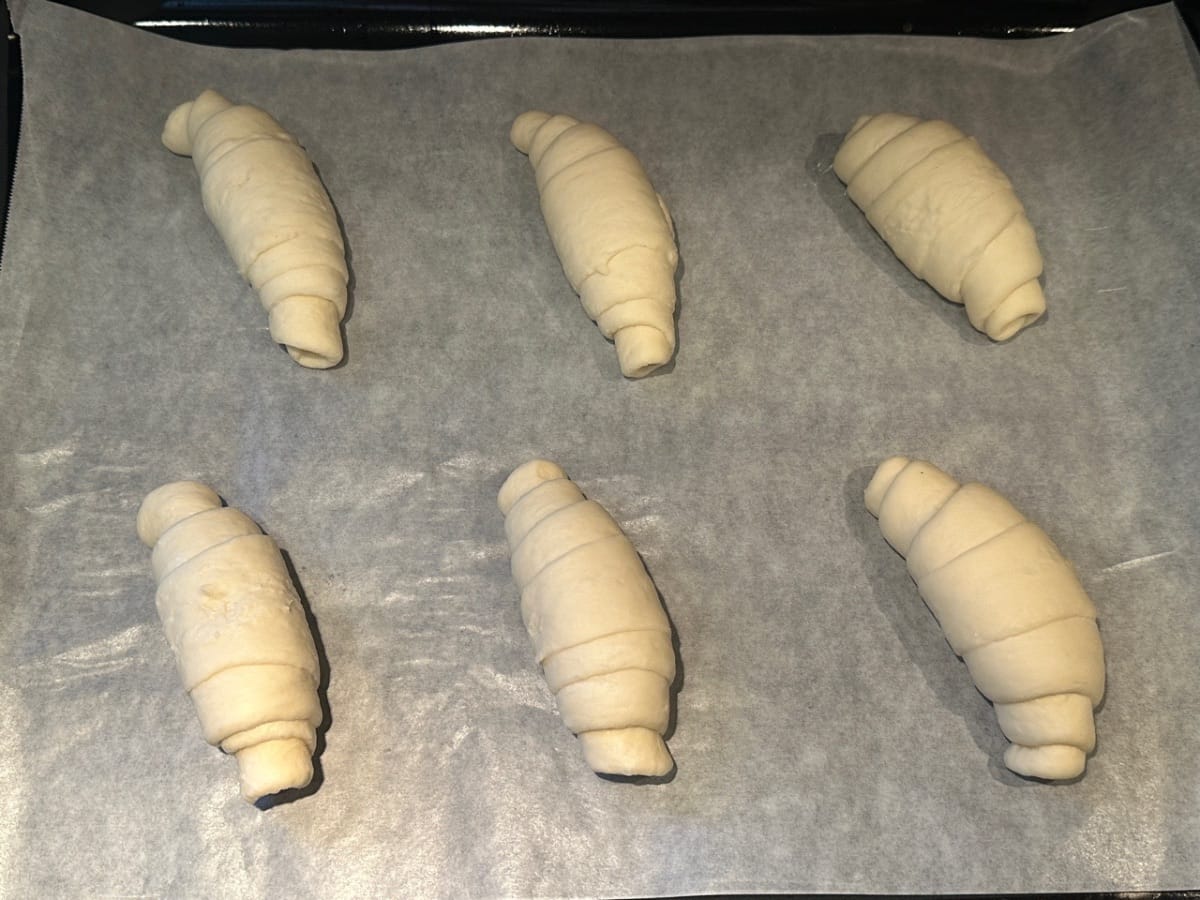
- Repeat for the remaining 5 doughs and put on a baking tray

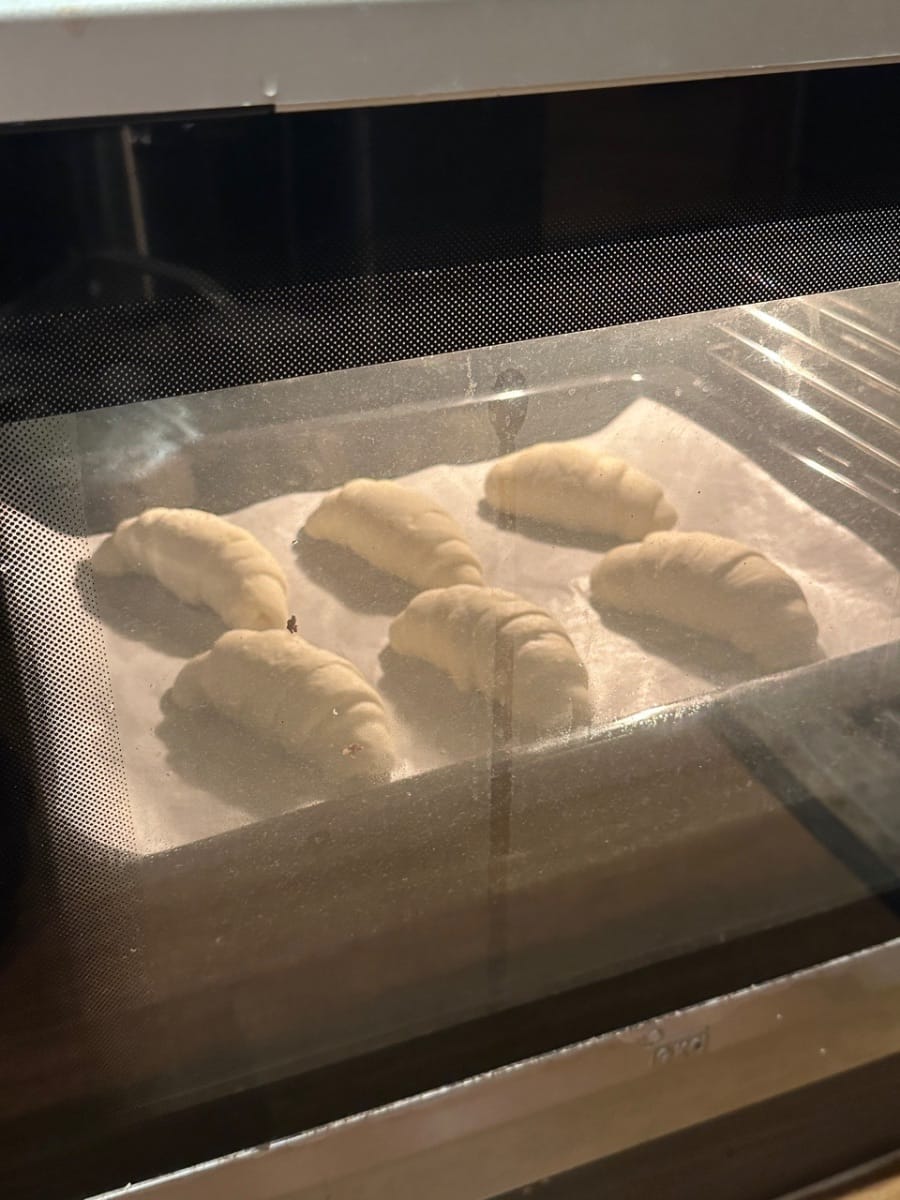
- Place the tray somewhere warm and let it proof the 2nd time for about 45 minutes
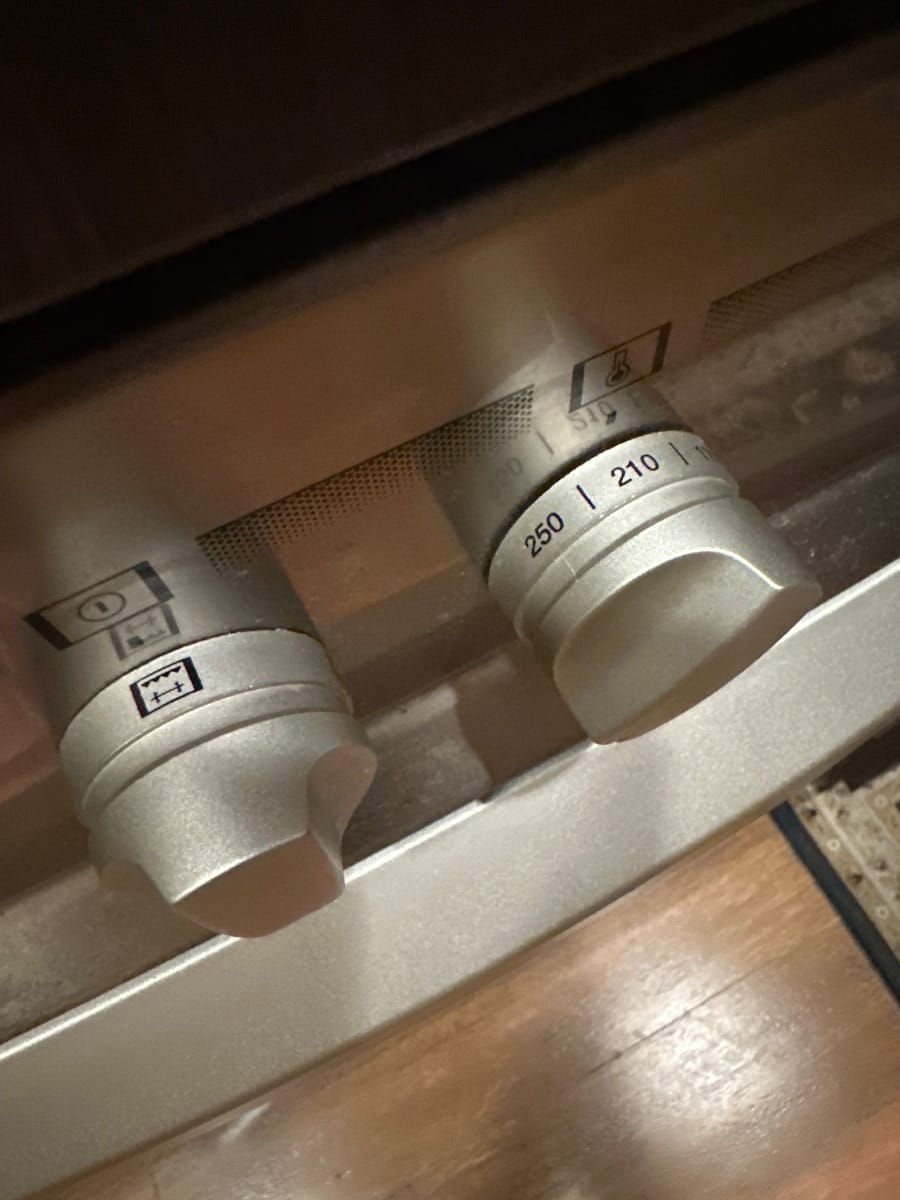
- Preheat the oven to 210°C for at least 10 minutes

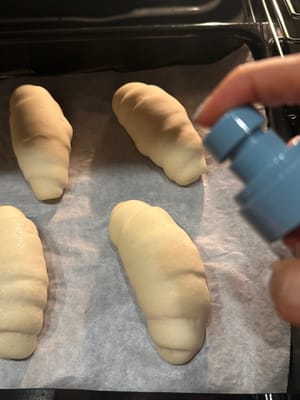
- Before sending the breads into the oven, spray the breads with water very generously
- Let bake in 210°C for 15 minutes and 220°C for another 5 minutes

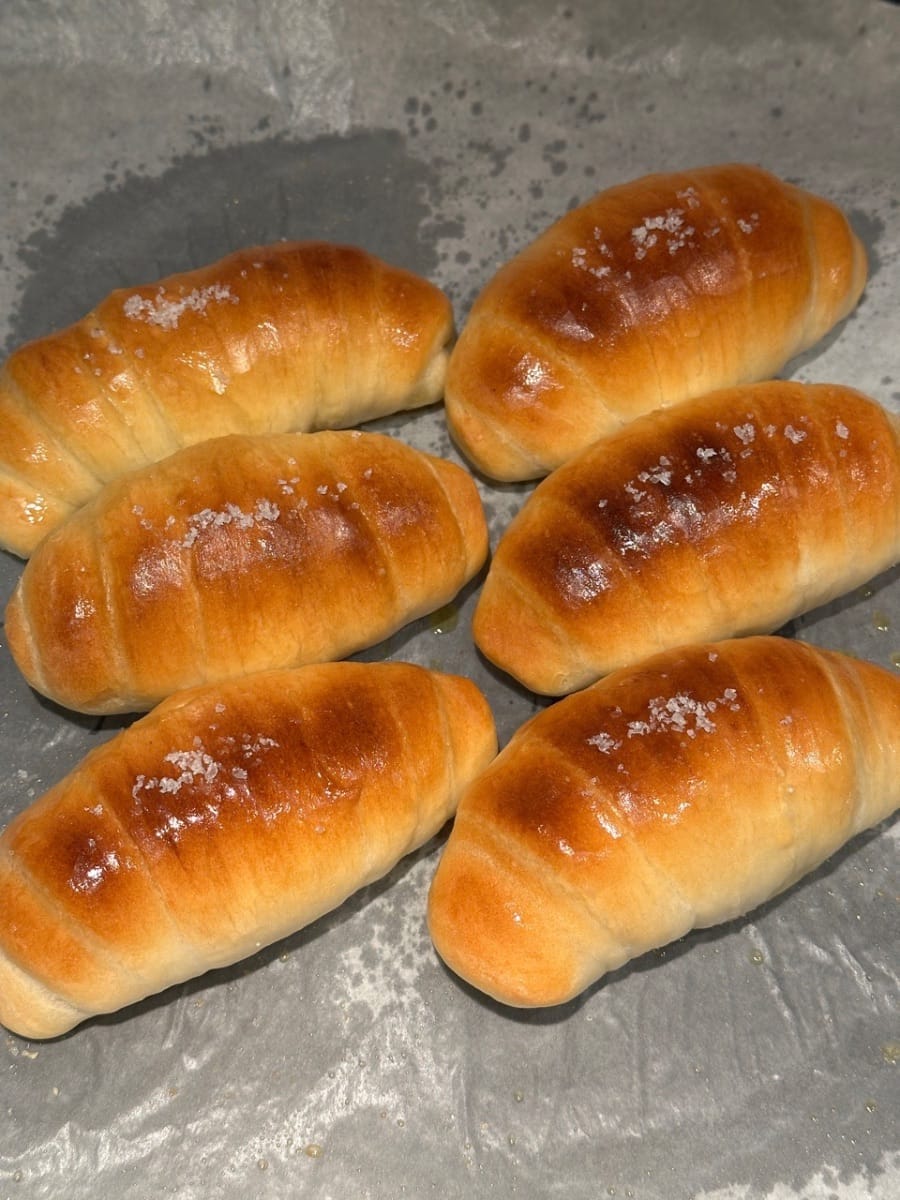
- Once done, the salt breads should be sizzling hot
- Brush the breads with melted butter
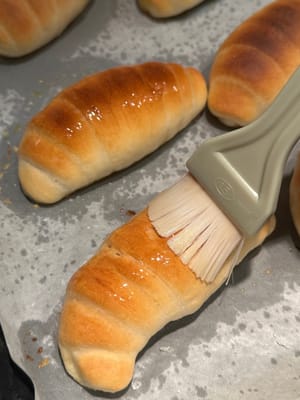
- And sprinkle some coarse salt for extra flavour

- Once done, enjoy while hot!


Languages
Japanisches Salzbrot - Deutsch (German) versionPan de sal japonés - Español (Spanish) version
Pain salé japonais - Français (French) version
Roti Garam Jepang - Bahasa Indonesia (Indonesian) version
Pane al sale giapponese - Italiana (Italian) version
日本の塩パン - 日本語 (Japanese) version
일본식 소금빵 - 한국인 (Korean) version
ขนมปังเกลือญี่ปุ่น - แบบไทย (Thai) version
Japanese Salt Bread(日式盐面包) - 简体中文 (Simplified Chinese) version
Japanese Salt Bread(日式鹽麵包) - 香港繁體中文 (Traditional Chinese - Hong Kong) version