Homemade pineapple cakes
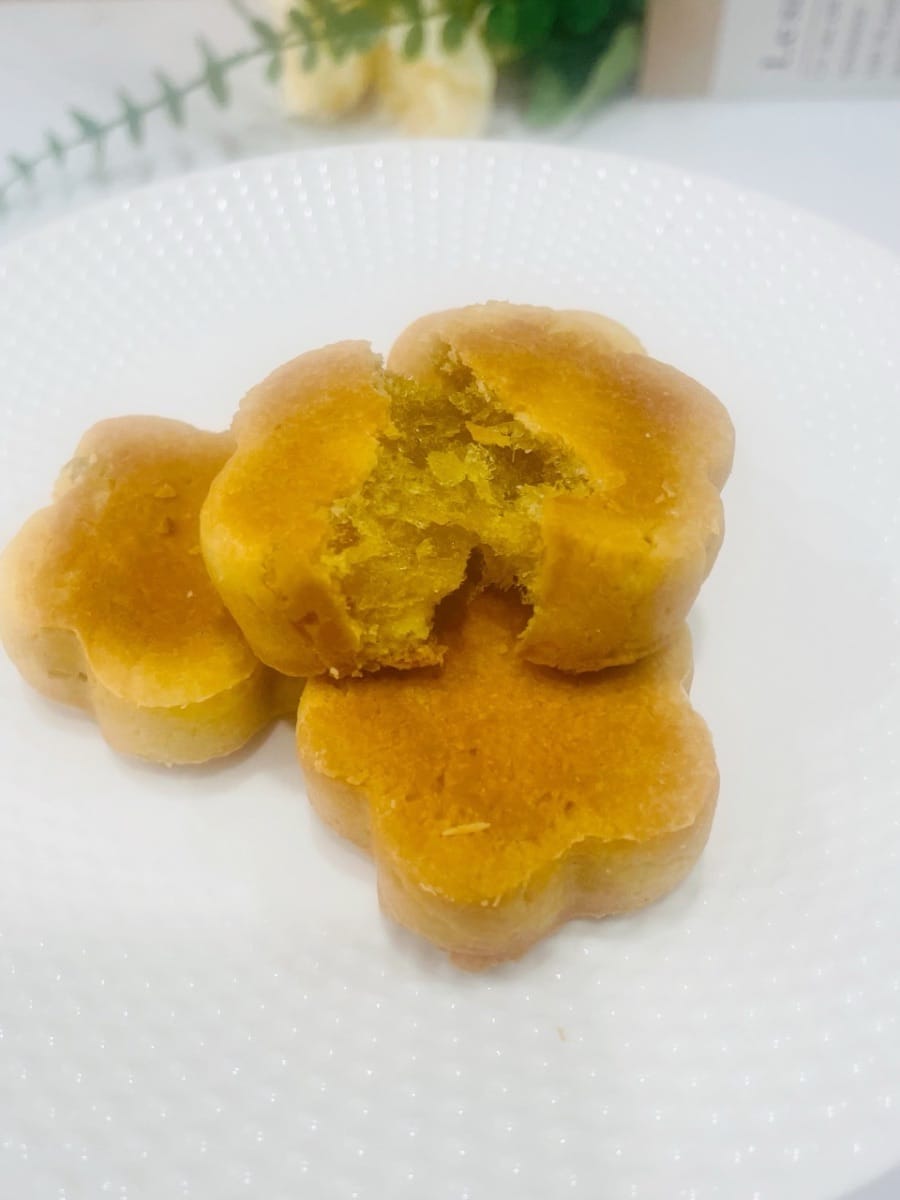

Take a bite, the outside is so crispy that it falls apart, the inside is soft and sticky, the pineapple is so sweet and sour, and it takes your taste buds on a tropical vacation. It is packed in a small yellow bag, and I feel like if I put it in a stall, it can make the dessert shops on the whole street go into recession overnight!
Ingredients
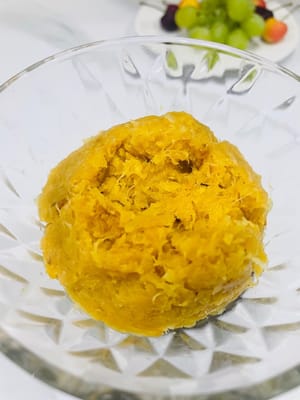
- pineapple filling (500g)
- Butter (90g)

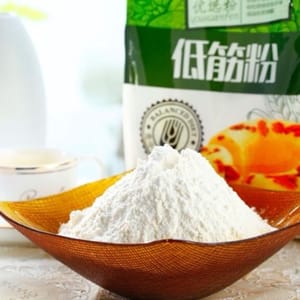
- low-gluten flour (150g)
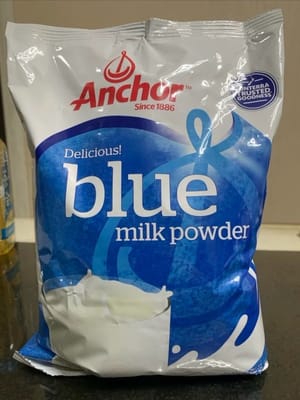
- milk powder (25g)
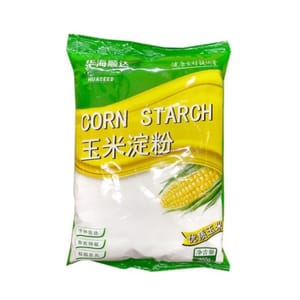
- corn starch/almond flour (25g. Almond powder is more fragrant)
- Powdered sugar (25g)

- salt 1 gram

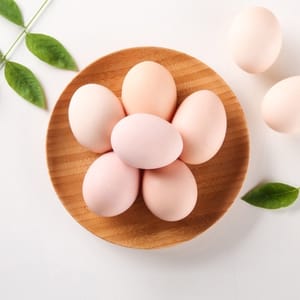
- egg liquid (about 50g)
Steps
- This recipe can make 20 pieces with a 40g mold. First, let's look at the precautions: 1. Dough for the crust: The butter needs to be softened to room temperature and fully beaten with powdered sugar until fluffy. When adding egg liquid, add it in batches to prevent oil and water separation; after kneading the dough until smooth, it needs to be refrigerated and relaxed, which will make the finished product crispier. 2. Stuffing skills: The ratio of dough to filling is recommended to be 2:8 or 3:7. When stuffing, make sure that the thickness of the crust is uniform to avoid breaking the skin and exposing the filling. 3. Baking temperature: The oven needs to be preheated in advance, and the temperature is generally controlled at 160-180℃. Pay attention to the color during baking to avoid scorching the surface. Usually bake until golden. 4. Cooling and storage: The baked pineapple cakes need to be completely cooled before sealing and storage to prevent moisture and softening, which will affect the crispy taste.
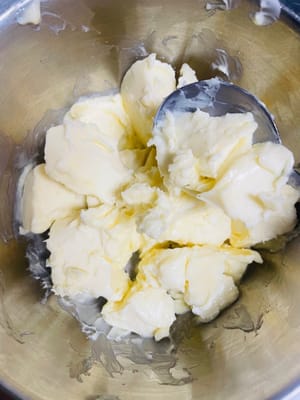
- Allow the butter to soften until it yields to the touch of a spatula.
- Beat the eggs and set aside.

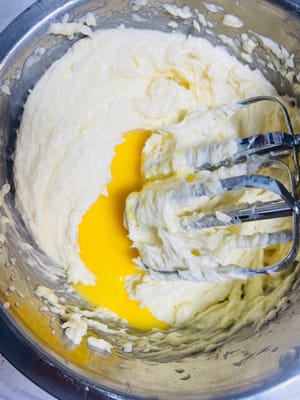
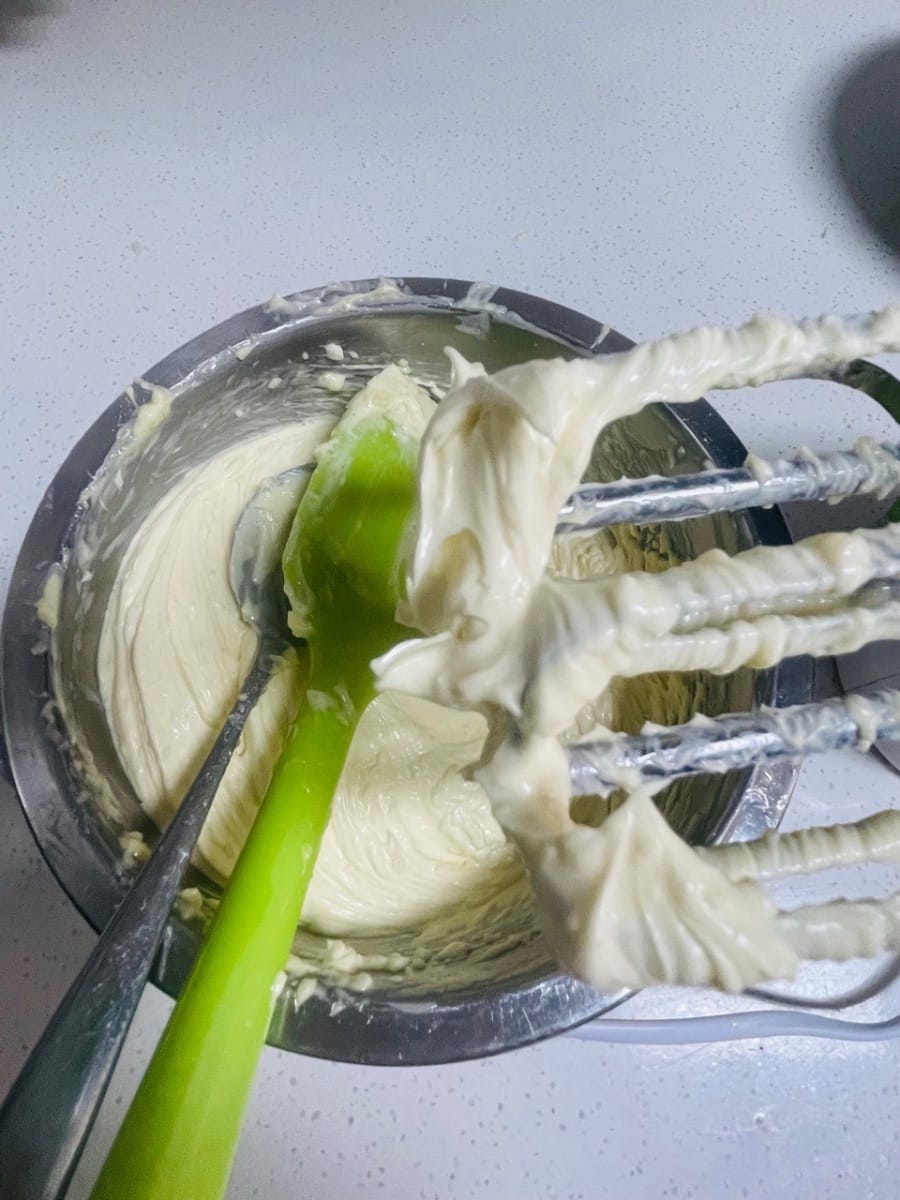
- Add salt and powdered sugar to the butter and stir it first to prevent the powder from splashing out when whipping. Then continue to whip the butter until it is white and fluffy.

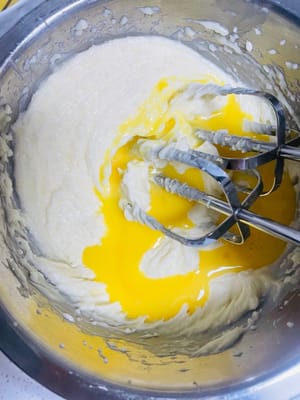
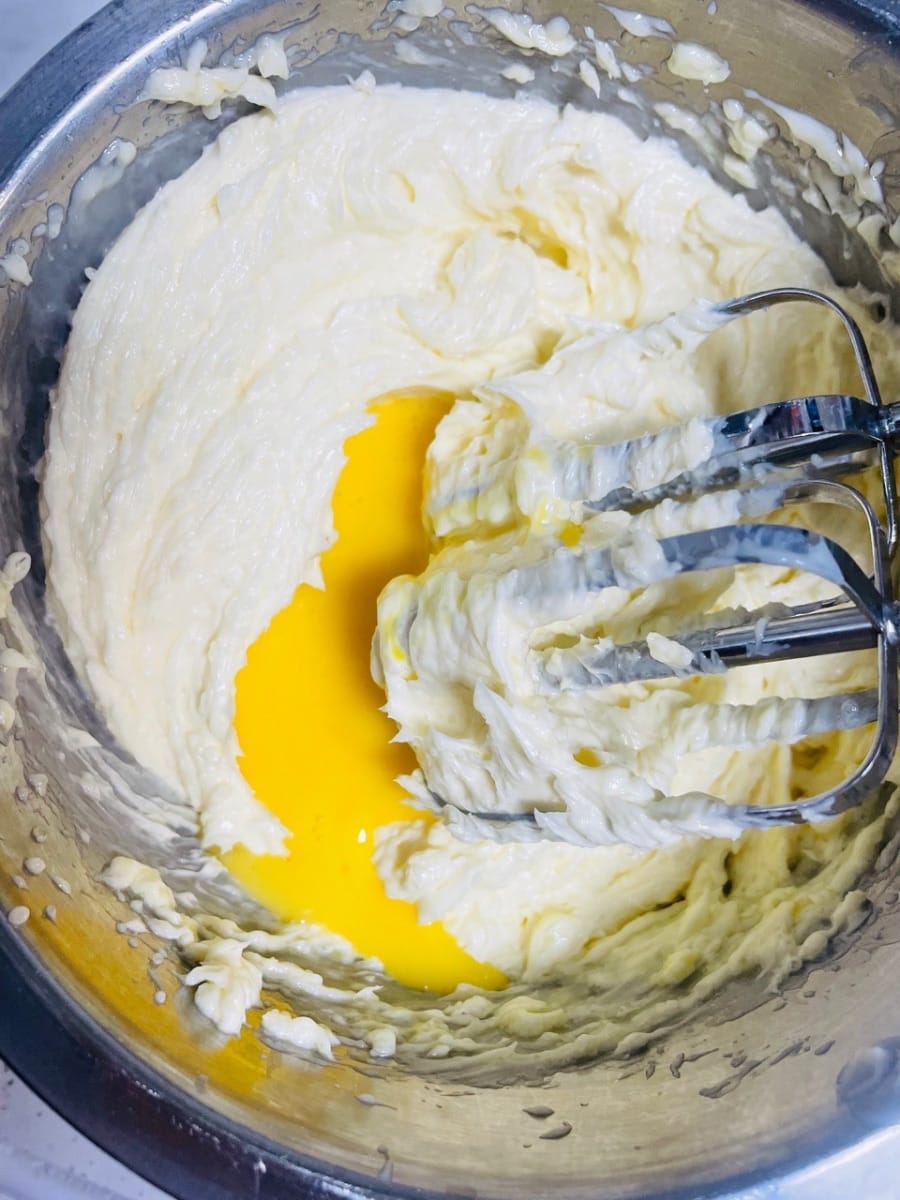
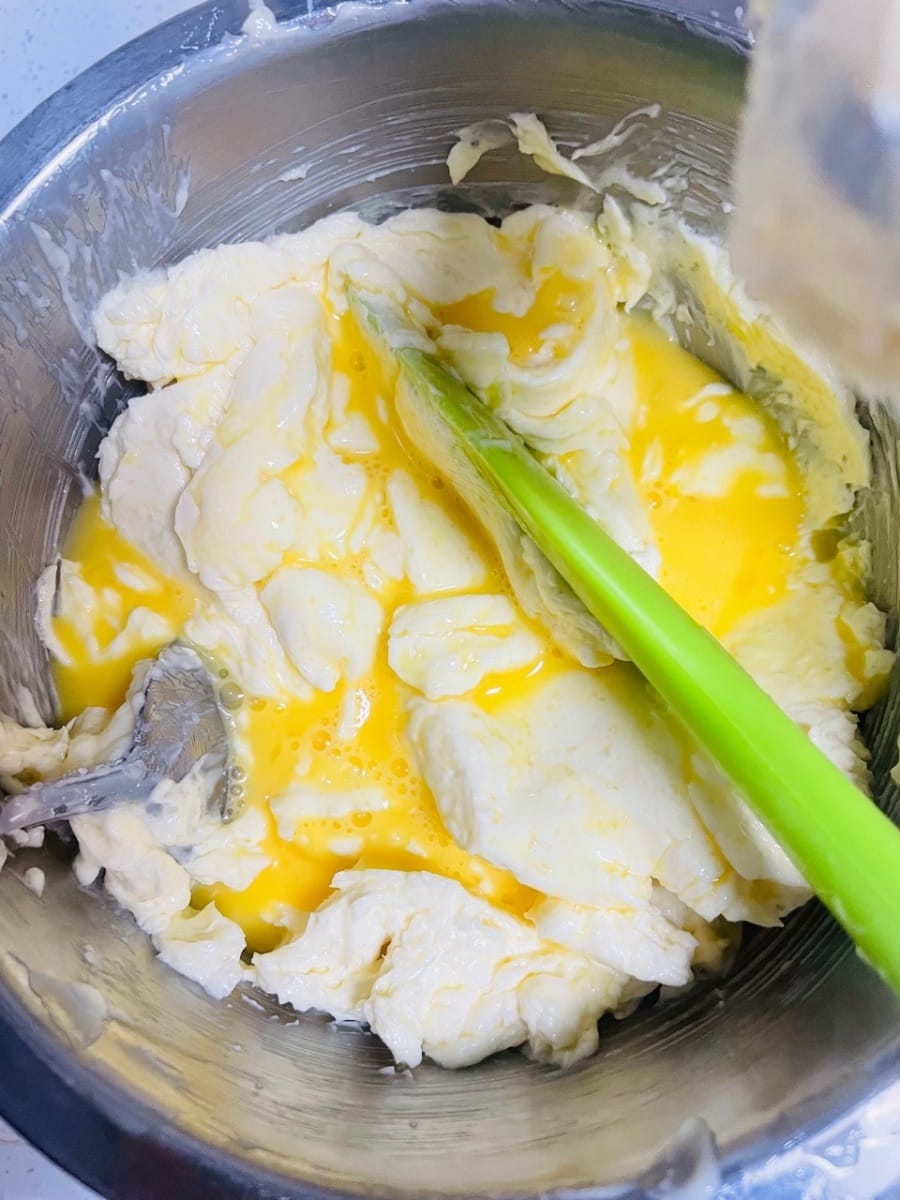
- Add the prepared egg liquid in three batches, stirring and beating each time to prevent the egg liquid from splashing.

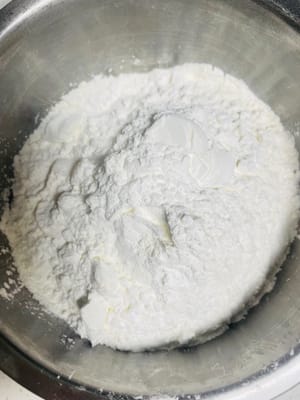
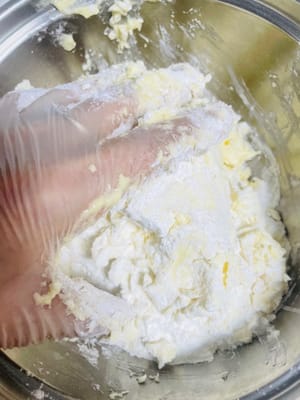
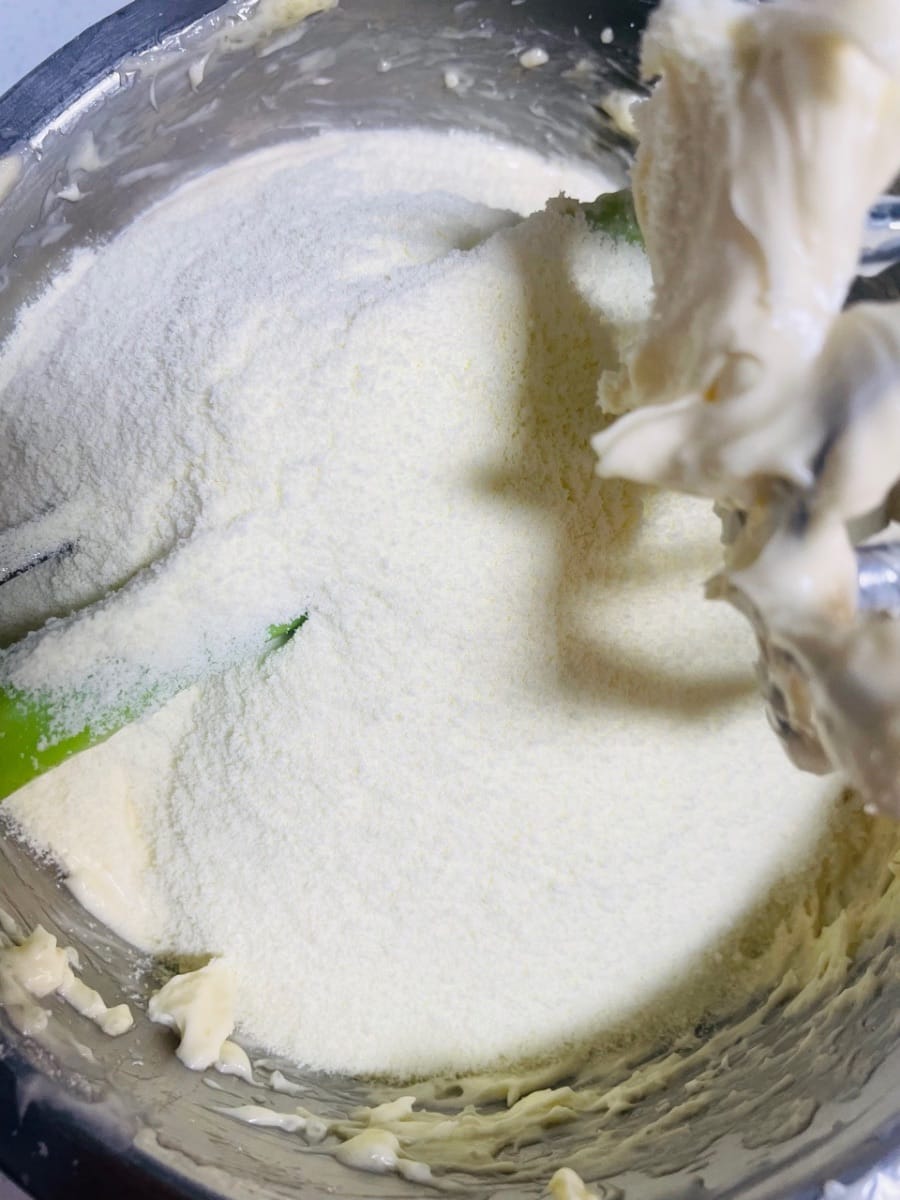
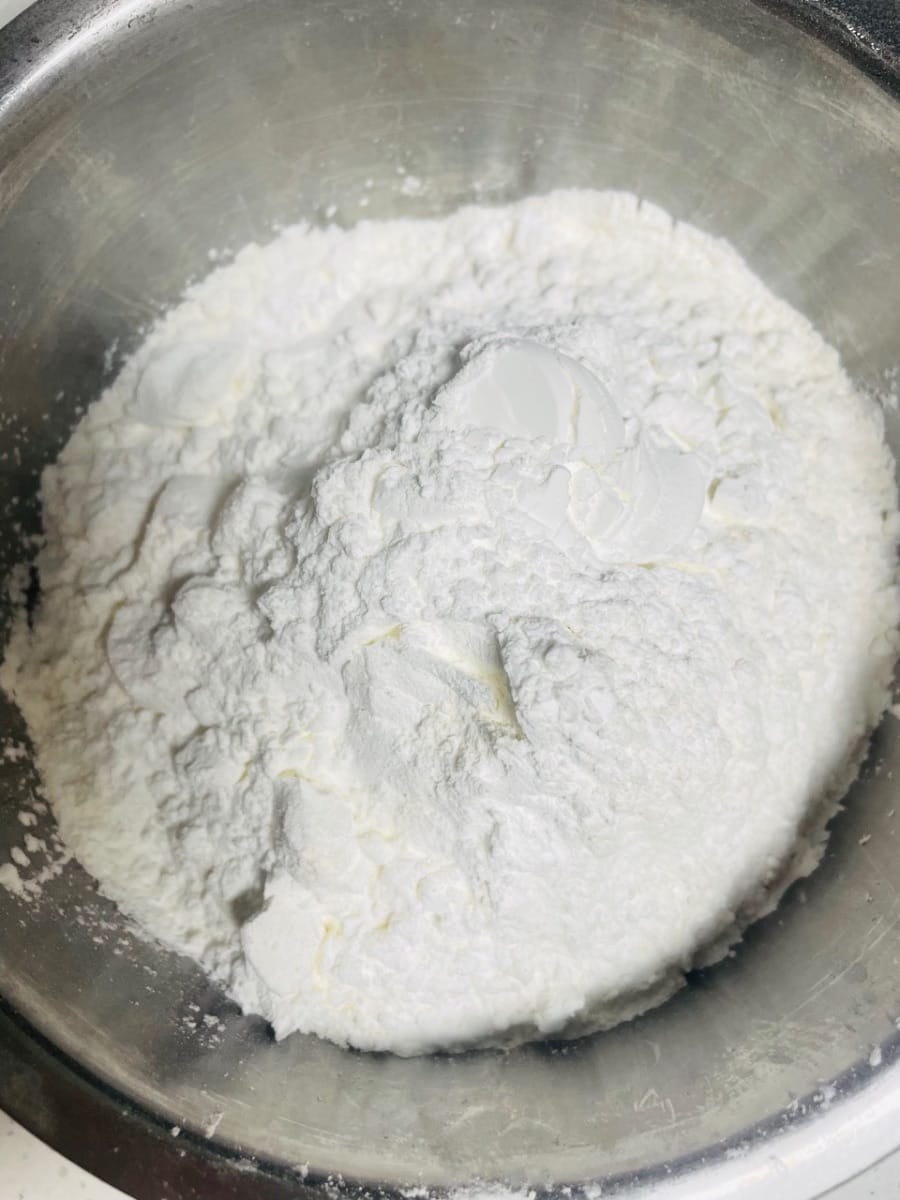
- Pour in the milk powder and stir evenly.

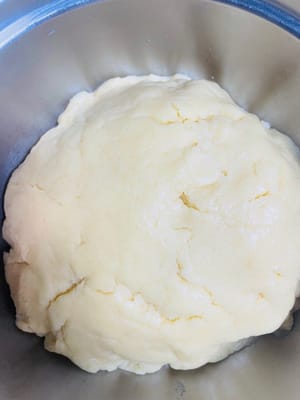
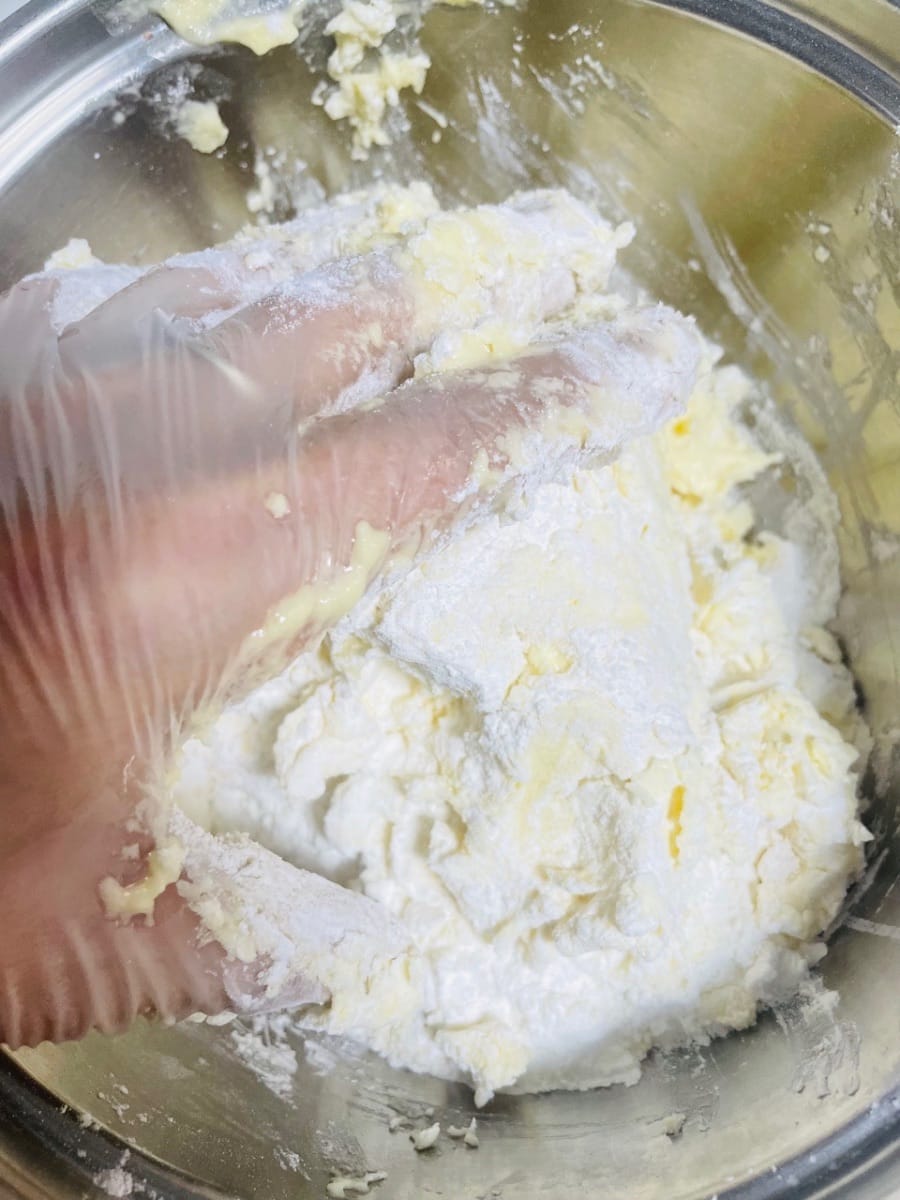
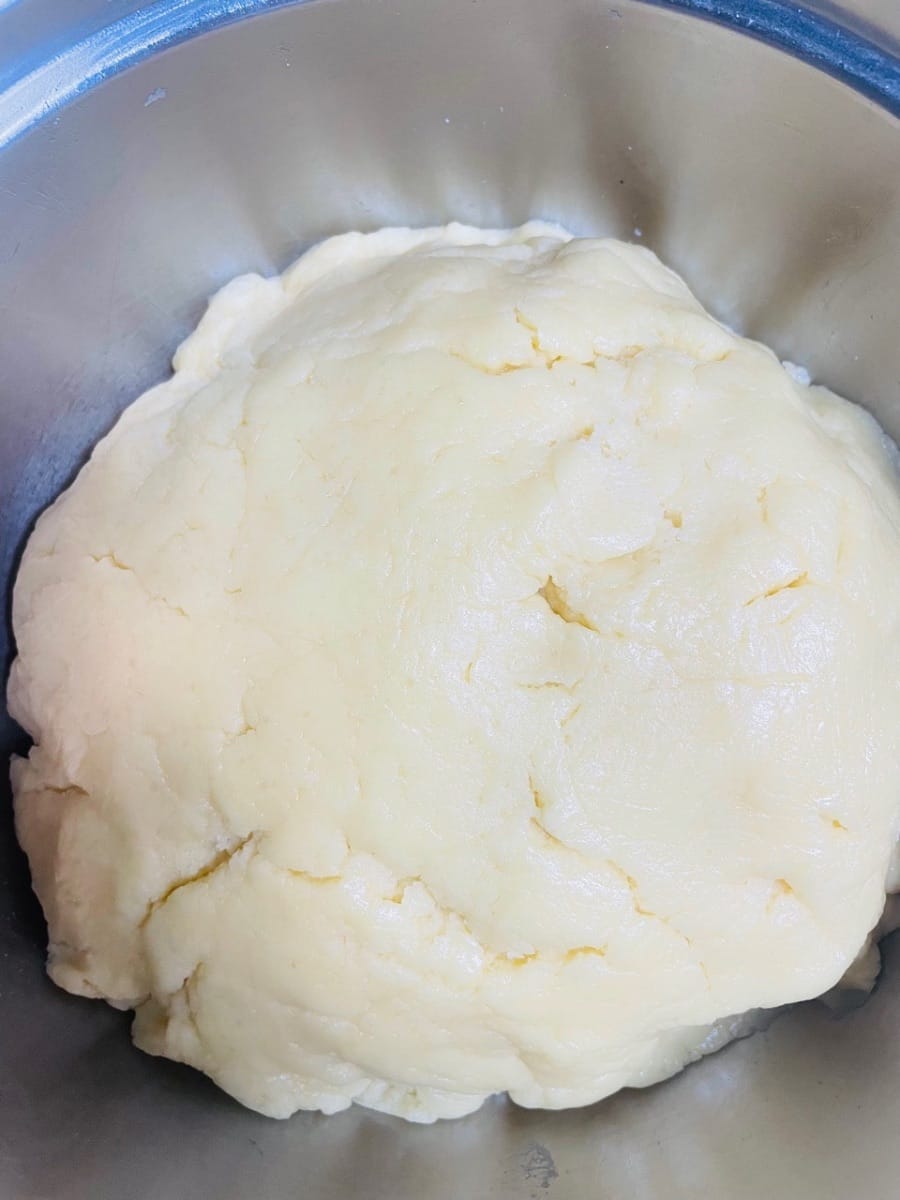
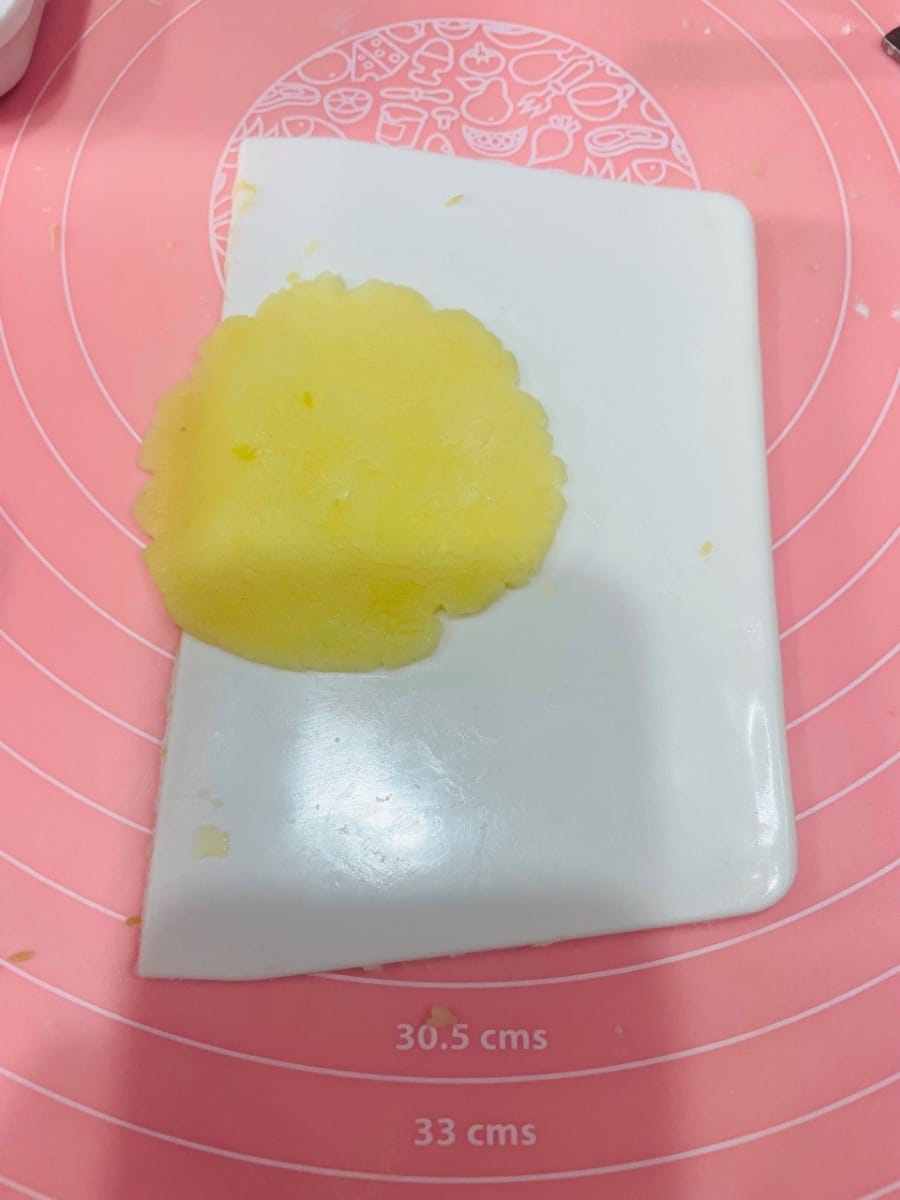
- Sift in low-gluten flour and corn starch, mix (not knead, otherwise it will knead out gluten) into a soft dough without any particles.
- Put the dough in the refrigerator to relax for more than 1 hour, or overnight if you have more time (remember to warm it up in advance to avoid letting the dough sleep)
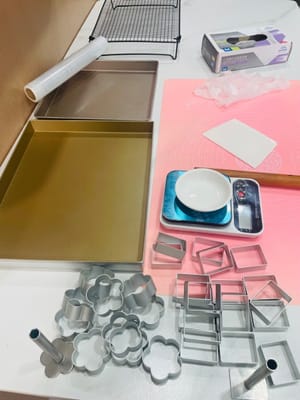
- Prepare the pineapple cake mold, gloves, baking tray... all the tools are ready in advance! Wearing gloves and then looking for tools = groping in the dark
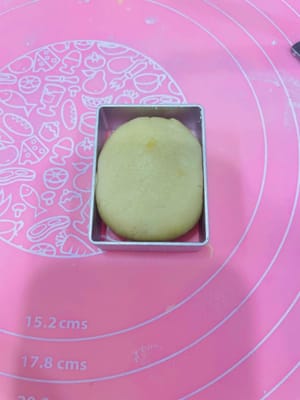
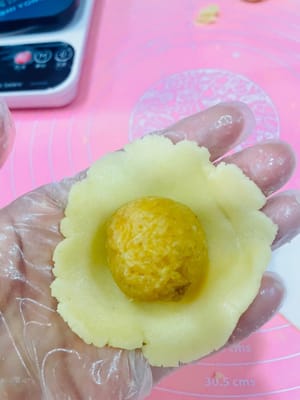
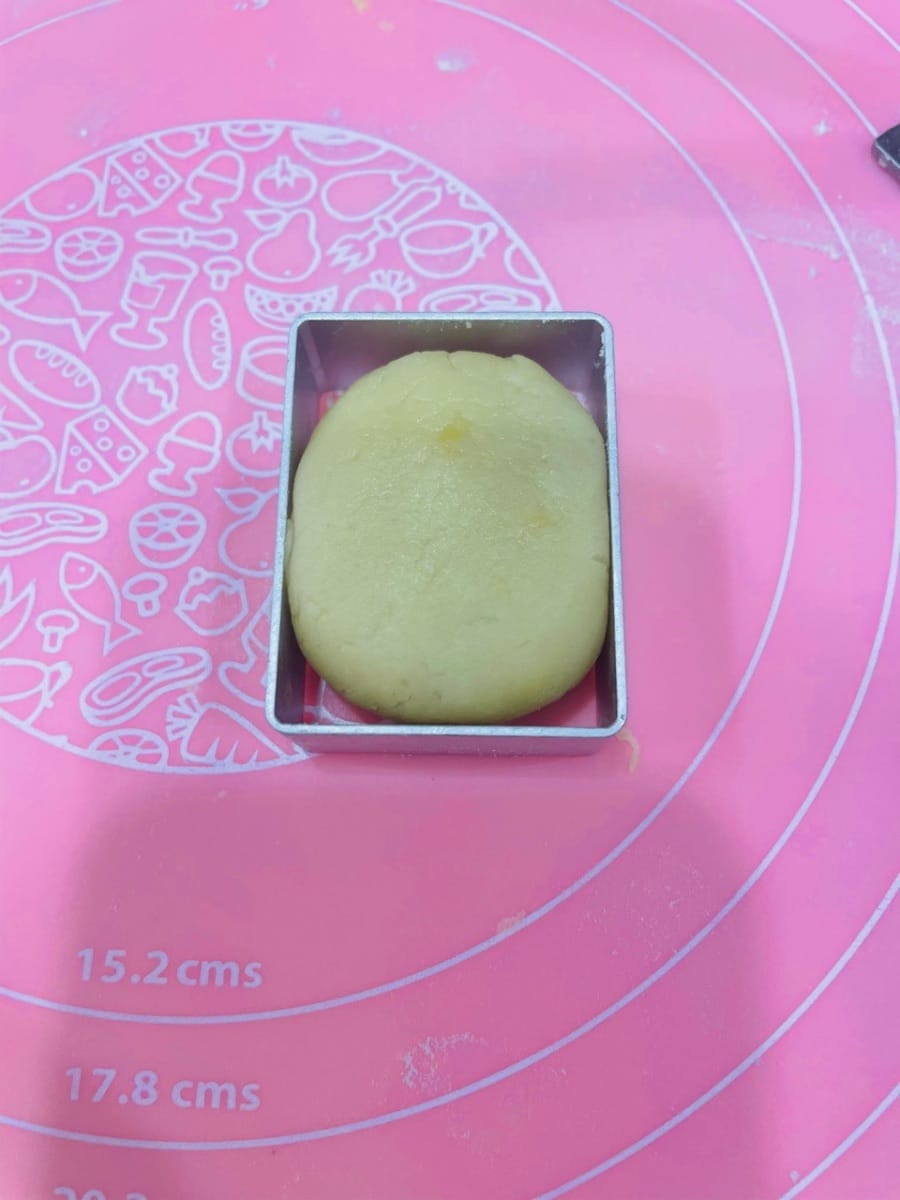
- Use a mold to test the ratio of skin to filling! Roll a dough and stuff it in (don't fill it too full, it will expand when baked). After measuring the capacity, the skin to filling ratio is 4:6/2:8/3:7. Choose whatever ratio you can wrap. For example, if you have a 40g mold and choose 3:7, then the skin is 12g and the filling is 28g. Of course, don't make the skin too thick to affect the taste ~ Watch the video
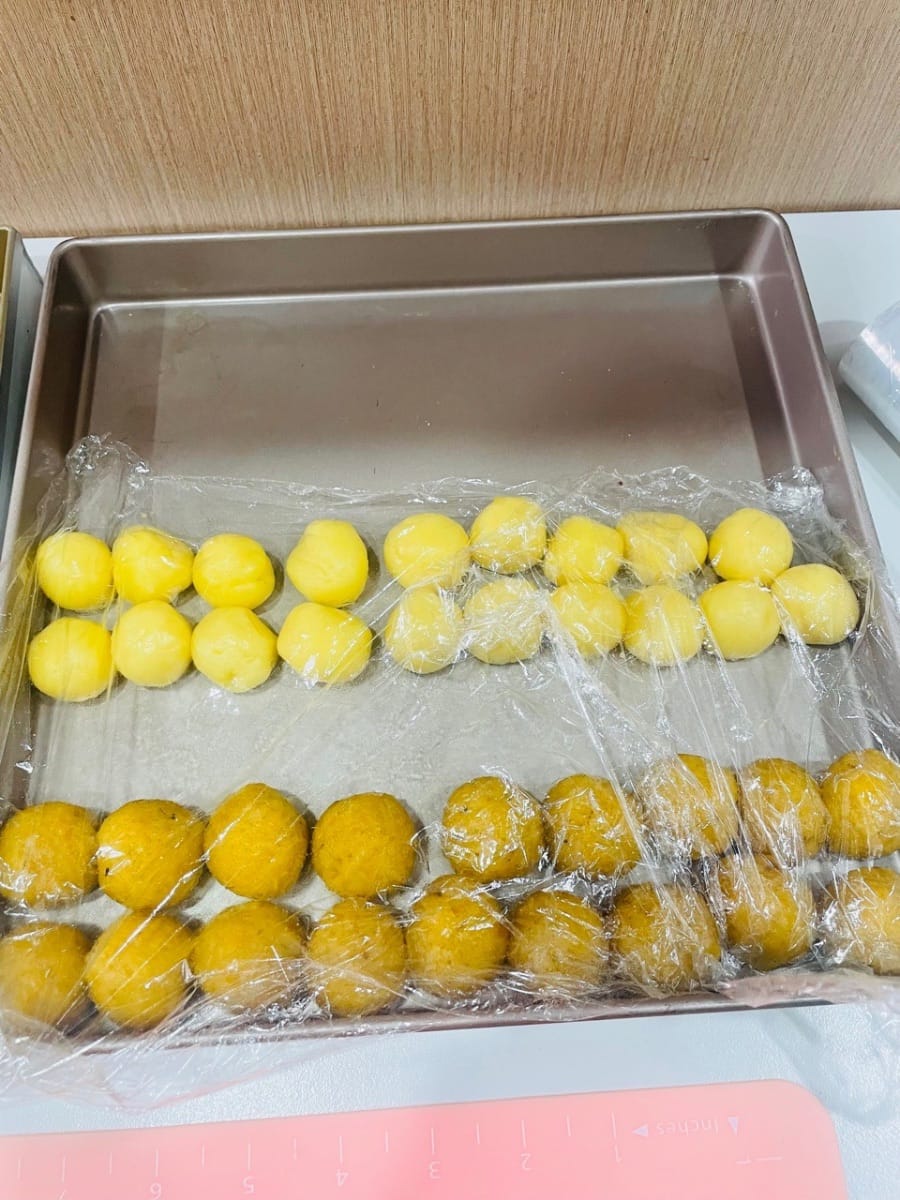
- Divide the filling according to the weight and proportion you choose, and then weigh the number of skins. After dividing the skins and fillings, roll them into balls one by one.
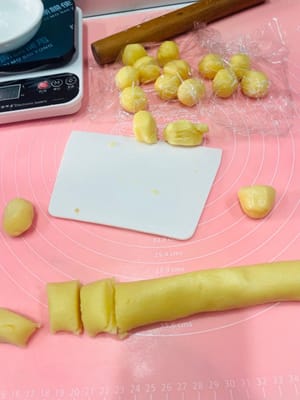
- Roll each one into a ball, but be careful. Cover with plastic wrap to keep it moist.

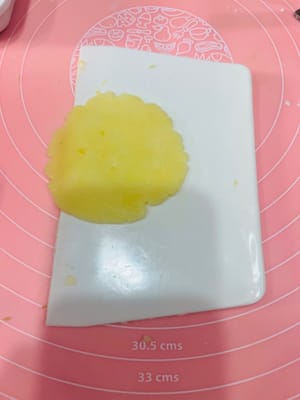
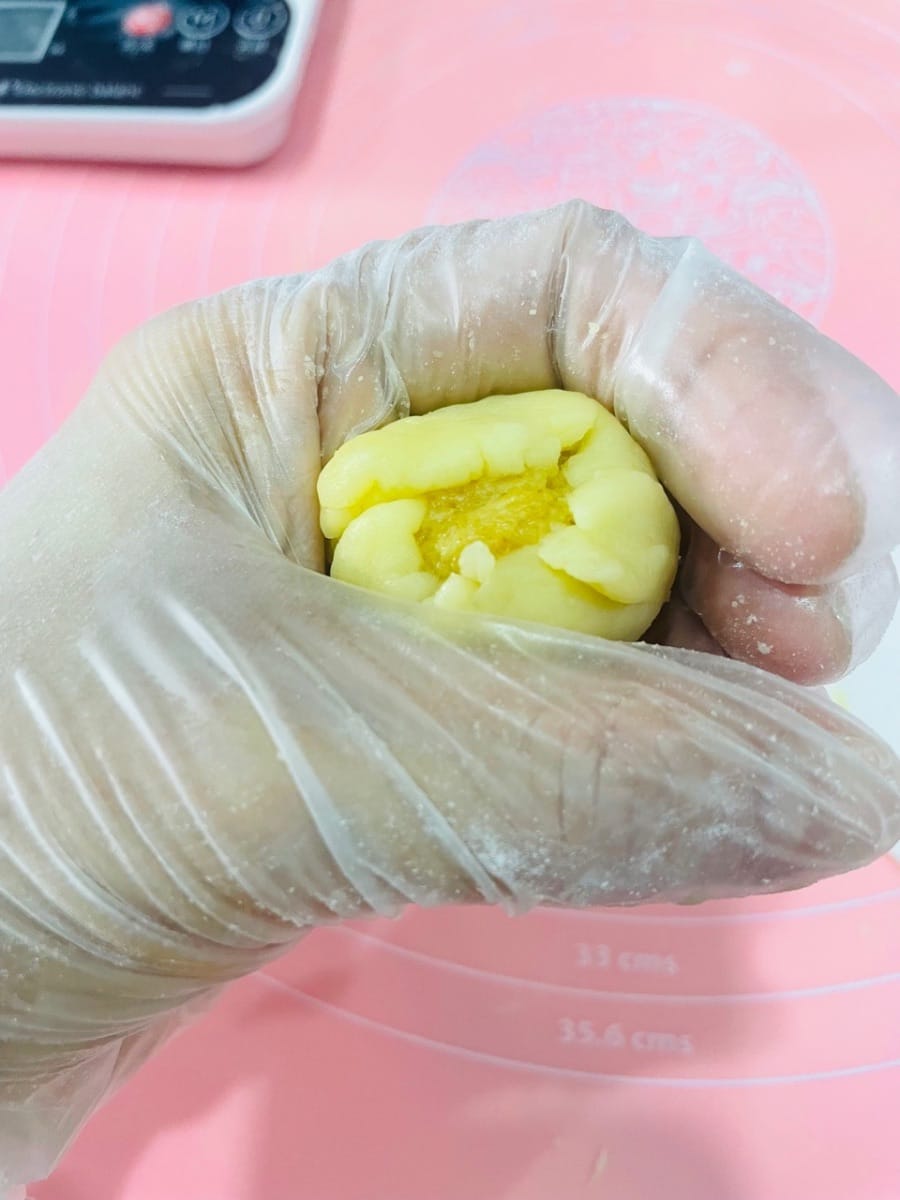
- Put the dough in the palm of your hand, wrap the filling in it, and roll it into a ball like making glutinous rice balls (low-gluten flour is not so obedient, don’t be afraid if it’s not smooth, this is our “handmade feature”) Watch the video.

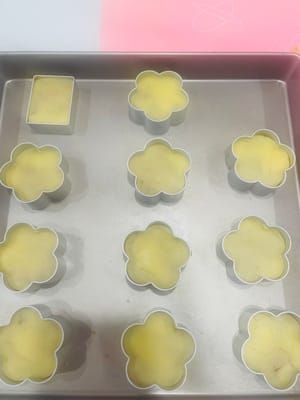
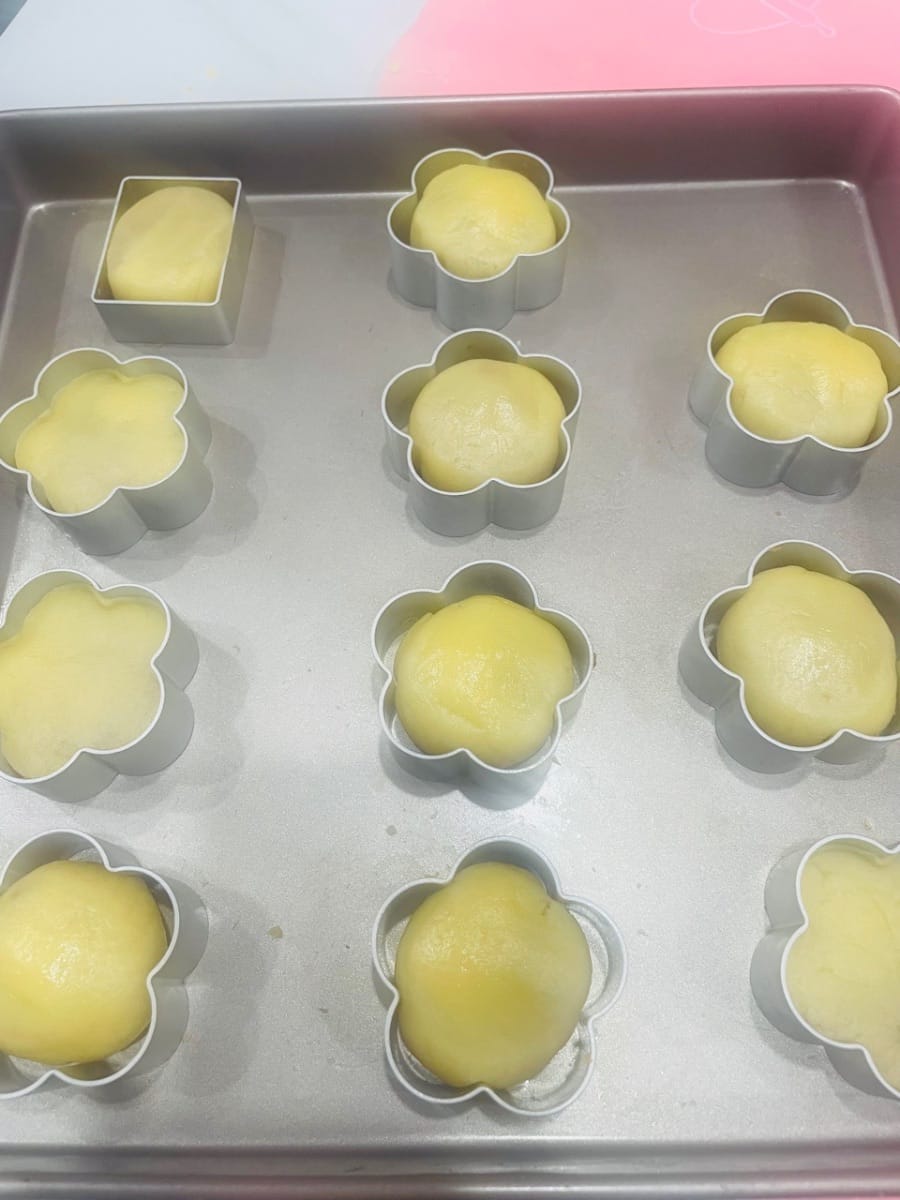
- Put your pineapple cake dough into the mold, it is more stable to operate on the baking tray! Press it with the mold pressing plate to prevent it from shifting or deforming, otherwise the appearance will plummet.

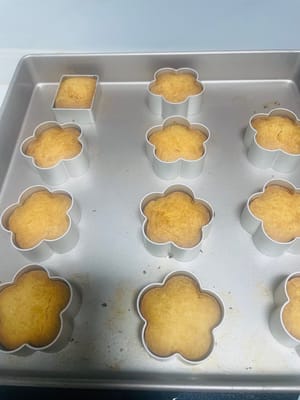
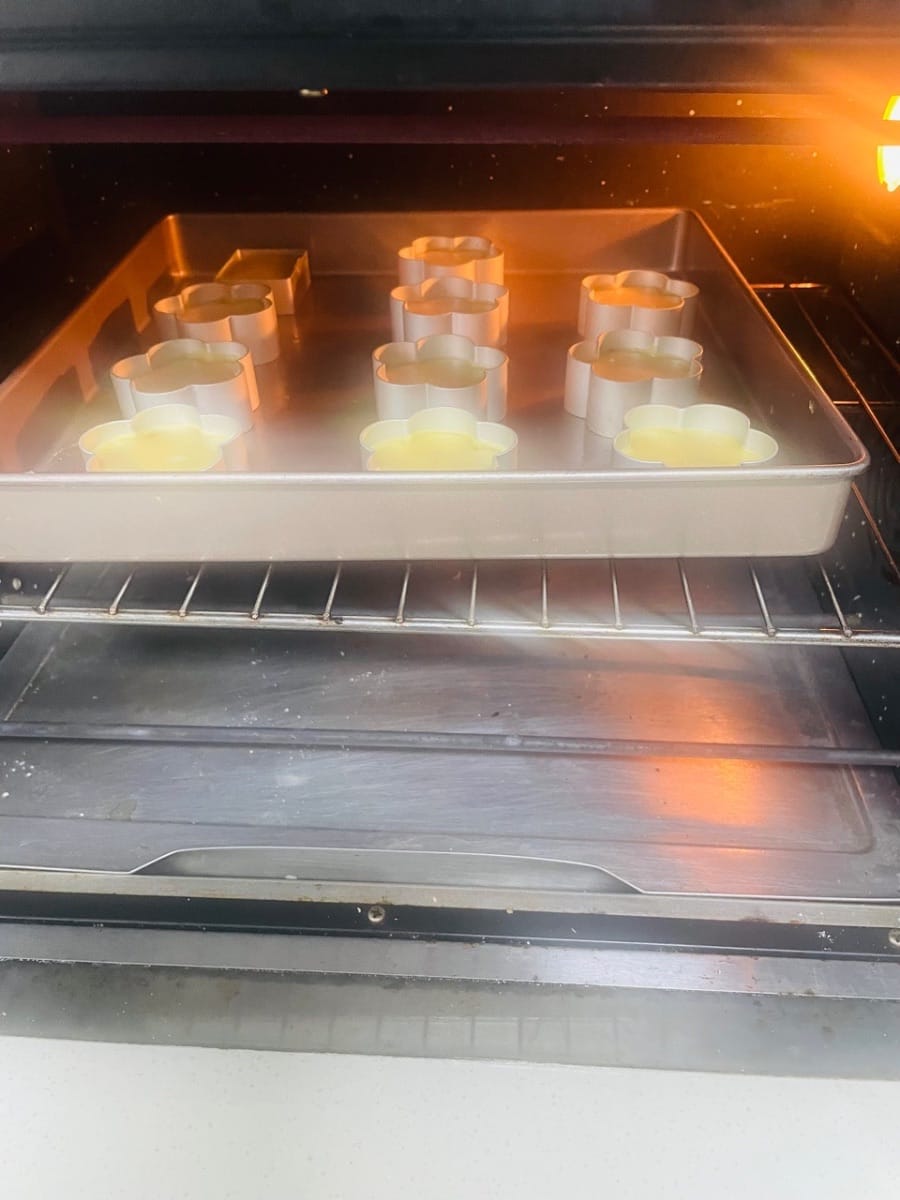
- Preheat the oven to 165-180℃, bake on the bottom layer for 15 minutes, let the high temperature set first (low temperature will melt into a paste), then move to the middle layer and bake for 5 minutes. Cover with tin foil when the surface is colored, don't let it "blacken".

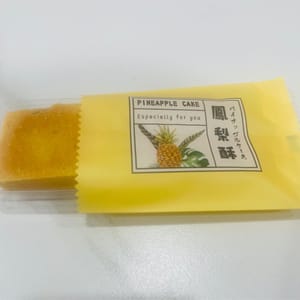
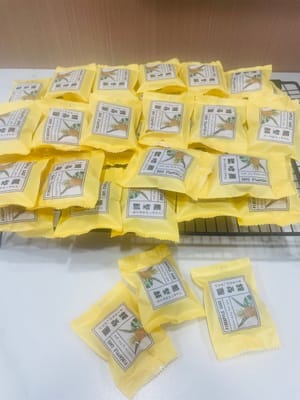
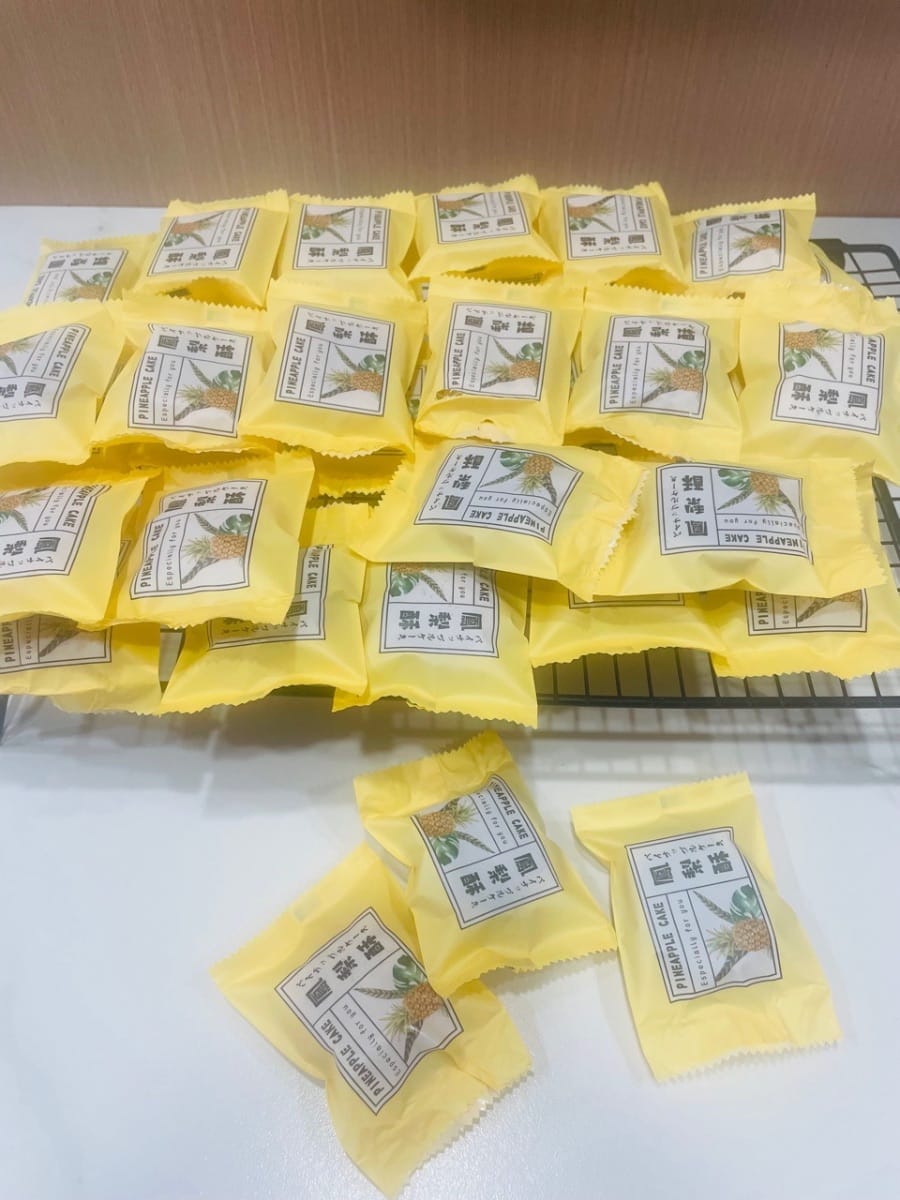
- After cooling thoroughly, wear gloves to package to prevent moisture from returning! The pineapple cakes you make yourself are soft, sticky and delicious. Put them in your favorite packaging and you can put them directly on the supermarket shelves!


Languages
Hausgemachte Ananaskuchen - Deutsch (German) versionHomemade pineapple cakes - English version
Tortas de piña caseras - Español (Spanish) version
Gâteaux à l'ananas faits maison - Français (French) version
Kue nanas buatan sendiri - Bahasa Indonesia (Indonesian) version
Torte all'ananas fatte in casa - Italiana (Italian) version
自家製パイナップルケーキ - 日本語 (Japanese) version
수제 파인애플 케이크 - 한국인 (Korean) version
เค้กสับปะรดโฮมเมด - แบบไทย (Thai) version
自製菠蘿酥 - 香港繁體中文 (Traditional Chinese - Hong Kong) version