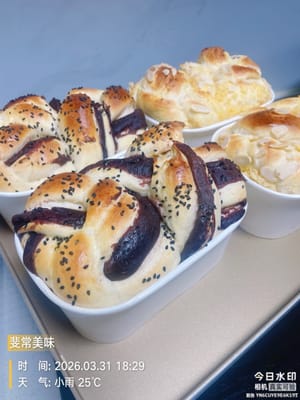
Holiland-style Spicy Sausage and Cheese Bun

Recreate Holiland's popular Crispy Sausage and Vegetable Bun! The soft, fluffy bun is so fluffy it bounces back with a pinch, and the filling is irresistibly delicious! The caramelized sausage bits become increasingly flavorful with each chew, the crisp and tender preserved vegetables are crunchy, and the refreshing spiciness of the green chili peppers is just right—not overpowering. The cheese on top is baked to a golden brown and stretchy perfection, its milky aroma complementing the savory filling. It's a perfect blend of soft, fragrant, fresh, spicy, and crunchy! A perfect recreation of Holiland's divine flavor, each bite is a burst of layers of taste, and you'll find yourself wanting more! It's perfect for breakfast with milk, or as a snack for afternoon tea. Those who love spicy or savory flavors should definitely try it—homemade versions are even better than store-bought ones!
Ingredients
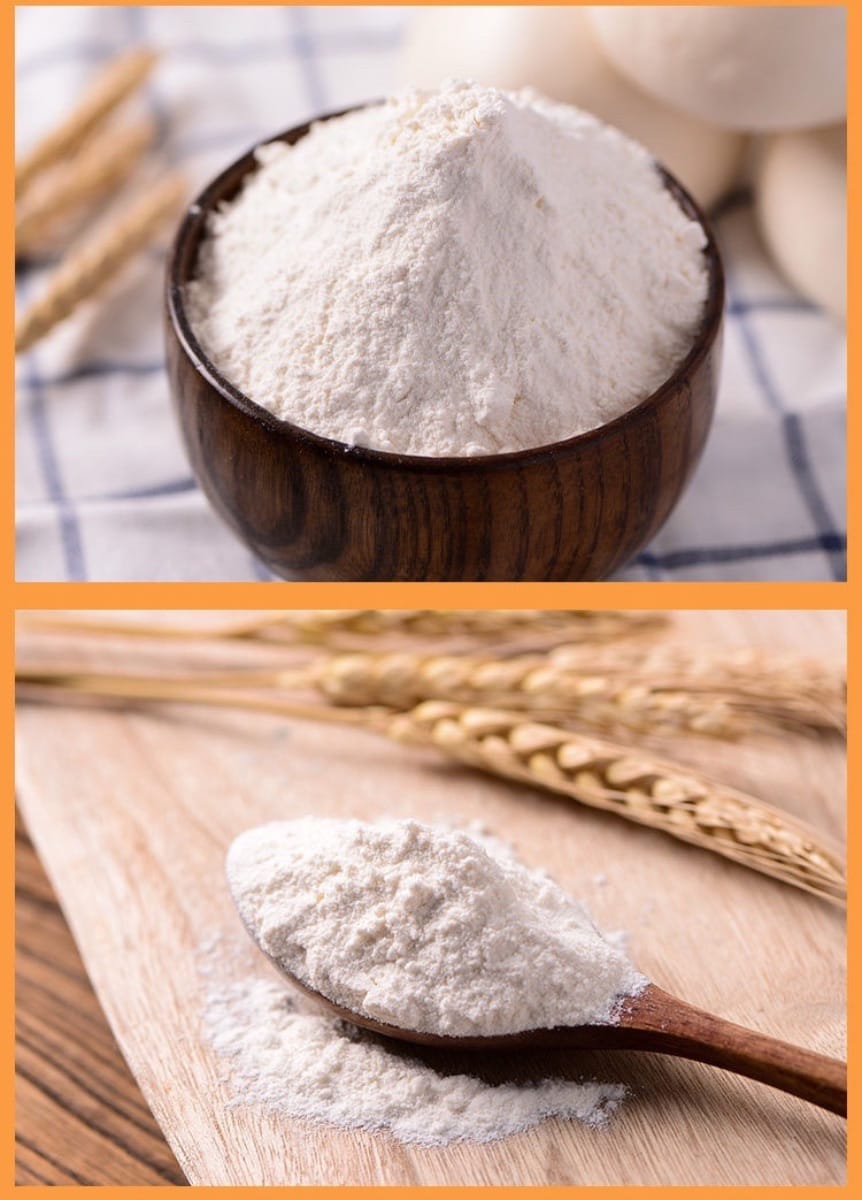
- 750g high-gluten flour

- 480g pure milk

- 7.5 grams of dry yeast

- 75 grams of sugar

- 3 grams of salt

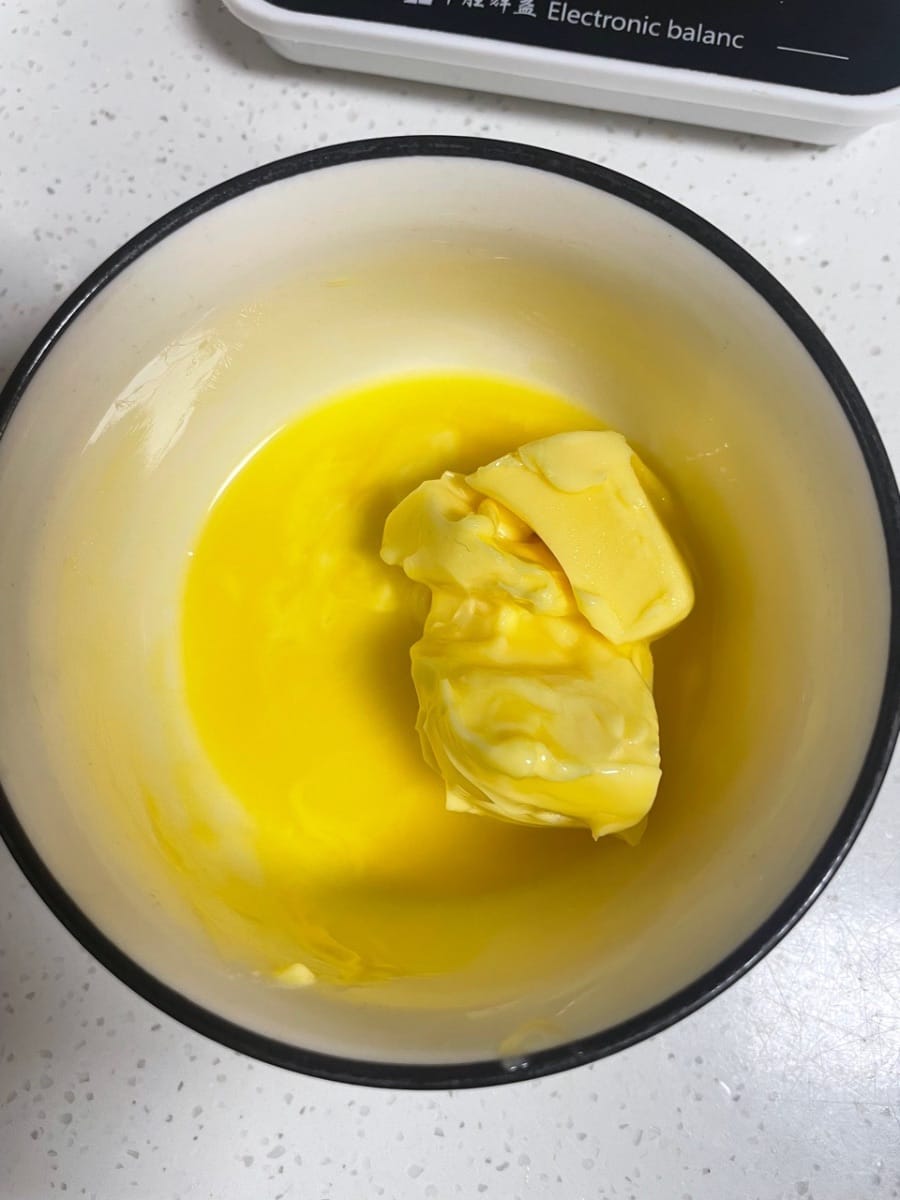
- 25g butter

- 75g of egg liquid

- 100g Crispy sausages

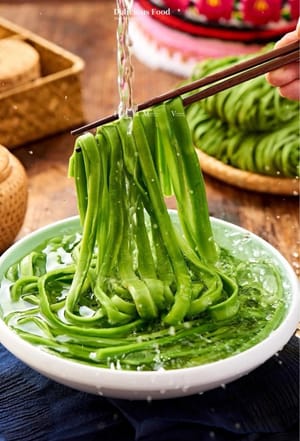
- 100g of soaked dried gongcai (dried) or about 35g of dried gongcai.
- 8 grams of oyster sauce

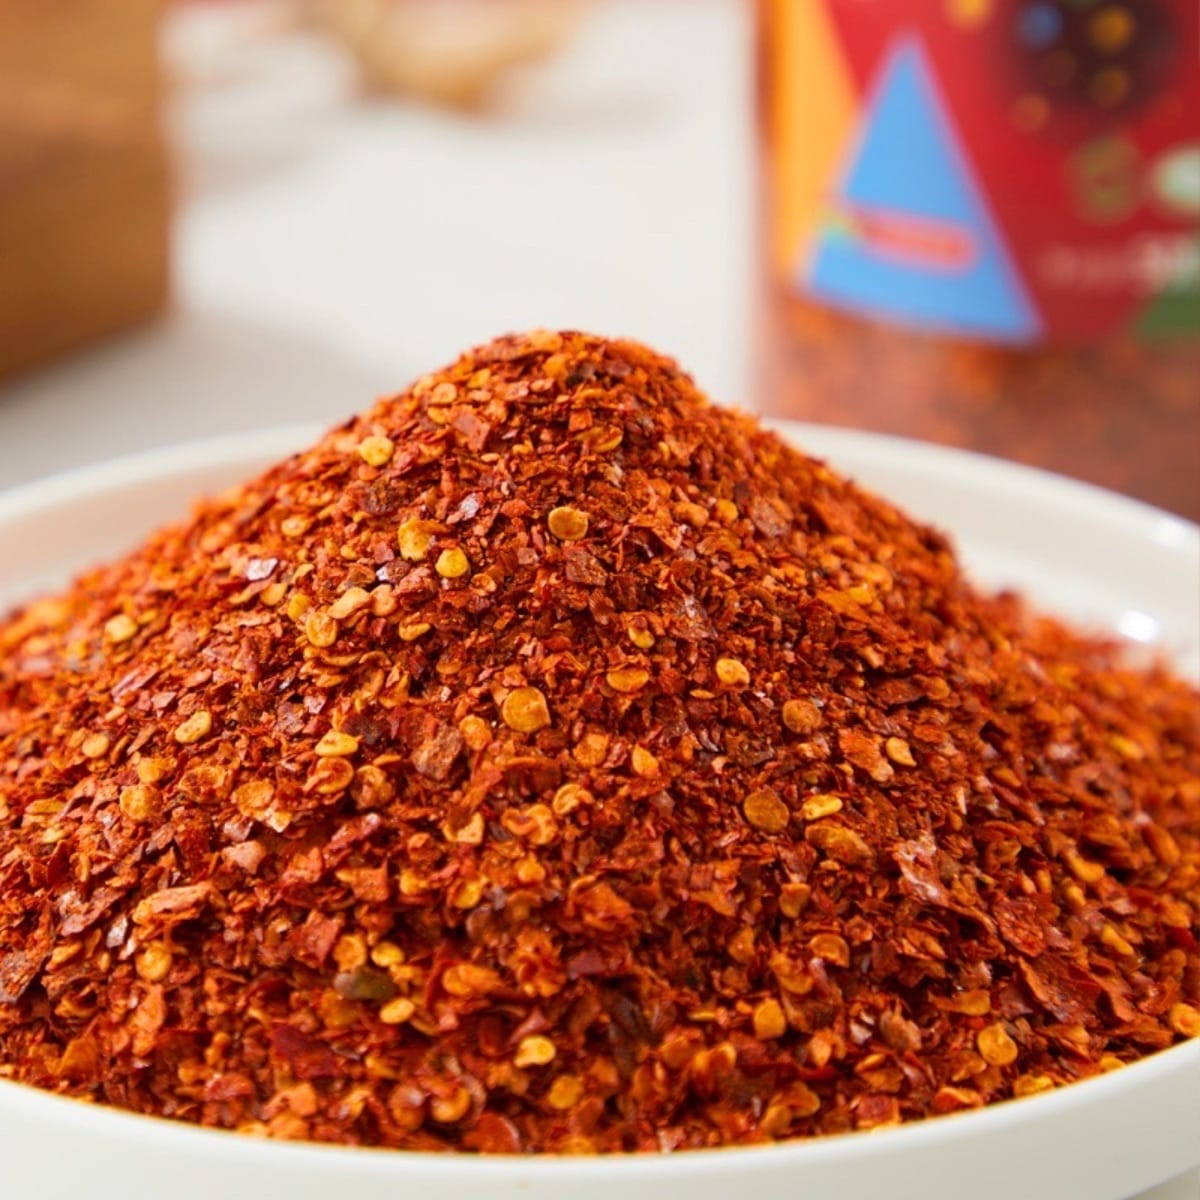
- 10g dried chili powder

- 2 grams of salt

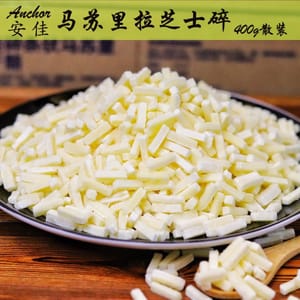
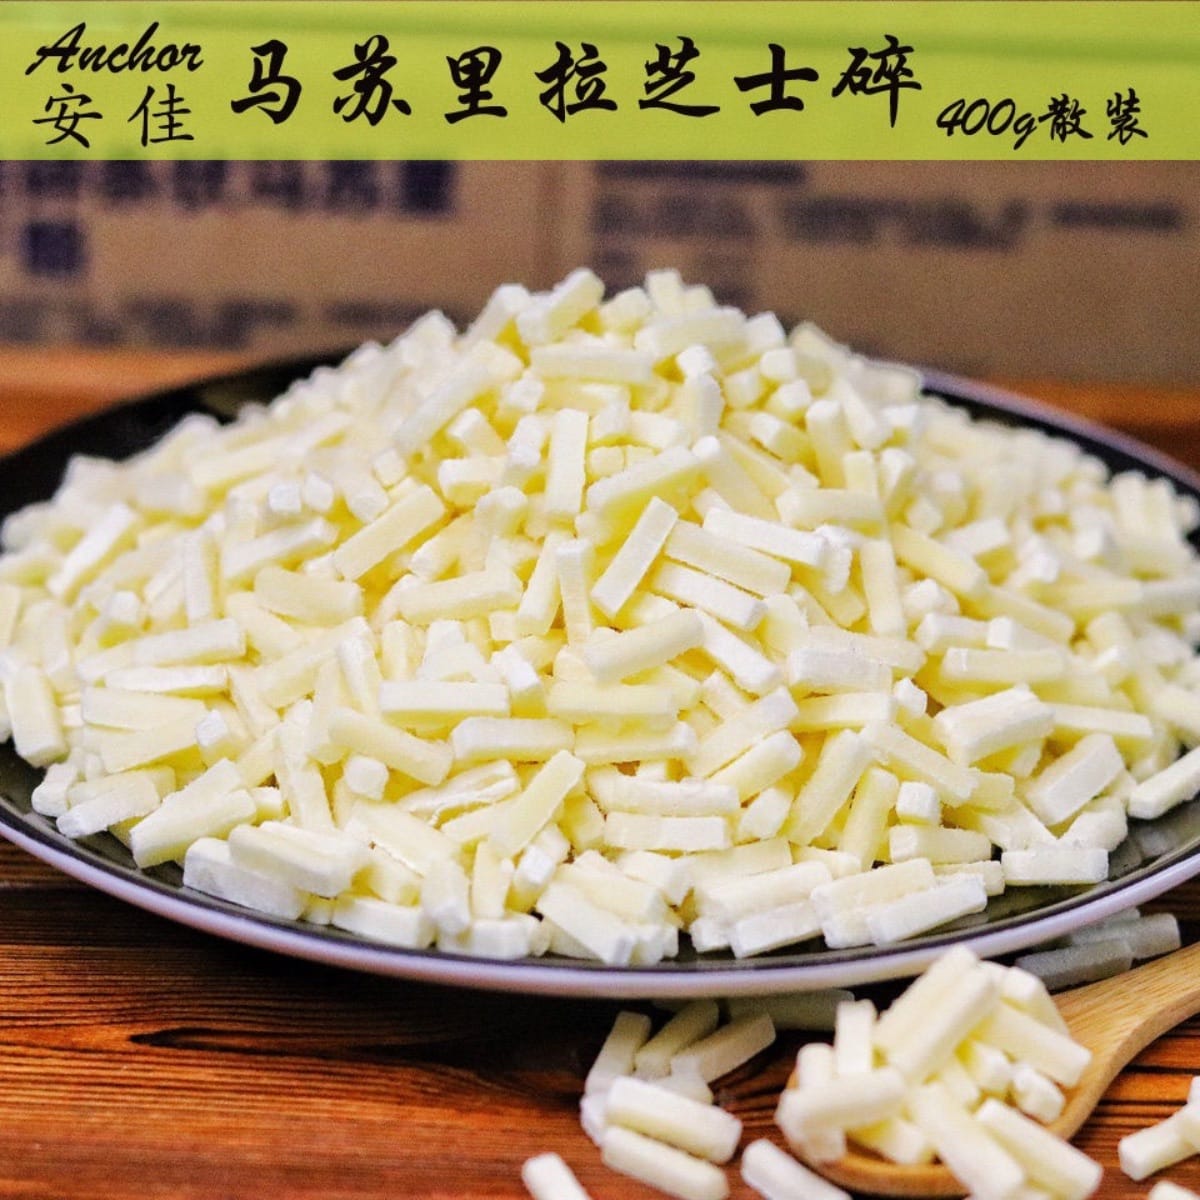
- Marazoo cheese (as needed)
- Cheese slices (as needed)

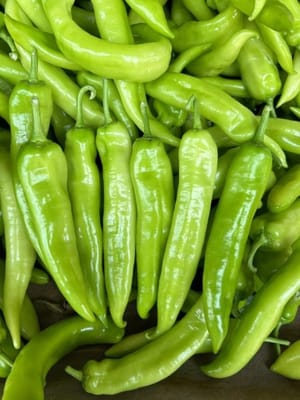
- 100g green chili peppers


Steps
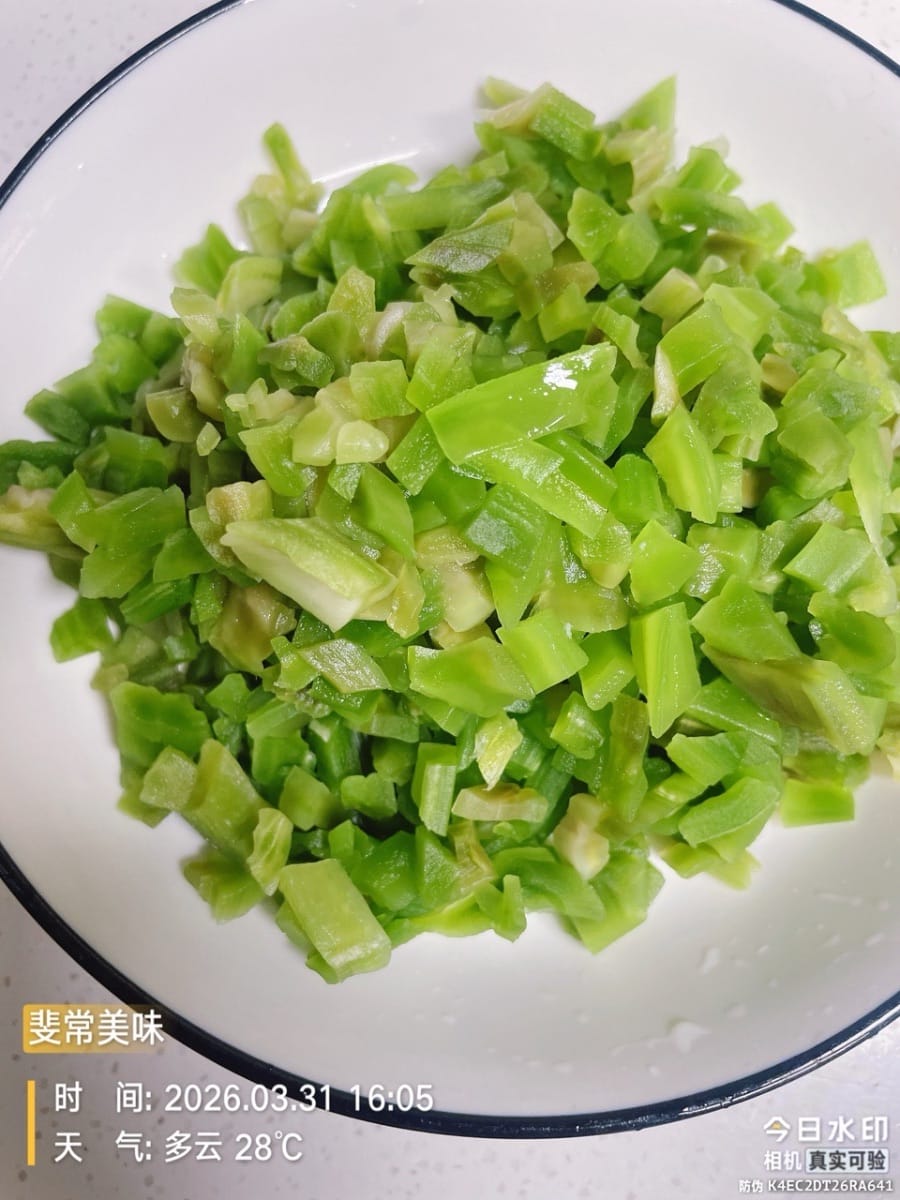
- Dried gongcai preparation: Soak dried gongcai in warm water for at least 20 minutes until softened, then cut into small cubes; fresh gongcai can be cut directly!
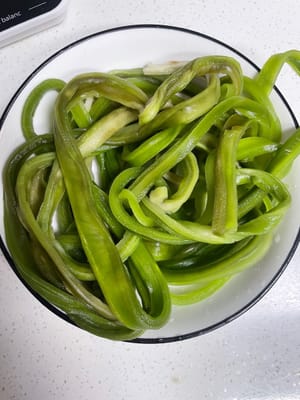

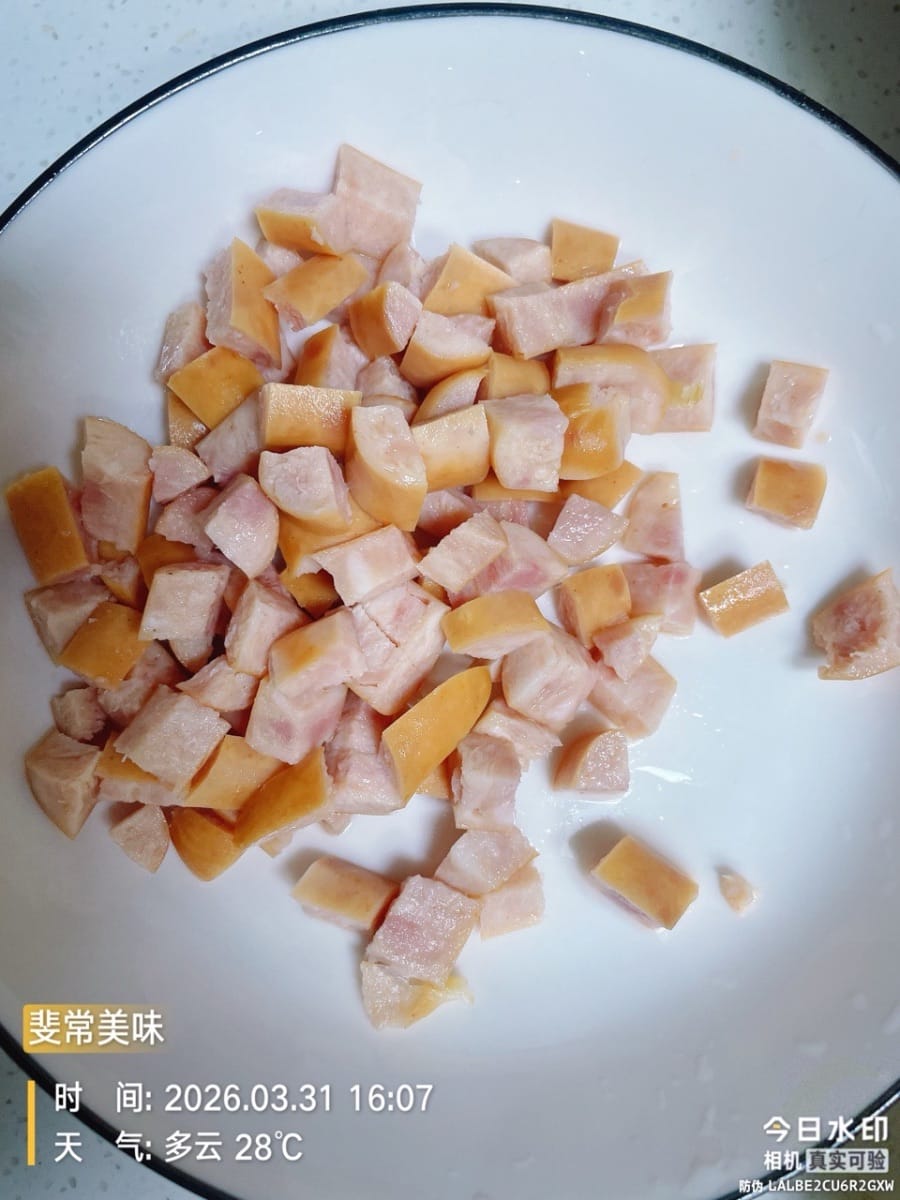
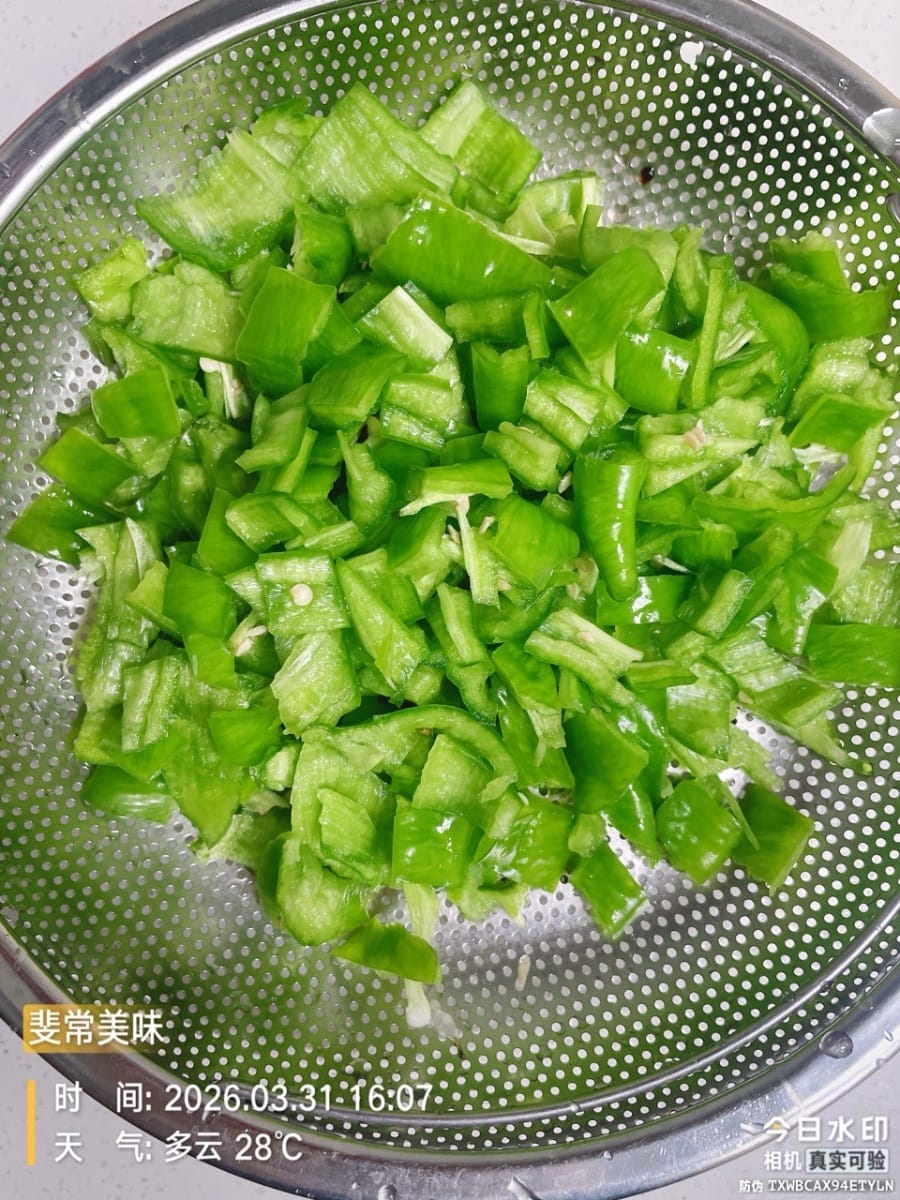
- Sausage preparation: Cut luncheon meat/sausage into small pieces; the finer the pieces, the more flavorful they will be! Chili preparation: Wash long green chilies/bird's eye chilies and chop them into small pieces (add more if you can handle spice, reduce the amount if you can't; don't force yourself to be spicy!).

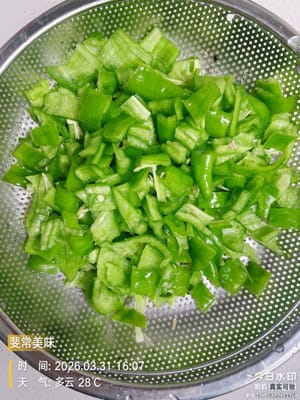
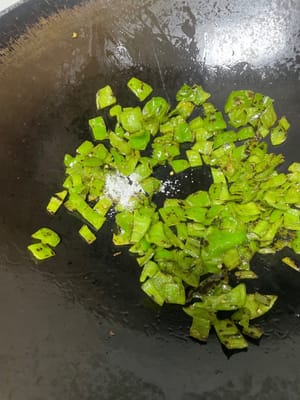
- Stir-fried Chili Peppers (The Evolutionary Secret of the Sichuan-Chongqing Tyrannosaurus Rex!) Heat the pan until dry without oil, then directly add the green chilies and stir-fry! Stir-fry until all the moisture has evaporated, the peppers are wrinkled, and slightly charred. At this point, the aroma is insane! Then add cooking oil and 2g of salt, stir well, and remove from the pan.
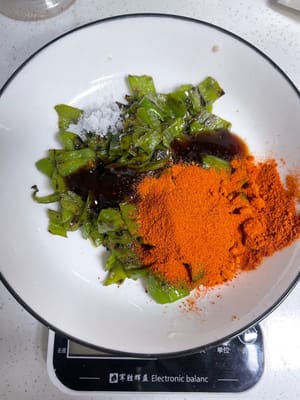
Add 10g of chili powder and 8g of oyster sauce, mix well, and set aside!
(This step is the core of creating the "Sichuan-Chongqing Tyrannosaurus Rex"! No one is born a fire-breathing tyrannosaurus Rex; it's all thanks to the double spiciness buff from these green chilies and chili powder! If you can handle spice, max it out, and you'll evolve into a Sichuan-Chongqing Tyrannosaurus Rex, breathing fire will be a breeze! If you can't handle spice, don't try to be brave, just halve the amount, otherwise it will be so spicy you'll question your existence, with tears and snot streaming down your face!)

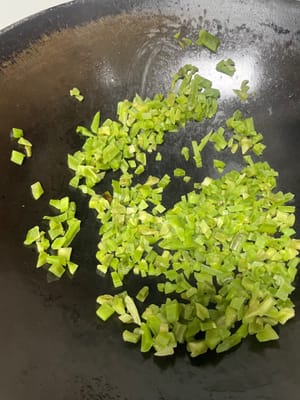
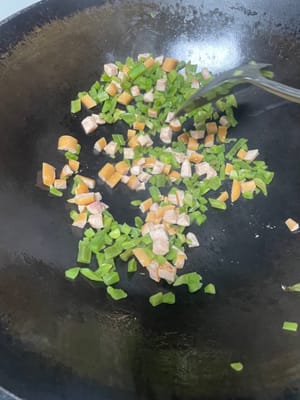
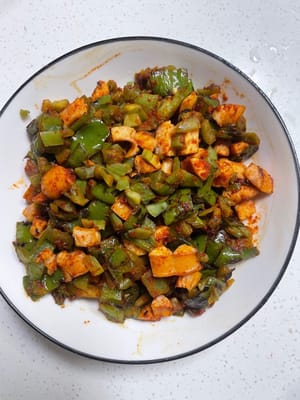
- Mixing the filling: Heat a pan until dry, first add the dried bamboo shoots and stir-fry until the moisture evaporates, then add the diced sausage and stir-fry until fragrant. Finally, add the previously mixed chili peppers, stir well, and set aside to cool.

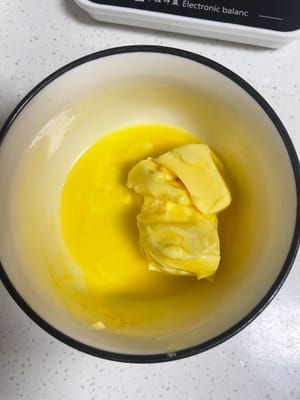
- Butter preparation: Soften the butter at room temperature beforehand.
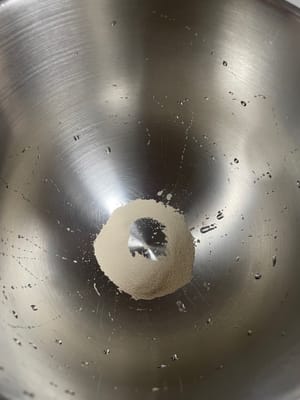
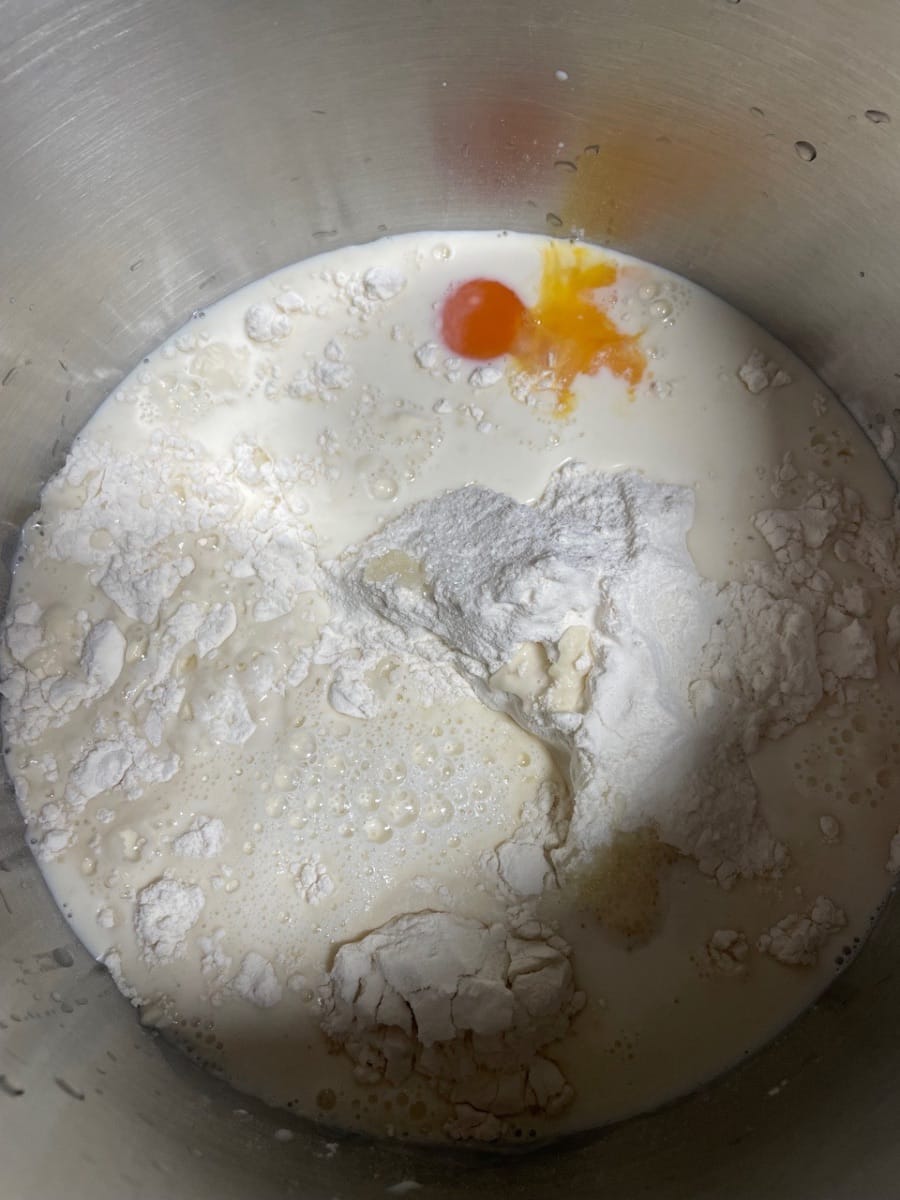
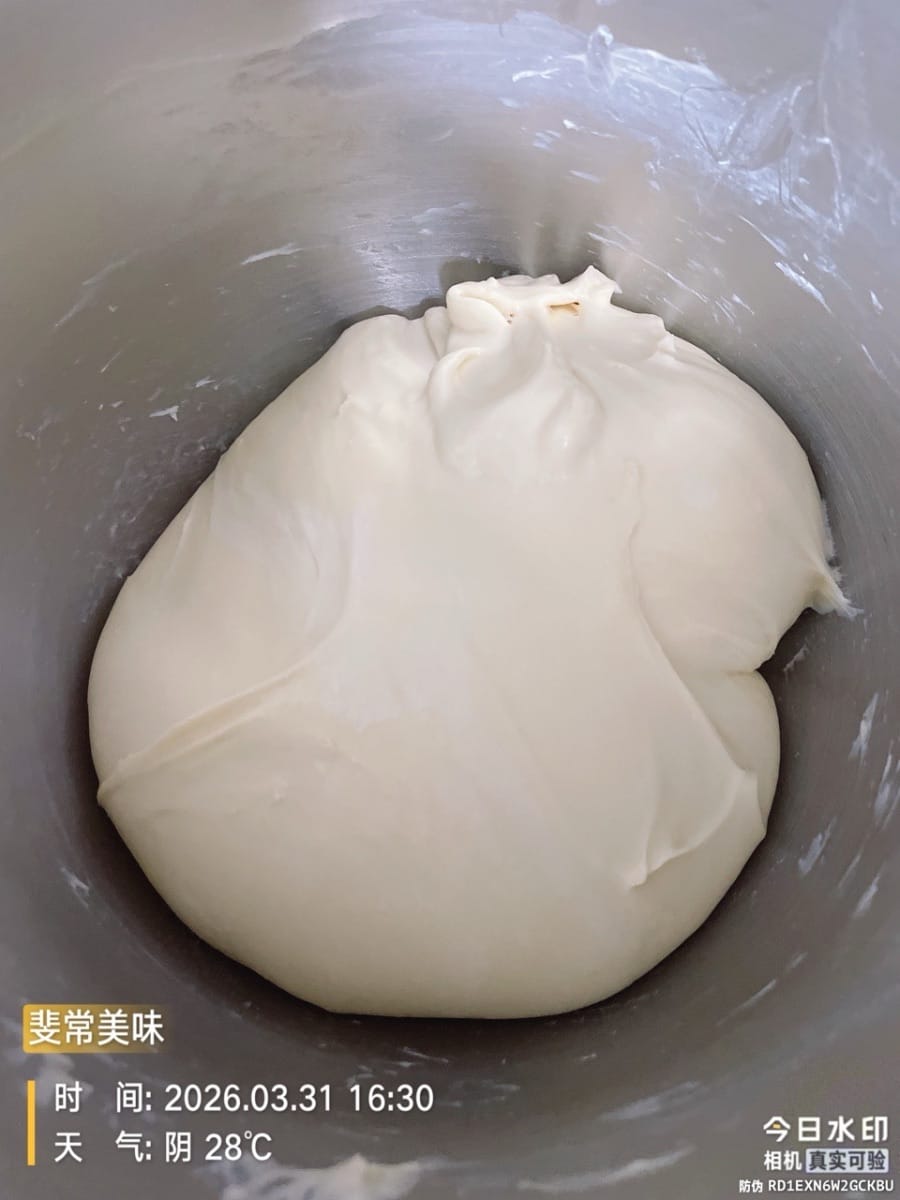
- Dough preparation: Put the high-gluten flour, yeast, milk, salt, sugar, and egg liquid into the mixing bowl and knead until the dough is smooth and free of lumps!


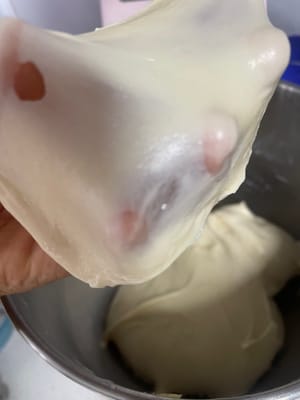
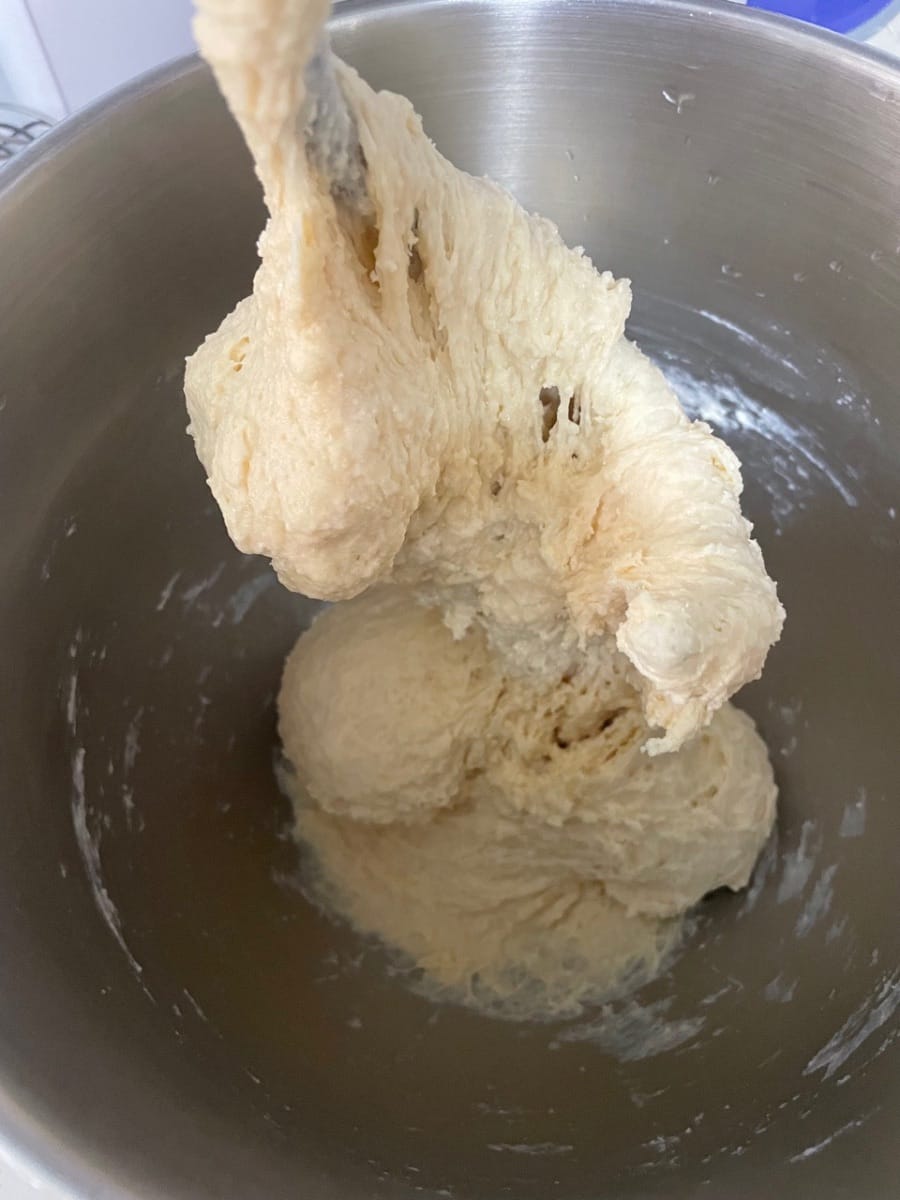
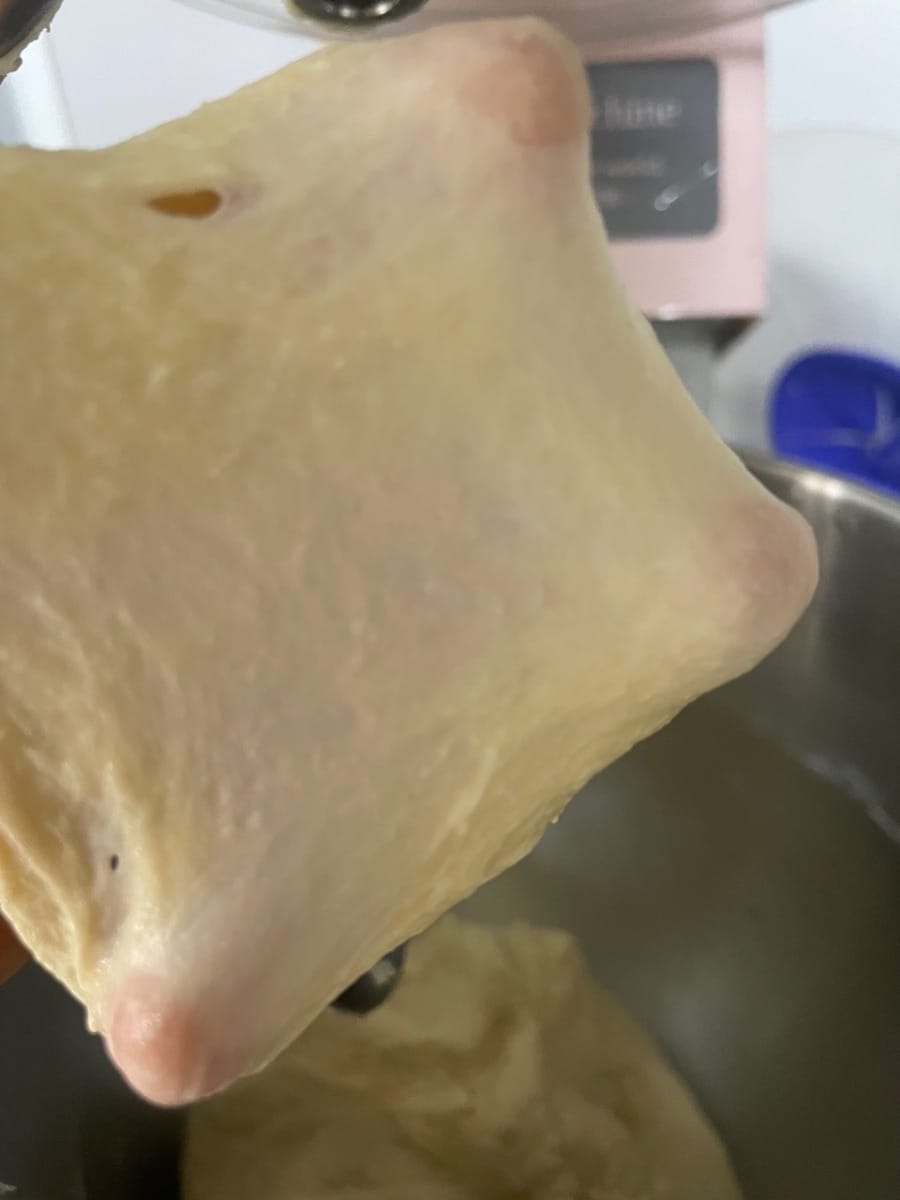
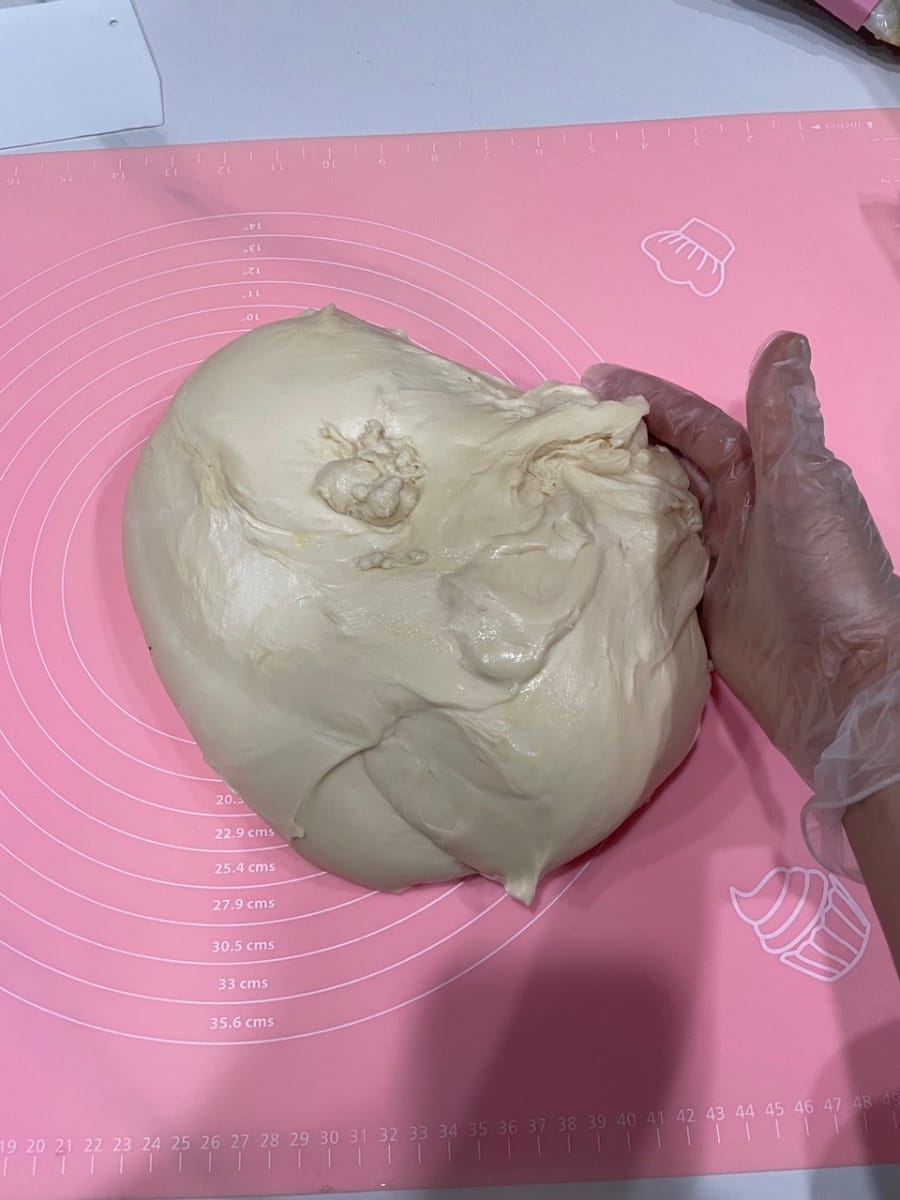
- Kneading: Quickly knead the dough until it reaches 80% of its original size (it can be stretched into a thin but easily torn membrane). Add the softened butter and continue kneading until it reaches the fully developed windowpane stage (the membrane is thin and elastic, and the edges of a hole poked in it are smooth)!


- First rise: Place the dough in a warm environment of around 30°C and let it rise until it doubles in size!
(If you poke a hole in it with a floured finger, and it doesn't shrink back or collapse, it's ready.)

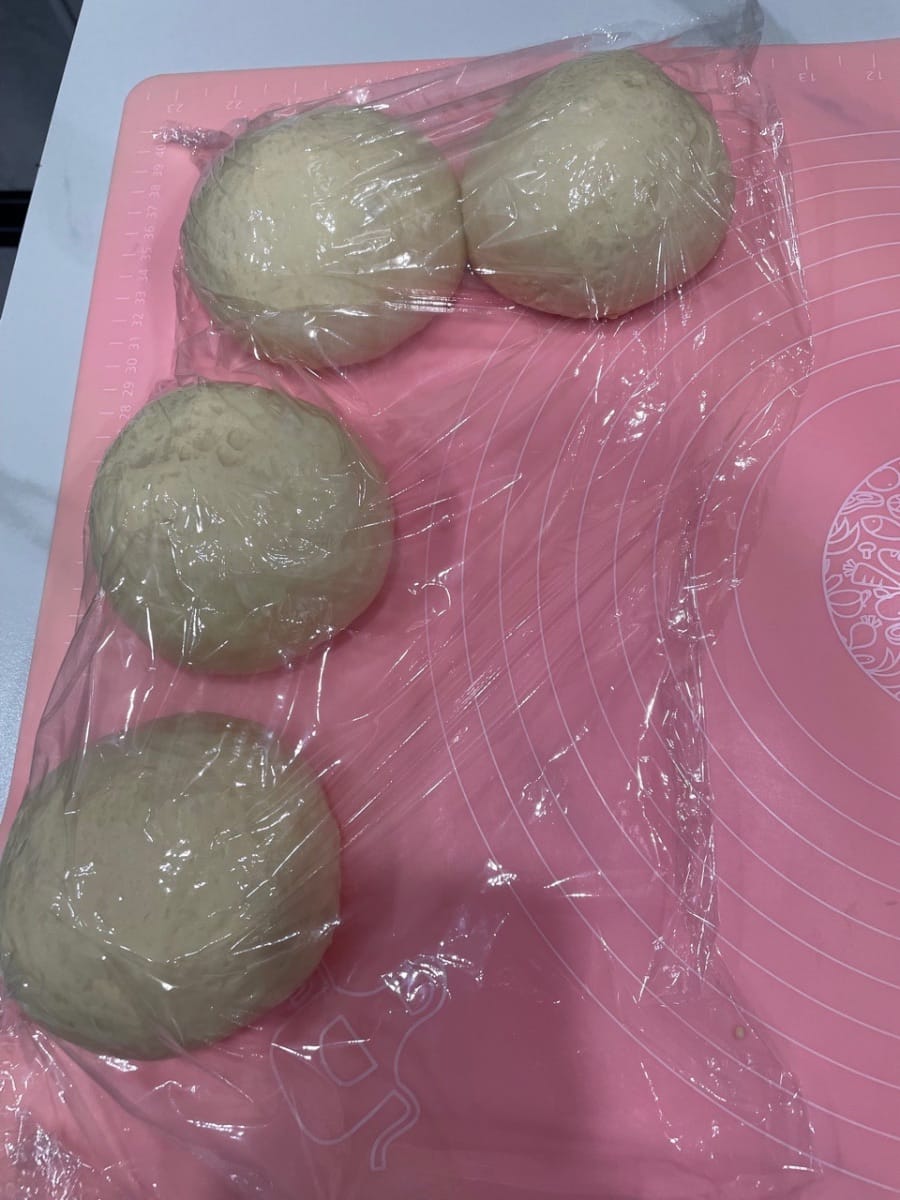
- Degassing and Resting: Take out the risen dough and gently flatten it to release the air.
Divide it into your desired size (I made three times the recipe amount, using one-third of it for the spicy bread).
Cover with plastic wrap and let it rest for 15 minutes to allow the dough to relax, otherwise it will be difficult to roll out!


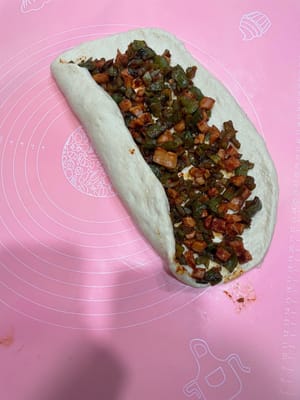
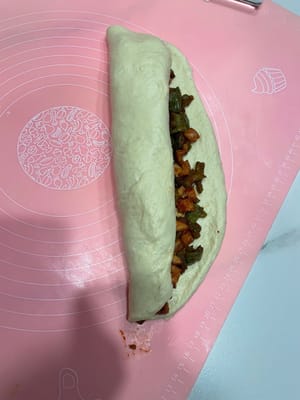
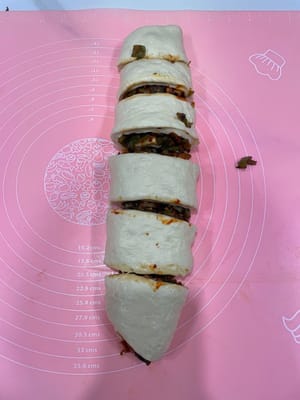
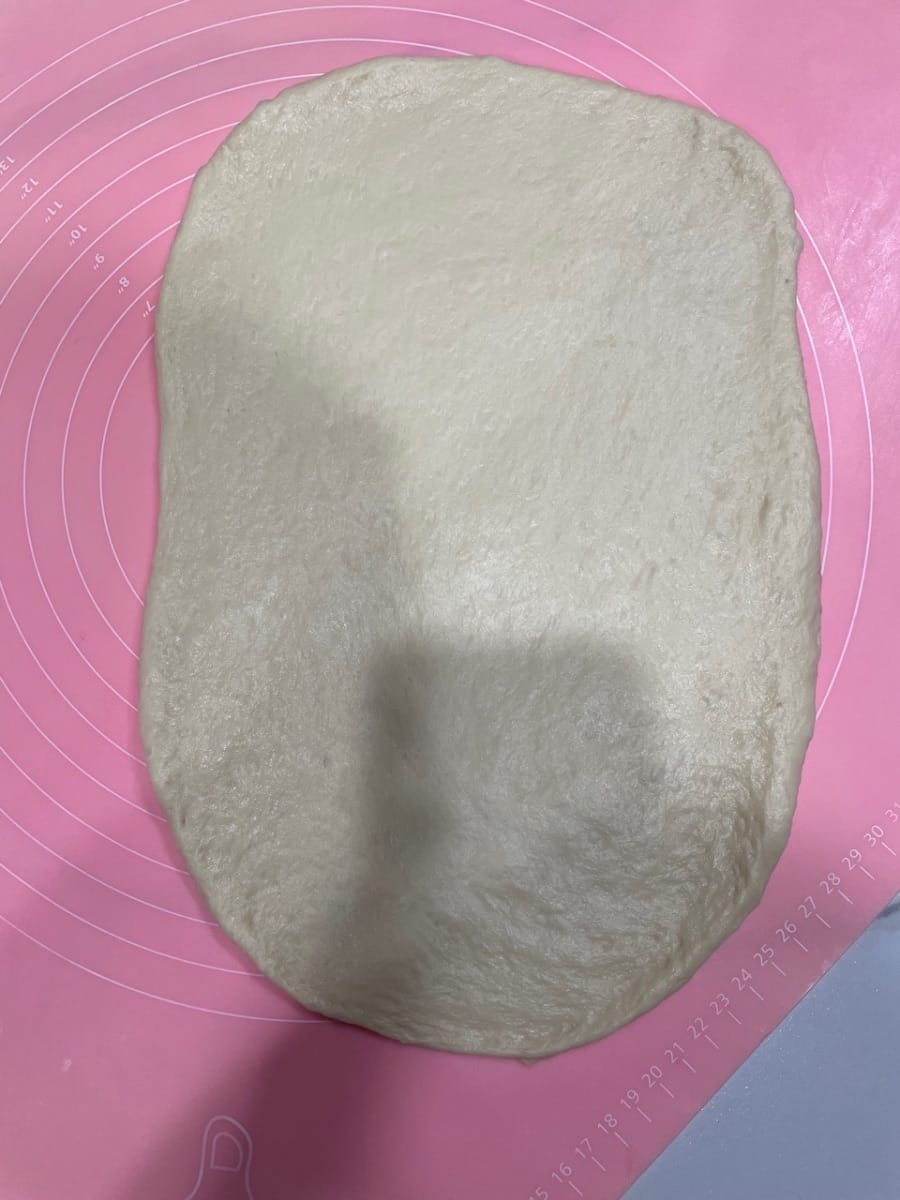
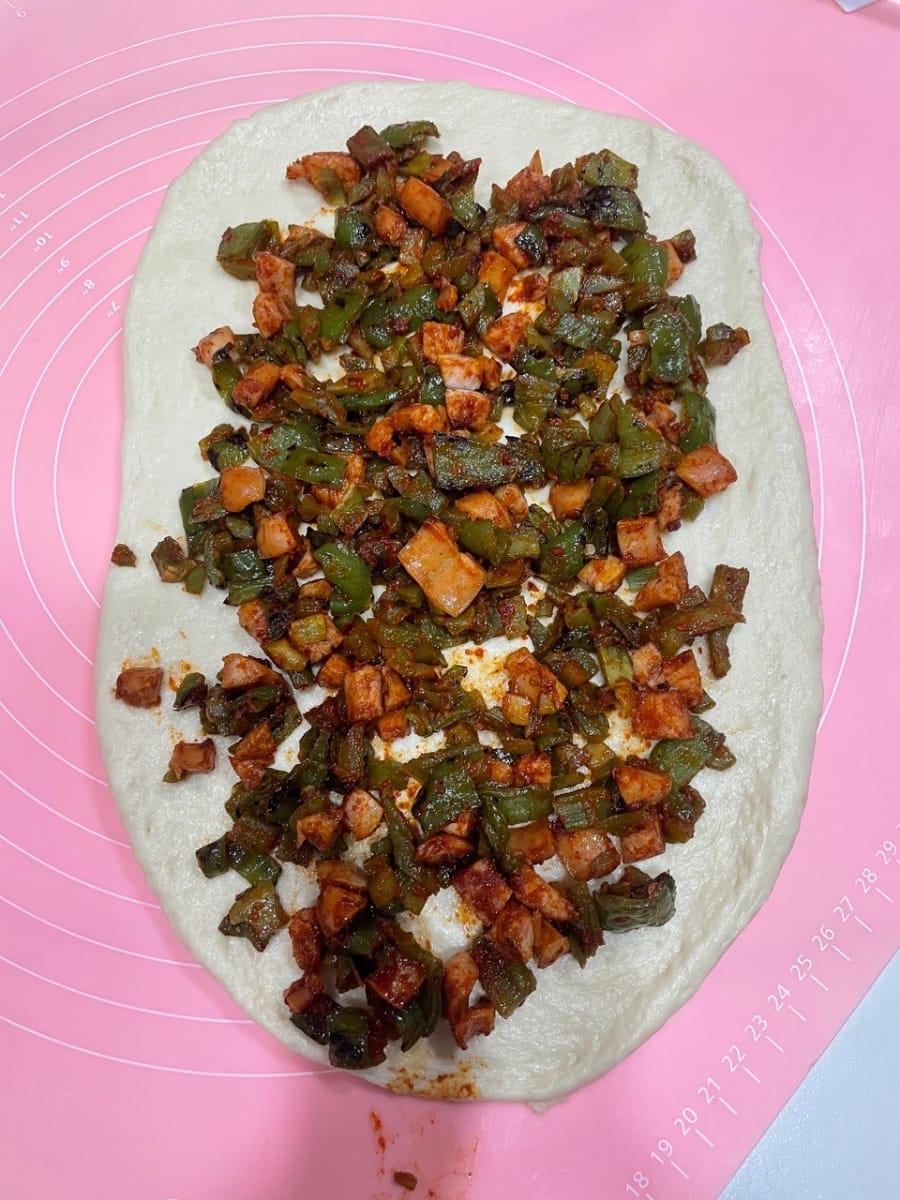
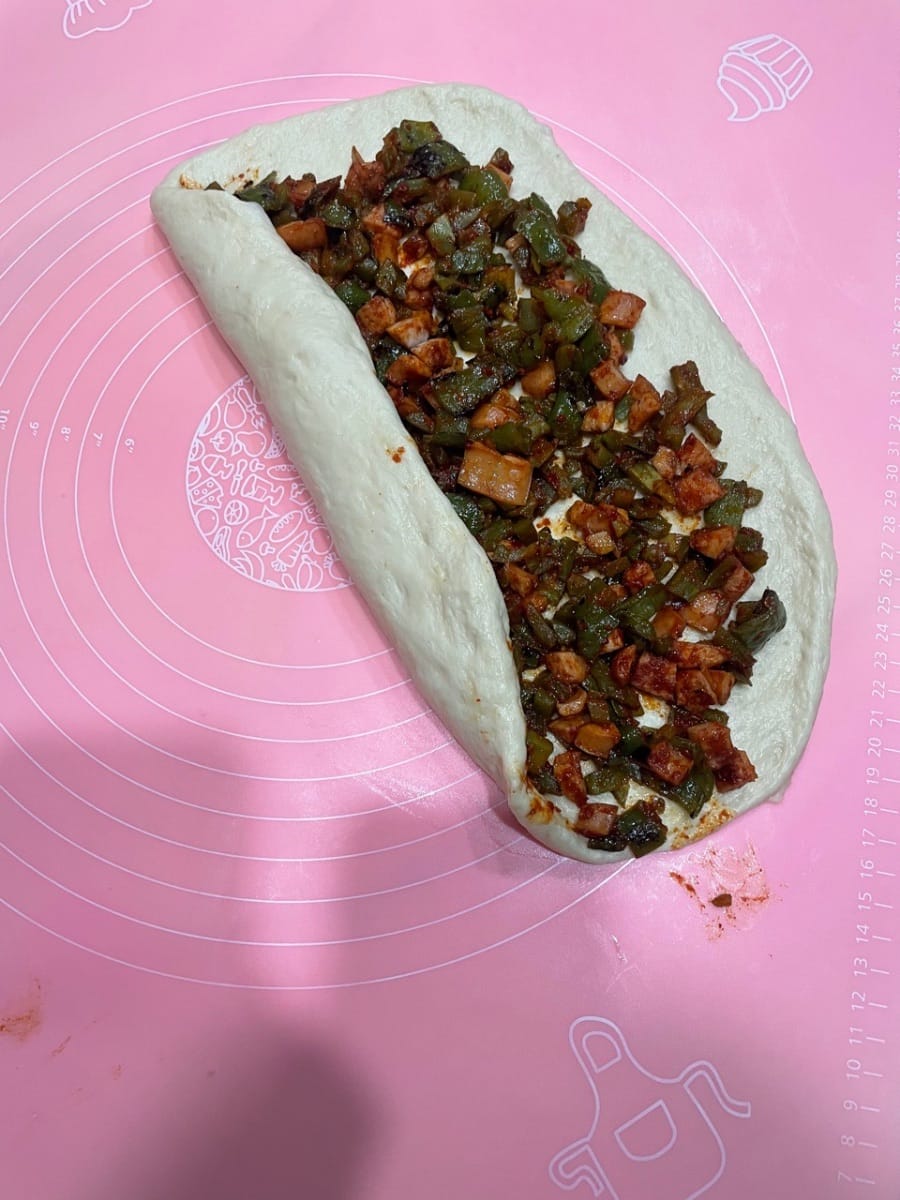
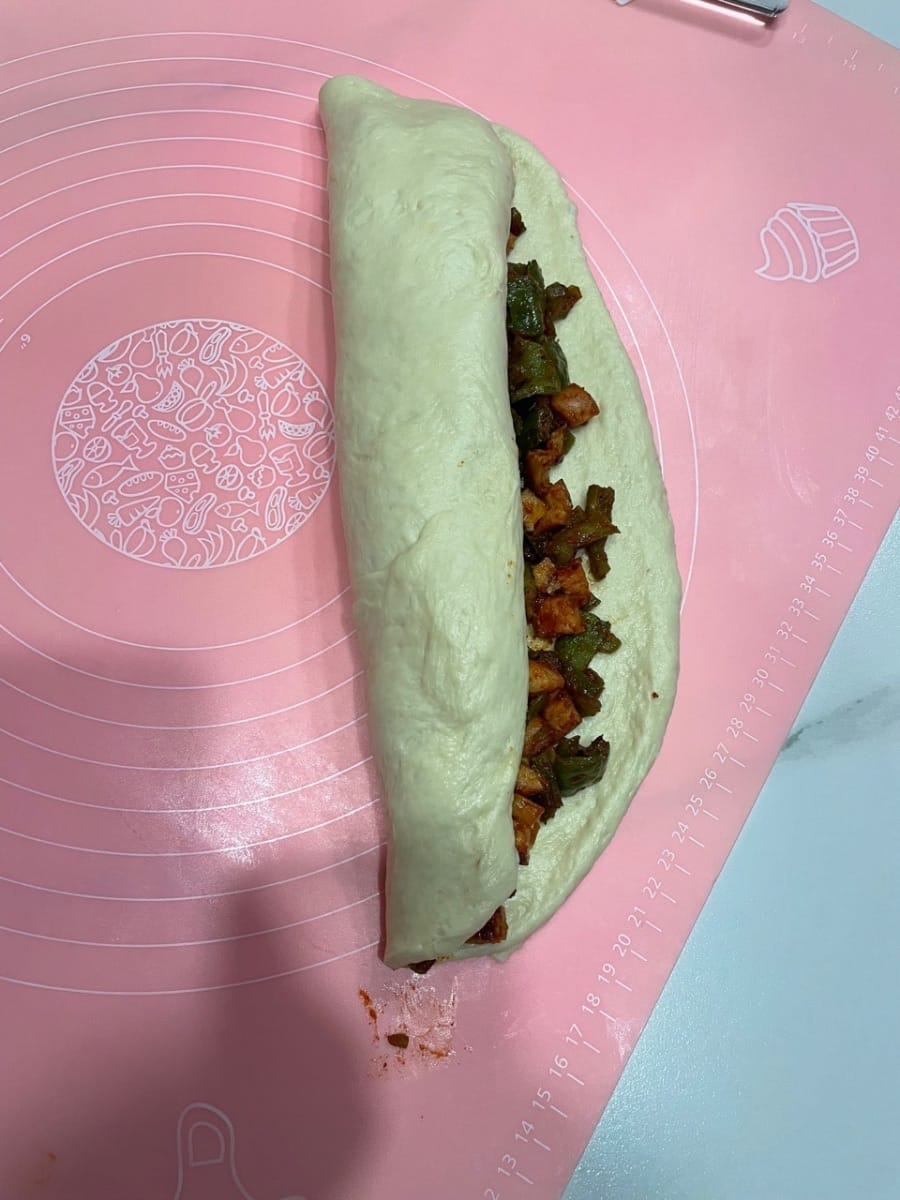
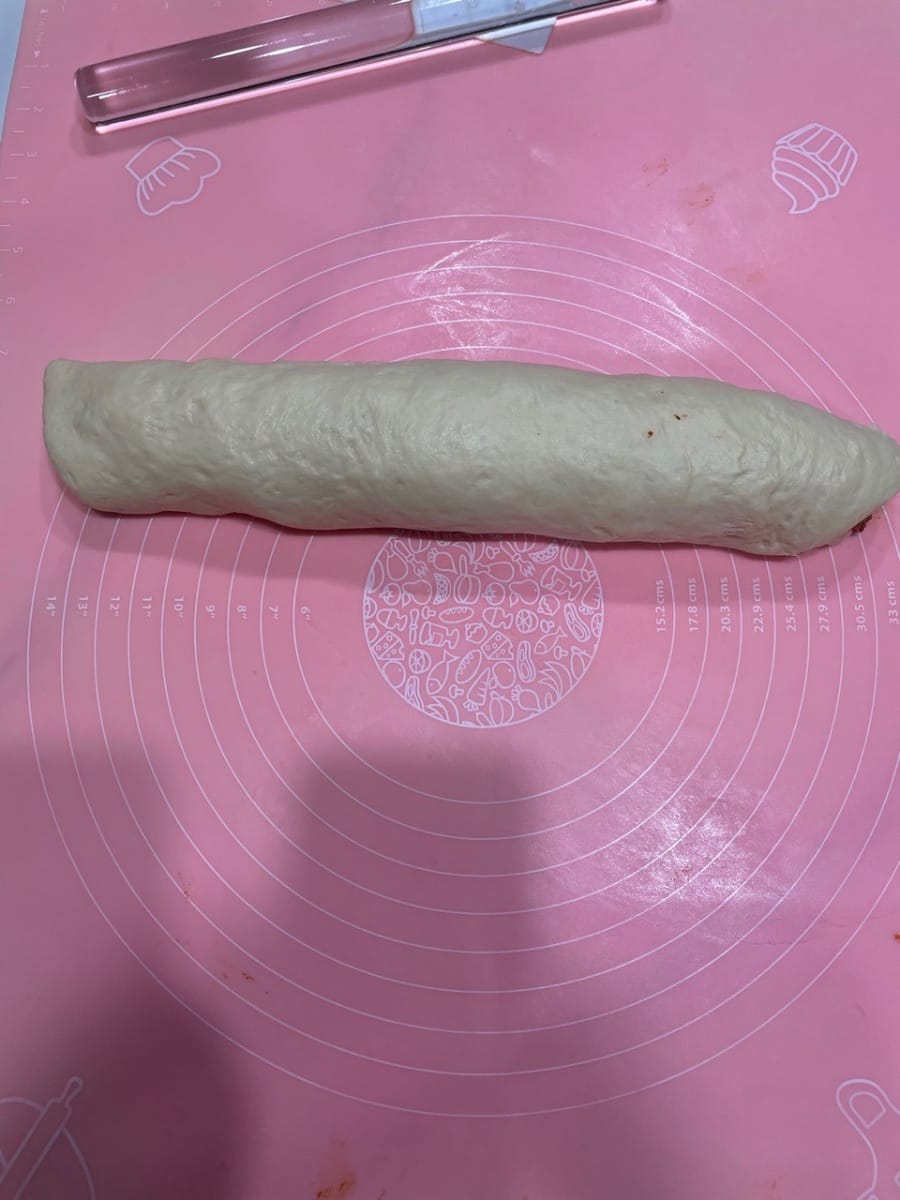
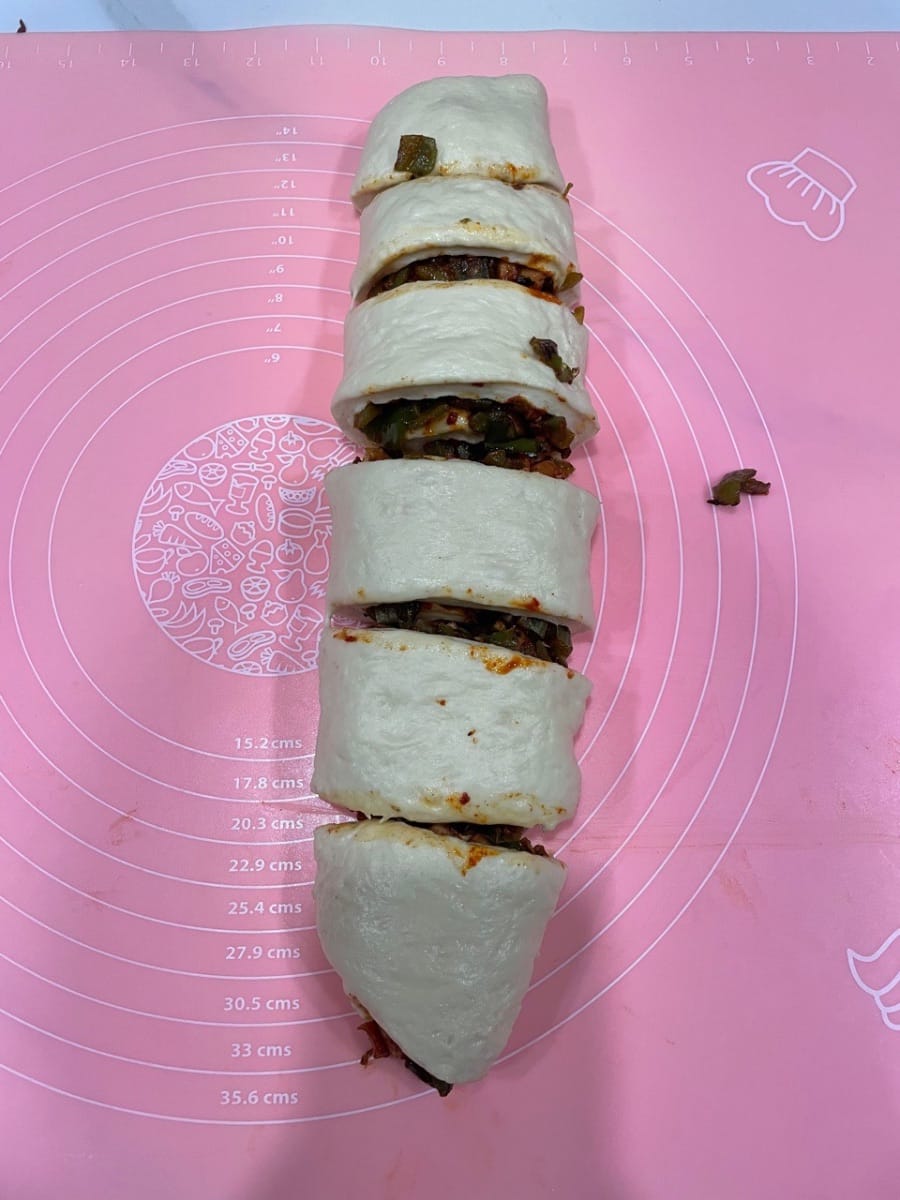
- Filling and Shaping: Roll out the relaxed dough into a rectangle, spread the cooled filling evenly on top, and roll it up tightly from one end. Then cut it into your desired size!
(For perfectionists, you can weigh the dough to ensure each piece is the same weight, resulting in neater baked goods; for those who aren't good at cutting, it will still taste good no matter how you cut it!)


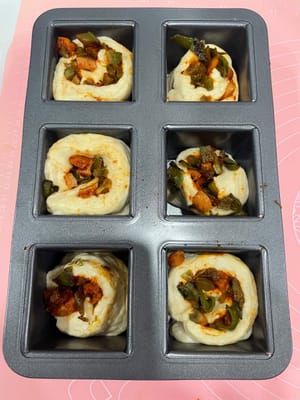
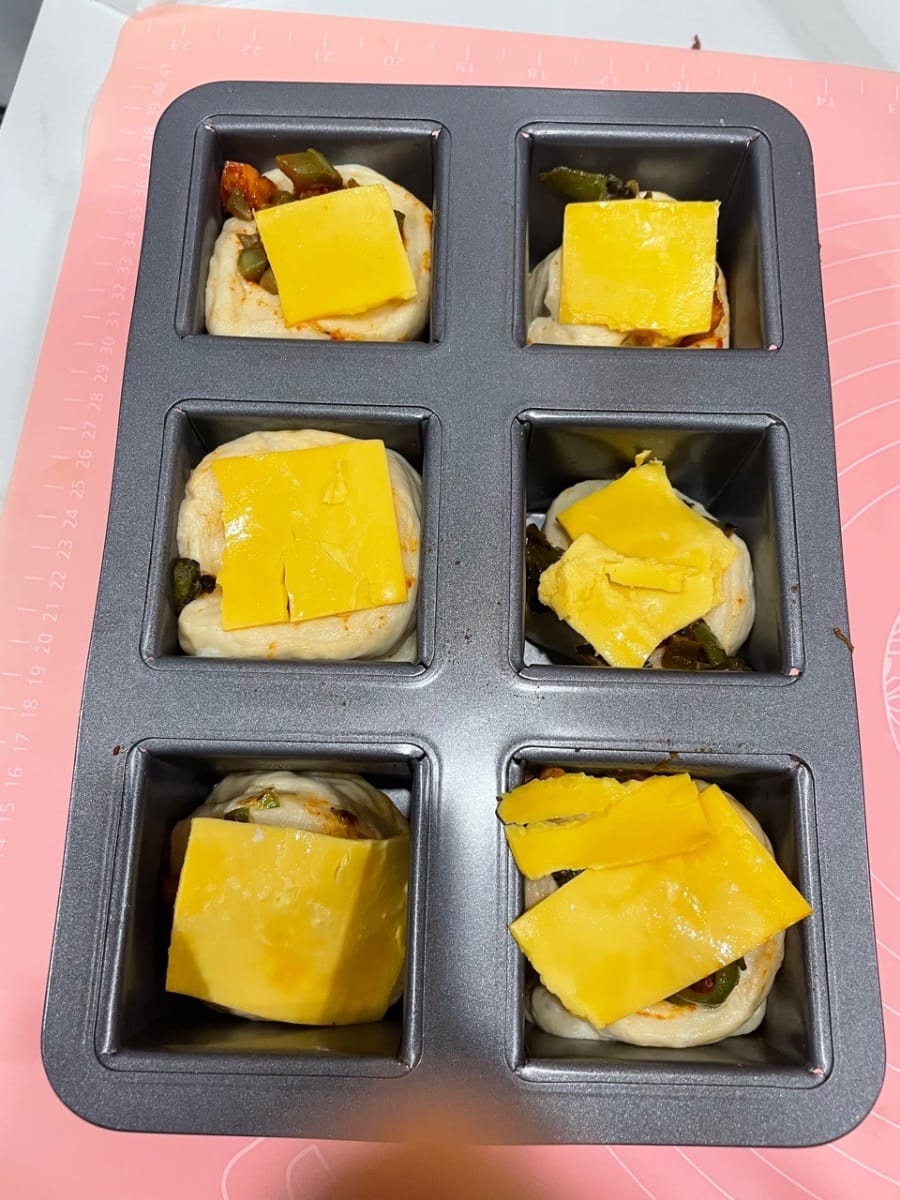
- Second proofing: Place the cut dough into the mold and let it rise in a warm environment until it is 1.5 times its original size! Add cheese: Spread cheese slices on the surface of the risen dough, and then sprinkle a layer of shredded mozzarella cheese.


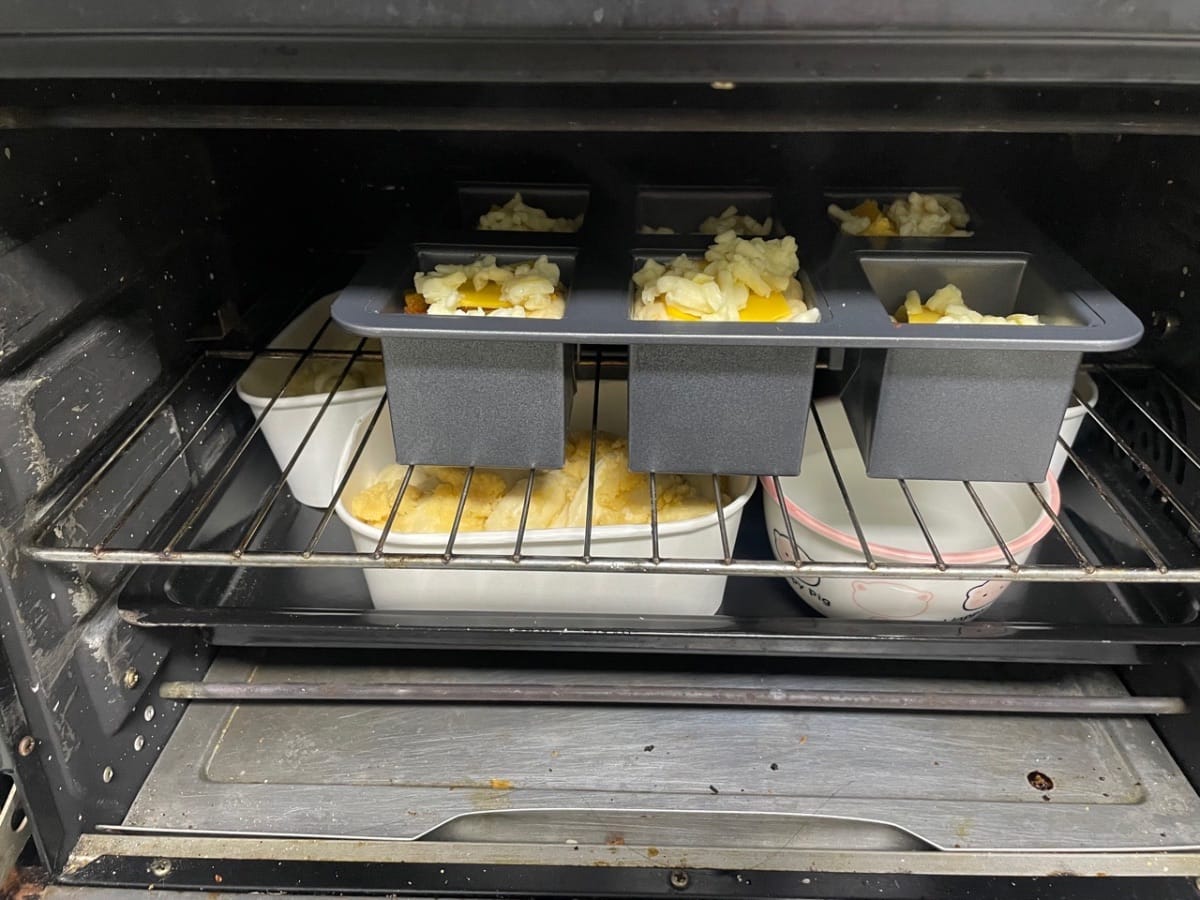
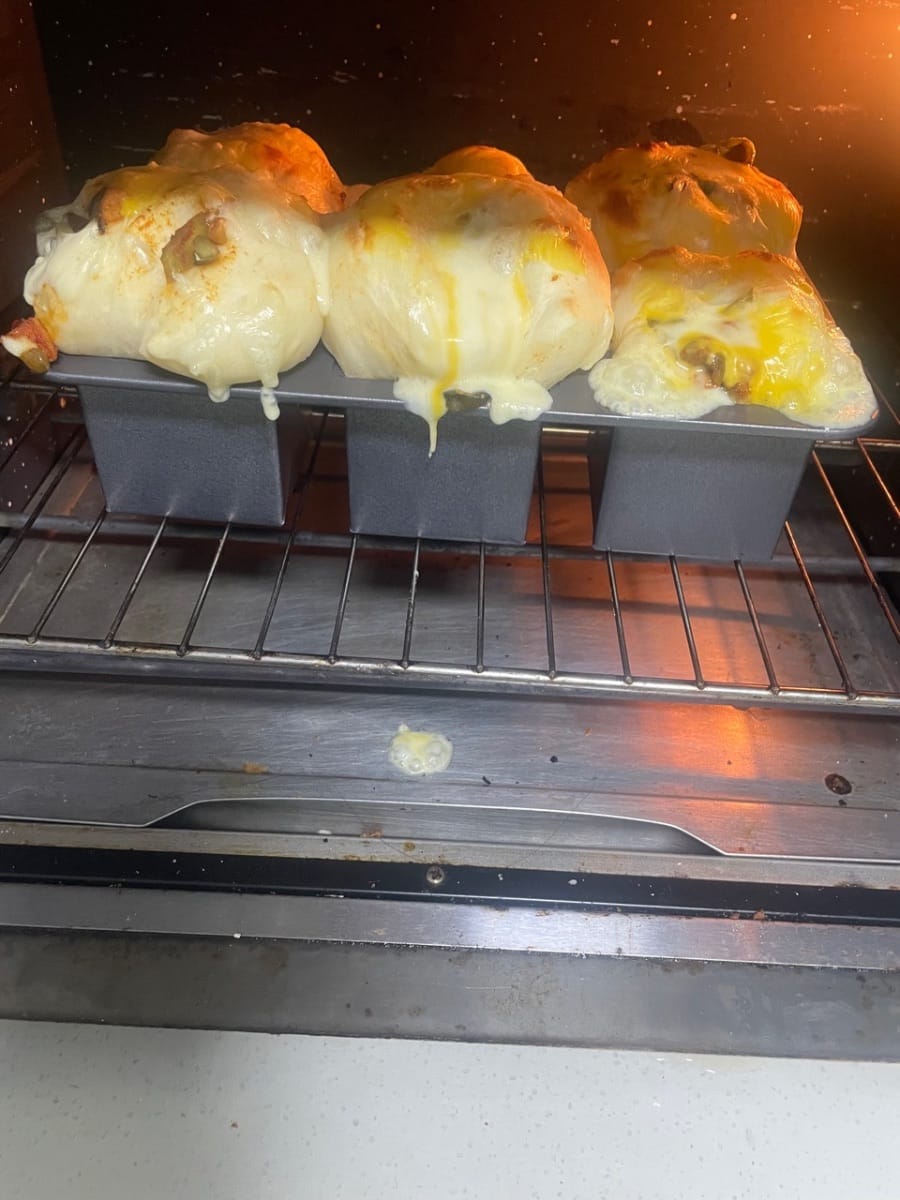
- Preheat oven to 180°C (350°F). Adjust baking time according to the size of the bread. My mold is quite tall, so I baked it for 25 minutes! Important: After 7-10 minutes of baking, check the surface for browning. Once it's browned enough, cover it with aluminum foil! Don't let the bread burn, or all your efforts will be wasted!


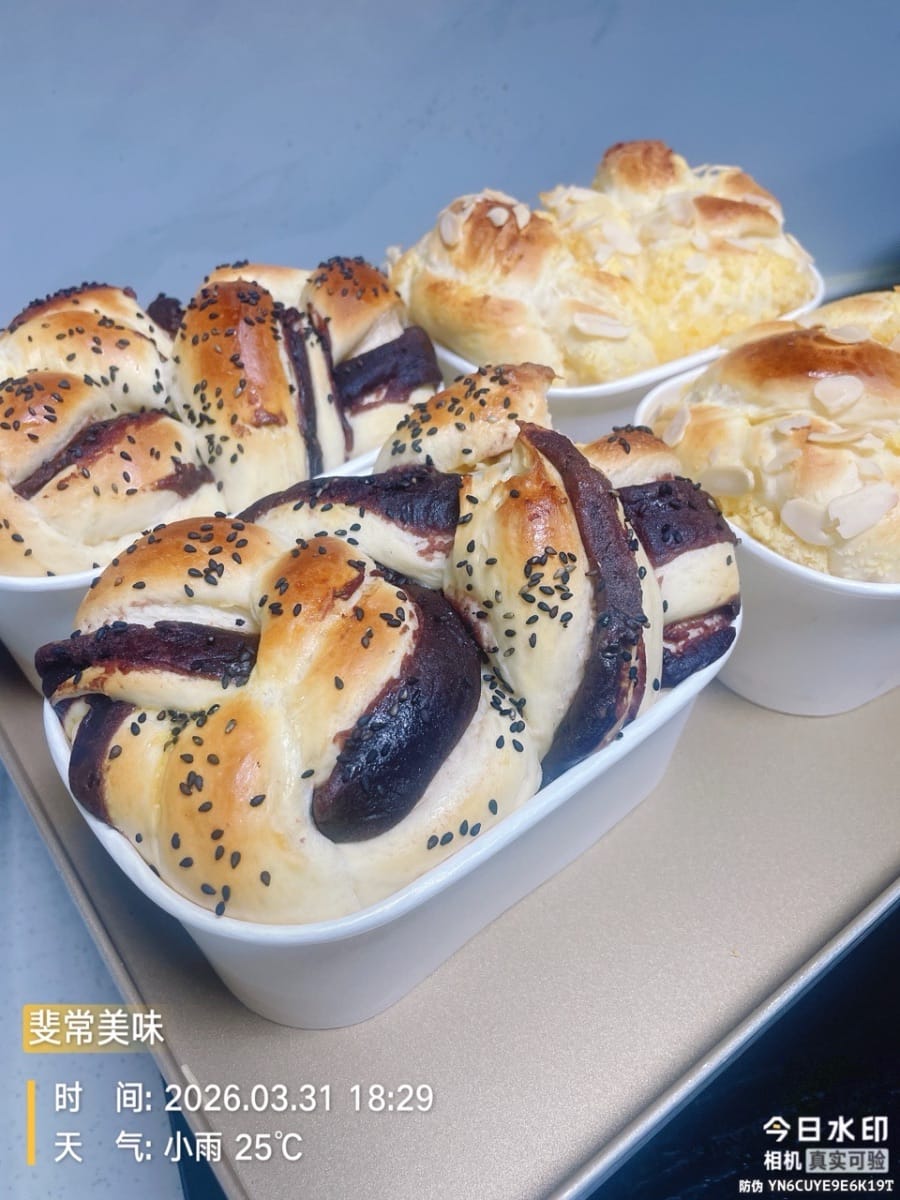
- This bread perfectly replicates the divine flavor of Holiland, with incredibly rich layers of flavor in every bite—it's addictive! Besides making six savory breads (70g each) with the spicy filling, the remaining two portions of dough were used to make two 250g red bean buns and two 250g coconut buns.
If you don't want to make too many at once, you can make only one-third of the recipe; just adjust as needed!


Languages
Würziges Wurst-Käse-Brötchen nach Holiland-Art - Deutsch (German) versionHoliland-style Spicy Sausage and Cheese Bun - English version
Panecillo de salchicha picante y queso al estilo holandés - Español (Spanish) version
Brioche épicée au fromage et à la saucisse, façon Hollande - Français (French) version
Roti Isi Sosis Pedas dan Keju ala Holiland - Bahasa Indonesia (Indonesian) version
Panino con salsiccia piccante e formaggio in stile olandese - Italiana (Italian) version
オランダ風スパイシーソーセージとチーズのパン - 日本語 (Japanese) version
홀리랜드 스타일 매콤한 소시지 치즈 번 - 한국인 (Korean) version
บันไส้กรอกรสเผ็ดสไตล์ฮอลแลนด์และชีส - แบบไทย (Thai) version
好利嚟同款·貢菜辣腸芝士包 - 香港繁體中文 (Traditional Chinese - Hong Kong) version