Salted Egg Yolk and Pork Floss Lucky Bag Mooncake

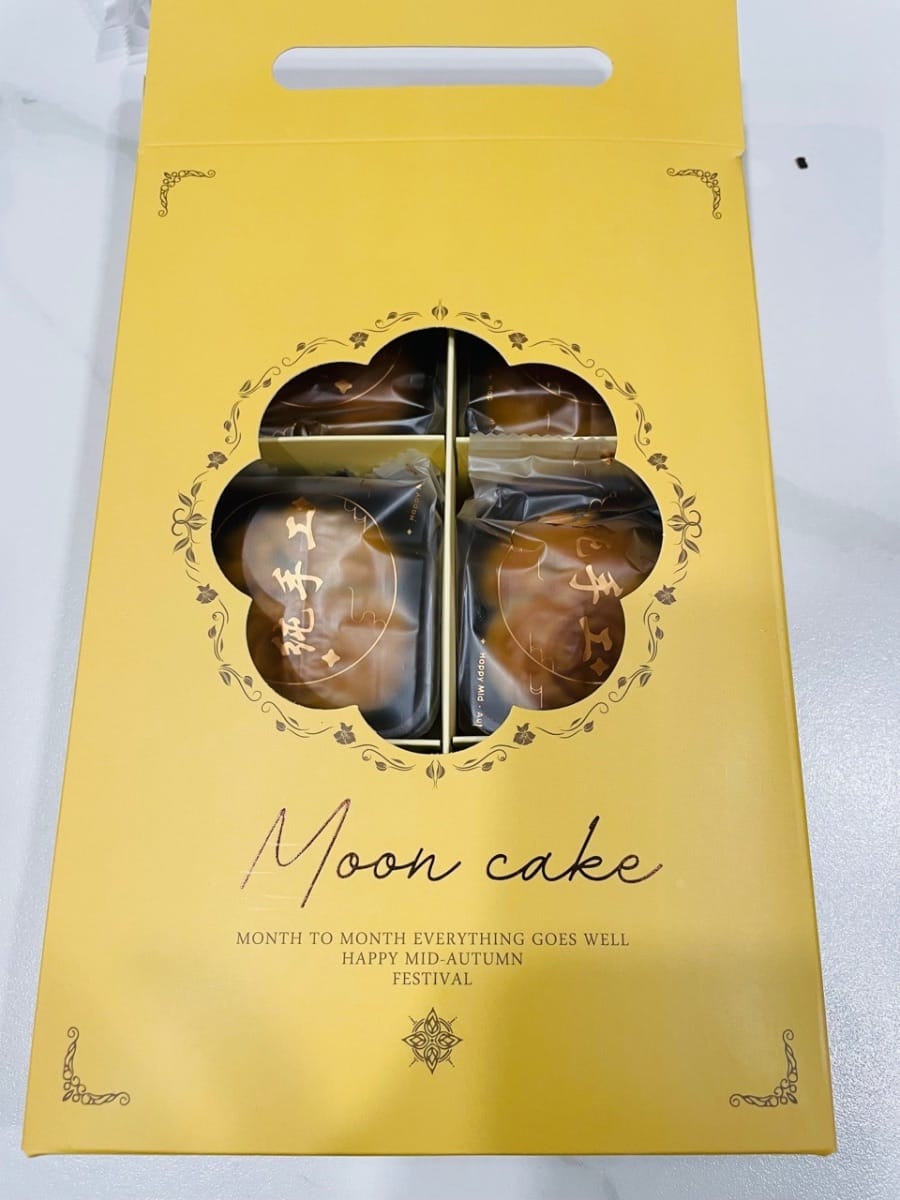
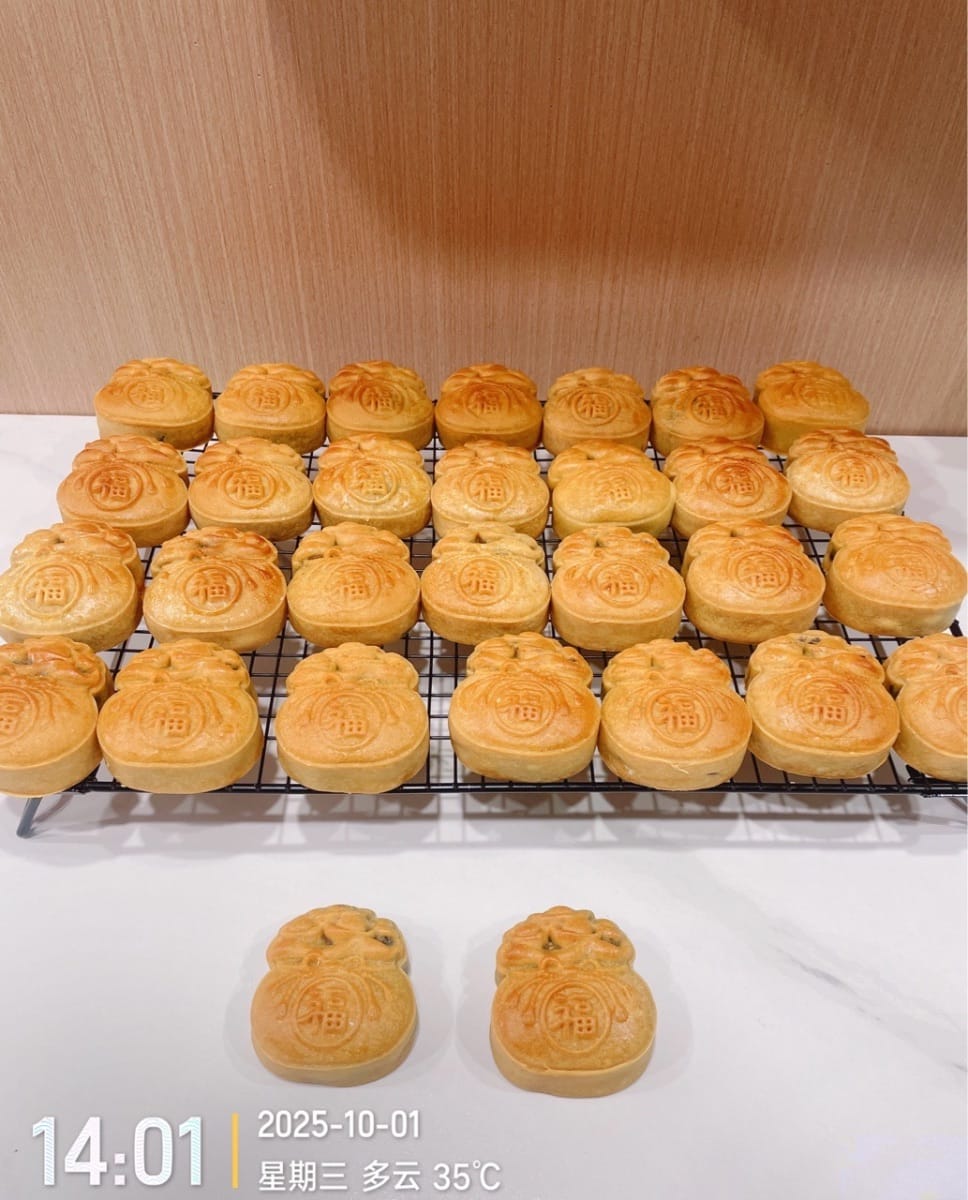
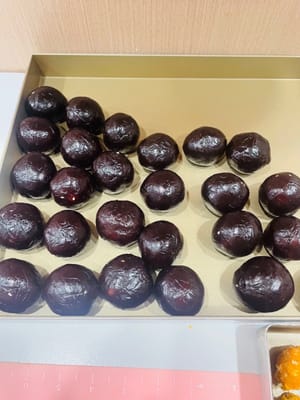
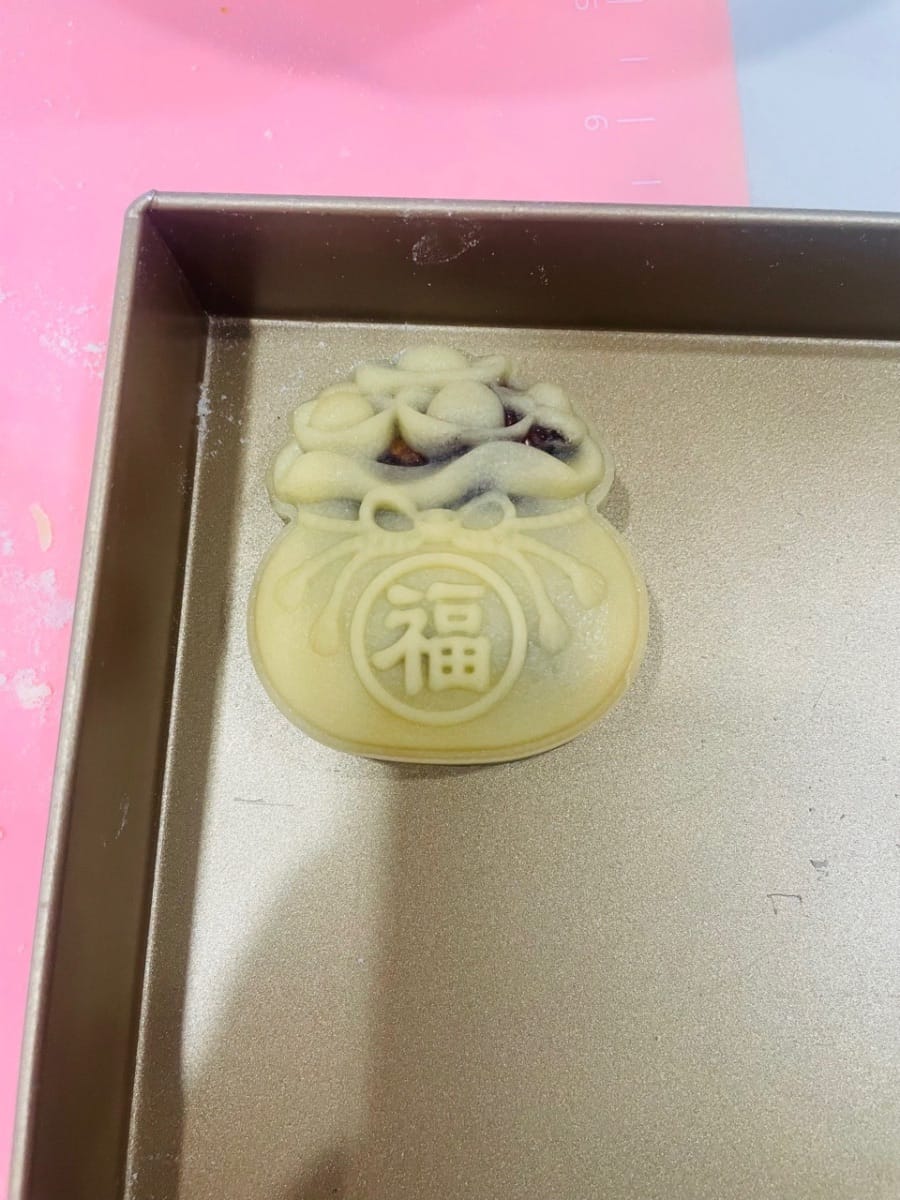
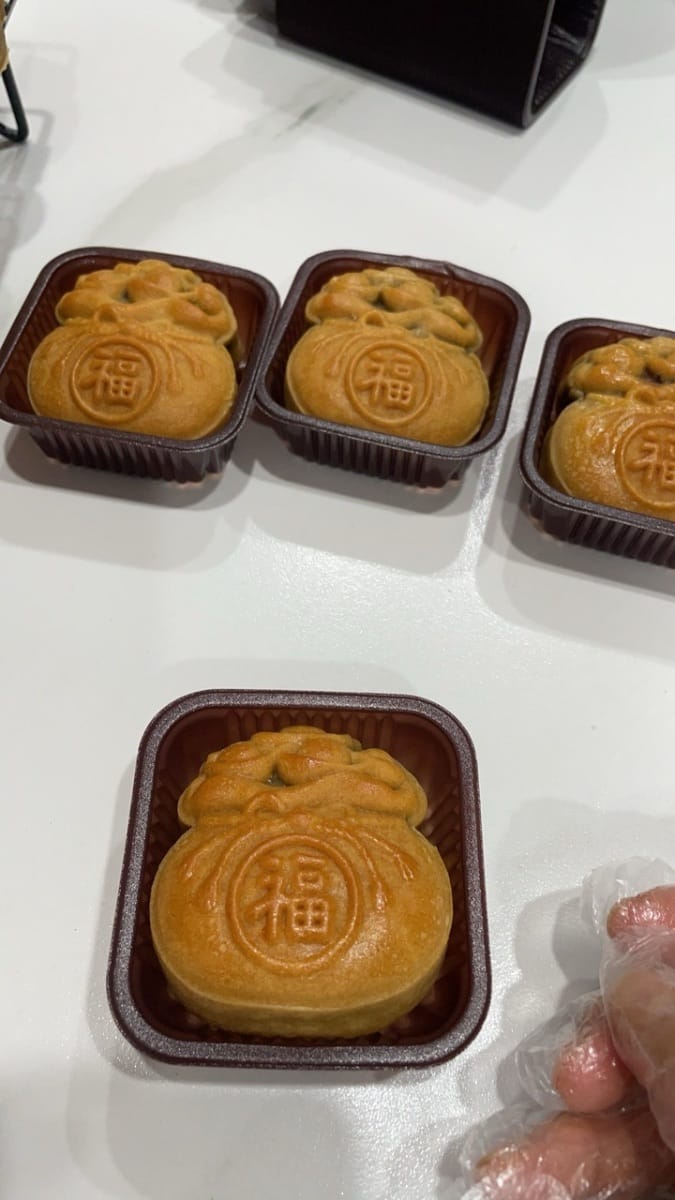
My dears, let's not eat the same old mooncakes for Mid-Autumn Festival! Last year, I was obsessed with egg yolk and lotus seed paste, but this year, I'm jumping on the bandwagon and making salted egg yolk, pork floss, and red bean paste mooncakes. This recipe makes 20 using a 75g mold, and the steps are simple and foolproof. If you're craving egg yolk and lotus seed paste, you can follow this wrapper recipe and use 30g of wrapper for 45g of egg yolk and lotus seed paste. For molds with other gram sizes, the same ratio of wrapper to filling should be 3:7. Take a look at these mooncakes I made! Each one looks like a little lucky bag, and they're incredibly festive! Baked to a golden, shiny finish, with crisp lines, you can tell they were made with great care. Whether you're packing them or letting them air dry, they'll look stunning wherever you put them. They're delicious and savory when you eat them yourself, and they're even more impressive when you give them as a gift. Who wouldn't be delighted? Take a bite, and the salty, fragrant salted egg yolk and pork floss are wrapped in the rich, smooth red bean paste. It's so delicious you'll want to spin around. Give it as a gift during the Mid-Autumn Festival. It is delicious and has good meaning. It is definitely the best choice for gift giving to satisfy your cravings! Hurry up and make it once and you will know how delicious it is!
Ingredients
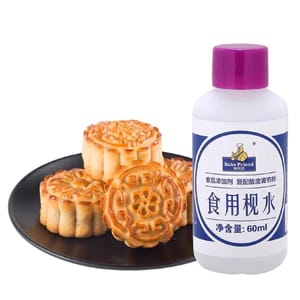
- 8 grams of alkaline water
- Convert syrup 220g

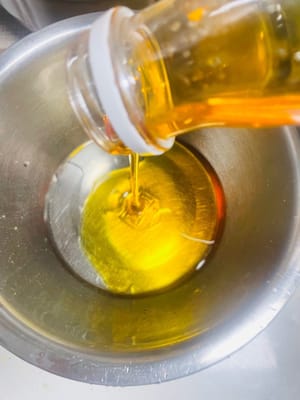
- 60g peanut oil

- 320g all-purpose flour

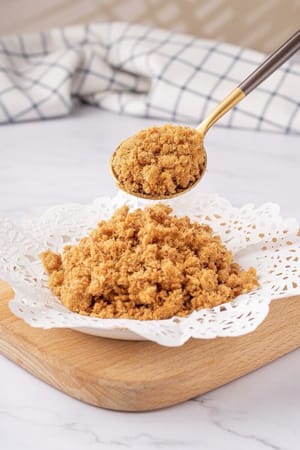
- 150g pork floss
- 8 salted egg yolks (about 100 grams)

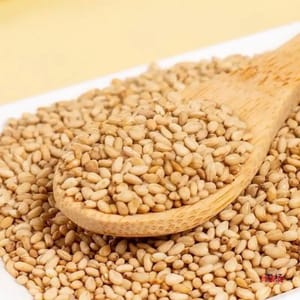
- 20g cooked white sesame seeds
- 40g butter

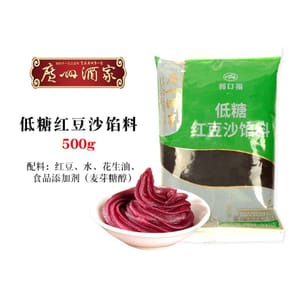
- 600g red bean paste
Steps
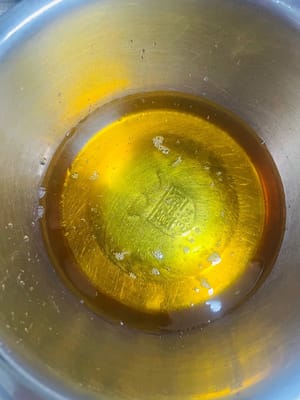
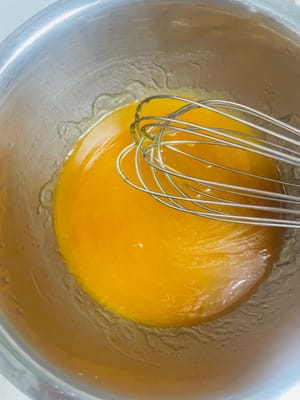
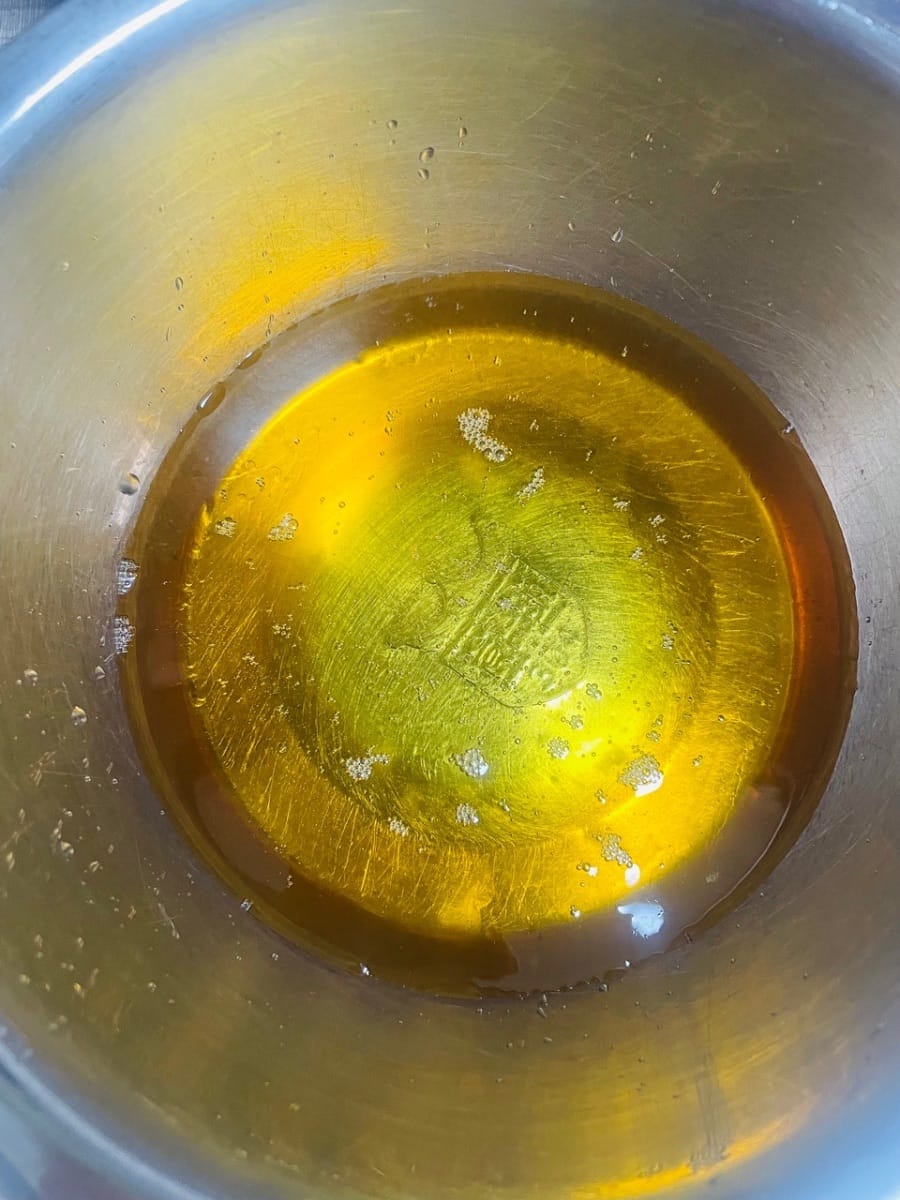
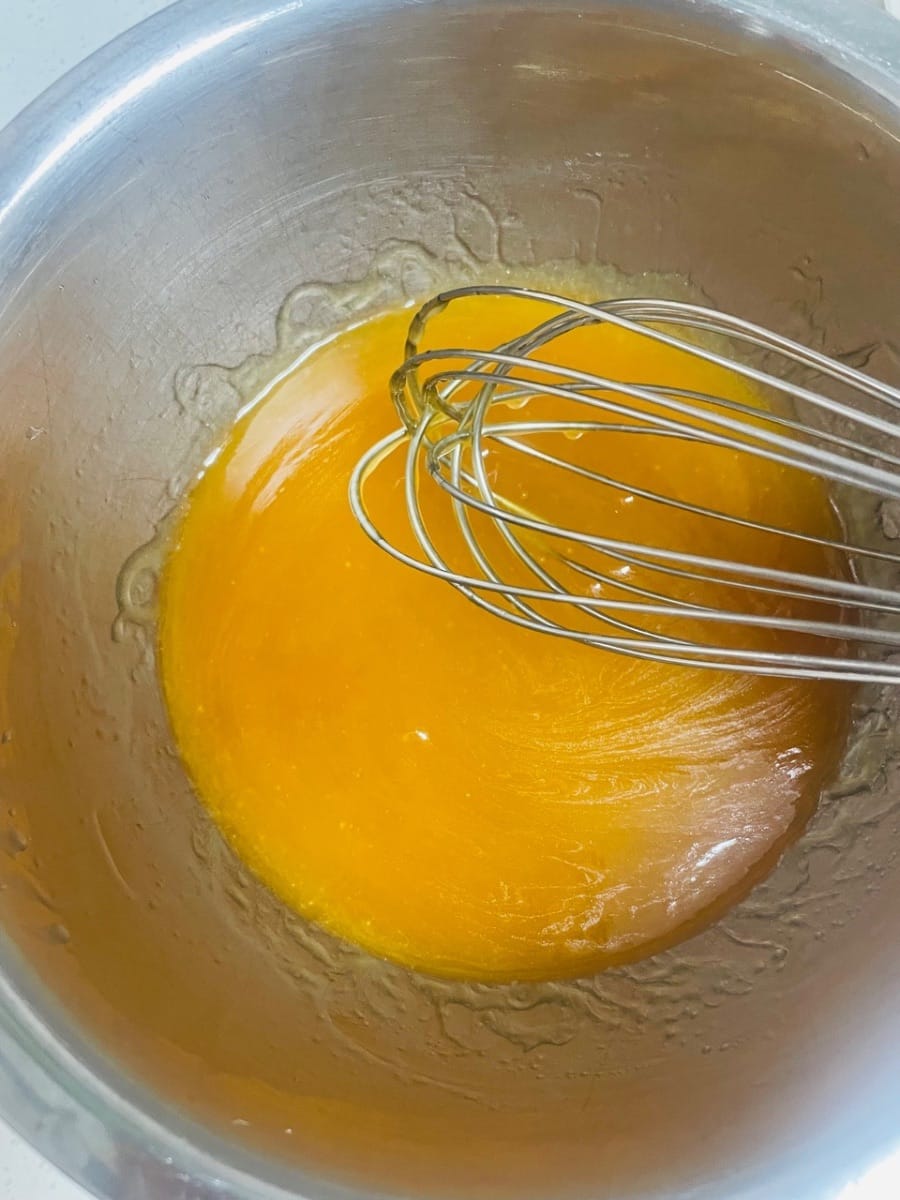
- 1. Make the mooncake wrapper: First, pour 8g of lye water, 220g of invert sugar syrup, and 60g of peanut oil into a bowl. Stir vigorously with chopsticks to combine.
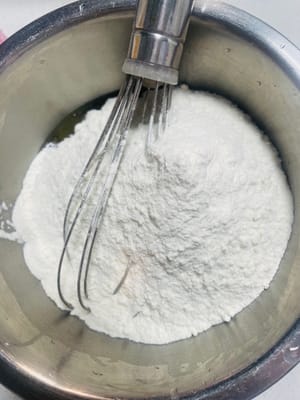
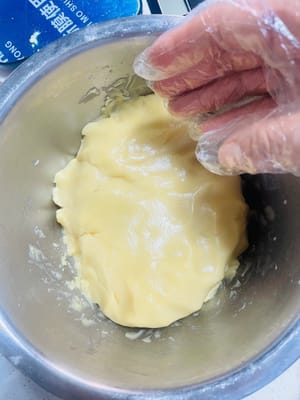
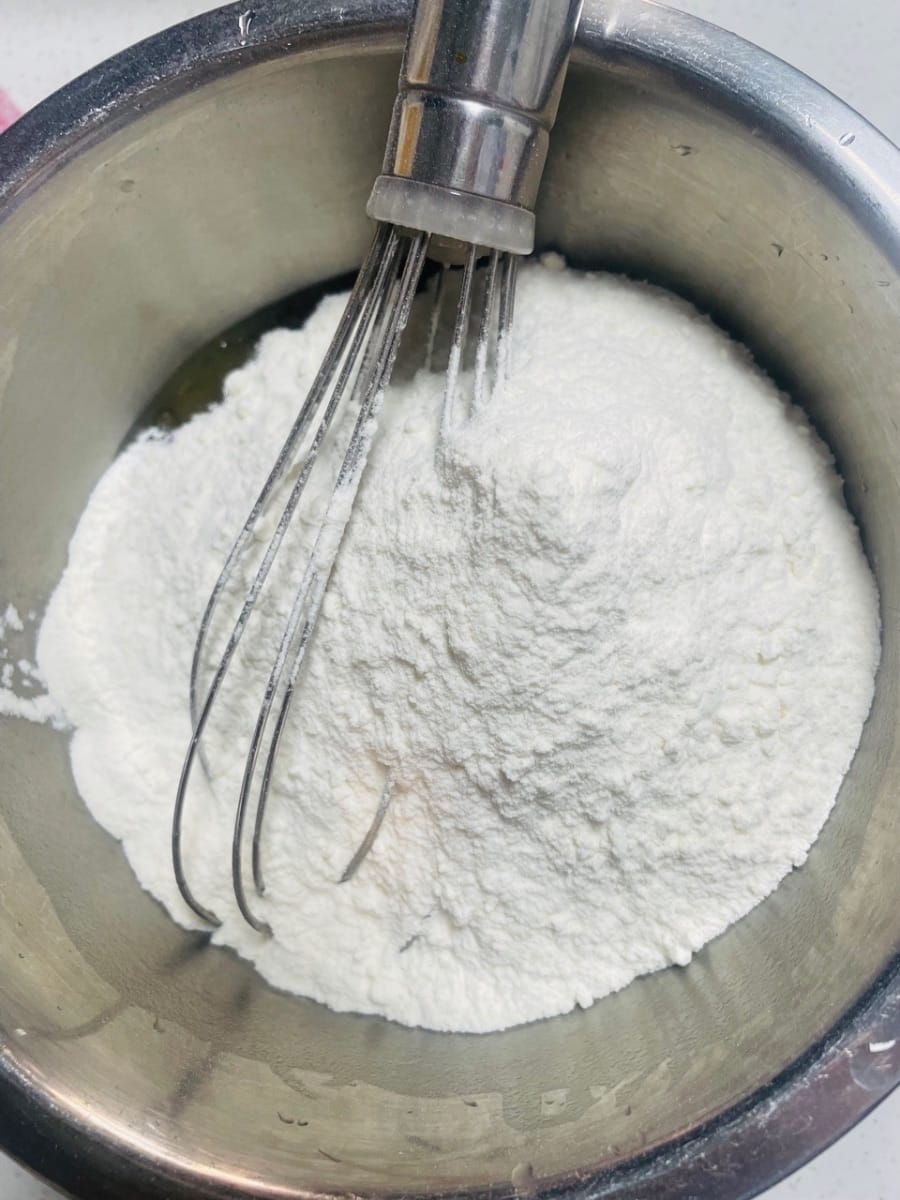
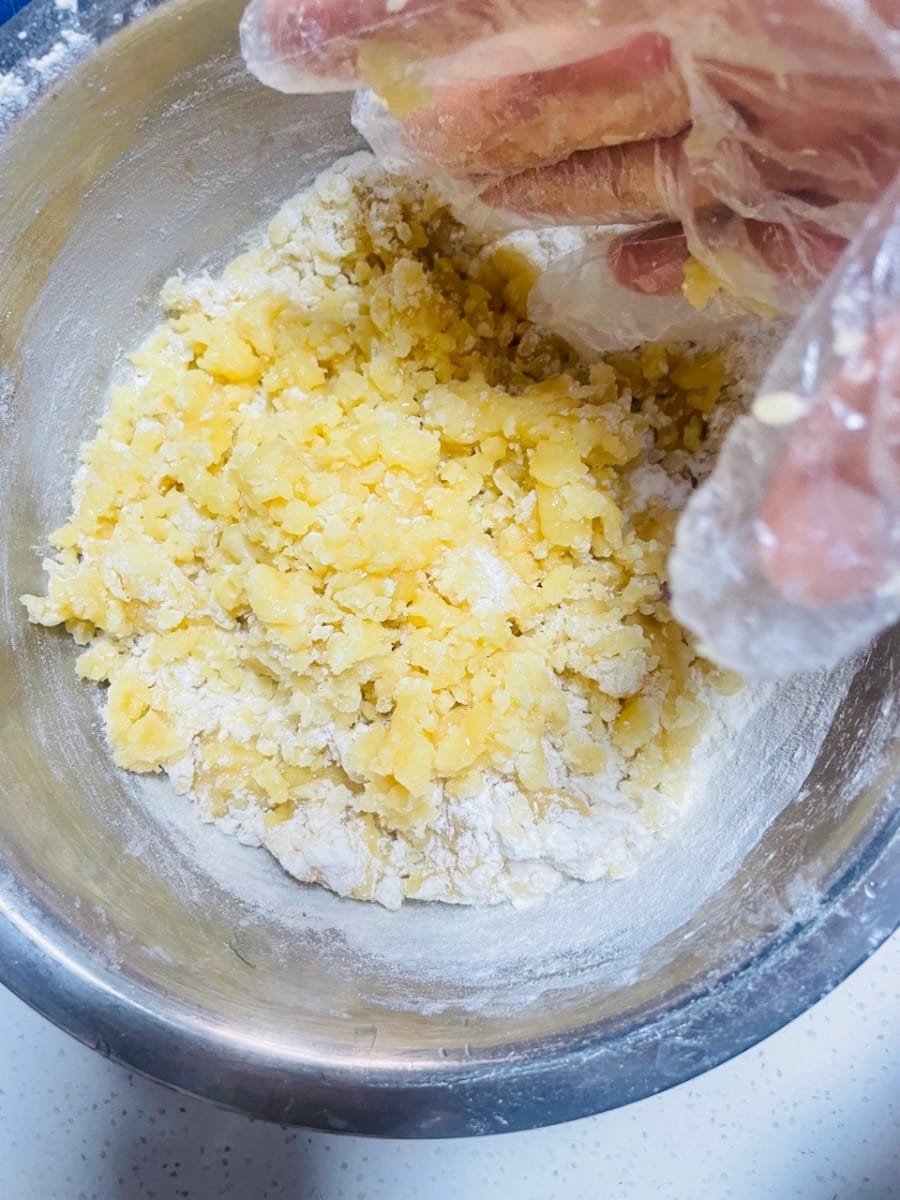
- Next, add 320g of all-purpose flour and mix with your hands until no dry powder remains. Cover the bowl with plastic wrap and let the dough rest at room temperature for two hours. Remember, if the dough isn't rested enough, it will crack when baked, and if it's rested too long, it will collapse. It's crucial to strike the right balance.

- 2. Prepare the filling
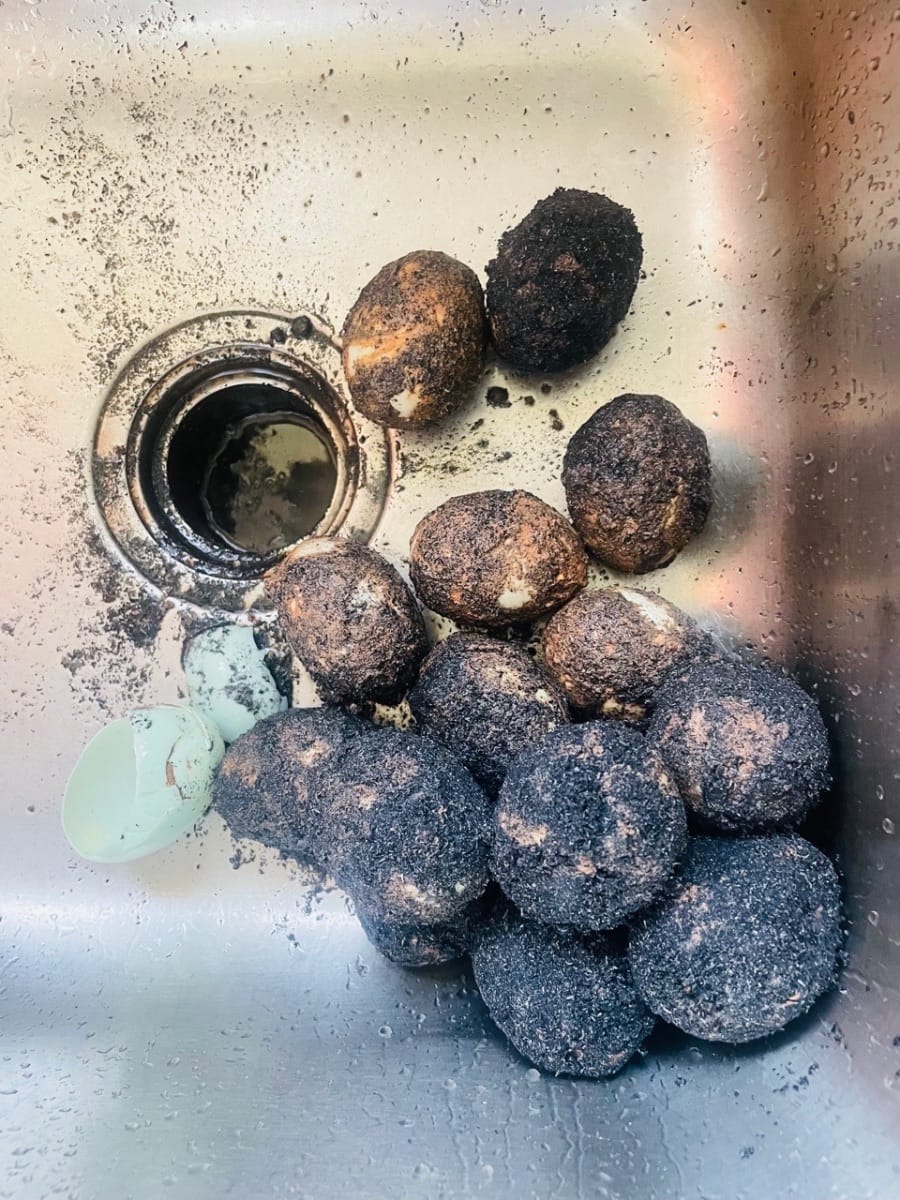
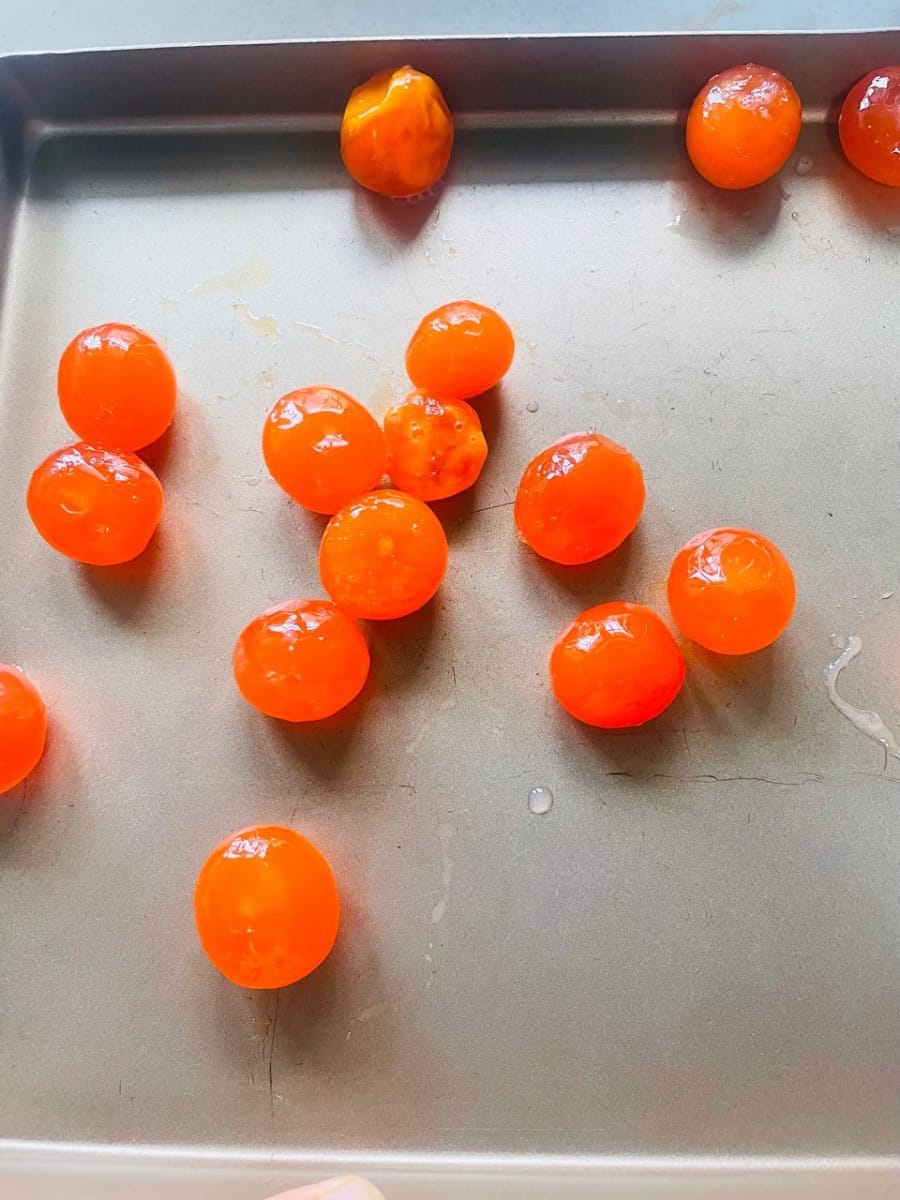
(1) Salted egg yolk
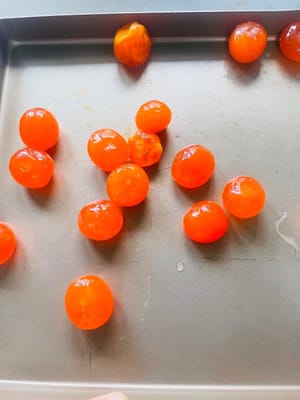
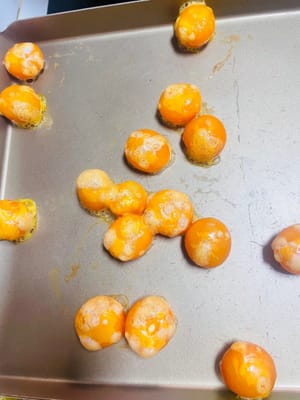
Wash the salted egg, crack it open, remove the yolk, spray it with some strong liquor, and bake it in the oven at 180°C (no need to preheat) for 6-7 minutes.
If you find it troublesome, you can directly buy ready-made salted egg yolks, which also need to be sprayed with alcohol and baked before use.
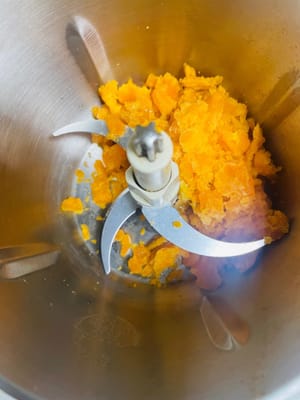
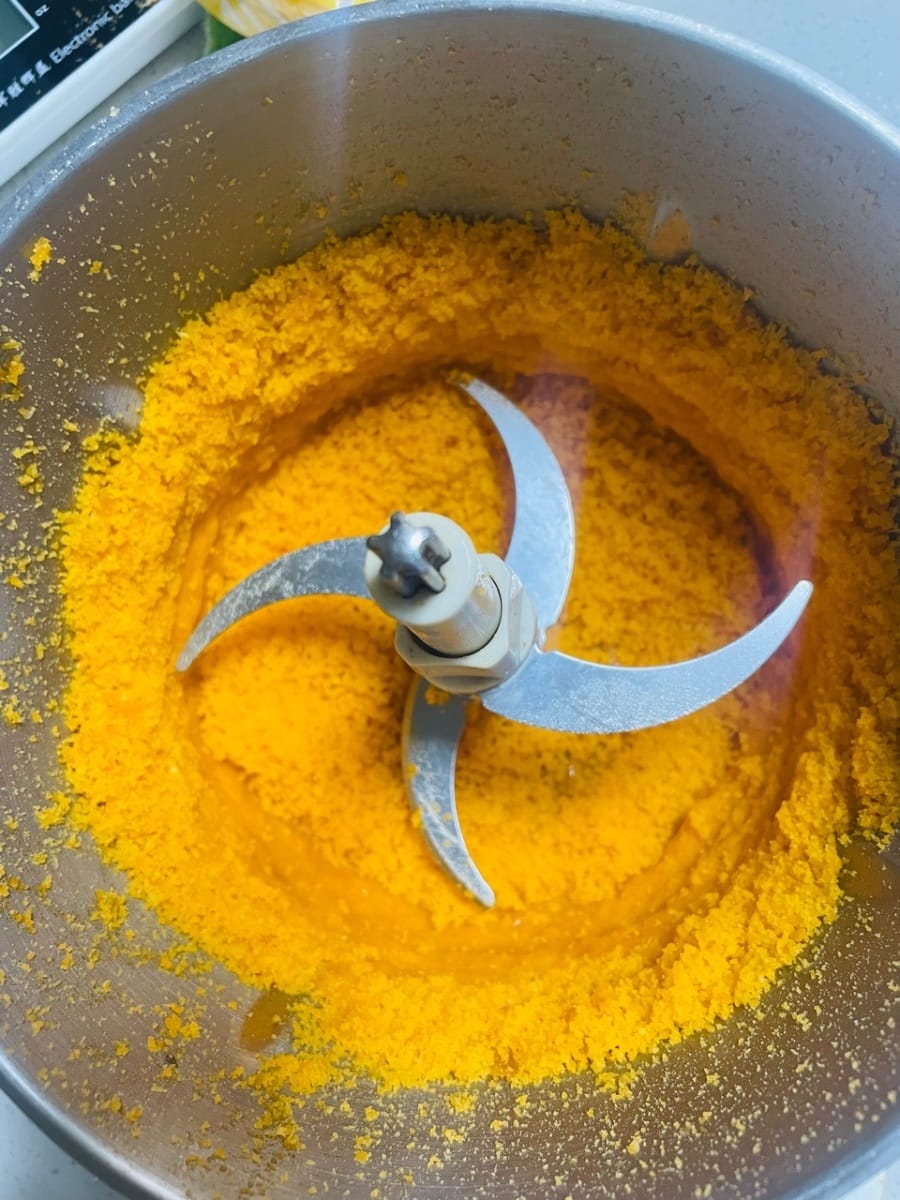
- Let the egg yolks cool slightly, crush them with your hands, and then blend them in a blender until they are even finer.

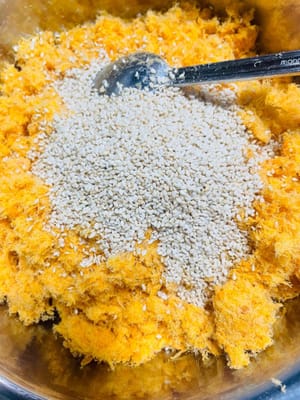
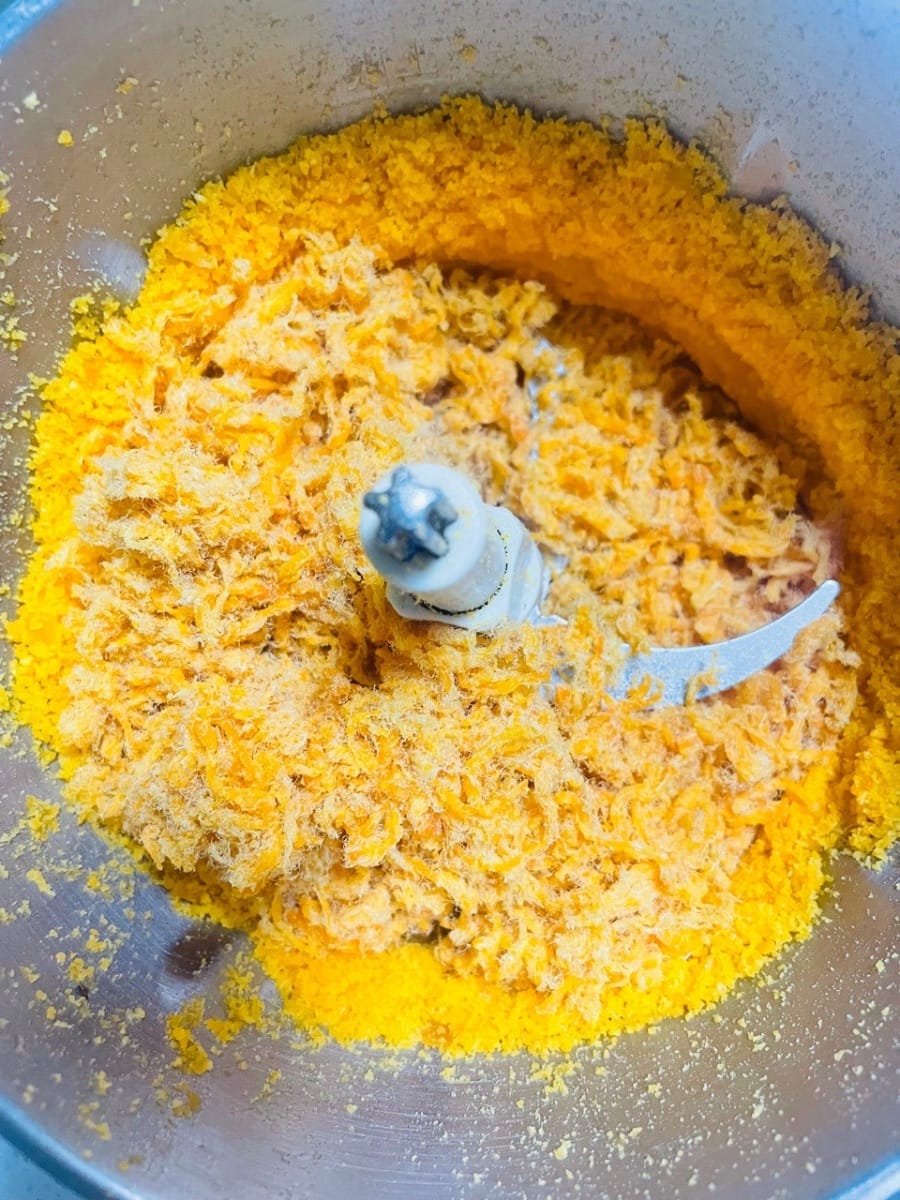
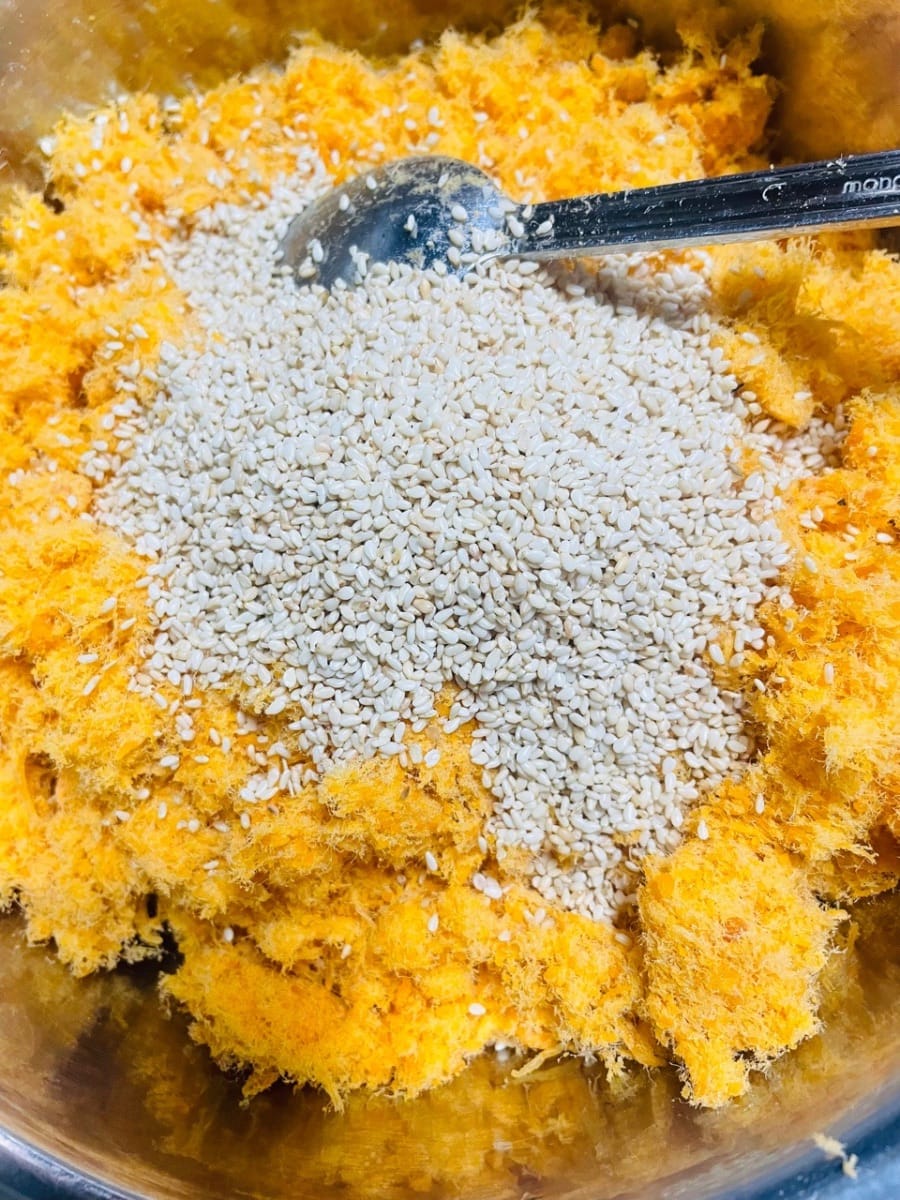
- (2) Meat floss
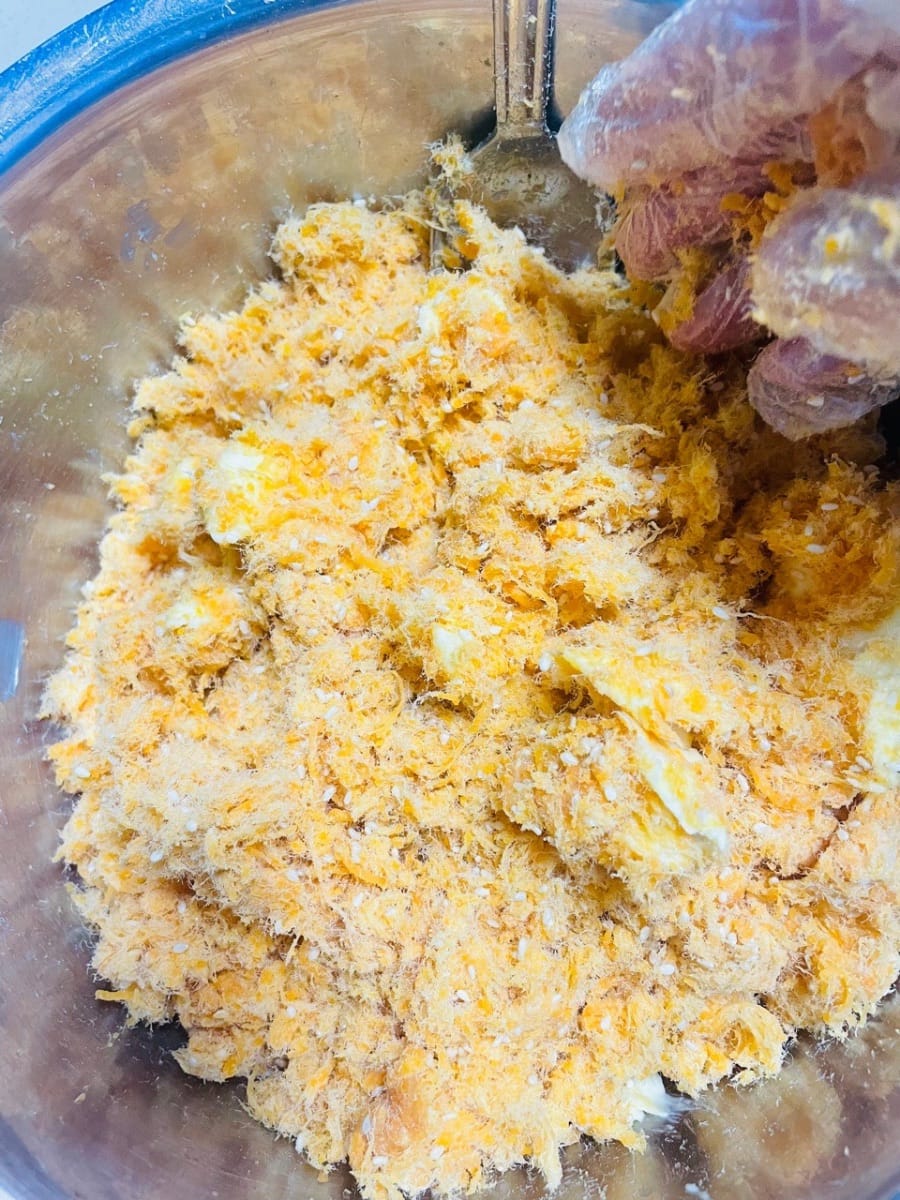
Put the meat floss in a blender and blend until finely chopped. Then mix it with the chopped egg yolks and stir well. Add 20g of cooked sesame seeds for flavor and stir well.

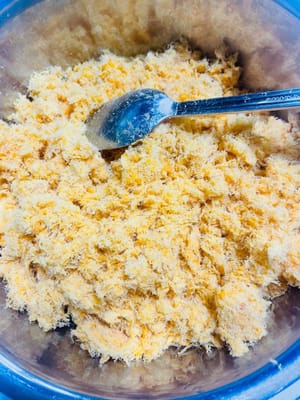
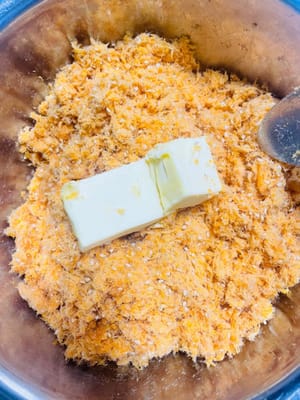
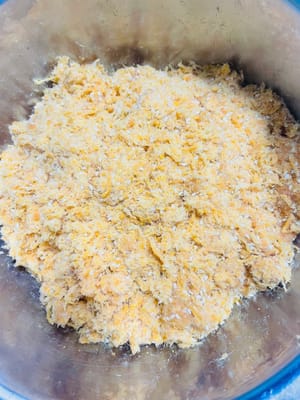
- Add 40g of butter melted at room temperature and mix well. This will make the meat floss sticky and can be rolled into a ball.

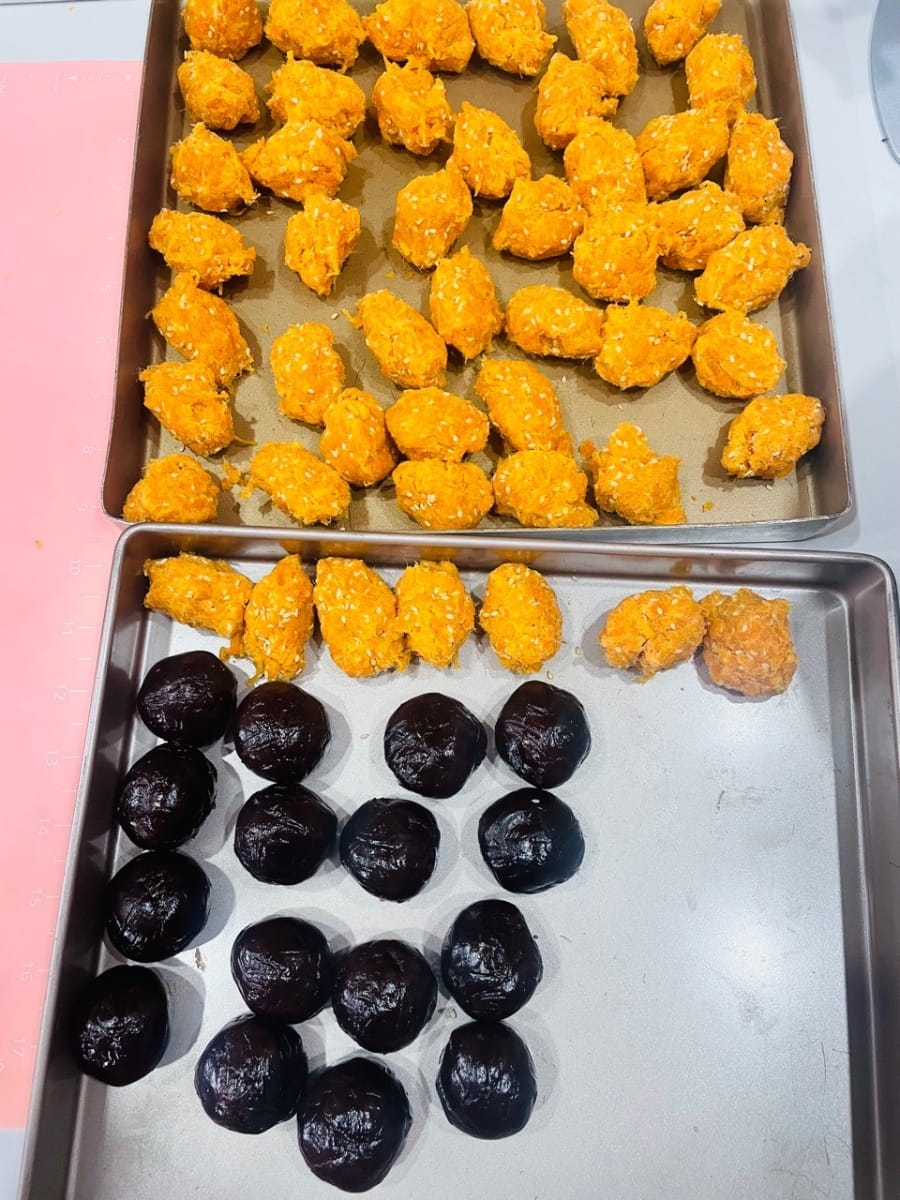
- (3) Divide the filling into small balls.
Divide the egg yolk and pork floss filling into small balls of 15g each, roll them into balls, and set aside.
Divide the red bean paste filling into small balls of 30g each, roll them into balls, and set aside.
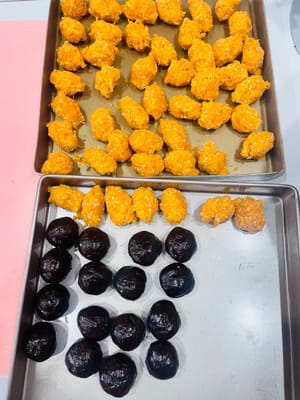
- Then wrap the egg yolk and pork floss filling with red bean paste, just like making glutinous rice balls, and roll them into balls for later use.
- 3. Wrapping the Mooncakes (Watch Video)
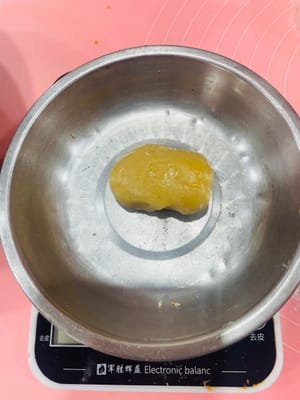
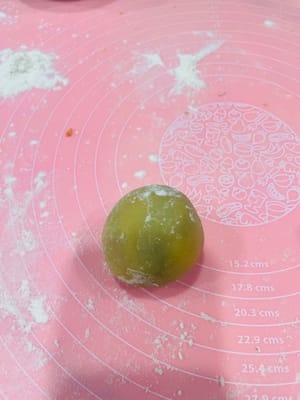
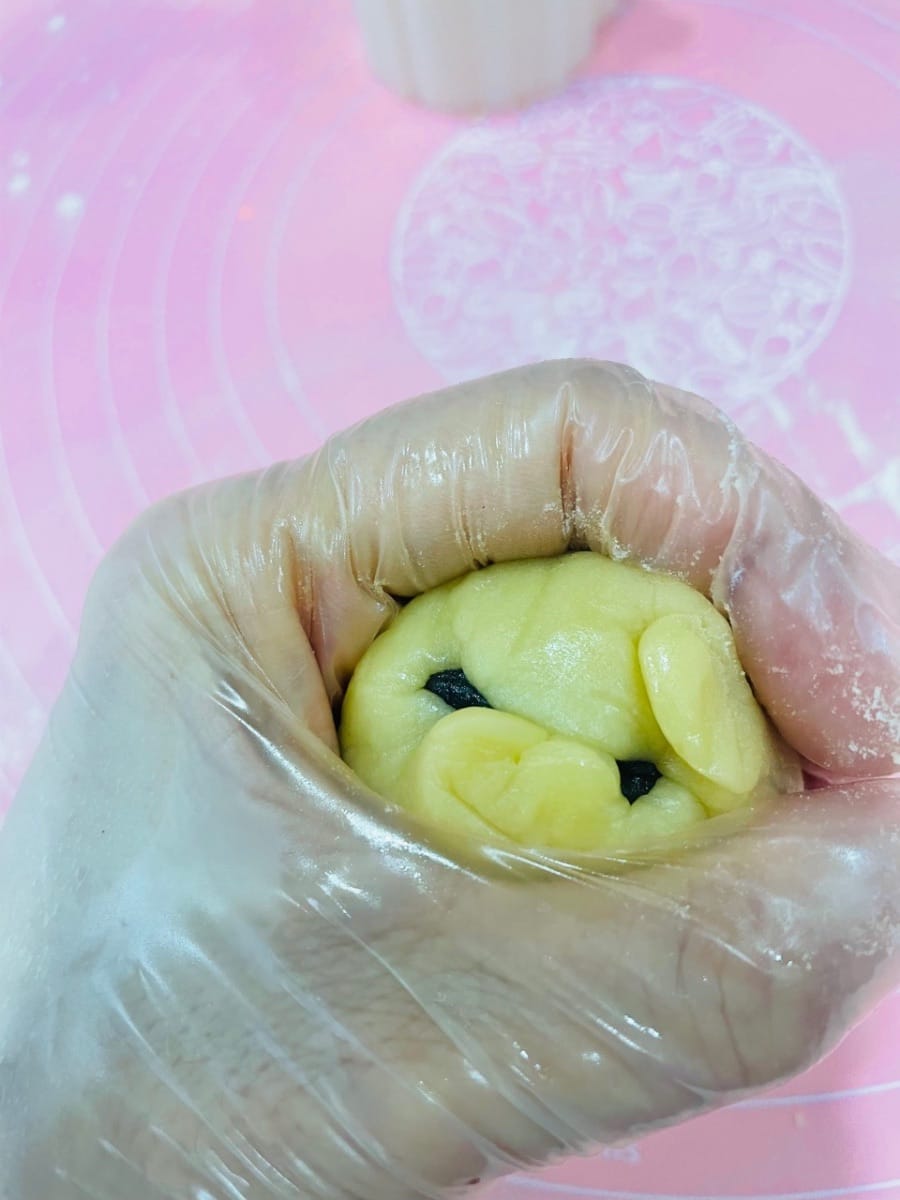
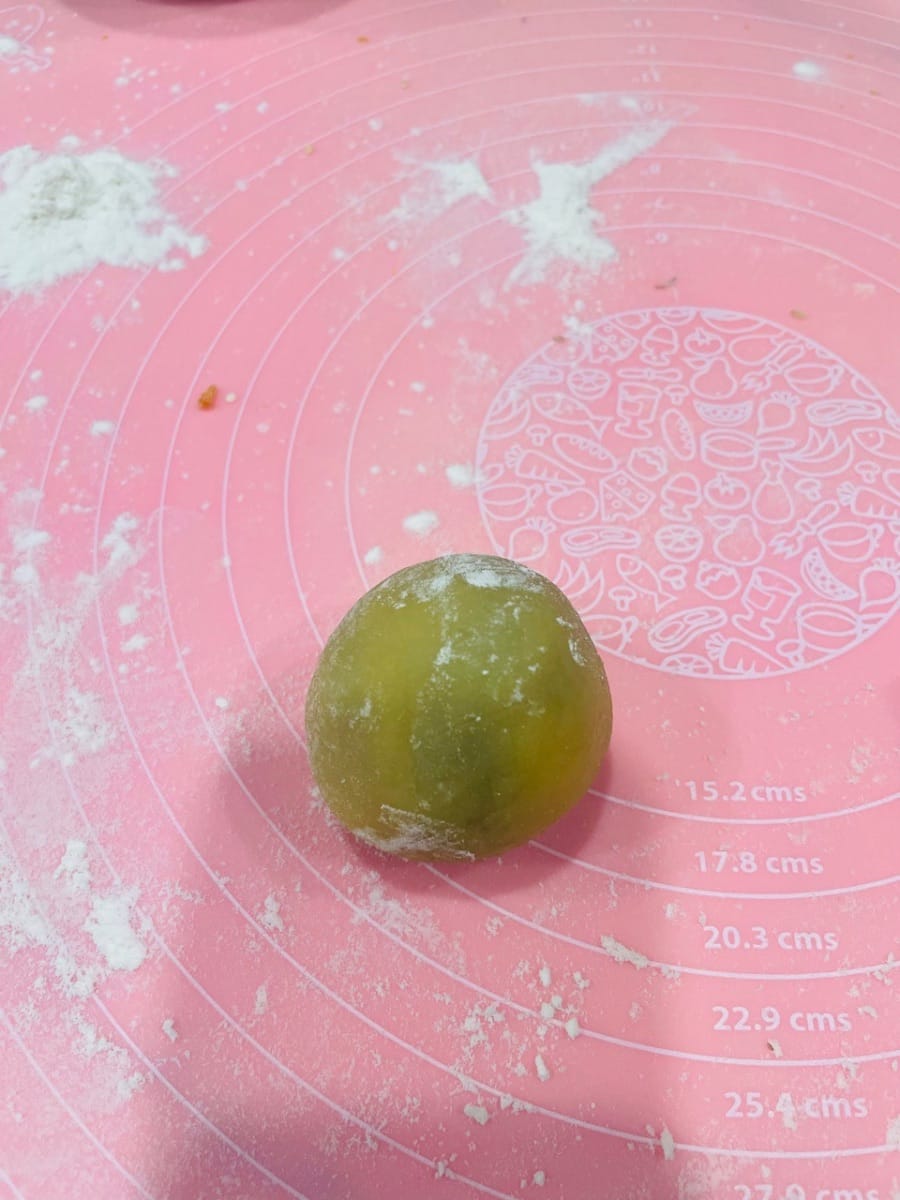
1. Divide the rested mooncake dough into 30g balls, roll them into balls, and flatten them.
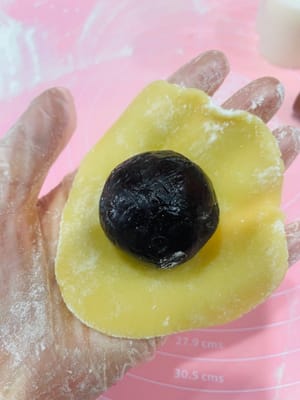
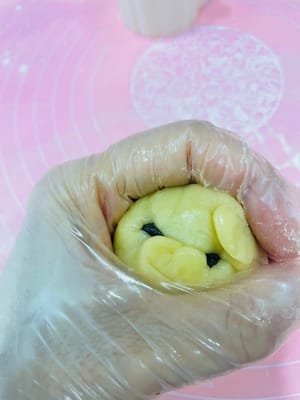
2. Place the prepared red bean paste, egg yolk, and pork floss filling in the center of the mooncake wrapper. Wrap it up like a bun, seal the top with your thumb and index finger, and then roll it into a ball.
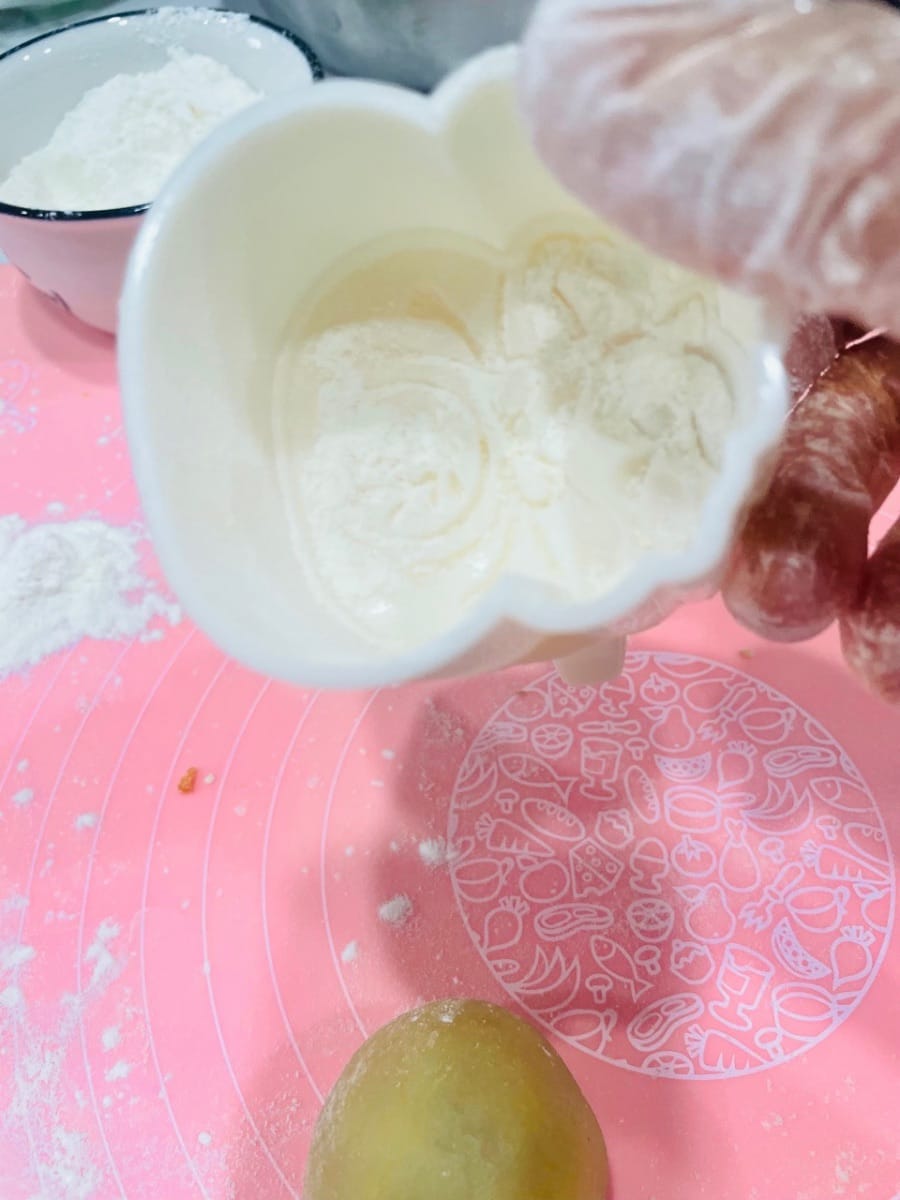
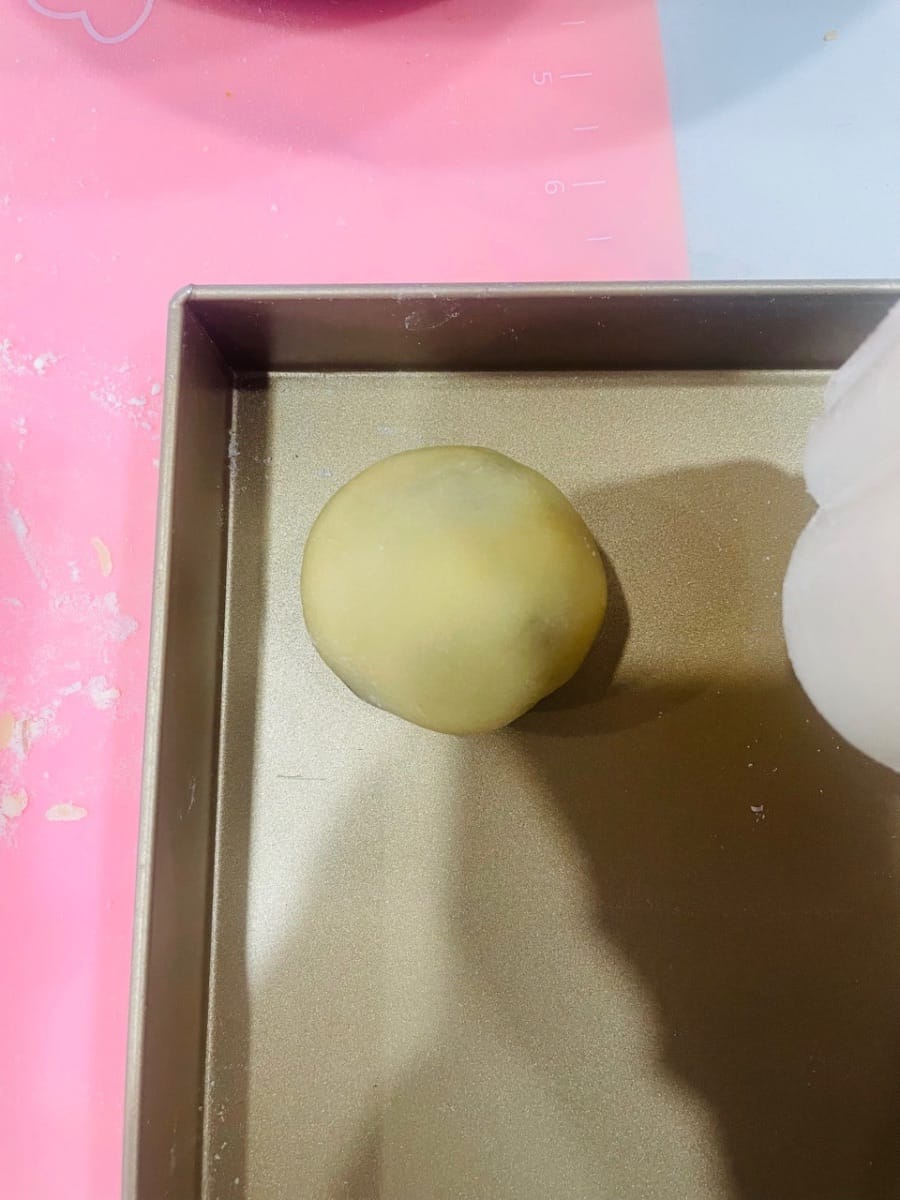
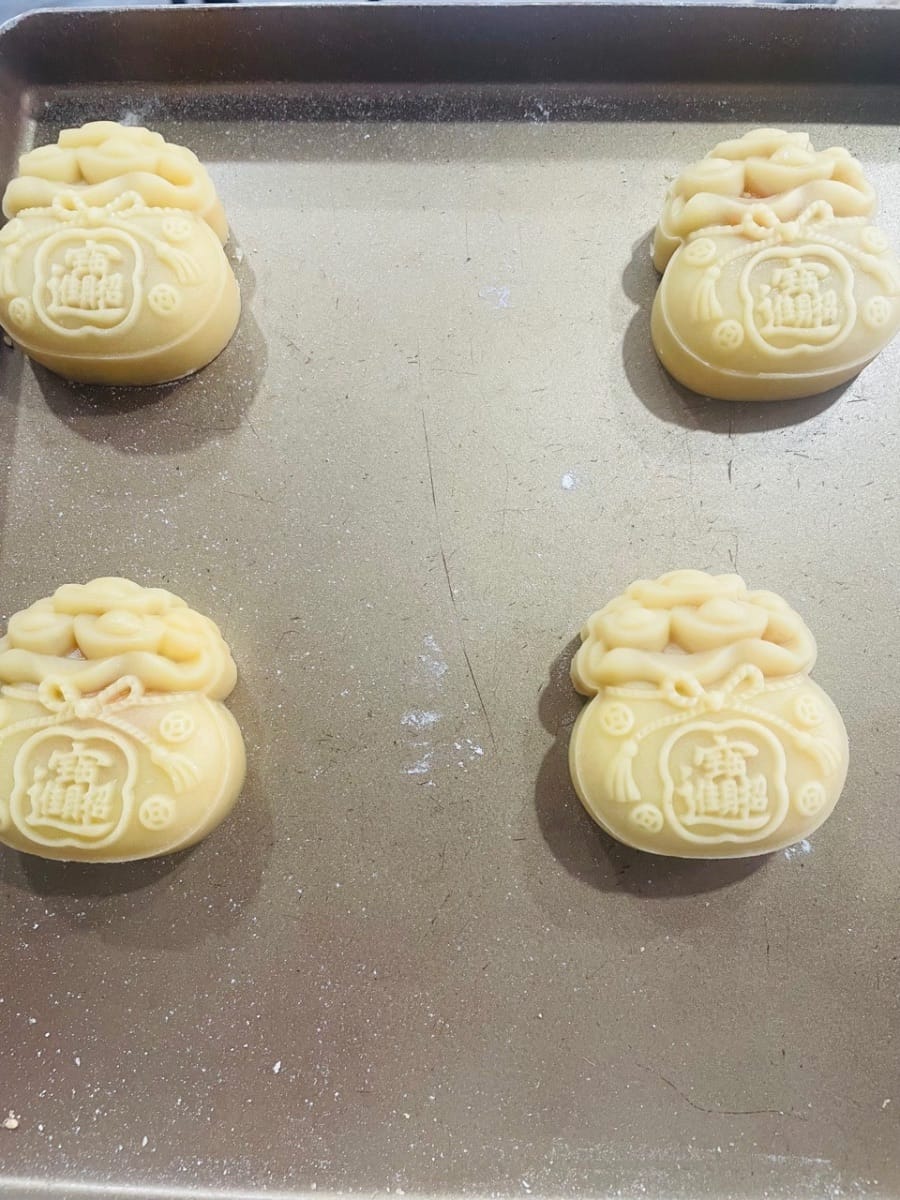
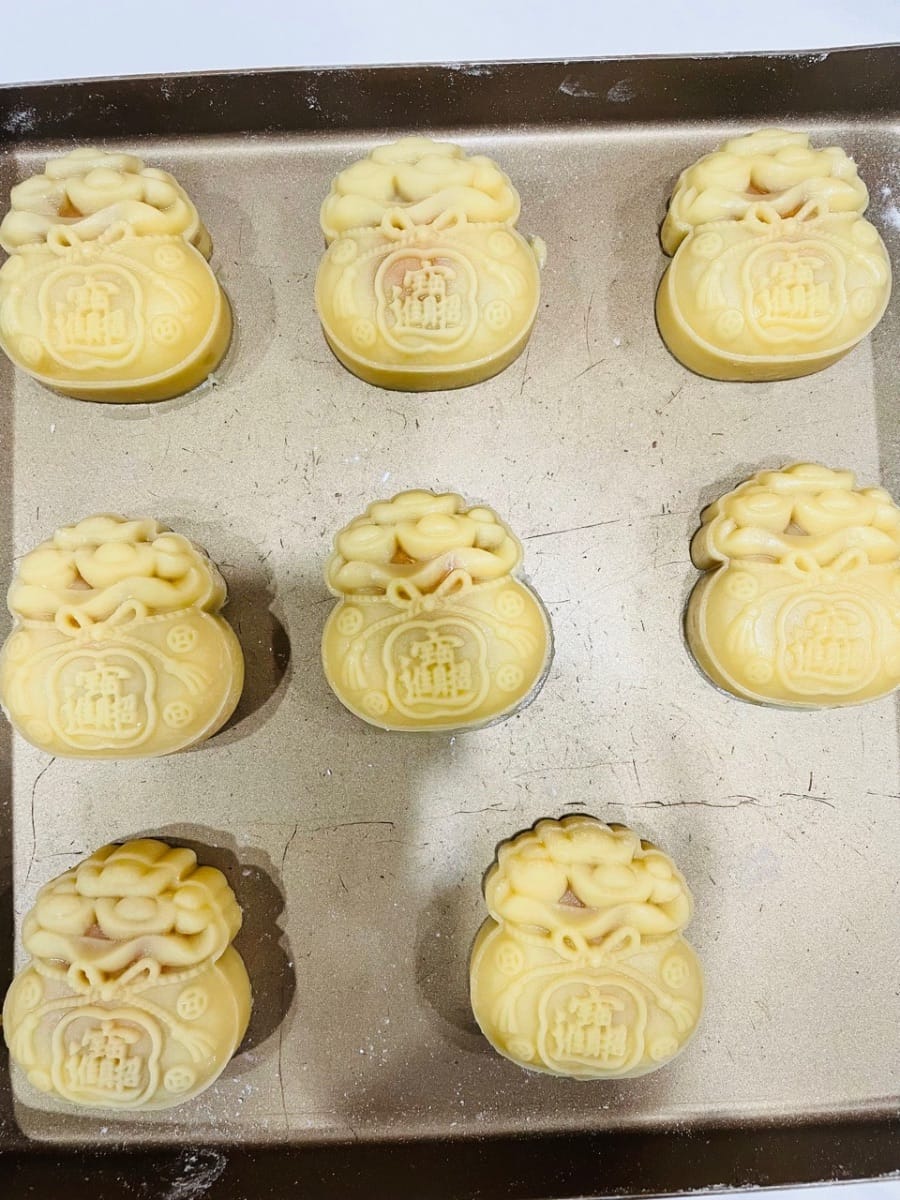
3. Sprinkle flour on the surface of the mooncake, tap off any excess, and place it on a baking sheet.
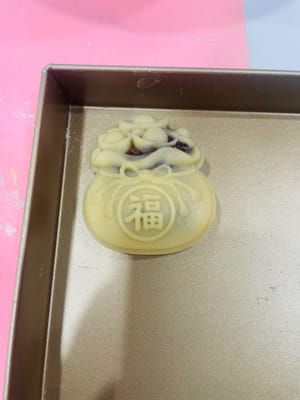
- First, sprinkle some dry flour inside the mooncake mold to prevent sticking.
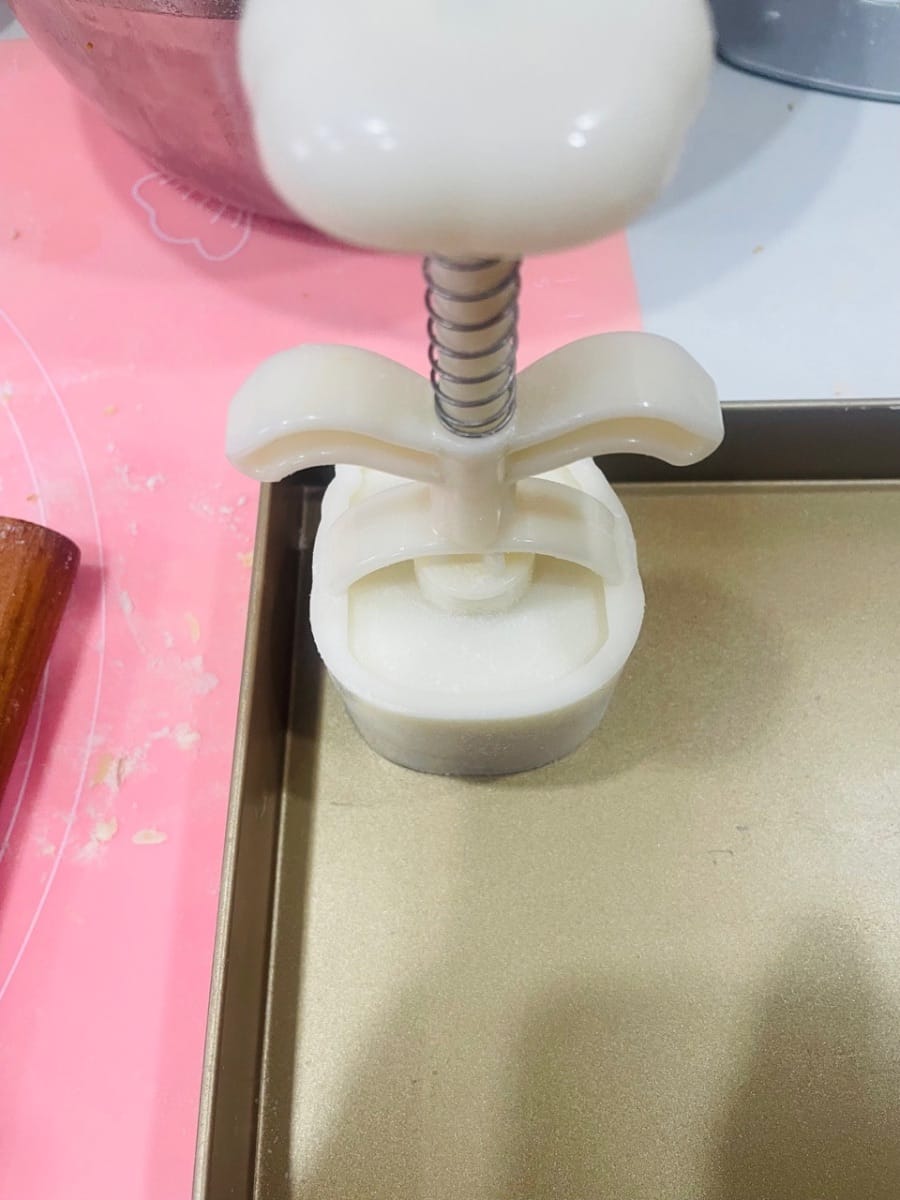
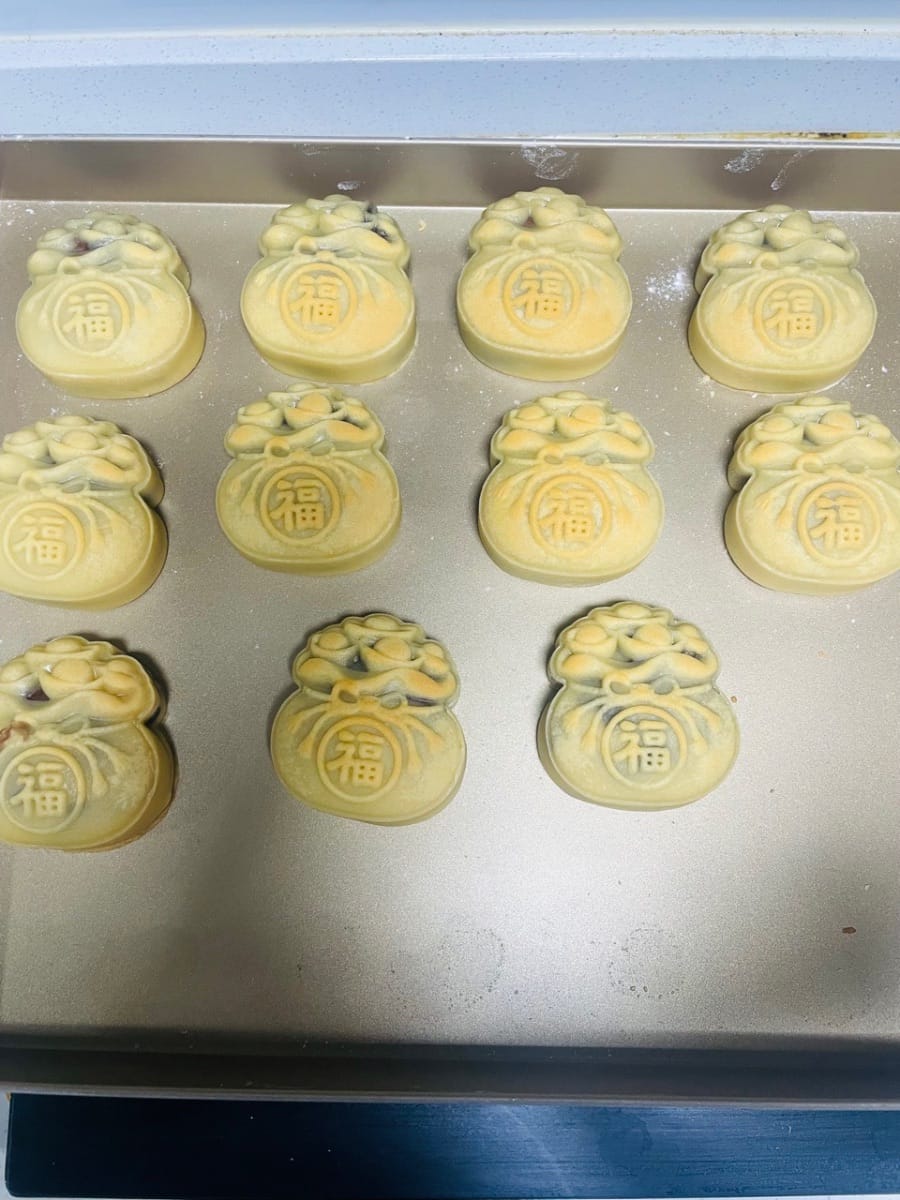
Place the wrapped mooncake balls on a baking sheet, carefully covering them with the mooncake mold. Hold the mold firmly with your hand and press down gently. The beautiful mooncake dough will emerge.


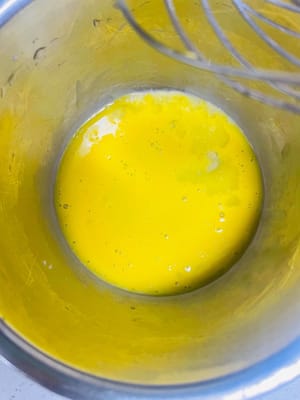
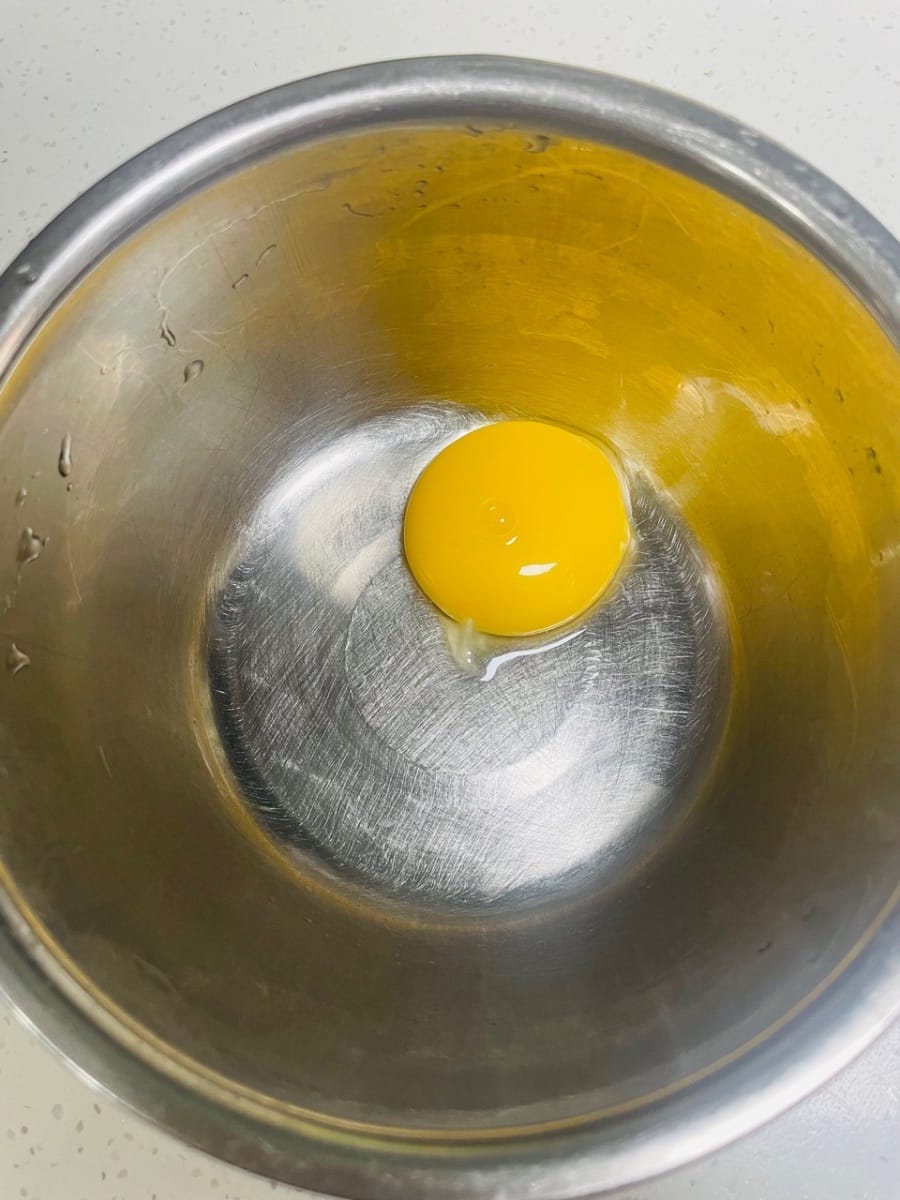
- 5. Egg Mixing (The Secret to Shiny Mooncakes)
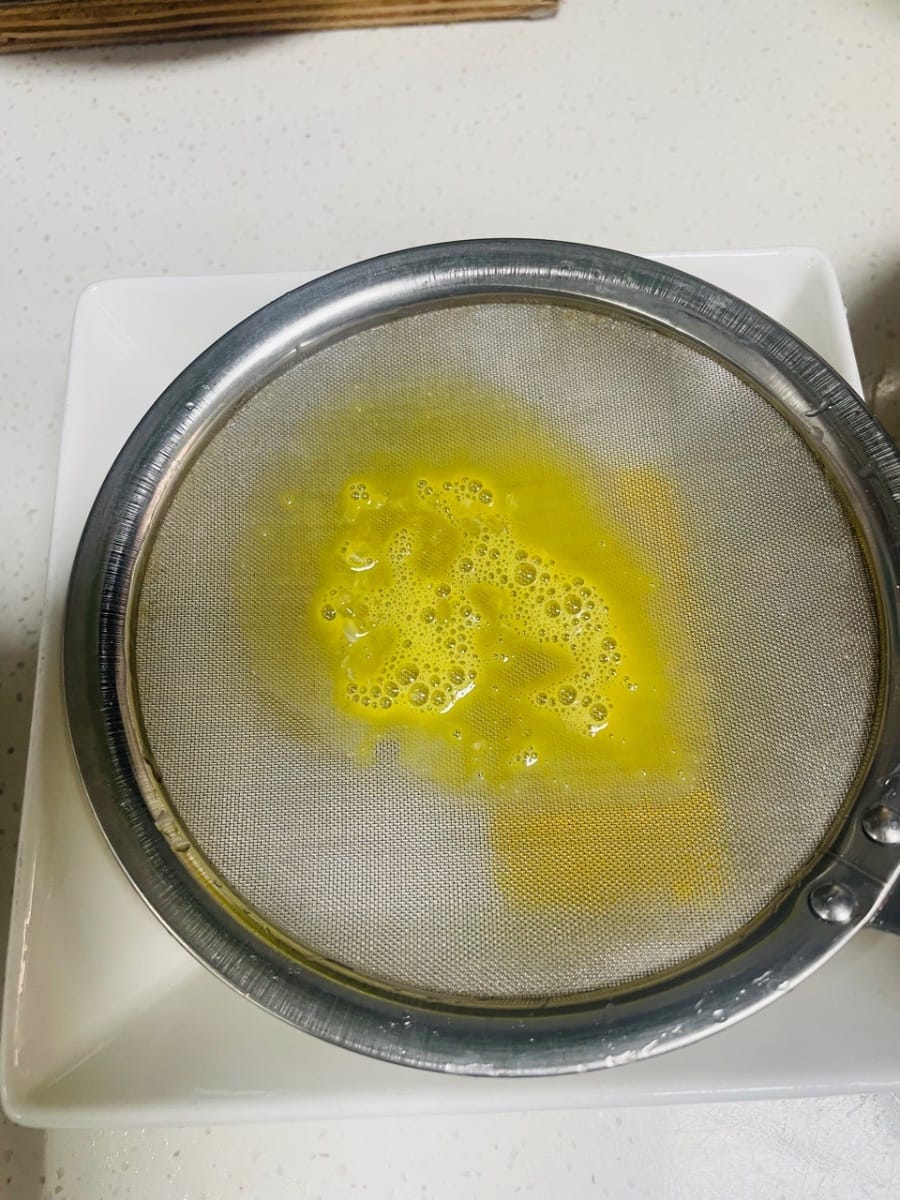
Take one egg yolk, whisk it, add a few drops of water, and then a drop of invert sugar. Stir thoroughly, then sieve and set aside.


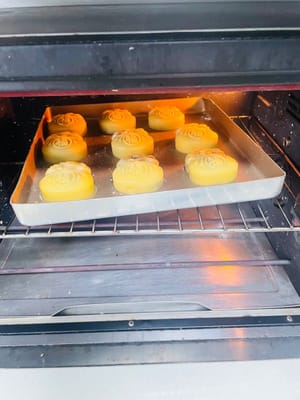
- 6. Baking the Mooncakes
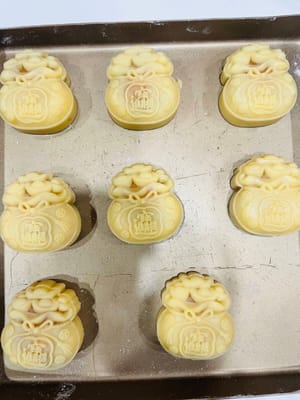
1. Preheat the oven to 200°C. Spray the mooncakes with water before placing them in the oven. Bake them in the middle rack for 5 minutes to set.
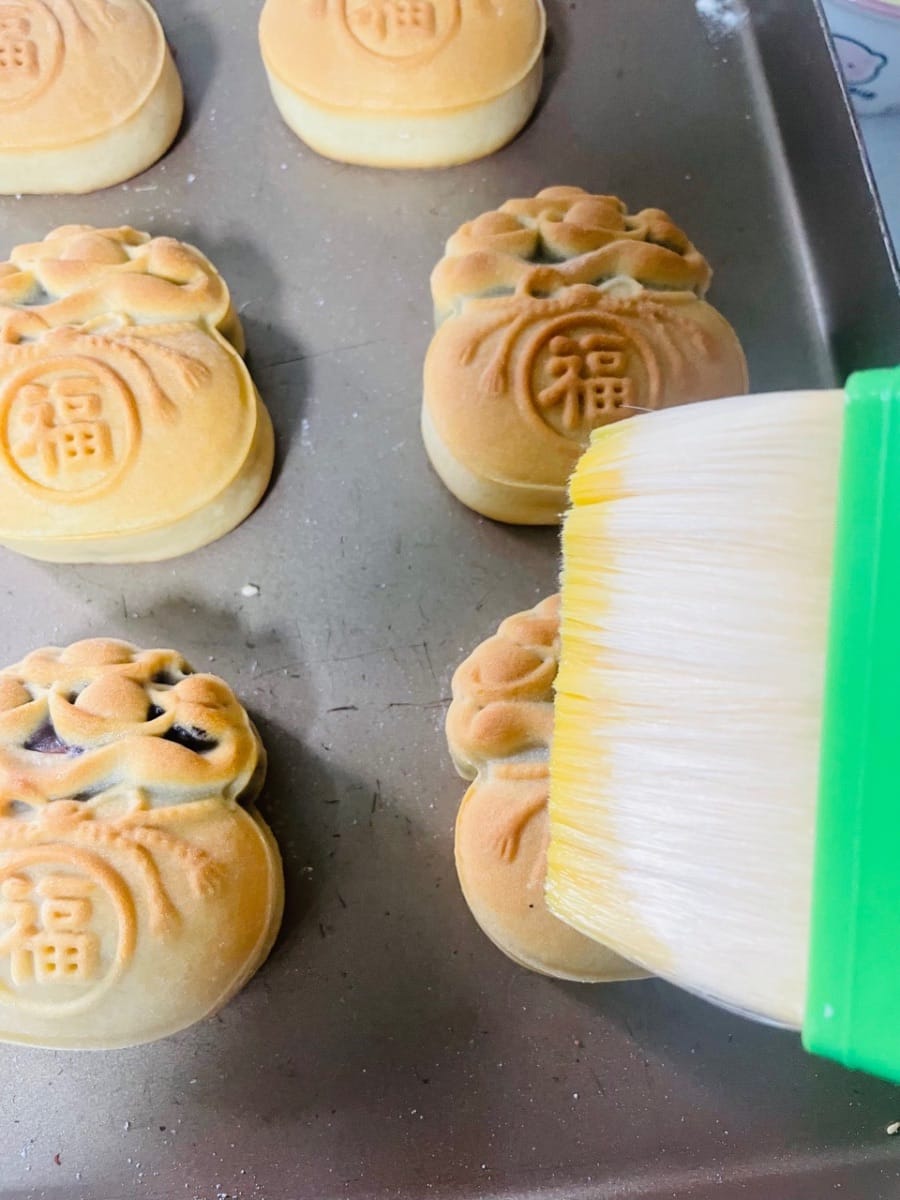
2. Remove the mooncakes and wait for the temperature to drop to around 70-80°C. Then, lightly brush the mooncakes with the egg wash you prepared earlier. Be careful not to overdo it, as it will lose the texture. (Use this type of brush, not a silicone one.)
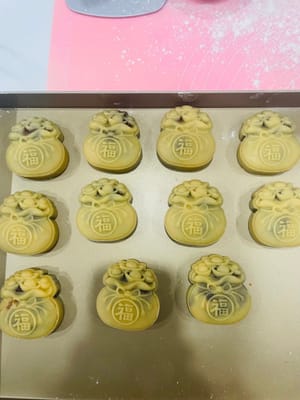
3. Reduce the oven temperature to 160°C. After brushing with the egg wash, return the mooncakes to 160°C and bake for 8-10 minutes. Keep an eye on them to ensure they don't burn.


- 7. Let cool and pack.
After baking, transfer the mooncakes to a wire rack to cool. Don't leave them on the baking sheet, as this will cause moisture to form on the bottom.
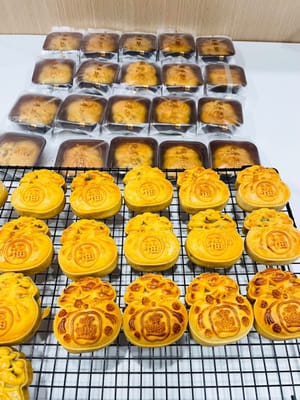
- Once it's completely cool, you can pack it up. Enjoy it yourself or as a gift!


- I made a 100g Cantonese-style low-sugar lotus root egg yolk mooncake last year. You can refer to it.
I can make it myself and eat it whenever I want. I also made it in December.


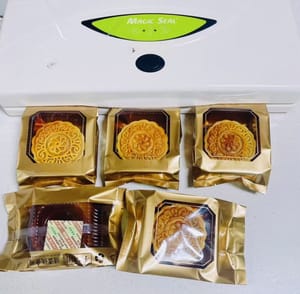
- Consumption and Shelf Life 1. Our mooncakes are handmade. Some preservatives may be present in some of the ready-made fillings, but overall, we don't use any preservatives. They're only delicious after they've been allowed to recover their oil—usually within two days. By then, they'll be soft and fragrant with an oily aroma. 2. The shelf life is approximately ten days.


Languages
Lucky Bag Mooncake mit gesalzenem Eigelb und Schweinefleischfloss - Deutsch (German) versionSalted Egg Yolk and Pork Floss Lucky Bag Mooncake - English version
Pastel de luna de la suerte con yema de huevo salada y hilo de cerdo - Español (Spanish) version
Gâteau de lune porte-bonheur au jaune d'œuf salé et à la barbe de porc - Français (French) version
Kue Bulan Lucky Bag Kuning Telur Asin dan Abon Babi - Bahasa Indonesia (Indonesian) version
Mooncake Lucky Bag con tuorlo d'uovo salato e filo di maiale - Italiana (Italian) version
塩漬け卵黄と豚肉デンプンの福袋月餅 - 日本語 (Japanese) version
소금에 절인 계란 노른자와 돼지 솜사탕 복주머니 월병 - 한국인 (Korean) version
ขนมไหว้พระจันทร์ถุงโชคดีไข่แดงเค็มและหมูหยอง - แบบไทย (Thai) version
鹹蛋黃肉鬆福袋月餅 - 香港繁體中文 (Traditional Chinese - Hong Kong) version